DIY - Tank Stand
- Thread starter swiftism
- Start date

remember the fundamentals of framing is the same in wood framing as it is in steel.
your inherent weak points are at the joints, but properly joined, the joints should actually be stronger than the length itself.
with wood
your inherent weak points are at the joints, but properly joined, the joints should actually be stronger than the length itself.
with wood
- always pre-drill / countersink - splitting the wood really compromises the strength. it technically still holds, but the strength isn't there anymore.
- use appropriate screws - they're not all created equal. drywall screws are cheap and go in (relatively) easily, but do not have the same shear strength as actual wood screws.
- be careful of knots
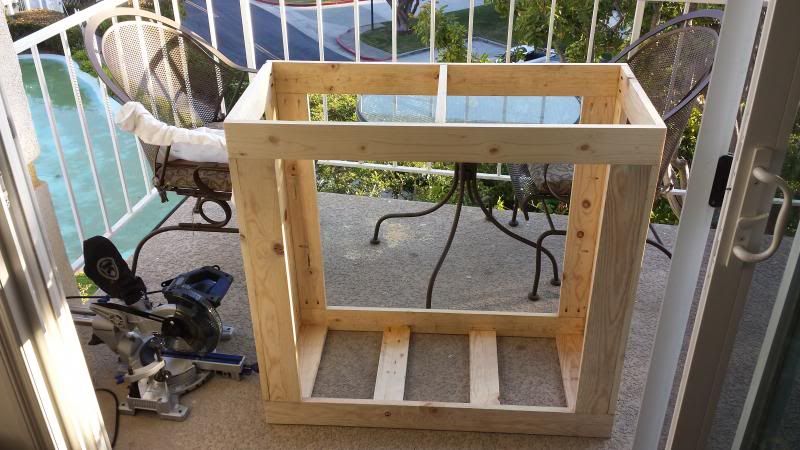
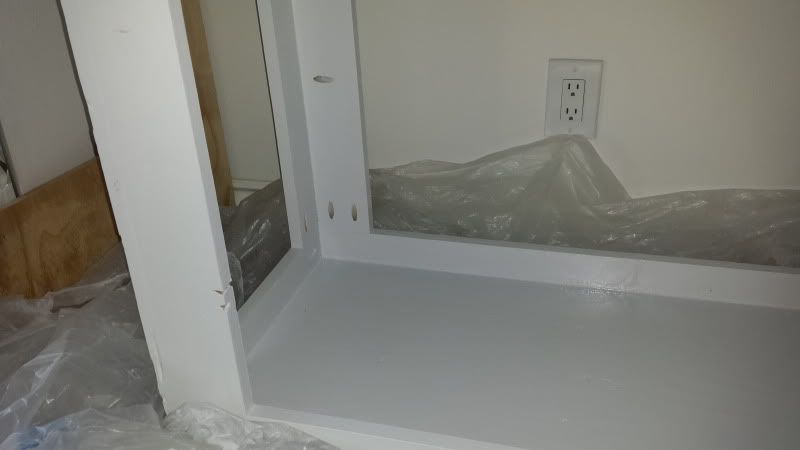
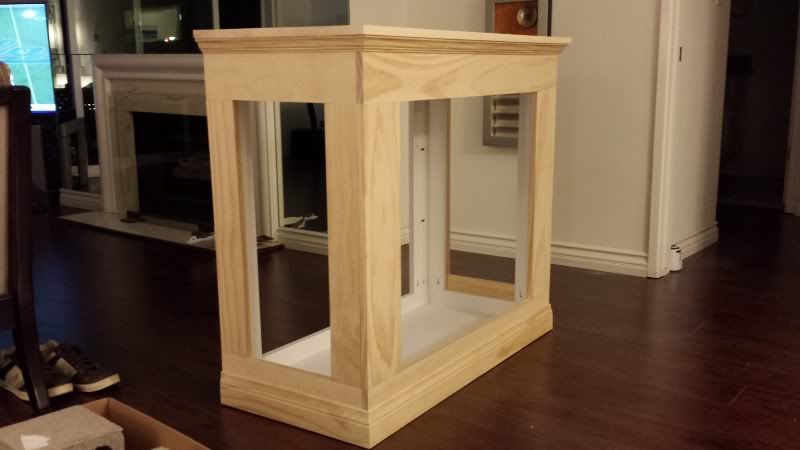
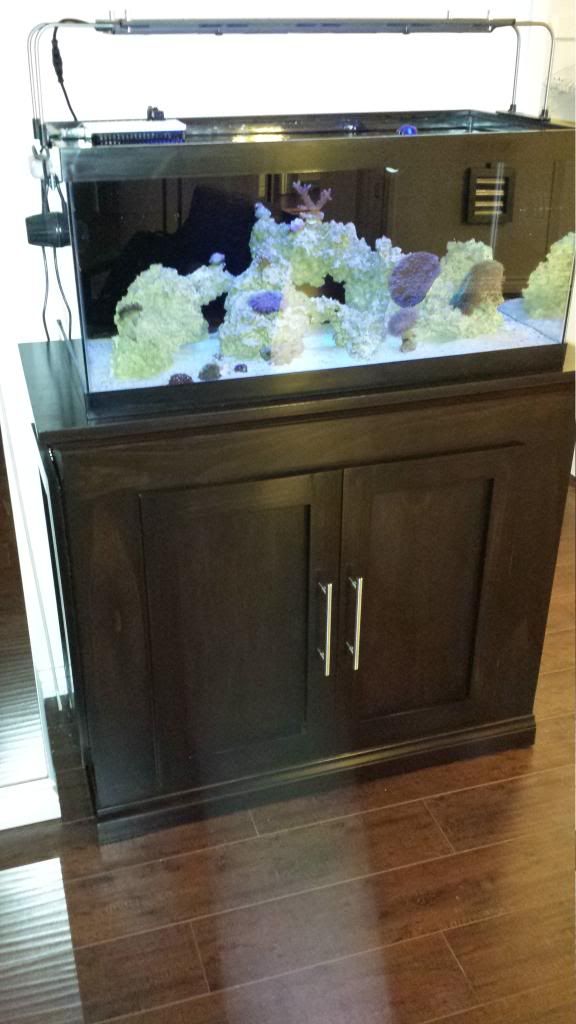
I built mine from scratch earlier this year. I pasted a few pictures below. I strongly recommend picking up a Kreg Jig, made the process much easier. Happy to answer any questions you may have!


If I decide to build another stand in the future, I would definitely invest in a miter saw. It would have made things so much easier.
I've heard having a miter saw/chop saw makes the job much easier than using a table saw, even if you aren't doing any true miter cuts. I used one but also wish I had a table saw for ripping bigger pieces of ply. A skill saw was also handy to have but not required.


