
280 (72”x30”x30”) Gallon Acrylic Refurbish...
It's in the house!
.
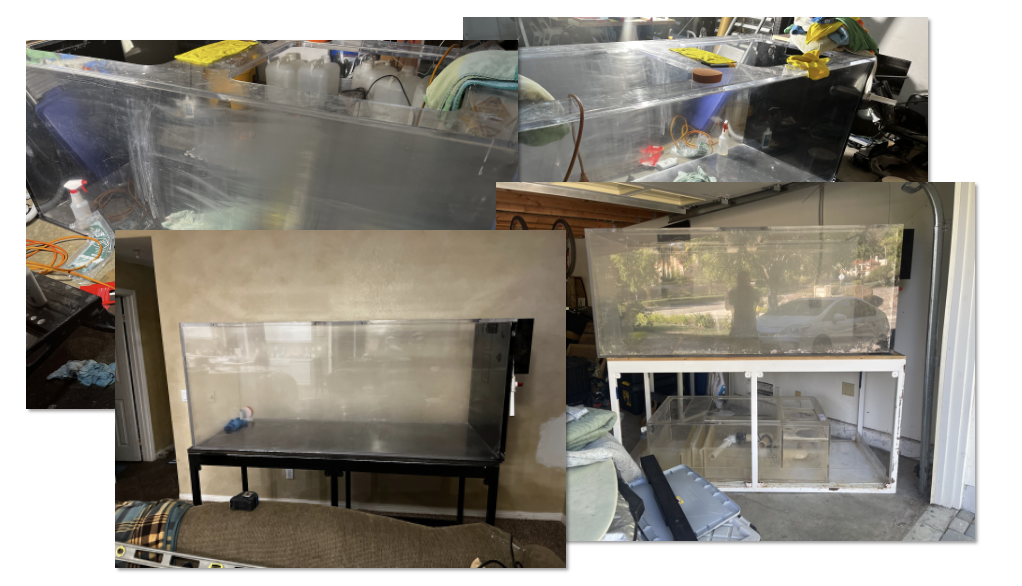
Equipment:
280 (72”x30”x30”) Gallon Acrylic
120 Gallon Acrylic Sump
Reef Octopus Classic 202-S Protein Skimmer
40-Watt UV Sterilizer
Flow:
For now, or till they die/too loud I’ll use what came with the tank(s) all in good condition.
2 - Jebao DCT 12000 Return pumps Max flow: 3170GPH; Max-head: 16.4 ft
Flow to play with…
2 - Jebao SOW (1057-5283gph) Wavemakers
Maxspect Gyre
Various Jebao Gyre’s/wavemakers to fill where needed
Lights:
36” Aquatic Life Hybrid w/2 Radion XR30 G4 Pros in the middle
2- Aqua Star Smatfarm G5 on the sides.
Need to finish cleaning it up... LEGO’s err plumbing arrived… of course I ordered a couple wrong sizes and not enough.. so that is next on the list.
It's in the house!
.
Equipment:
280 (72”x30”x30”) Gallon Acrylic
120 Gallon Acrylic Sump
Reef Octopus Classic 202-S Protein Skimmer
40-Watt UV Sterilizer
Flow:
For now, or till they die/too loud I’ll use what came with the tank(s) all in good condition.
2 - Jebao DCT 12000 Return pumps Max flow: 3170GPH; Max-head: 16.4 ft
Flow to play with…
2 - Jebao SOW (1057-5283gph) Wavemakers
Maxspect Gyre
Various Jebao Gyre’s/wavemakers to fill where needed
Lights:
36” Aquatic Life Hybrid w/2 Radion XR30 G4 Pros in the middle
2- Aqua Star Smatfarm G5 on the sides.
Need to finish cleaning it up... LEGO’s err plumbing arrived… of course I ordered a couple wrong sizes and not enough.. so that is next on the list.
 lost a bunch... plus the wife was none to happy, nor were the kitchen cabinets. So back to acrylic with its problems!