Rockets Reef 60 cube build (Lots O' DIY)

Rocket

New member
Joined
Aug 16, 2014
Messages
24
Likes
0
Points
0
Location
Van Nuys
#1
I'm a DIY kinda guy so I try and build whatever I know I can manage.... I have no previous experience with wood working, power tools, electrical work etc so I'm learning on the fly.


Shot of Canopy, need to add center braces but will figure that out when I have lights


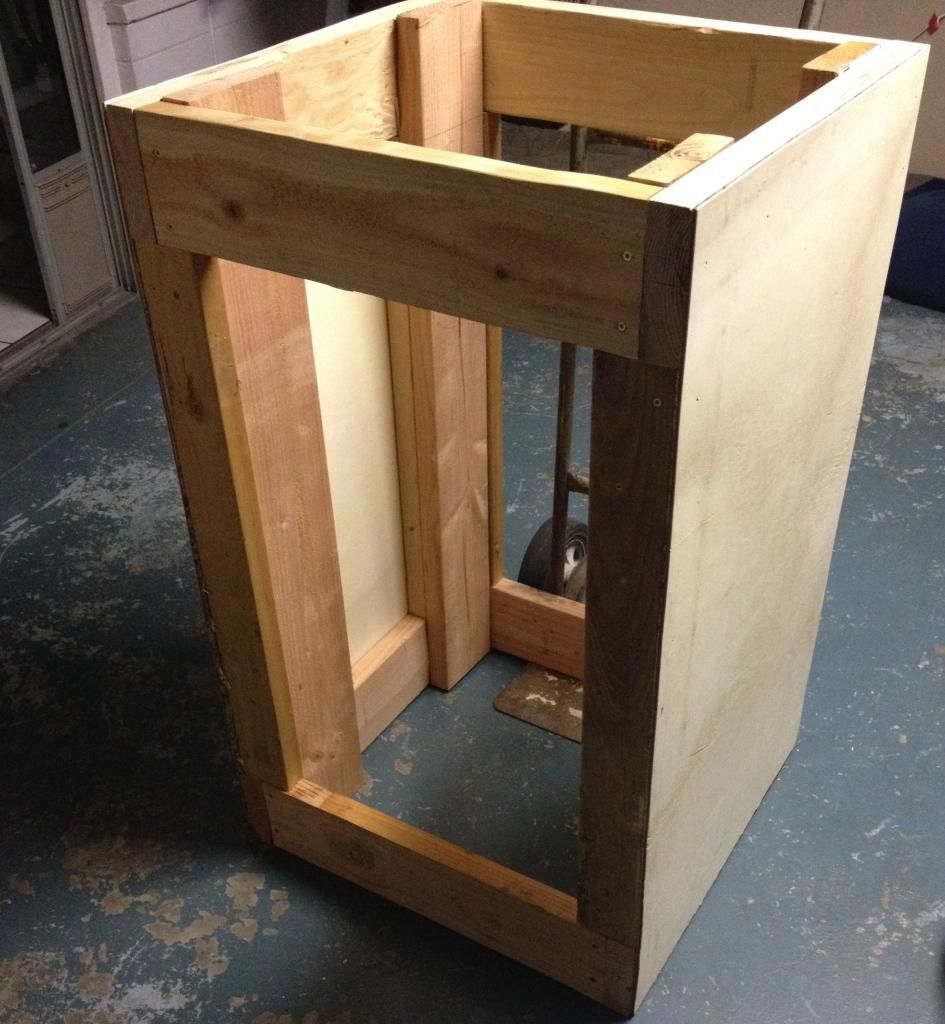
Overkill with the 2x6 framing, only 2x4s on front and back for slightly more access space, added 1/4 plywood onto sides.

Will post more as build progresses
 
Joined
Sep 9, 2013
Messages
4,628
Likes
32
Points
48
Location
Long Beach CA
#7
the lid looks interesting. one thing to consider:

with pine, it'll warp with difference in moisture, so the lid without any bracing may end up warping after the tank is running due to the evaporation moisture.

you may wanna consider a few bracing pieces to retain the shape it's at.
 

Rocket

New member
Joined
Aug 16, 2014
Messages
24
Likes
0
Points
0
Location
Van Nuys
#10
Just finished up first coat of kilz, couldn't decide weather to use kilz 2 or kilz original, went with original. Tomorrow will be fun, caulking the joints and another coat of kilz. Here's how she looks at the moment


Rocket

New member
Joined
Aug 16, 2014
Messages
24
Likes
0
Points
0
Location
Van Nuys
#11
While not a super amazing progress update, here's the stand with 2 coats and joints caulked, think I'm going to do 1 more coat.


JJsBoas

New member
Joined
Mar 9, 2013
Messages
108
Likes
1
Points
0
Location
Azusa
#12
Good solid looking stand!! Gotta love the overbuild with 2x6s. That cube ain't going nowhere. Also, I'm a big fan of caulking...it cleaned up my build a whole lot. Great work so far, can't wait to see more progress.
 

Rocket

New member
Joined
Aug 16, 2014
Messages
24
Likes
0
Points
0
Location
Van Nuys
#13
Third and final coat, didn't bother to take a picture as it looks the same as the one I posted yesterday. Should make some more progress Sunday, if time allows!
 

Rocket

New member
Joined
Aug 16, 2014
Messages
24
Likes
0
Points
0
Location
Van Nuys
#15
Got to start skinning the stand, using shower board to skin for the gloss and easy clean up.


Almost done with the skin of the stand, just need to cut the front piece to allow access inside but also need to come up with a way to display the refugium I plan on having while child proofing it. My idea is to do something like...


Black square in middle being a door on hinge of some sort? Not really sure how I'm going to do this so any feedback would be appreciated.
 

Rocket

New member
Joined
Aug 16, 2014
Messages
24
Likes
0
Points
0
Location
Van Nuys
#17
Finished skinning the front, no picture of it ATM as it's laying face down so glue has pressure applied. Will begin the trim work shortly to cover my unsightly bad cuts!
 
Top