Smite's Stout CDA - 205G
- Thread starter Smite
- Start date


Haha pretty much! Man that thing was heavy but it went pretty smooth. I didn’t think about them painting 2 sides screwing me on using suction cups.
this things gonna be sweet, I can’t wait. I’m dreaming about redoing the fireplace mantle to something that doesn’t have that huge ledge. Maybe get a carpenter out here and tie it all together with the stand.
this things gonna be sweet, I can’t wait. I’m dreaming about redoing the fireplace mantle to something that doesn’t have that huge ledge. Maybe get a carpenter out here and tie it all together with the stand.
Sent from my iPhone using Tapatalk
Did the delivery guy have equipment and help out?
Sent from my iPhone using Tapatalk
Sent from my iPhone using Tapatalk
I had a buddy and my brother drop by and we got it done. Those suction cups make me nervous as hell though. First thing I did was stick them on and pump them up. Then got to unwrapping the stand and moving it around the house and in position. By the time I got back, 30 minutes, a few of those were showing the red warning line, and looking from inside out it was clear they were losing suction as all the cups didn't have the same amount of contact.. It was a good test and showed me which ones were working properly.
That looks awesome! I think you need a nice blue squamosa right in front.
My game plan is to have my gigantea on an island in the front corner. Everyone enjoys the action of clowns in a anemone and I think the flowy movement right up front would be pretty cool with the acro backdrop. Hopefully it works out that way, but that's my thought!
That would be sweet! I've wanted a clam for a while but I also really want a cbb or some type of butterfly.
My game plan is to have my gigantea on an island in the front corner. Everyone enjoys the action of clowns in a anemone and I think the flowy movement right up front would be pretty cool with the acro backdrop. Hopefully it works out that way, but that's my thought!
My game plan is to have my gigantea on an island in the front corner. Everyone enjoys the action of clowns in a anemone and I think the flowy movement right up front would be pretty cool with the acro backdrop. Hopefully it works out that way, but that's my thought!
Man there is a definite difference i quality and usability between 80/20 hardware manufacturers. I used some Amazon stuff since it was all simple enough but man did that add some time to what should have been a very simple project.
this is the frame for the floating canopy. I have an idea for the skin to still be removable amd hang from this with magnets. It’s actually more rigid than I thought it would be with the series used. The metal halides will be mounted directly to the center rails. The kessils will be mounted front and back of each reflector off the same rail. I plan to use some scrap rail pieces to extend them to the same height as bottom of reflector. Reflectors are 8” deep, this section will be 14” and I’m hoping that will help with light spillage.
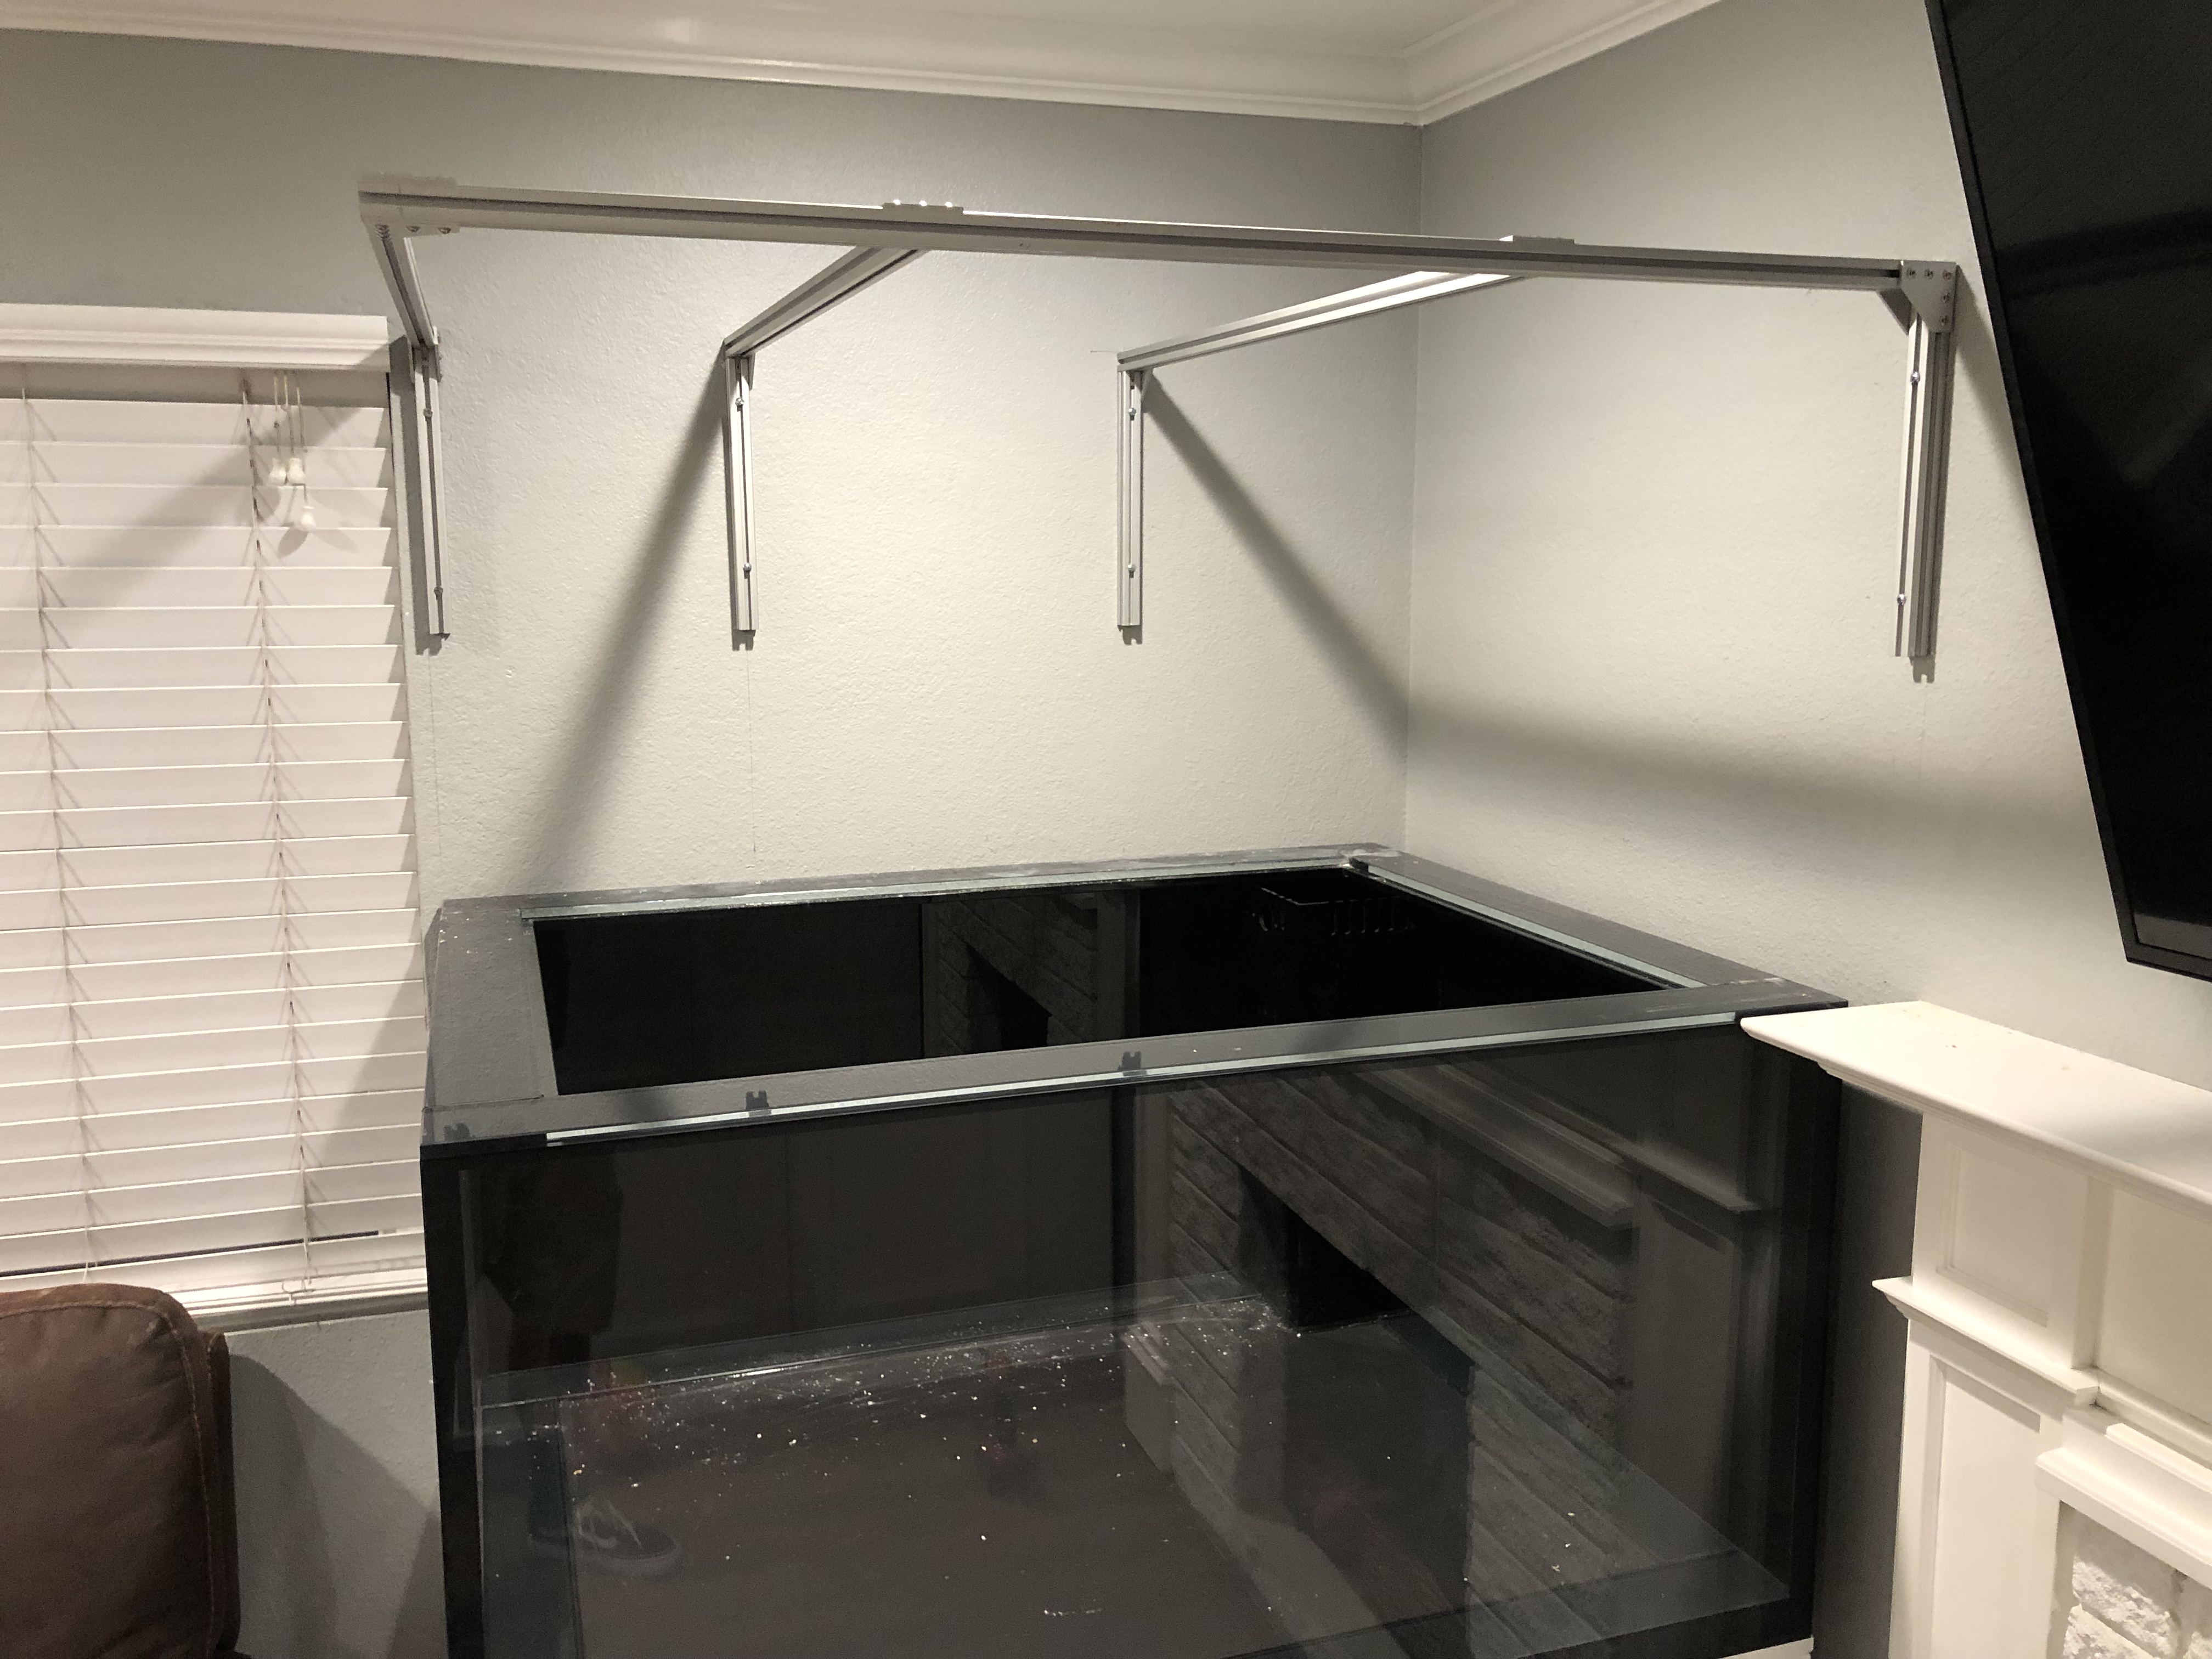
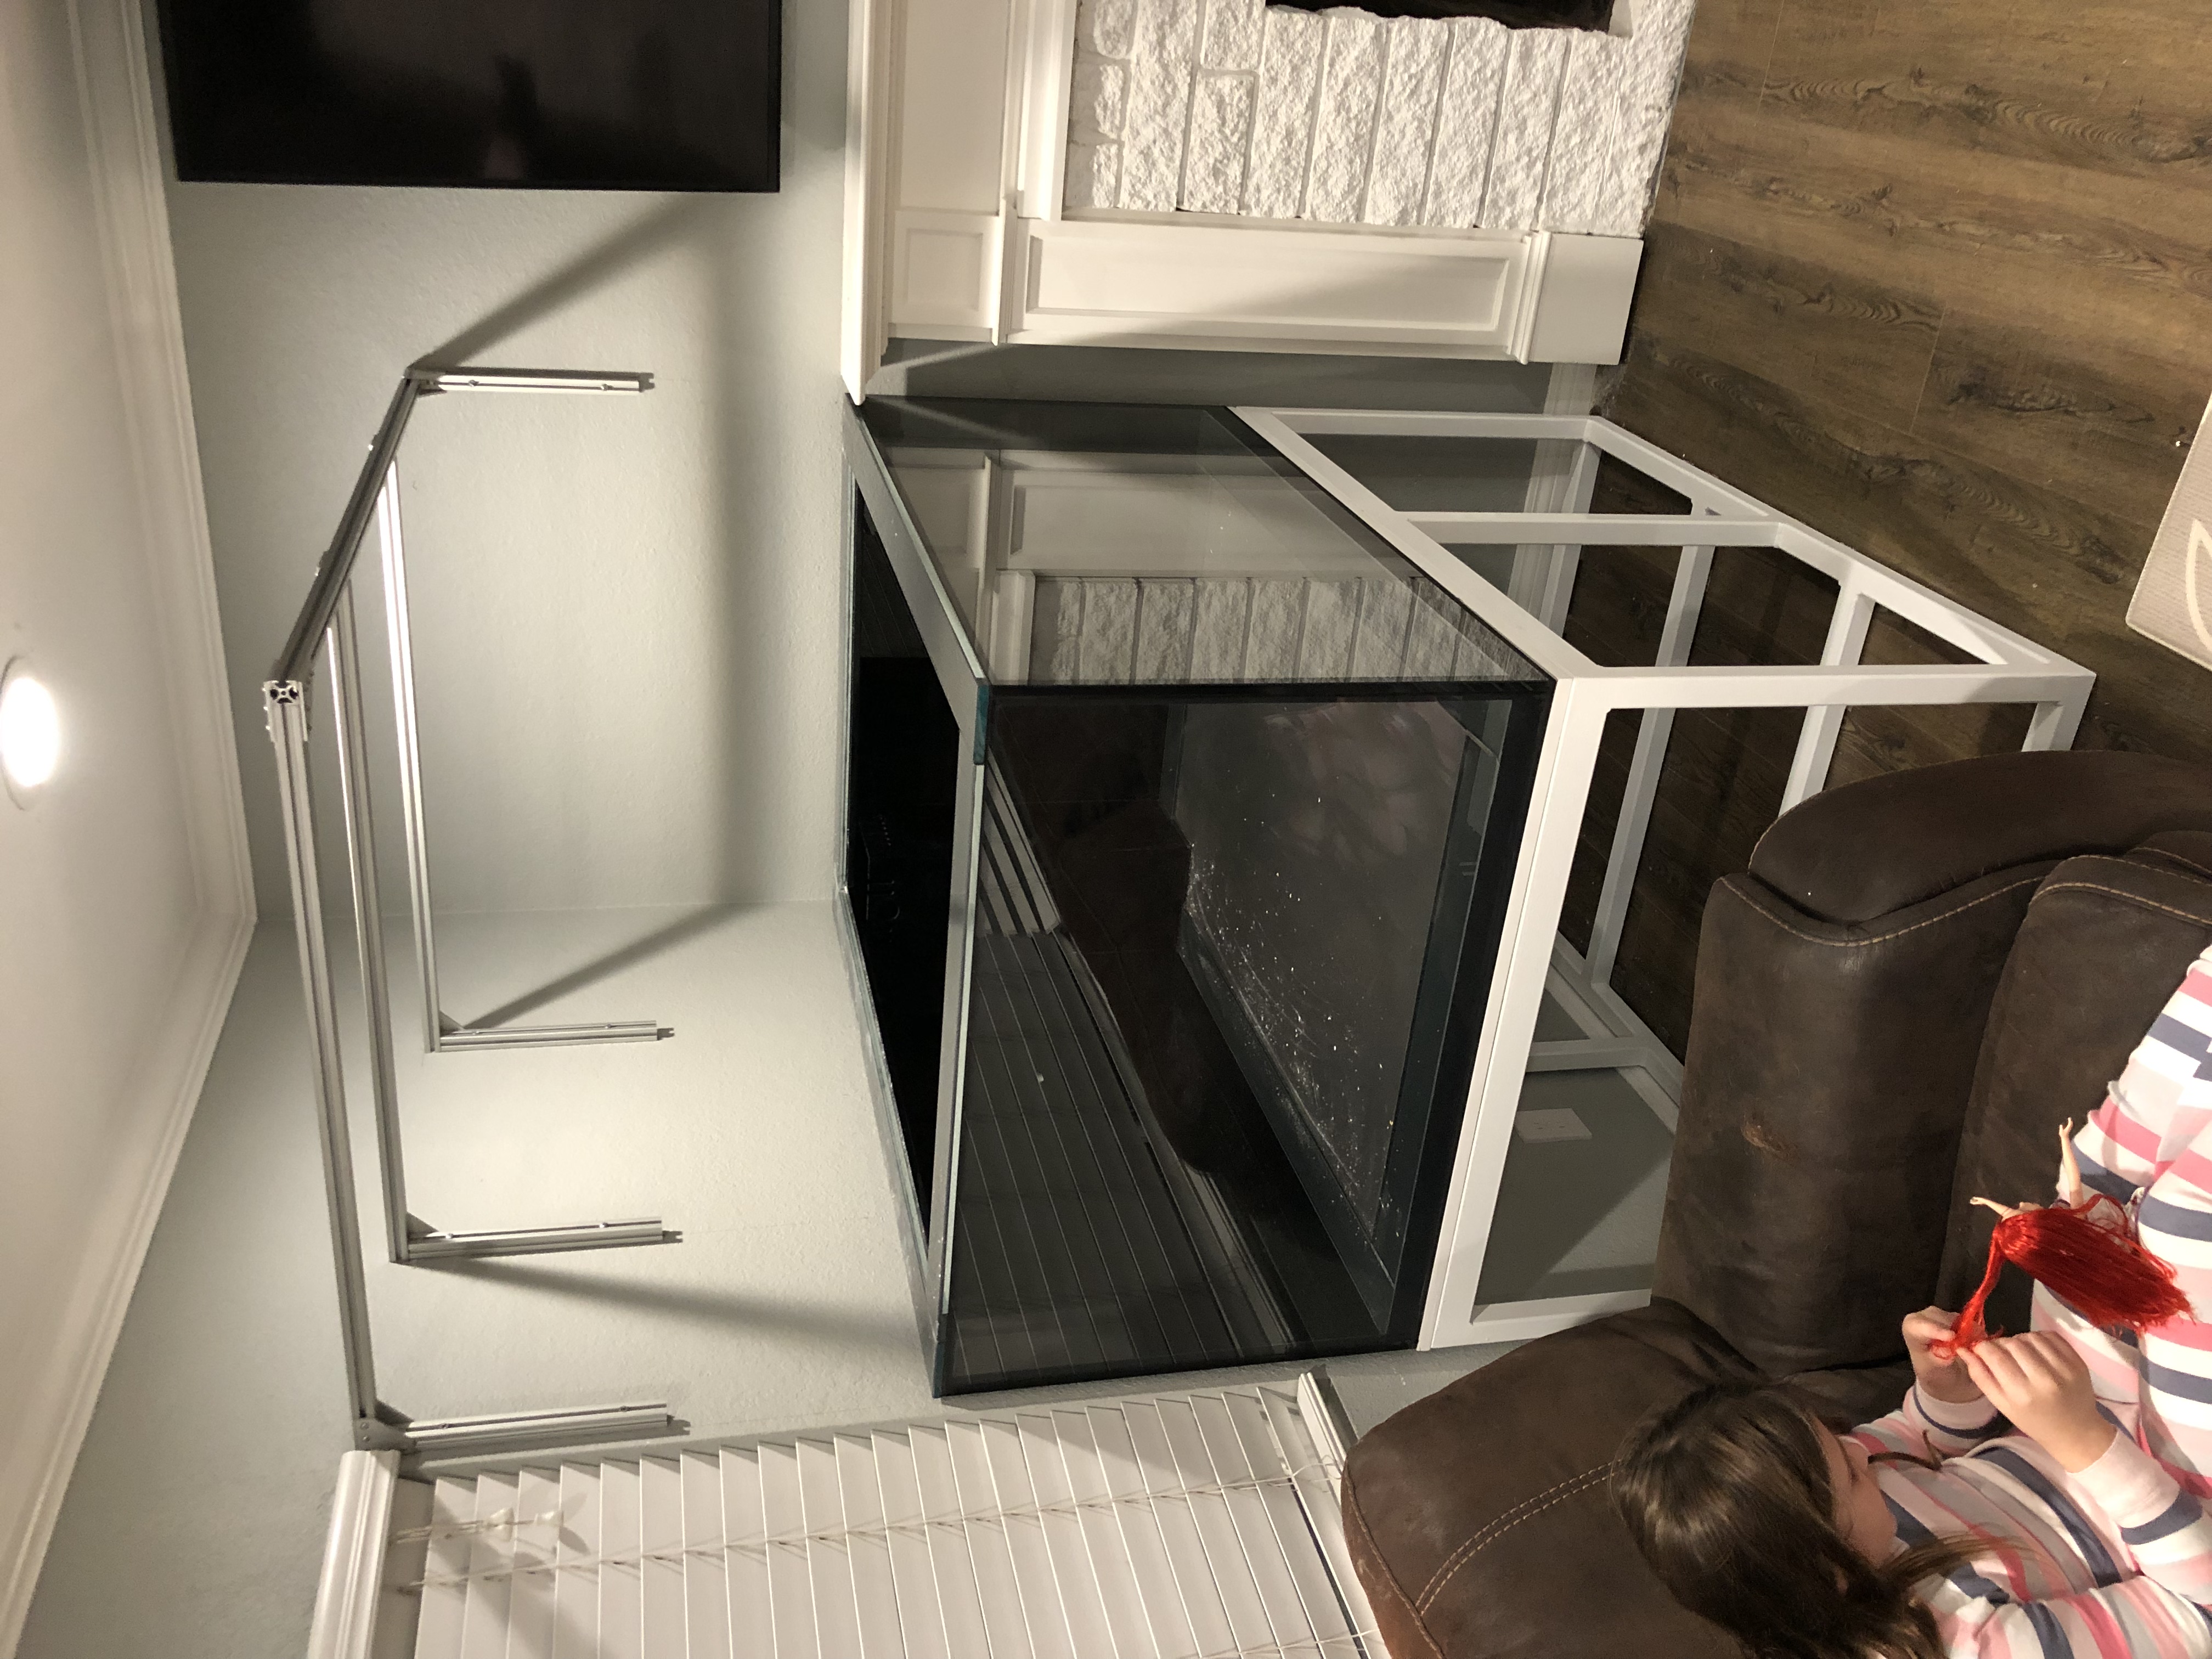
It looks a little odd with not skin but I wanted as much access as possible if need be. I think I’ll be good with all viewable panels not having supports in the way
this is the frame for the floating canopy. I have an idea for the skin to still be removable amd hang from this with magnets. It’s actually more rigid than I thought it would be with the series used. The metal halides will be mounted directly to the center rails. The kessils will be mounted front and back of each reflector off the same rail. I plan to use some scrap rail pieces to extend them to the same height as bottom of reflector. Reflectors are 8” deep, this section will be 14” and I’m hoping that will help with light spillage.
It looks a little odd with not skin but I wanted as much access as possible if need be. I think I’ll be good with all viewable panels not having supports in the way
Hoping I didn't screw the pooch here with this stand orientation. I was getting an idea of how I'll strap my plumbing and when I crawled under to measure clearance for the tubing it was 2", wierd because I thought the thing was 1.5" tubing. Well the side I have on the floor is 1.5x1.5" tubing, the upward facing side that the tank is sitting on is 1.5x2"? I'm hoping I got lucky cause, goddamn would that suck!
I sent and email off. But what do you think, would the taller walled section be for less deflection and meant to be against the tank? Or is that how they build them if I was going to add adjustable feet? It seems weird to me, why one would need a taller tubing than the other?
I sent and email off. But what do you think, would the taller walled section be for less deflection and meant to be against the tank? Or is that how they build them if I was going to add adjustable feet? It seems weird to me, why one would need a taller tubing than the other?
Well I got lucky. 1.5x2 towards the tank.
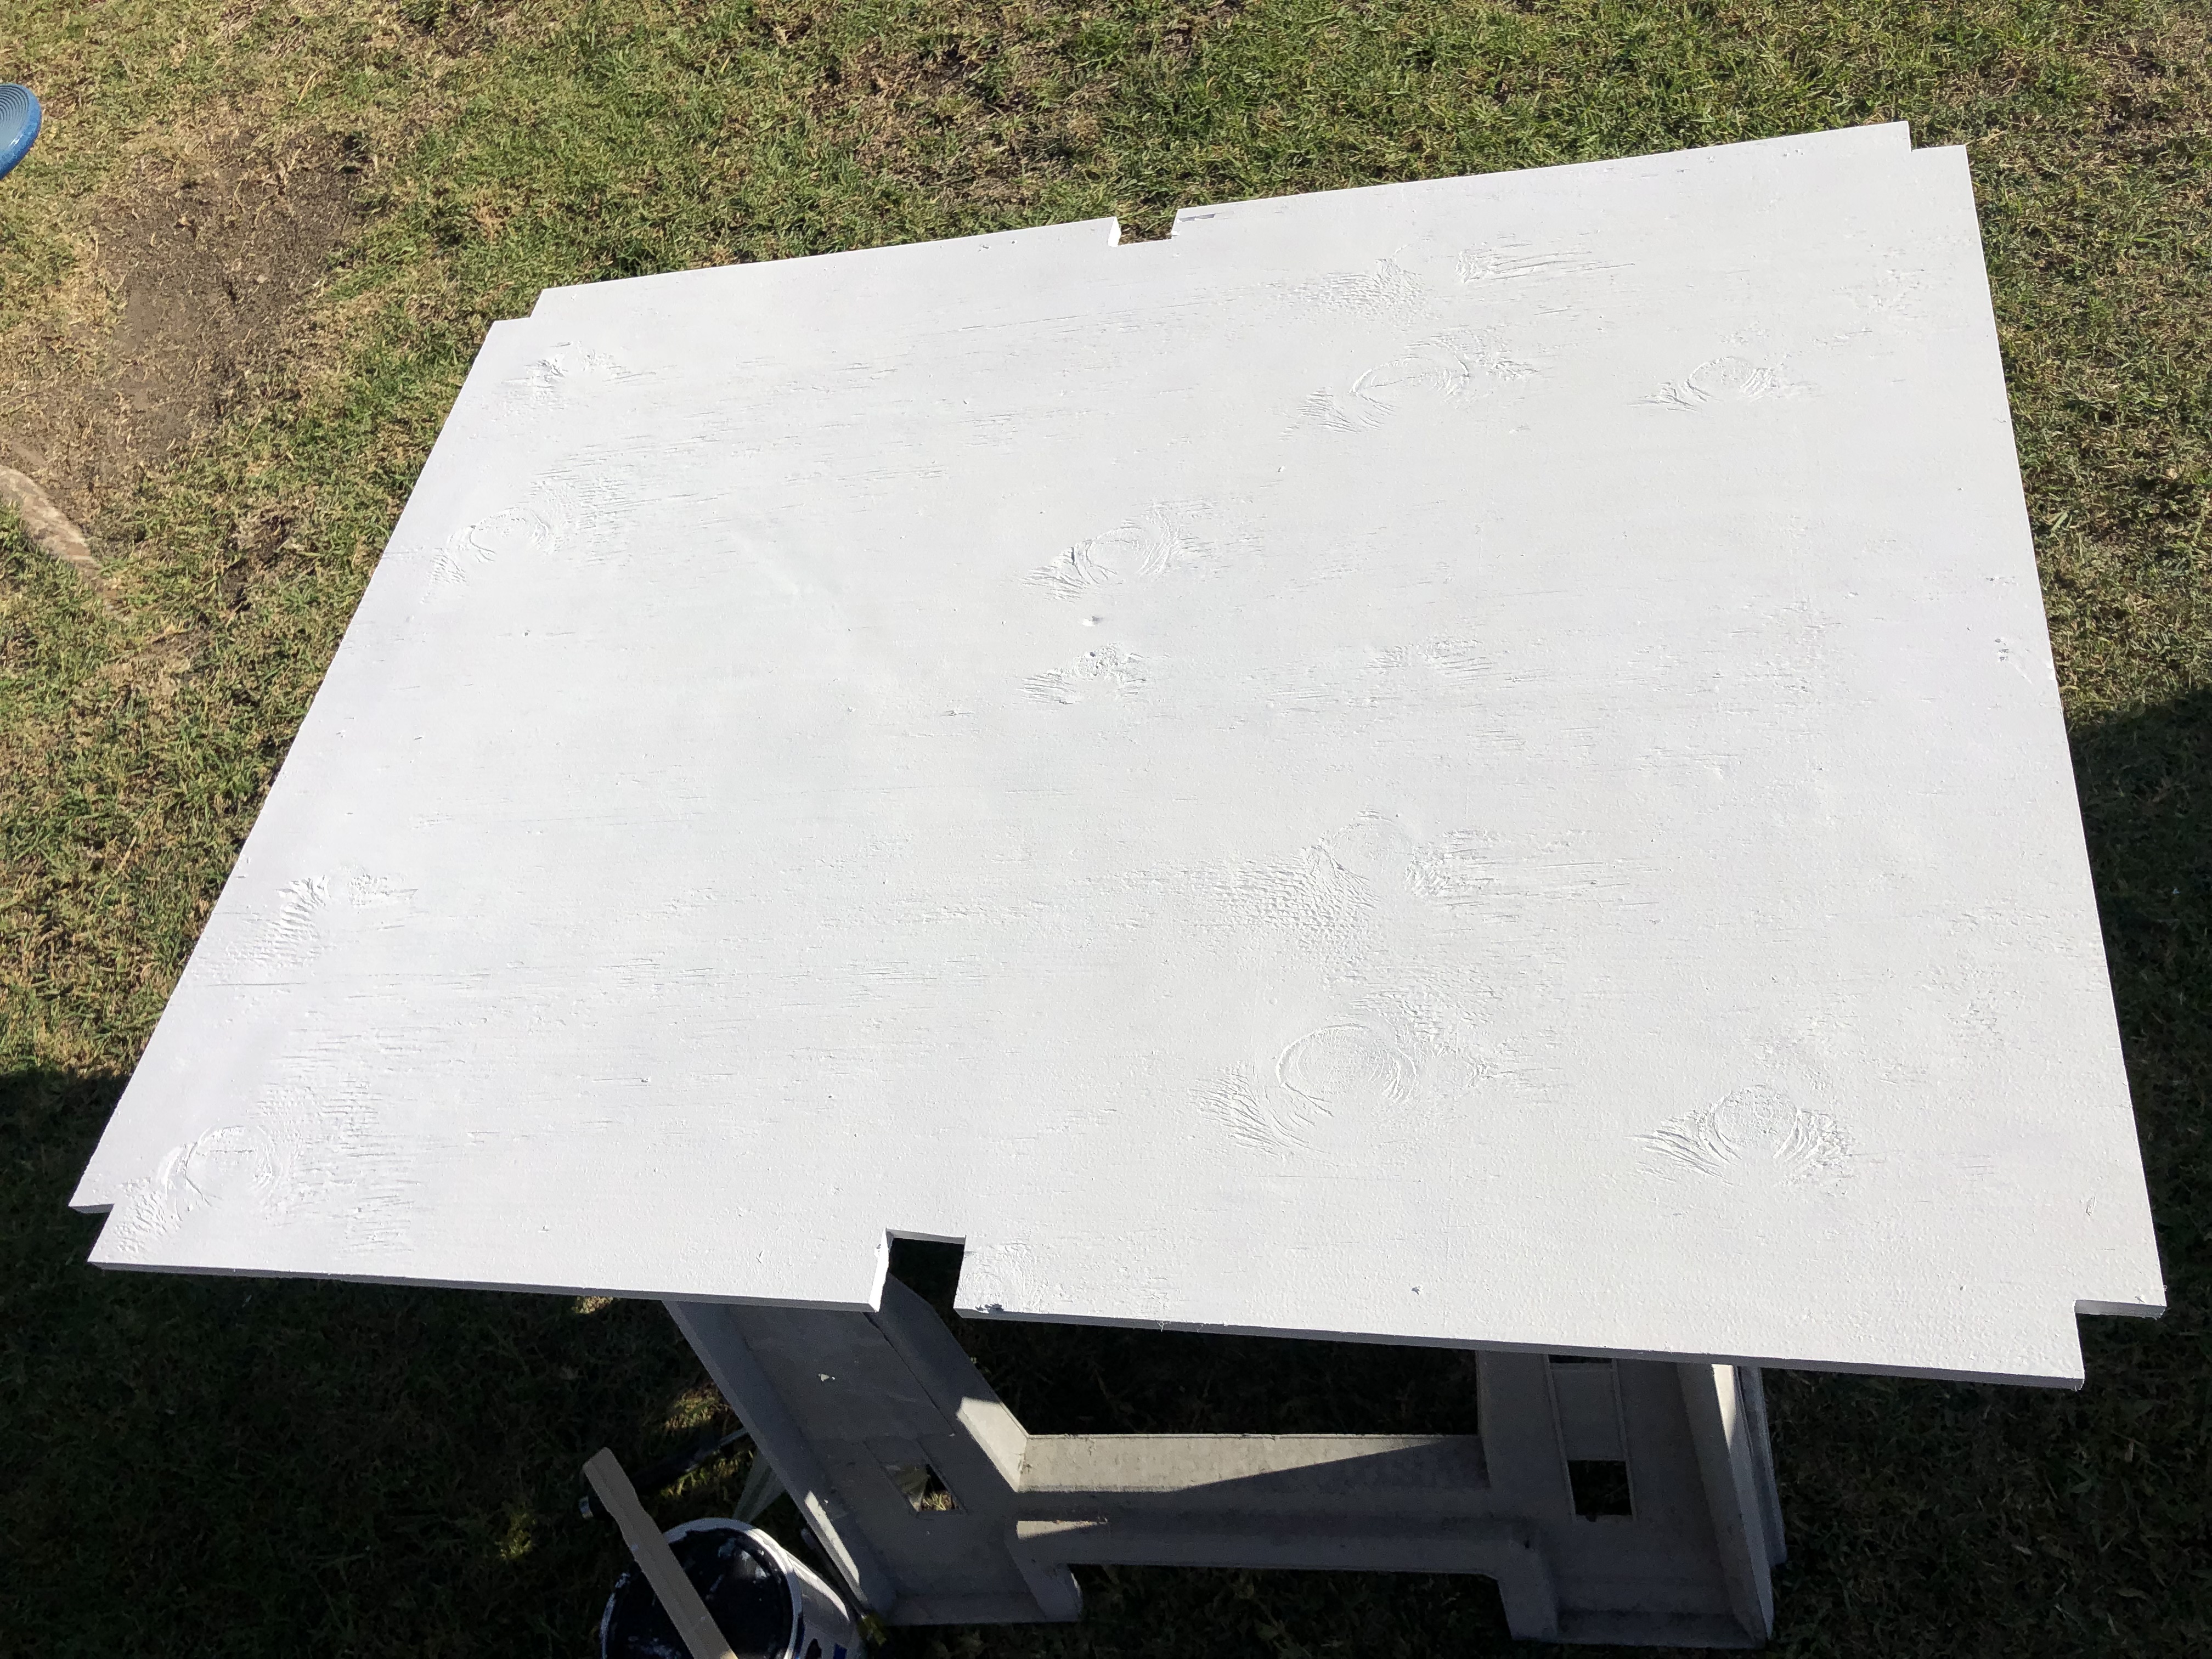
I didn’t get a sump insert but the pallet from the tank had a decent piece of plywood for a topper.
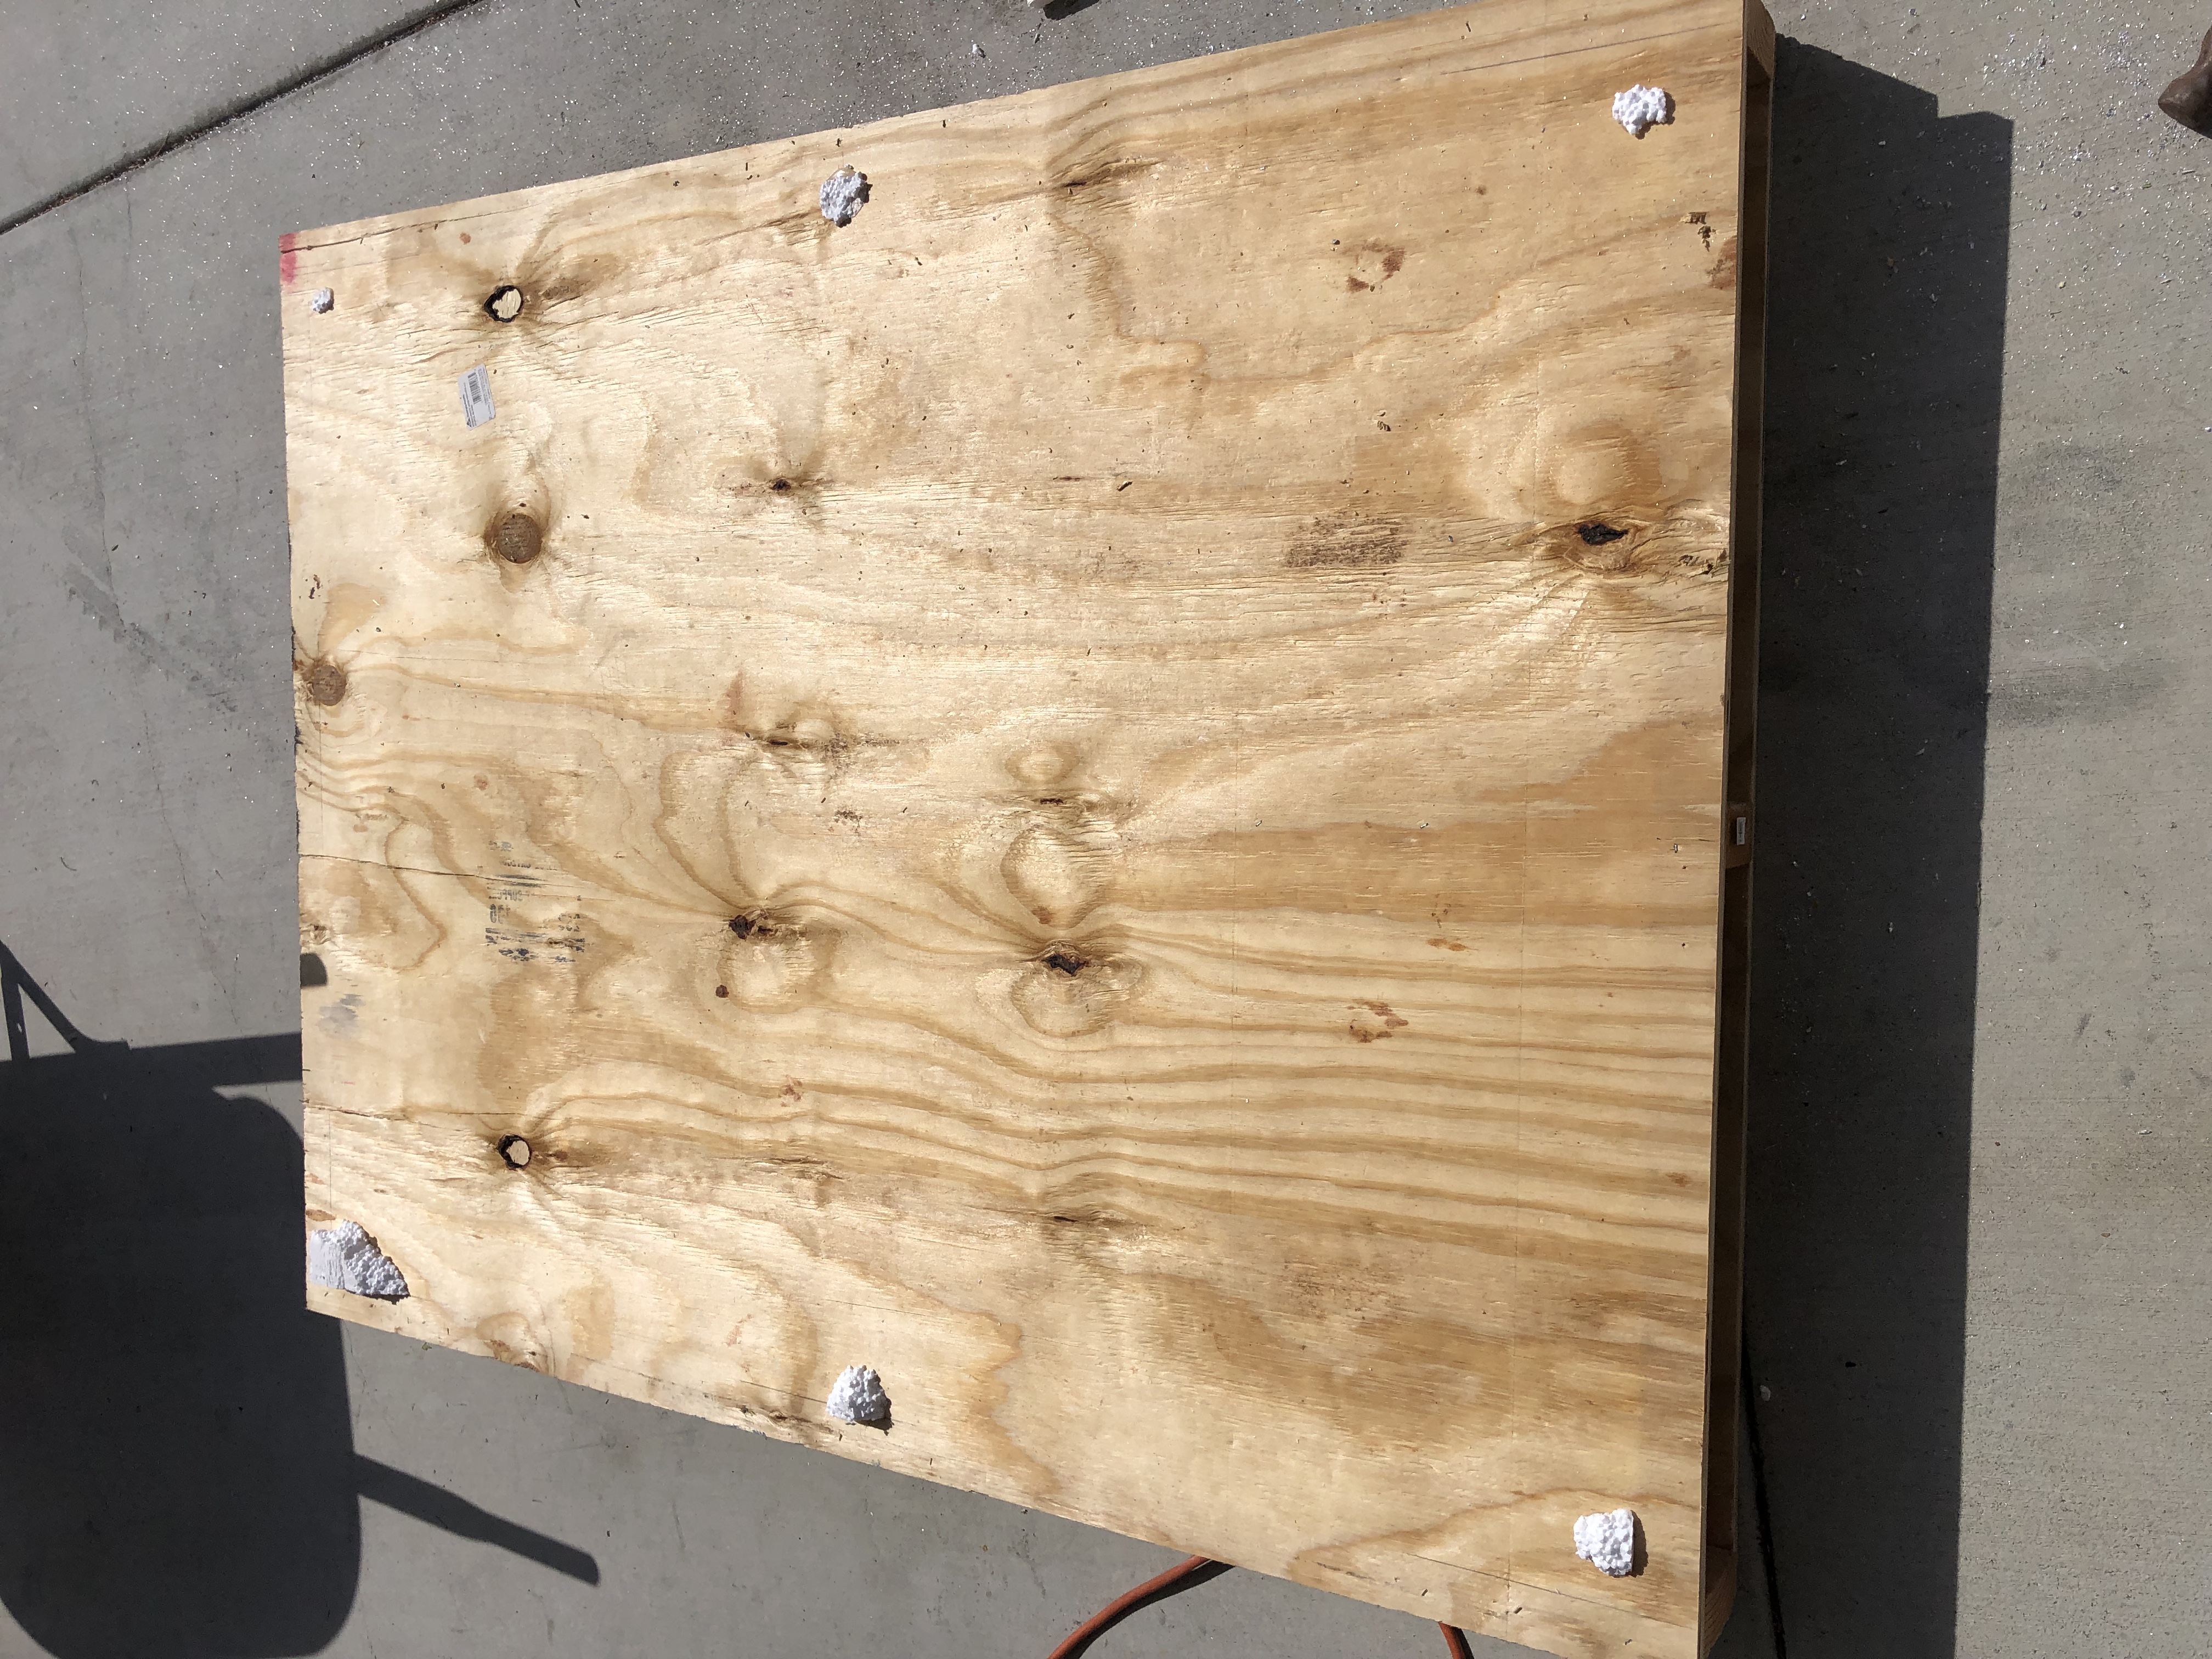
2 coats of kills and 2 coats of spray paint
I’m going to put weather stripping between this and the stand rails to remove vibration incase I do place the sump under the tank.
I didn’t get a sump insert but the pallet from the tank had a decent piece of plywood for a topper.
2 coats of kills and 2 coats of spray paint
I’m going to put weather stripping between this and the stand rails to remove vibration incase I do place the sump under the tank.
I couldn't fit the 52" so I bumped 2" out the front ") Love the look of your tank and can't wait to play with the deep dimensions. I've always had 24" width tanks so that's the dimension I'm most excited to work with.
Love the look of your tank and can't wait to play with the deep dimensions. I've always had 24" width tanks so that's the dimension I'm most excited to work with.
Love the look of your tank and can't wait to play with the deep dimensions. I've always had 24" width tanks so that's the dimension I'm most excited to work with.