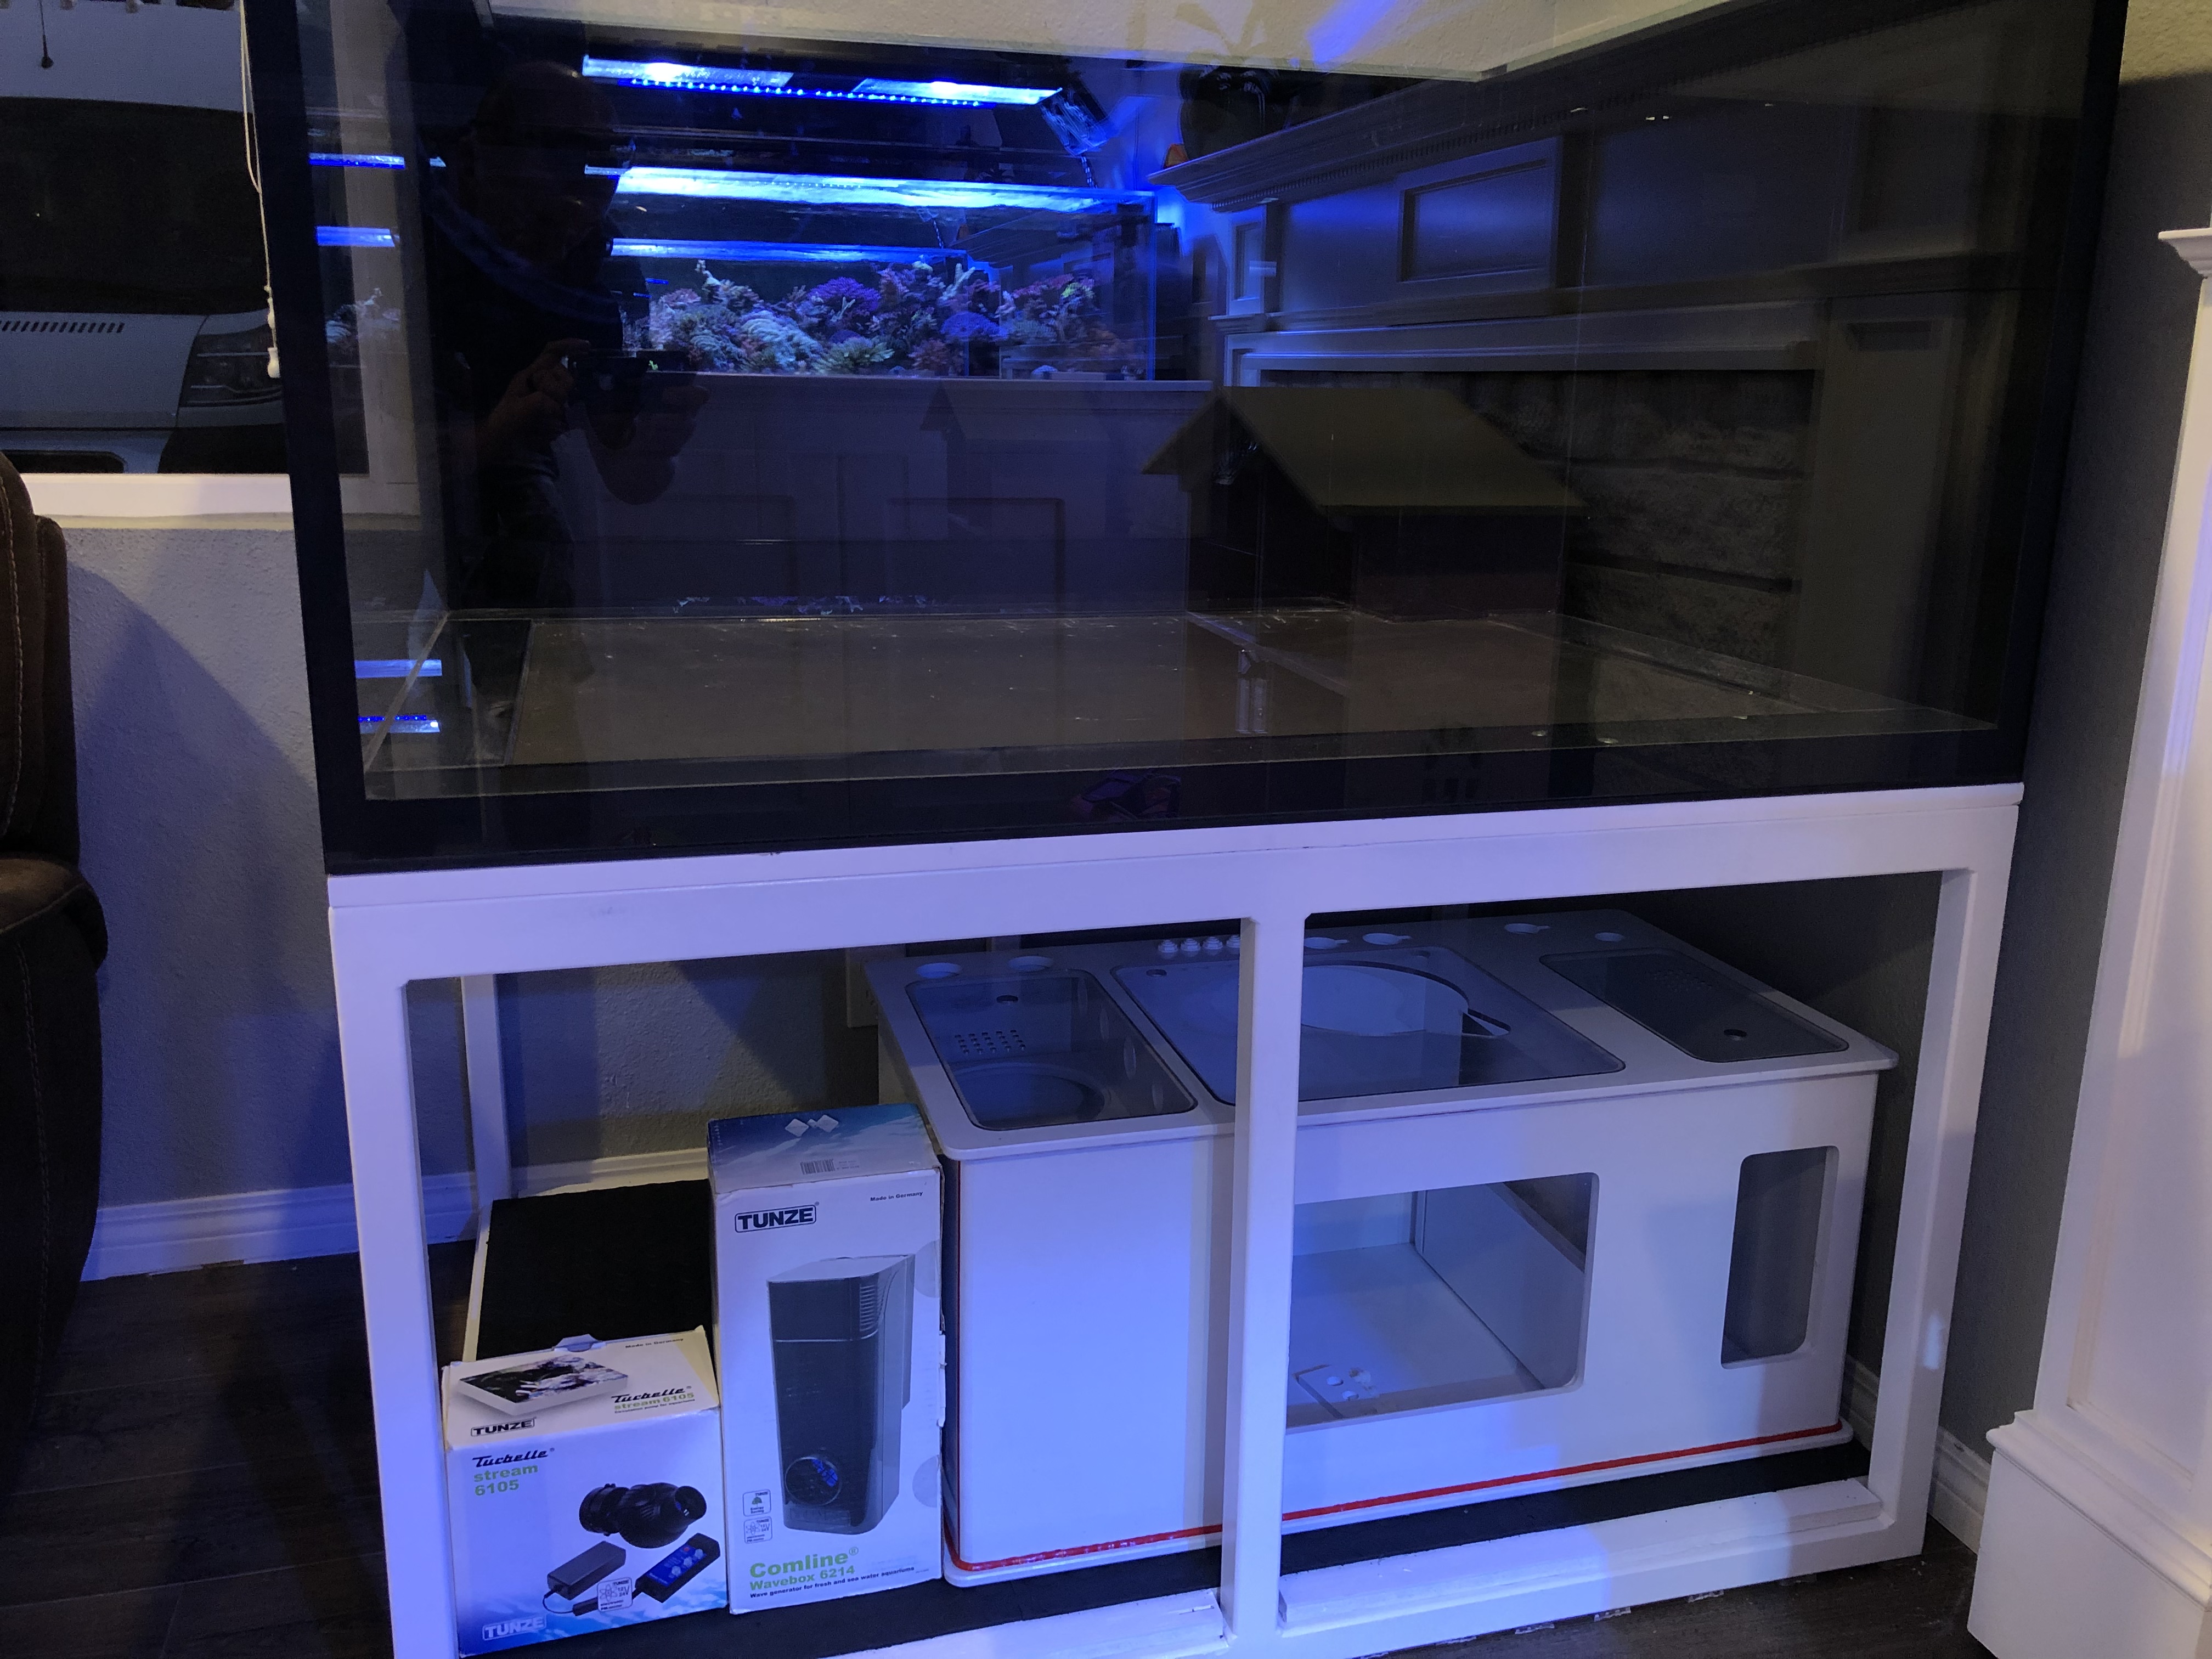
Deciding, inside or outside still. I'm starting to lean to keeping it inside. I put some felt pad between the plywood and the stand and cut a gym mat to fit inside. I'm thinking it'd be pretty quiet this way. Not sure if that's the direction I'll run the sump or not.
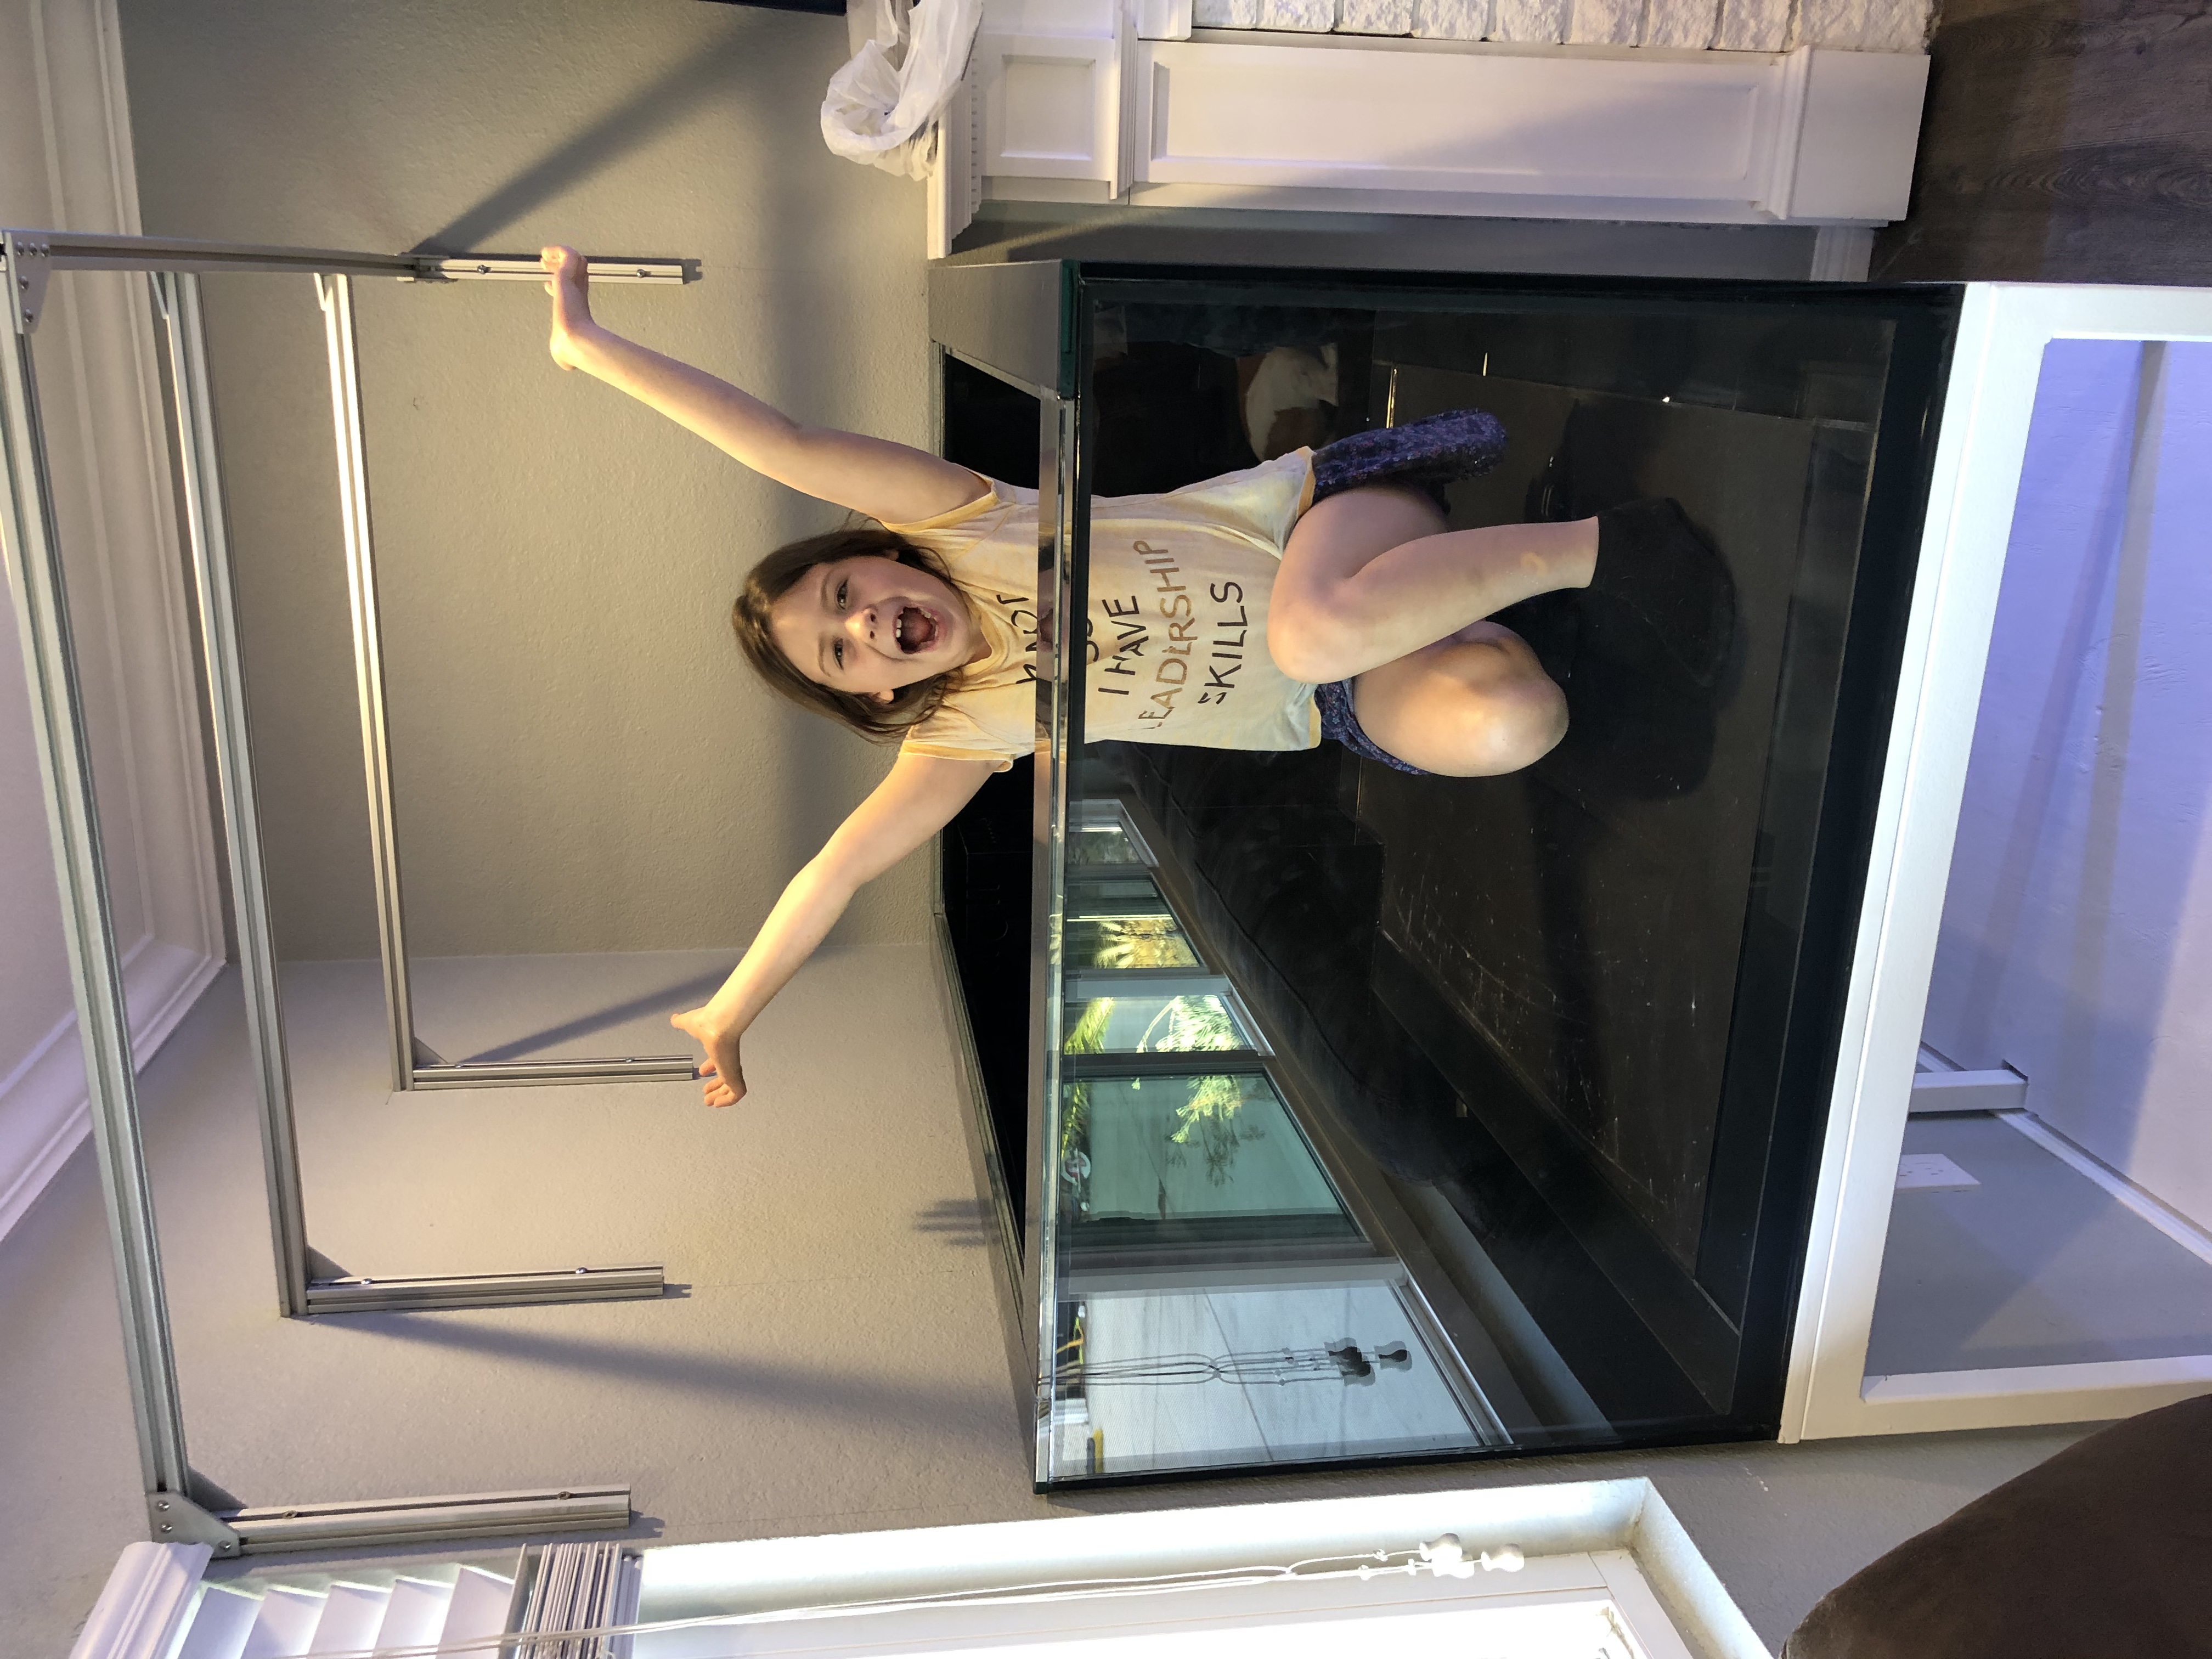
 I let her get inside my 180 when she was 4. Second she saw this, "I get to go in it right?!"
Smite's Stout CDA - 205G
- Thread starter Smite
- Start date
This flex pvc made life pretty easy. I did have to use red hot for it to make a secure bond. I’ll be adding a hanger bracket for strapping the pipes
View attachment 92522
Matt,
Thanks for putting together the awesome frag pack. New tank is a beast. Folks, got to see his amazing SPS and Acro garden! This dudes reefing skills are A+. A tank full of large happy SPS colonies and mesenterial filaments flowing everywhere. Inspiring for us not there yet reefers. Needless to say, buy with confidence.
Cheers, M.

")
I messed around with different ideas for making the canopy easily accessible. The best solution I could come up with was a few brackets but that would involve screws, a step stool and then still removing the whole front skin of the canopy for access. Where I planned to have an open section, floating style canopy, wasn't panning out either. I'd have to go so low that i would just have a little more than feed access for the most part.
So, I'm scraping that plan altogether. Which sucks, I'll be saving the MH incase I ever get a chance or idea of how to better use them. I've pulled it all down and have started patching the walls. A reef buddy is bringing over an older power module, 10x54w that I'll be buying and using on this tank now. That fixture is 21" wide and will give me the coverage I want. Down the road I'll add some supplemental LED strips, XHO probably, front and back.
I ordered some bulbs to play around with.
4 blue plus ATI
2 True Actinic ATI
2 Tropic 6500k Giesemann
2 Giesemann Aquablue Azure 15000k
I want a whiter spectrum, I feel the Blue+ give off too much of a tint to the water, giving that windex look. If it's too white, I'll be swapping the azure for B+ or P+ lamps.
The order I think will work well front to back once I add LED supp:
XHO/oprhek
b+
true actinic
6500k
azure
b+
b+
azure
6500
true actinic
b+
XHO/orphek
I'll be hanging this light so I can move it up to get access to the tank. That will be my biggest challenge while working in this system and I want to make sure it's as easy as possible. I've ran t5 8x54w on a past 100g. While it isn't my preferred MH, I think it will still do very well for what I want with this tank.
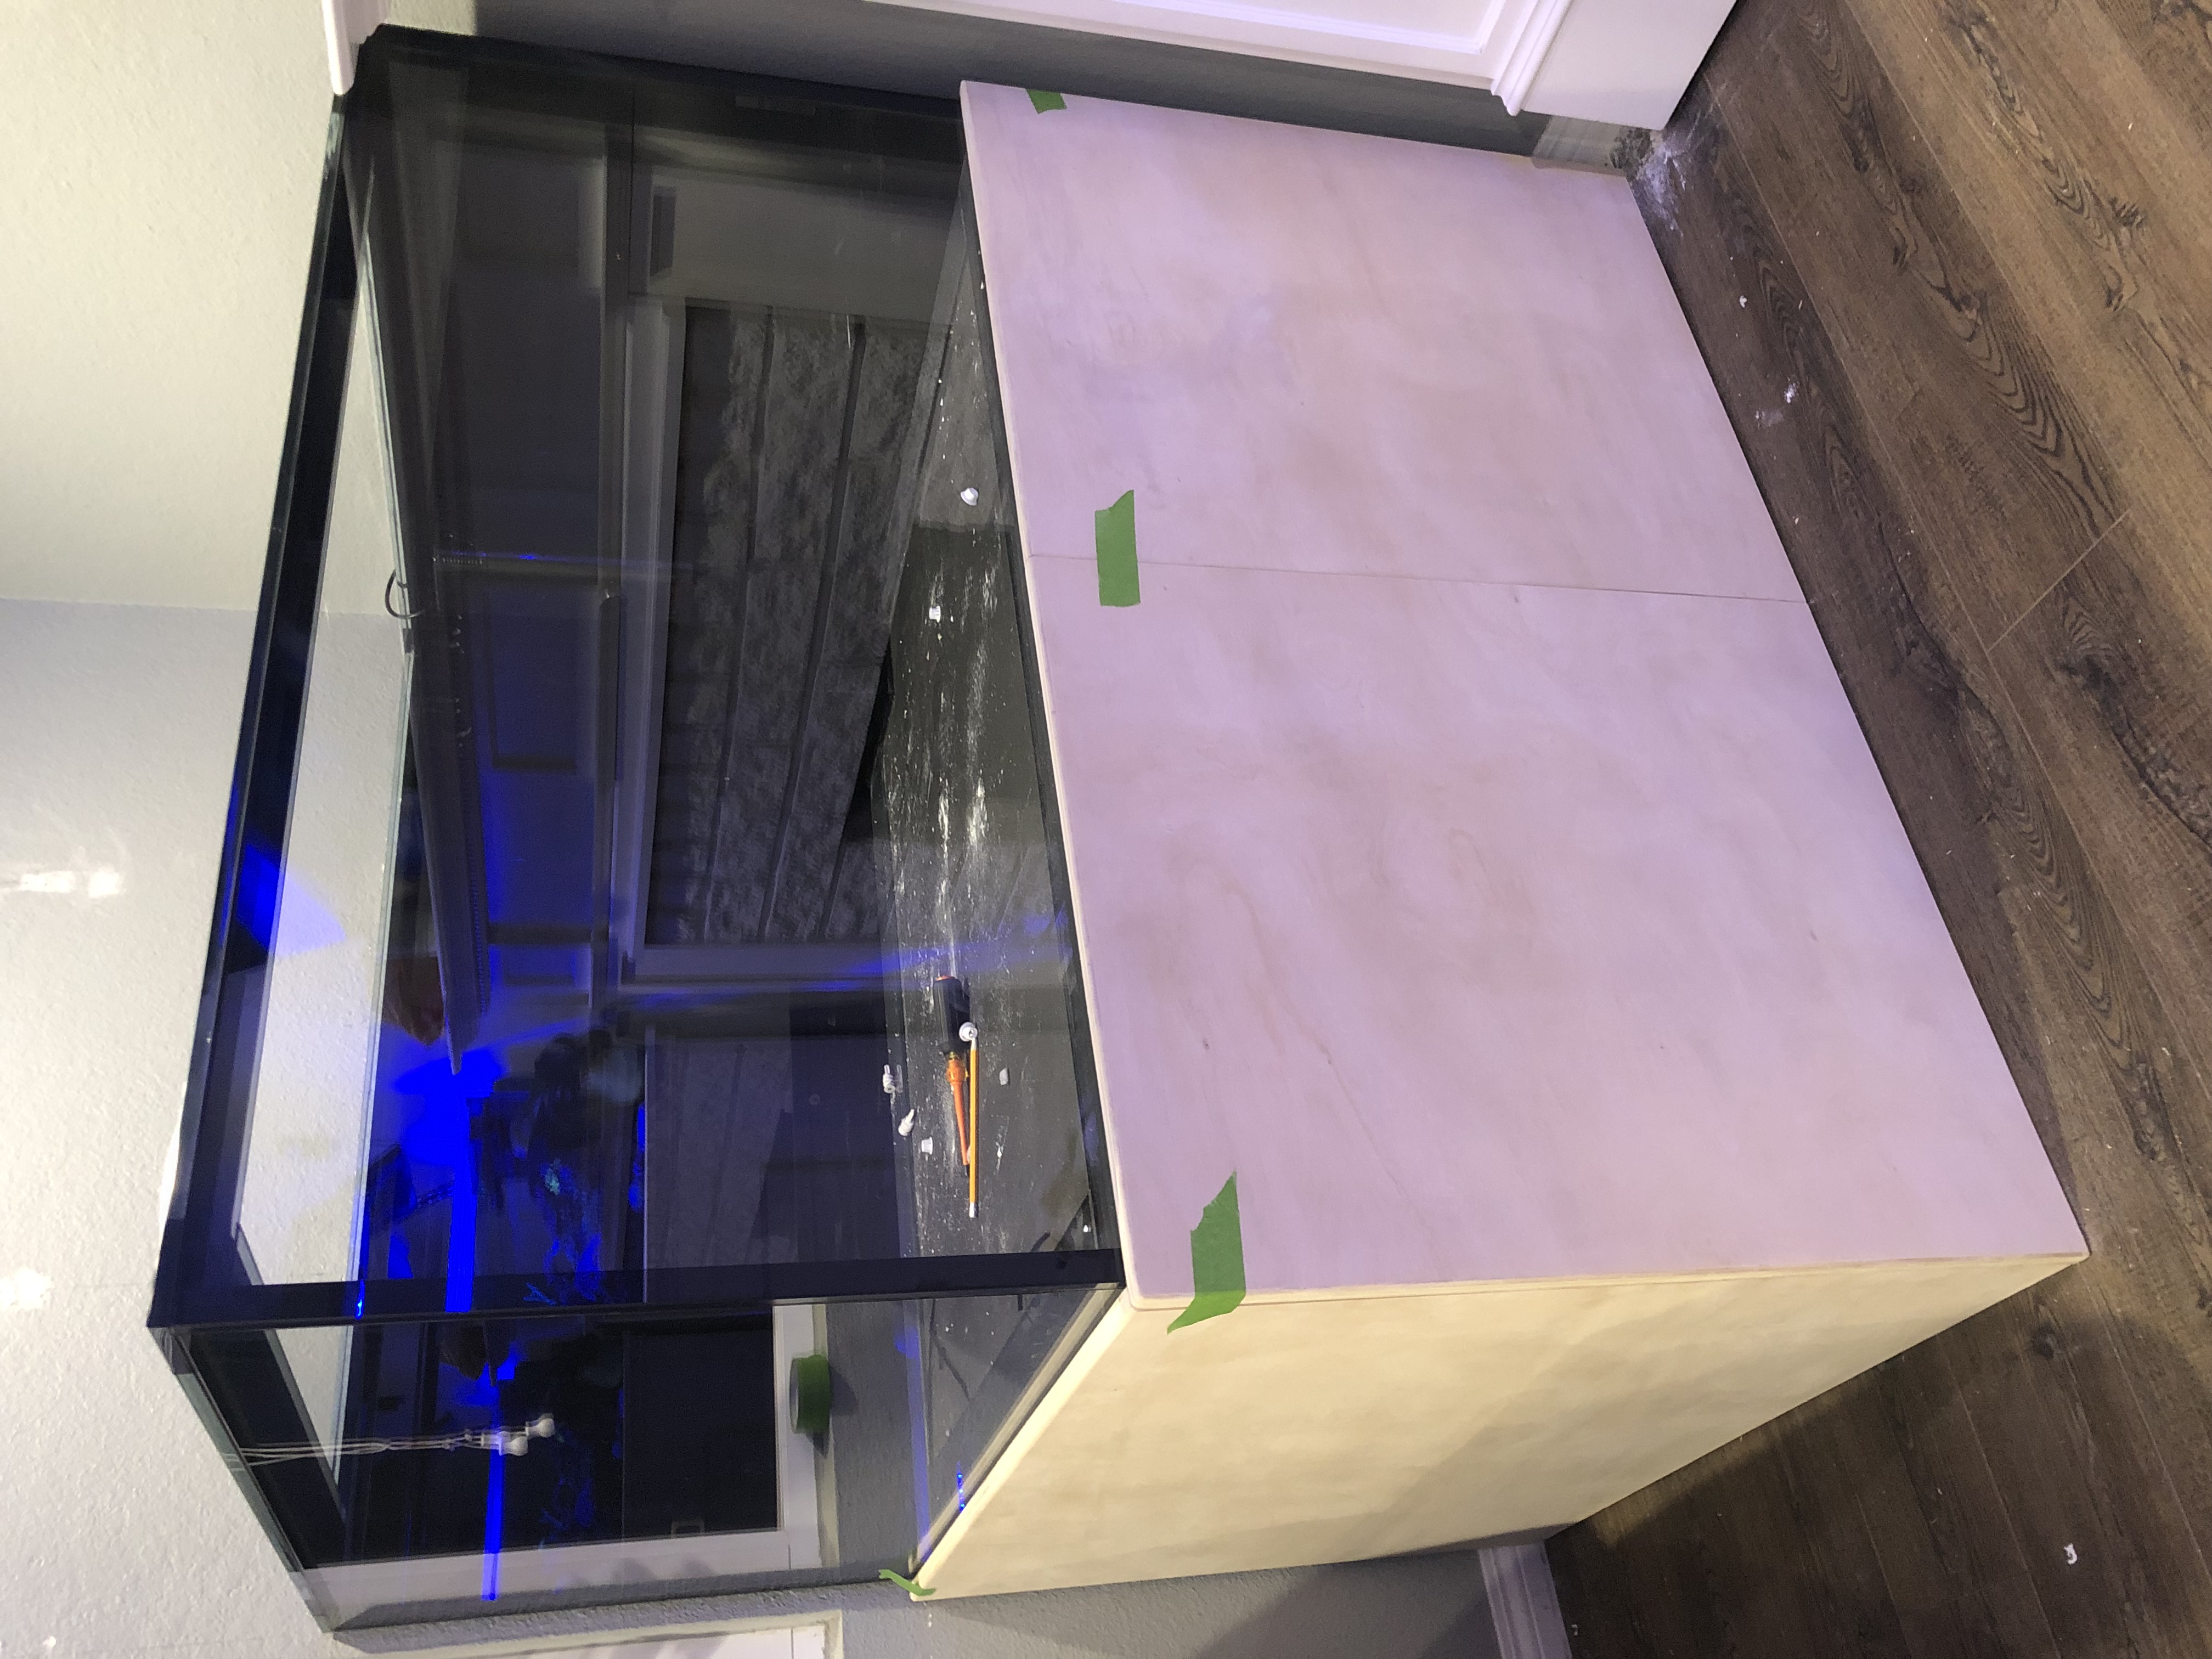
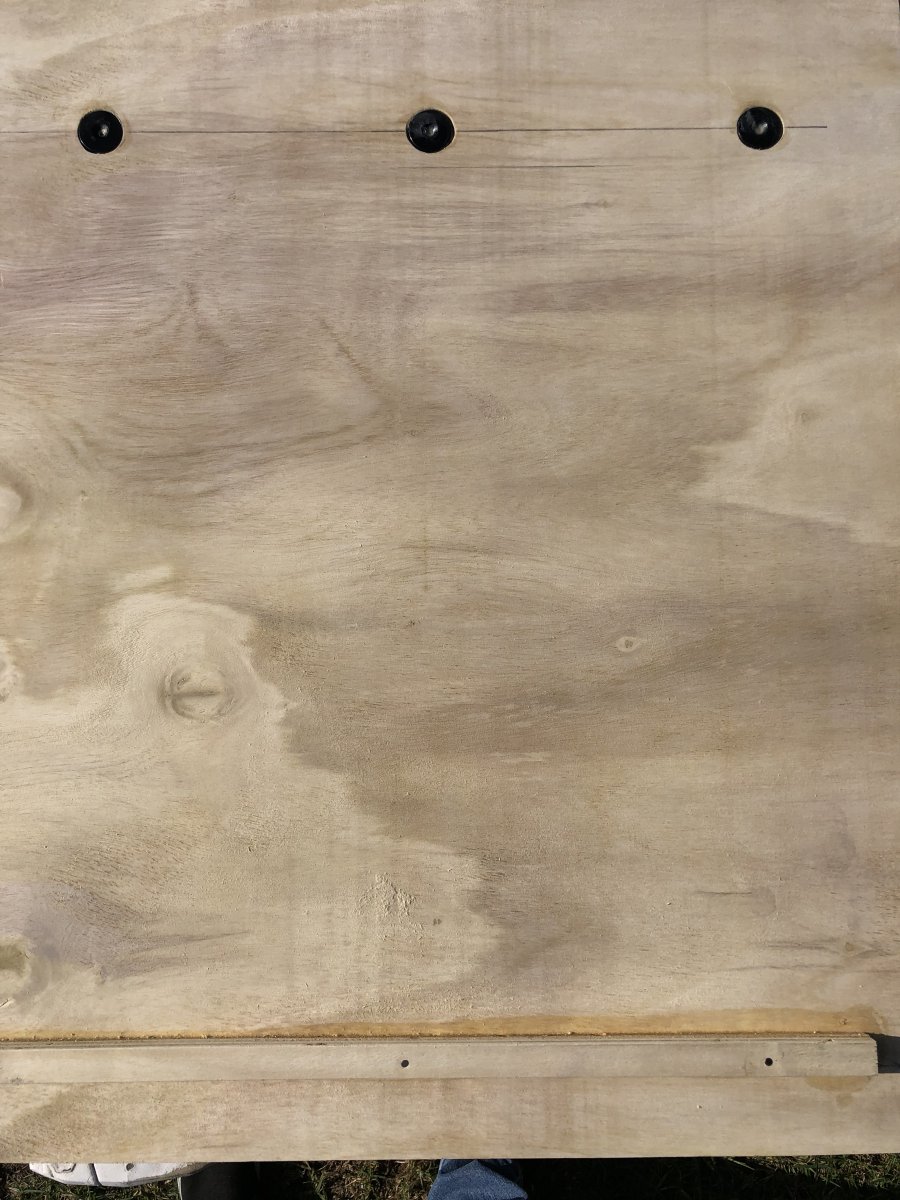
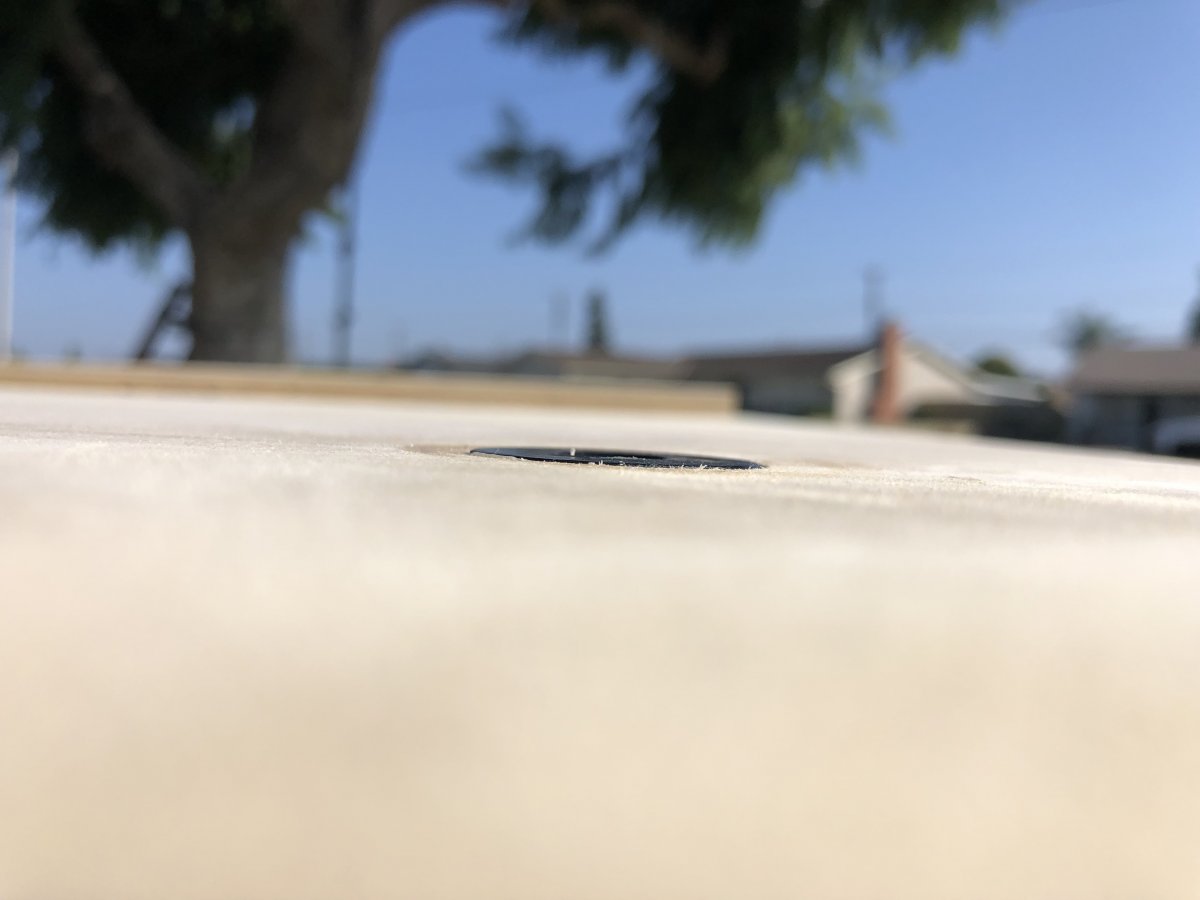
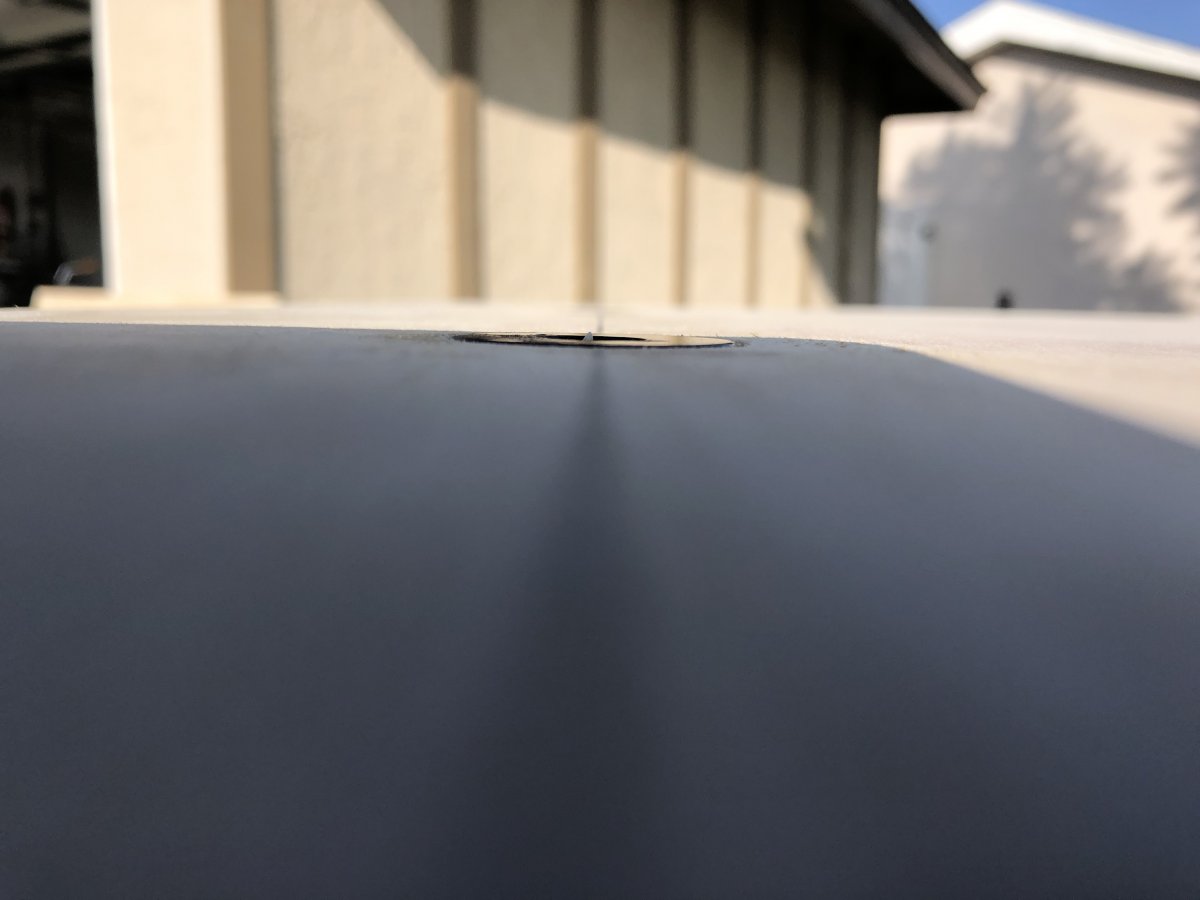
I’m keeping the stand simple and low profile. I’ve mounted a bottom ledge from scrap plywood. That will rest and keep my height correct. I also cut it tight to keep it centered between the stand supports. I’m going to counter sink high strength magnets in the panels. I’m considering using Formica on the inside to hide the magnets and help keep moisture out of the wood.
No sump shed? Damn, I need to learn from others and borrow their tools. Haha.
But seriously, your sump is too nice to hide in a shed though.
You consider LED? Would be less glare and light spill.
But seriously, your sump is too nice to hide in a shed though.
You consider LED? Would be less glare and light spill.
LED are great but I feel I’d need 2 rows to really get the coverage I want on this tank and that’d be pretty costly. I know most units would spread the 38” but I get hung up on the footprint of the light and sps growth/shadowing.
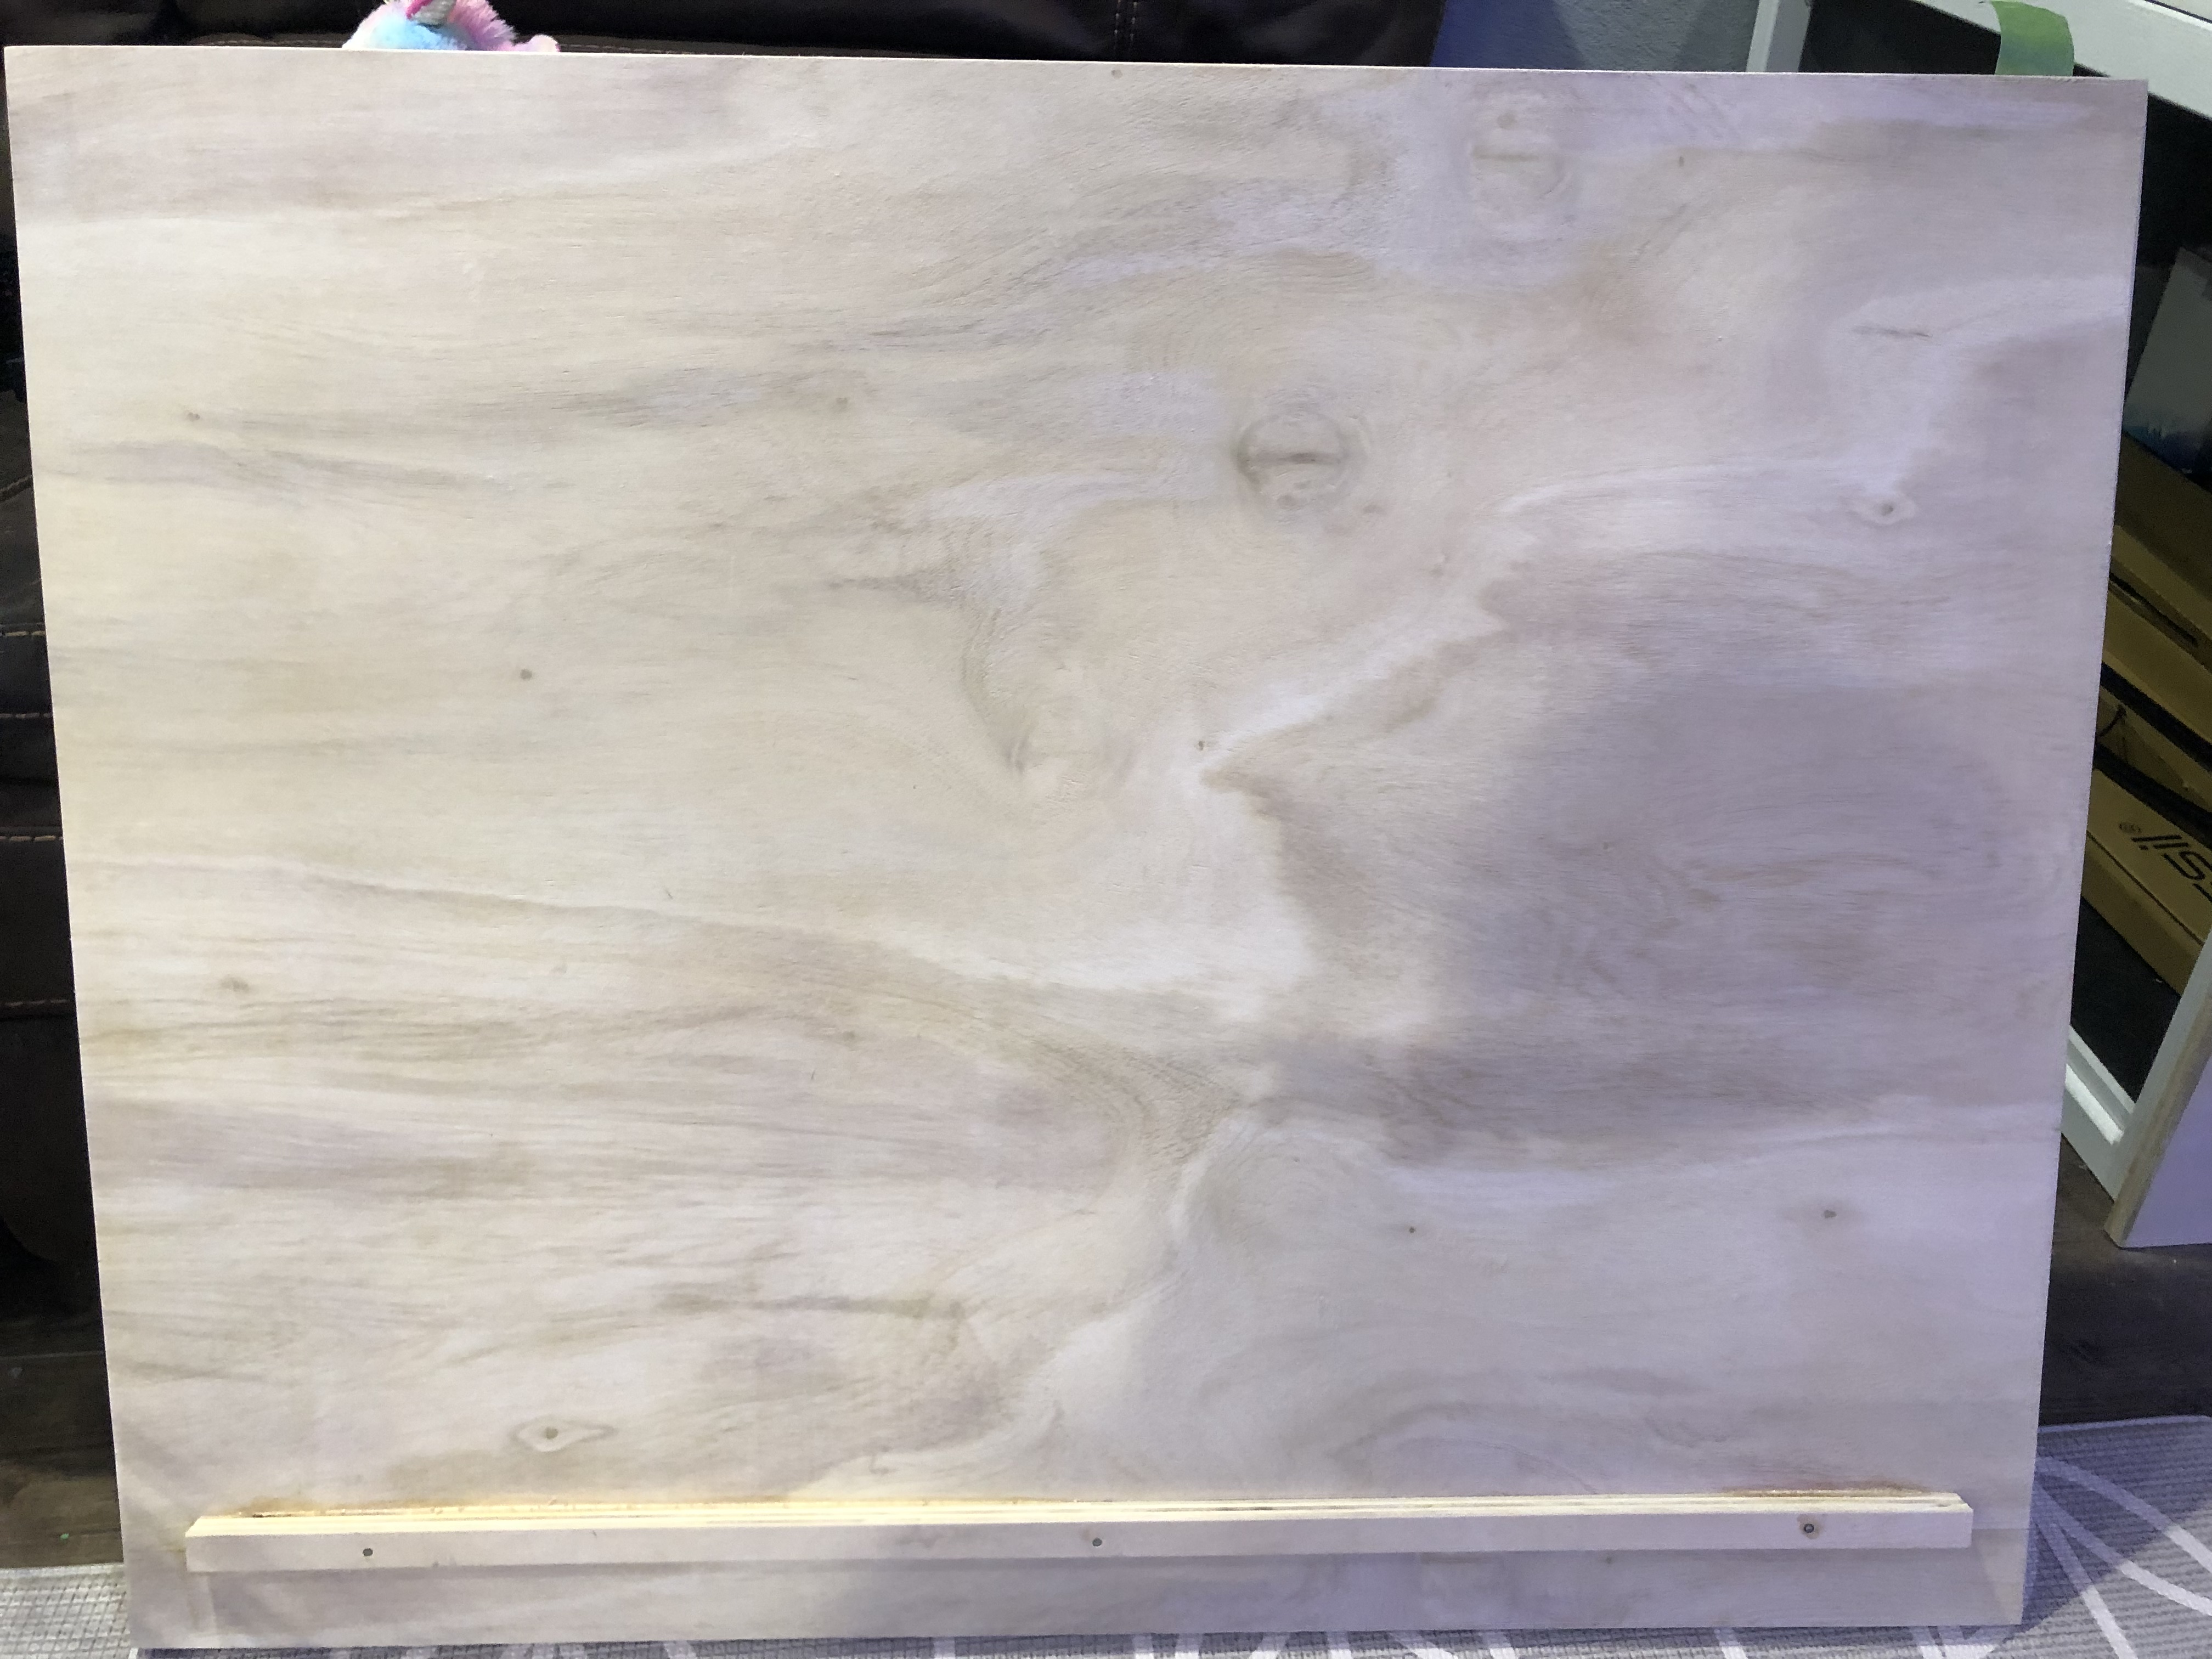
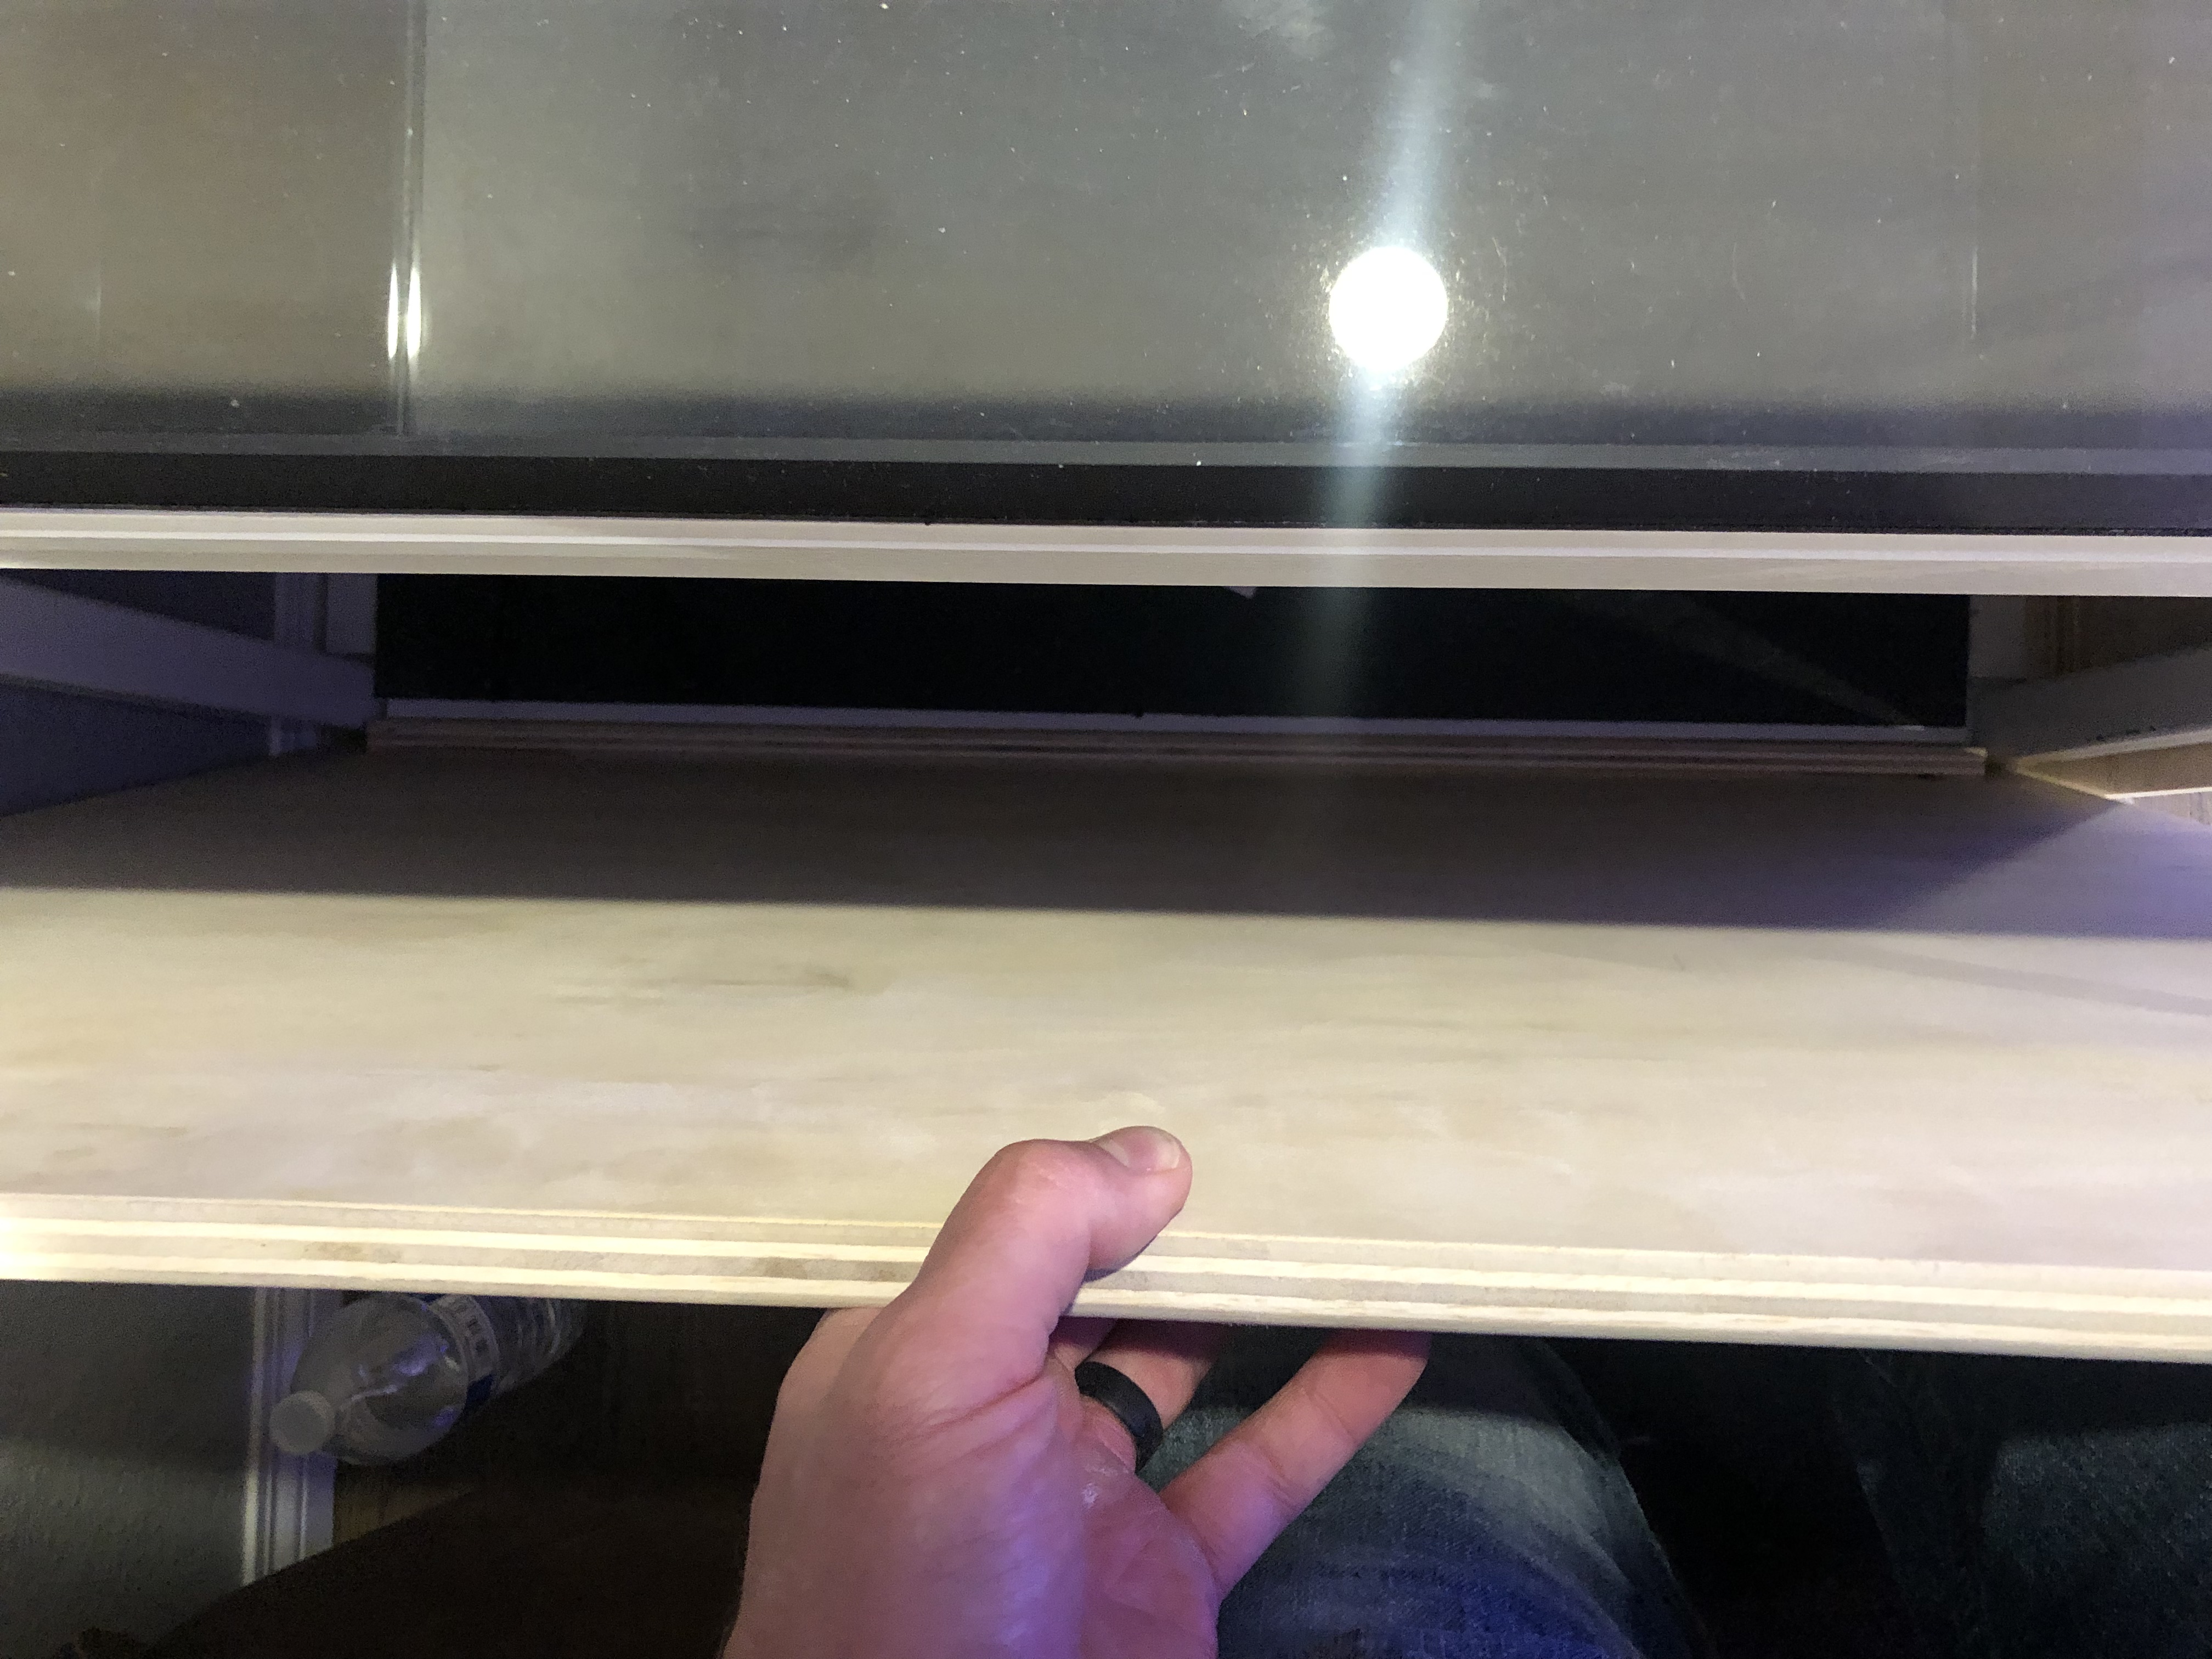
Doors are getting closer. Once these dry I'll be mocking them up to make sure they are strong enough as is. Then it's just a final sanding, 2 coats of killz primer and paint.
The last things on my check list are:
-Figure out how to hang my ATI fixture. I dont think it's going to line up with studs, I'm thinking maybe I'll rip a 1x3 board and paint it to match my ceiling, then anchor into that. That area of my attic is not accessible.
-Mount and paint a backing board for all the electrical.
-Run another dedicated circuit
-Paint the patch marks.
Since I have the kessils already, I'm thinking of trying to use them with the ATI. If I can do it cleanly.
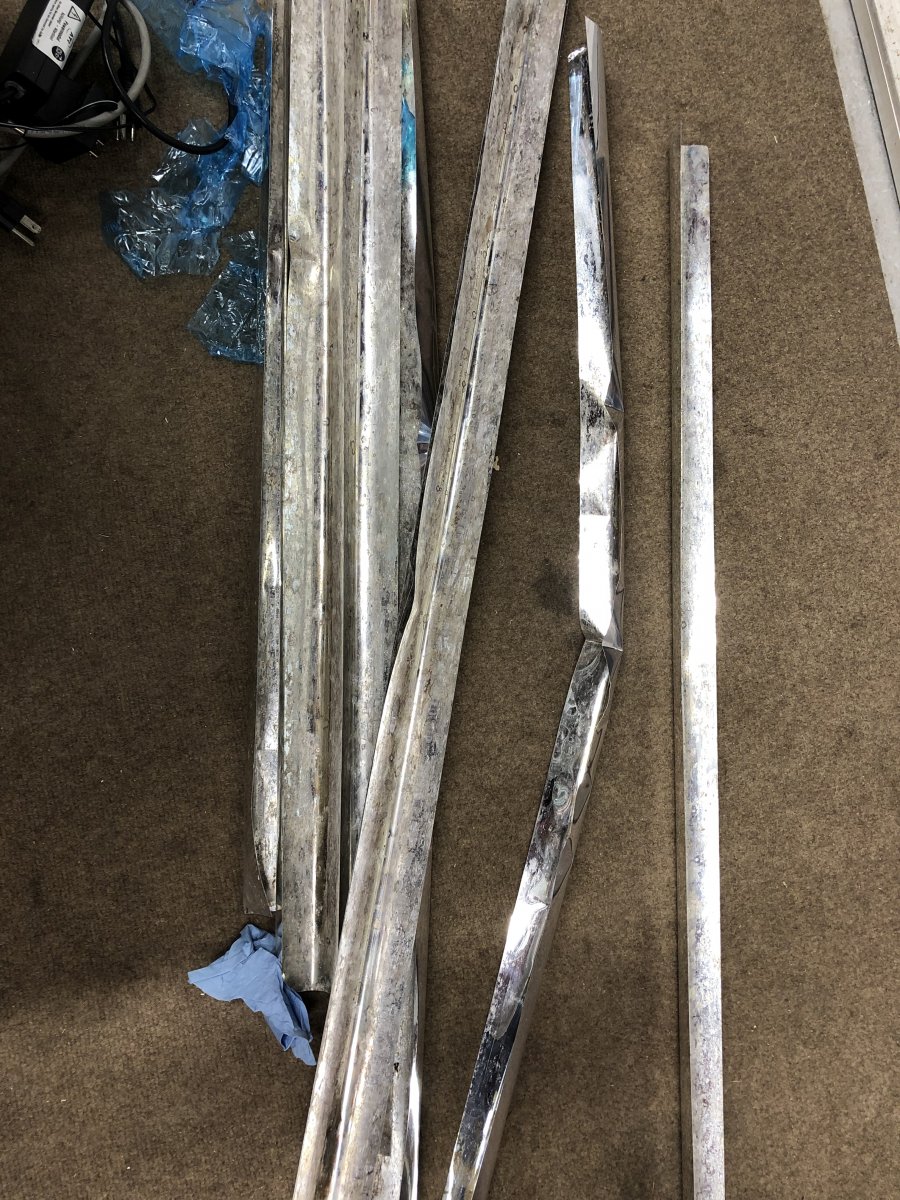
I picked up a 10x54w t5 power module today. It came with brand new reflectors, the catch? The protective plastic sat on there far too long an made them impossible to pull off. Literally tiny crumbs after minutes of work. I tried wd40 to loosen them up. That actually helped some but still a pain and everything was slippery. So I sprayed a citrus based cleaner on top of the blue plastic, I got from the PO. After sitting for a moment I went to start peeling, not hoping for much but it made all the difference. Still very difficult and left all the glue on the reflectors but I was able to get all the blue film off in decent sized pieces. It seems to rehydrate the blue film enough to hold together.
10 reflectors took me about 2 hours of solid work and 4 IPAs. I was left with what I thought were stains/tarnish. WD didn’t pull them out, the spray didn’t pull it out. What did? My IPA soaked spit and those blue shop towels, a literal spit shin. I’ll be surprised if me fingers can pick me undies out me bum tomorrow but hell, she’s looking purdy!
The demoed reflectors
Ready to grow some sticks!
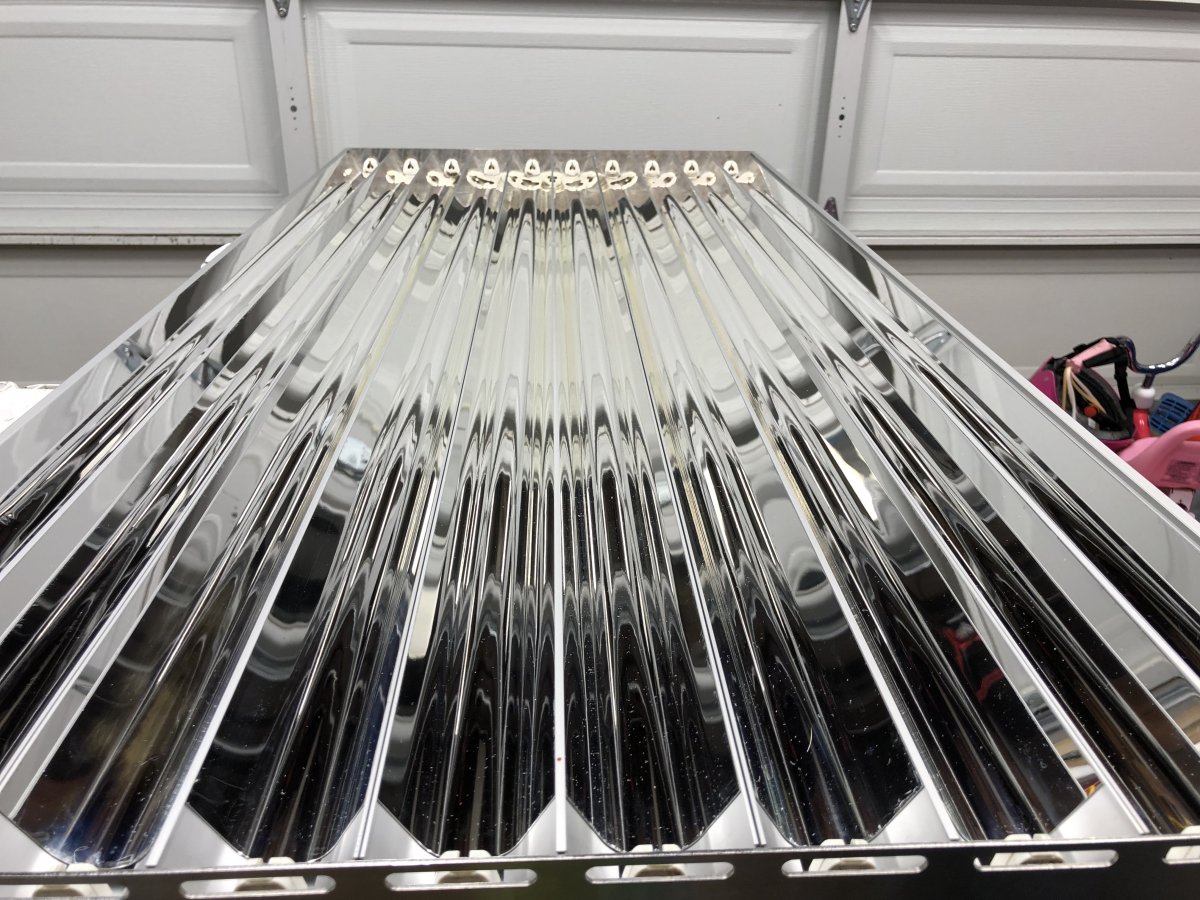
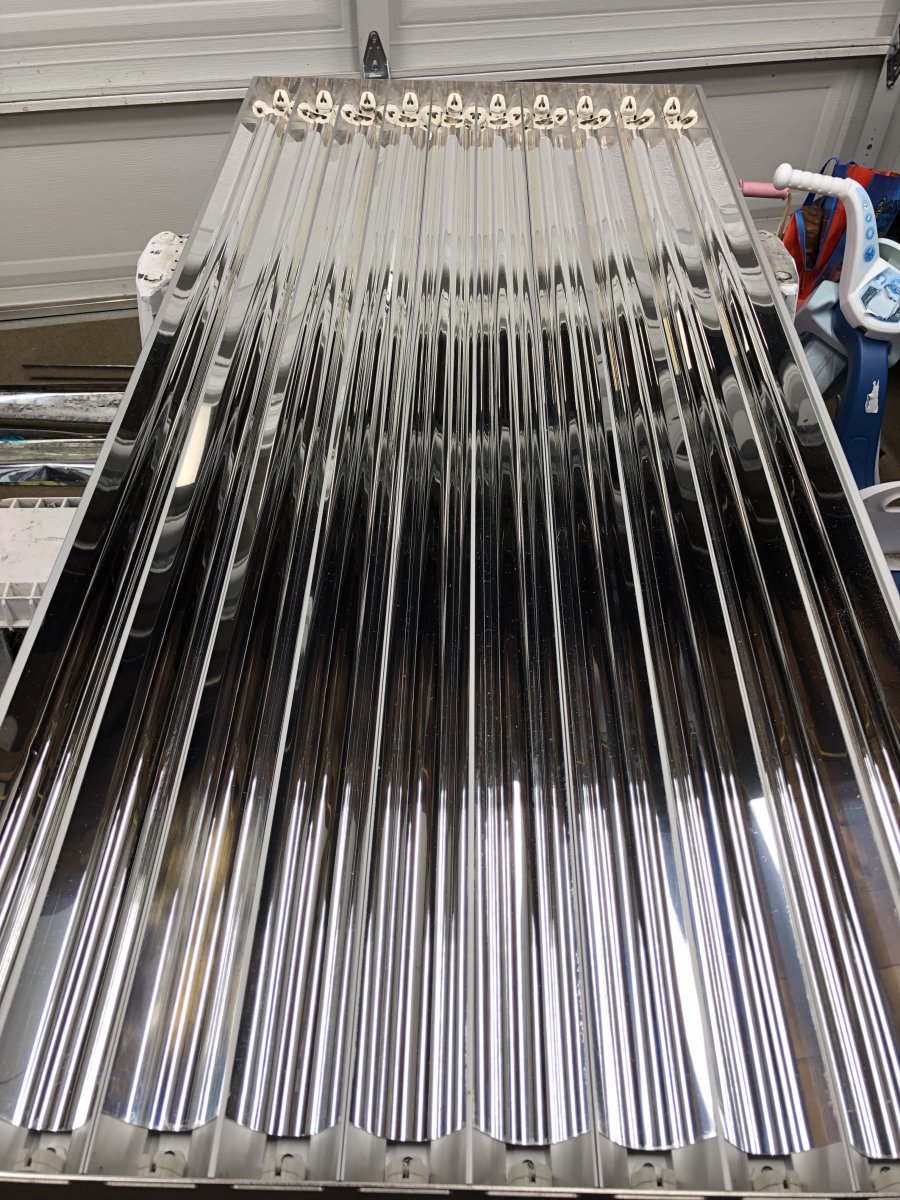
This fixture is pretty heavy. I’m gonna weigh it tomorrow but it’s gotta be in the 40lb ball park.
One fan isn’t working so that’s on the to do but all ballasts fired right up. My new lamps arrive from premium aquatics tomorrow.
10 reflectors took me about 2 hours of solid work and 4 IPAs. I was left with what I thought were stains/tarnish. WD didn’t pull them out, the spray didn’t pull it out. What did? My IPA soaked spit and those blue shop towels, a literal spit shin. I’ll be surprised if me fingers can pick me undies out me bum tomorrow but hell, she’s looking purdy!
The demoed reflectors
Ready to grow some sticks!
This fixture is pretty heavy. I’m gonna weigh it tomorrow but it’s gotta be in the 40lb ball park.
One fan isn’t working so that’s on the to do but all ballasts fired right up. My new lamps arrive from premium aquatics tomorrow.