JeepSRT's 30 Gal Rimless Build Thread

Joined
Mar 2, 2010
Messages
20,830
Likes
1,005
Points
113
Location
Orange, CA
#1
Billy and I made a stand the last couple days. Turned out really well I think. Its a little over done but solid. Still left is the trim for the corners, other than that its all done. The sides are paneling, and the trim and top is a birch colored wood we put lacquer on. Its a JBJ 30 gallon rimless cube. So far he has the AI vega and controller. More to come from him hopefully as he gets it cycling but I thought I would get this started.

Killz on the frame. Its solid as a rock good for future upgrade!


Here it is with the skin on.


Top and edges we cut with a miter saw. Screwed it in from underneath.


Test fit with the corner edges but decided to go with the wood we used for the top and molding.


Almost finished.

 
Joined
Mar 2, 2010
Messages
20,830
Likes
1,005
Points
113
Location
Orange, CA
#2
The back filtration area. Quite a bit of room actually.


And the AI Vega in black. Just resting on the glass top for some pics but next is a hood of some kind.

 
Joined
Sep 27, 2007
Messages
409
Likes
4
Points
18
Location
Anaheim Hills
#4
Thanks for posting bean. I will upload more pictures and updates on Monday. Big props to Cody for helping me build it. He was a mad mad on a mission.

Water and LR hopefully will be done tomorrow
 
Joined
Jul 23, 2007
Messages
1,798
Likes
10
Points
38
#8
really nice looking tank Billy.

Thanks for posting bean. I will upload more pictures and updates on Monday. Big props to Cody for helping me build it. He was a mad mad on a mission.

Water and LR hopefully will be done tomorrow
+1 Cody get excited it even it is not his tank. good man...
 
Joined
Sep 27, 2007
Messages
409
Likes
4
Points
18
Location
Anaheim Hills
#9
Stand is 2'x2' - Top is 2'6"x2'6" - 3' Tall

Correction on wood type that Cody had put - The wood is actually a Walnut - So all we did was laquer the thing vs. staining it.

Here are some more pictures of the build

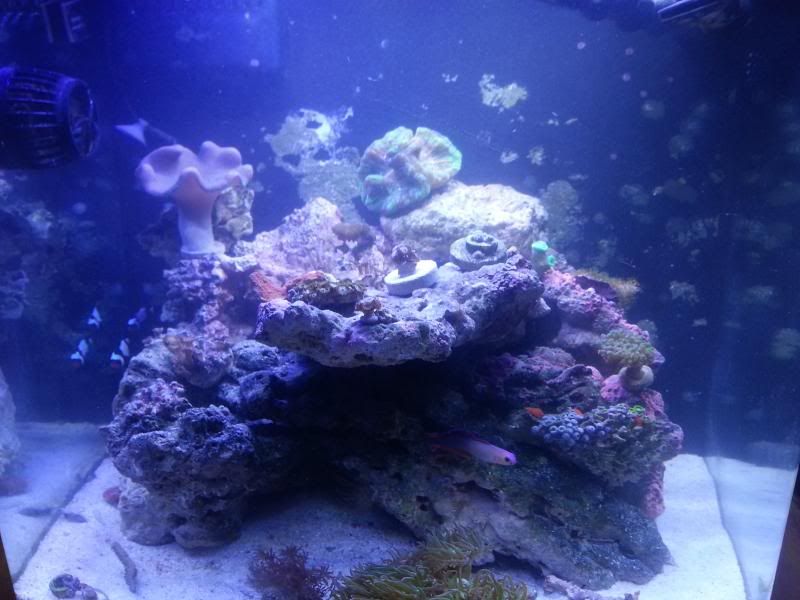
Got Water / Live Sand / And some nice pieces of LR compliments of Cody =)


(2) of the LEDS were bad from the get go - need to exchange the unit


And found this GEM in my office, I think it should be Beans new avatar

 
Joined
Sep 27, 2007
Messages
409
Likes
4
Points
18
Location
Anaheim Hills
#10
I don't think I ever really posted a picture of my 24G nano that I will be moving into my new tank, this is a old shot but you get the jist.

 
Joined
May 16, 2010
Messages
5,694
Likes
23
Points
38
Location
Rancho Cucamonga
#14
Hey Cody, how much did the stand cost in materials? I'm looking to do something similar with my Nuvo 16. And what size ply wood is that?
 
Joined
May 3, 2010
Messages
47
Likes
0
Points
0
#15
What size is the tank? Does the vega light cover the tank really well? Do you think it could cover a larger tank than yours by itself? Thanks!
 

BeanMachine

2
Supporter
Joined
Mar 2, 2010
Messages
20,830
Likes
1,005
Points
113
Location
Orange, CA
#16
Hey Cody, how much did the stand cost in materials? I'm looking to do something similar with my Nuvo 16. And what size ply wood is that?
Um I think he spent less than 100 bucks, but Billy's Father has a wood shop in his backyard with tools and odds and ends so it worked out great. The plyood is really thin, like quarter inch. But its laminate of some kind not plywood if I remember right. Basically for show. We would have used thicker wood if this would have had a door or shelf, but since its just for looks I think it worked out great.

What size is the tank? Does the vega light cover the tank really well? Do you think it could cover a larger tank than yours by itself? Thanks!
They cover 24 x 24 I think.
 

BeanMachine

2
Supporter
Joined
Mar 2, 2010
Messages
20,830
Likes
1,005
Points
113
Location
Orange, CA
#17
Billy show them all the hair algae I gave you with those rocks haha

And then show them your new pal the Sea Hare and how fast he ate it all hehe
 
Joined
Sep 27, 2007
Messages
409
Likes
4
Points
18
Location
Anaheim Hills
#18
A Little Update on the tank.

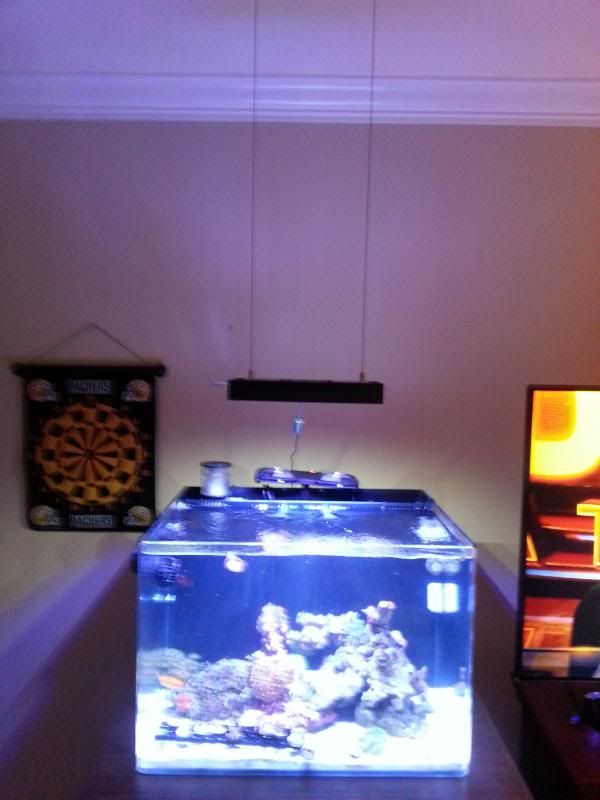
I have Finally hung my AI Vega - It took awhile to figure out how to hang it, as AI does not make a kit to hang a single Vega fixture. I had to buy the 6" Rail and cut it in half, then I was able to mount the aircraft cable to the fixture. It turned out great.

next on the agenda is building my custom BRS screen. I think when its finished it is going to look great, but my design is a surprise. Hopefully I will be done with it by the end of the week.

 
Joined
Sep 27, 2007
Messages
409
Likes
4
Points
18
Location
Anaheim Hills
#20
Nice guys, Can you guys build me a stand too? :)
Haha sure no problem. My dad is really in to wood working (although not great) but he has all the tools and toys - Just do what I did, just ask Bean for "Help" Then watch as he takes over and does it all, while you sit back with a ice cold beer in your hands =)
 

Latest posts

Top