Gofor's 60"L X 30"W X 24"T Upgrade

Joined
Nov 1, 2007
Messages
546
Likes
335
Points
28
#1
So, I've been documenting this build in "real-time" on another site, but figured I would start posting it here too (for those that are banned from said site... I'll let YOU guess which site I'm talking about :D).

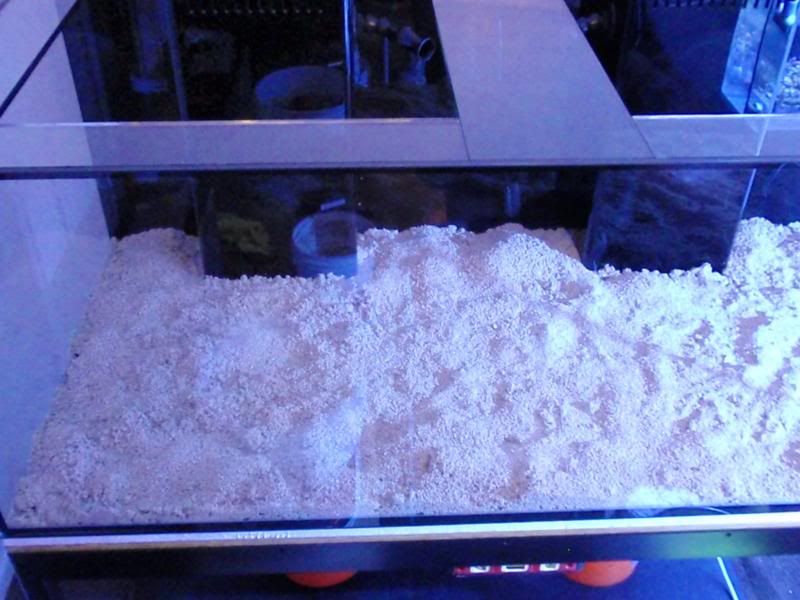
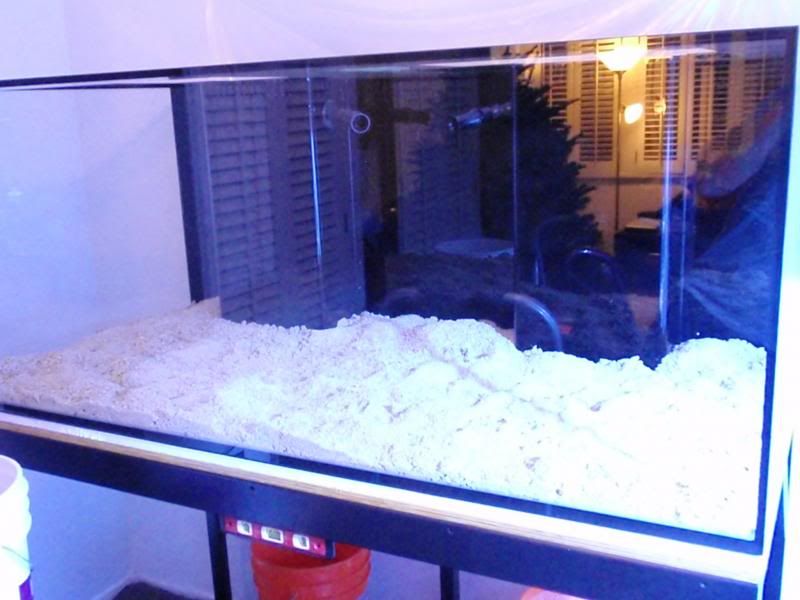
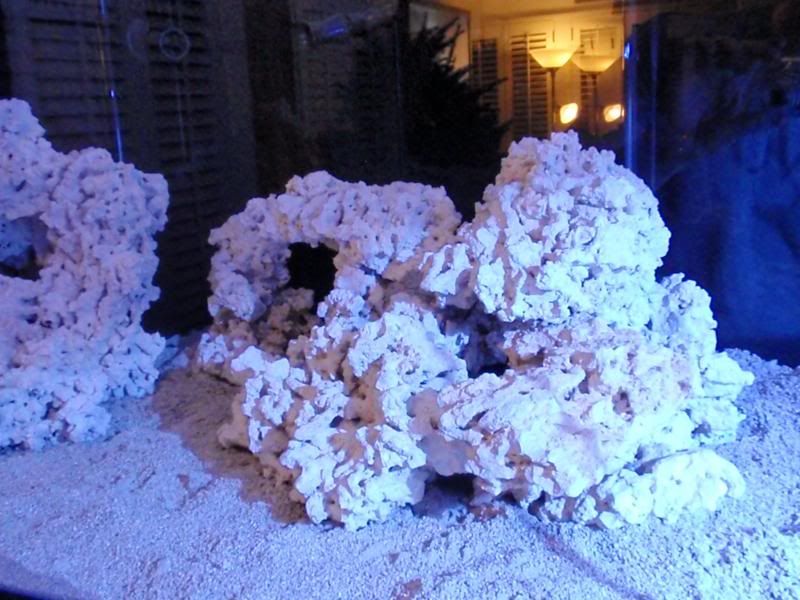
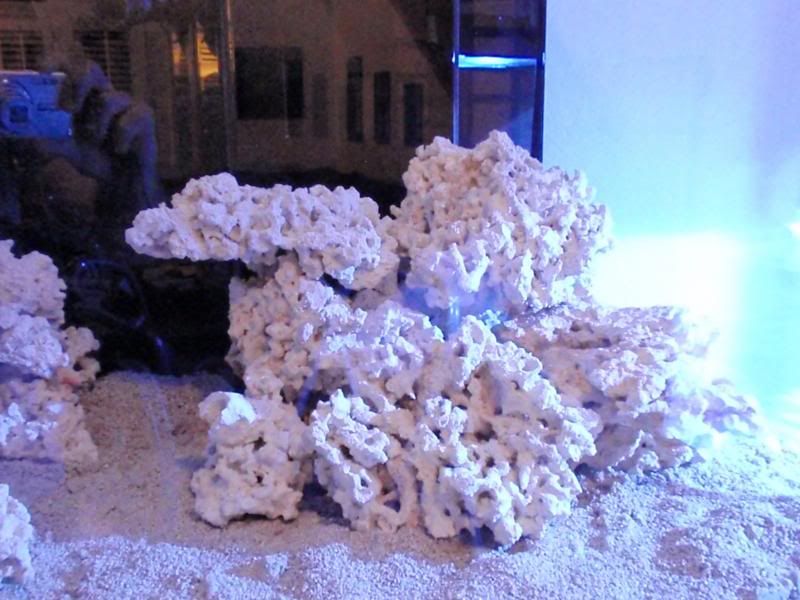
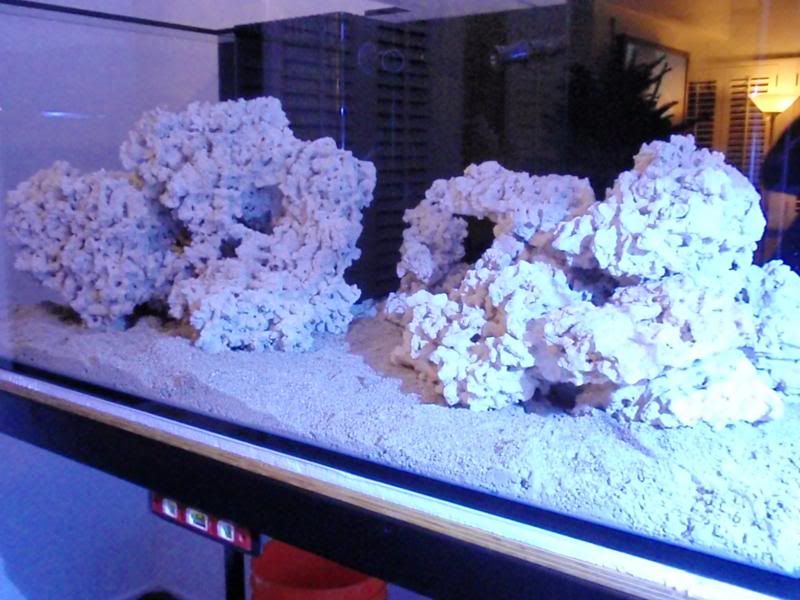
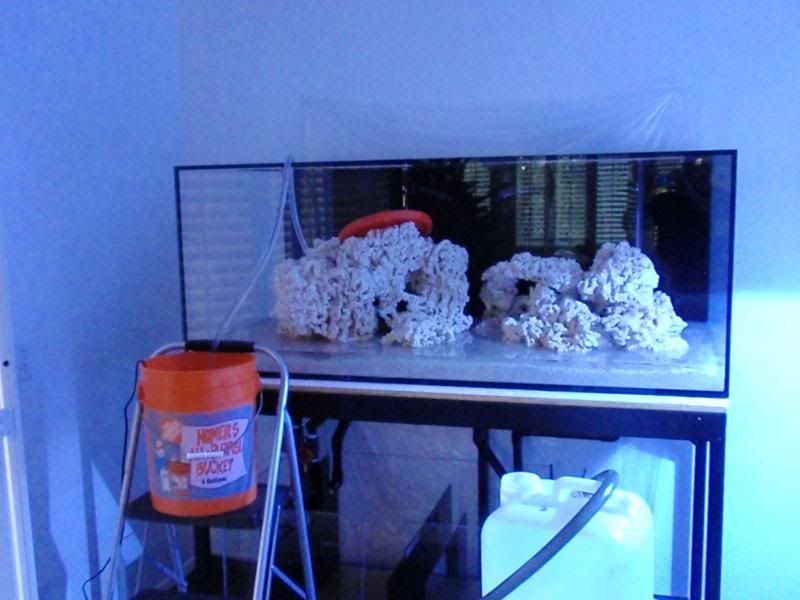
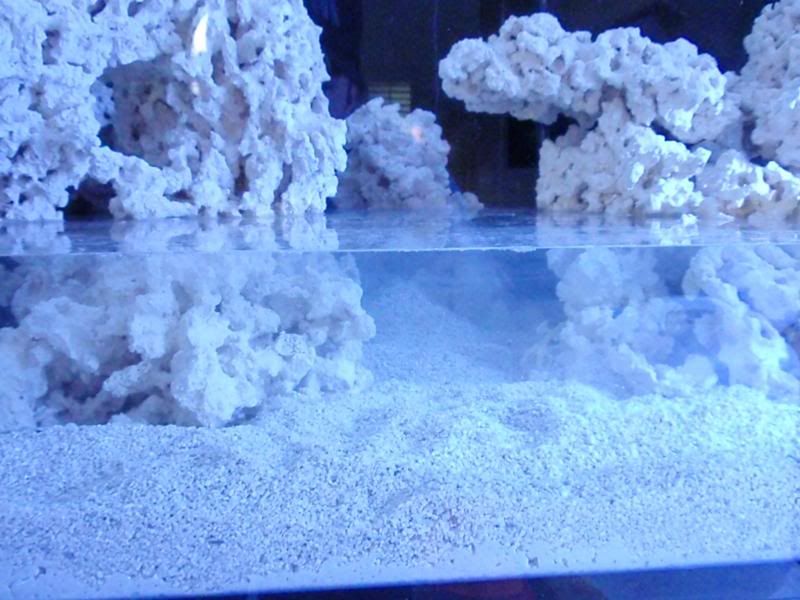
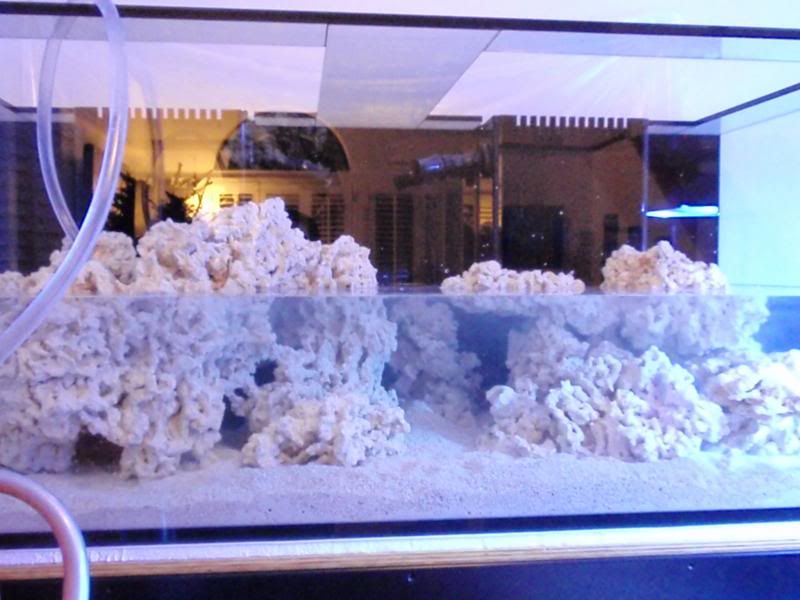
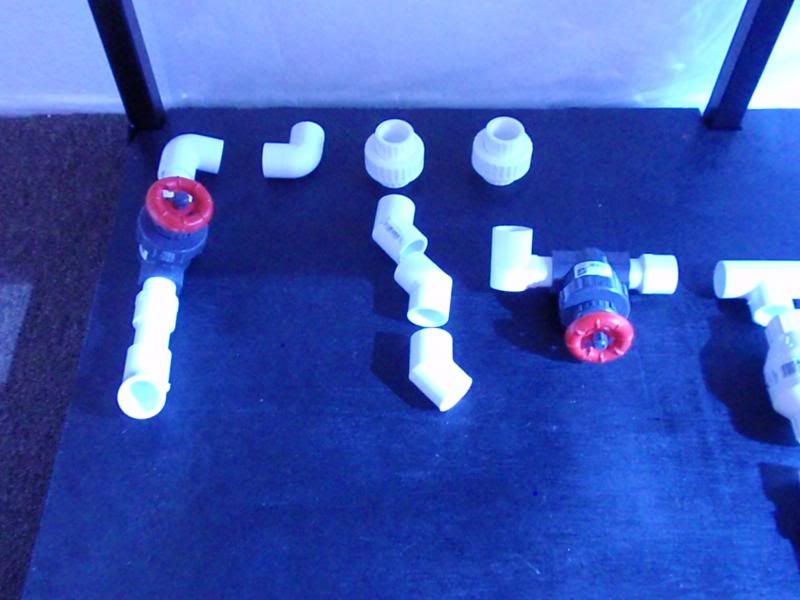
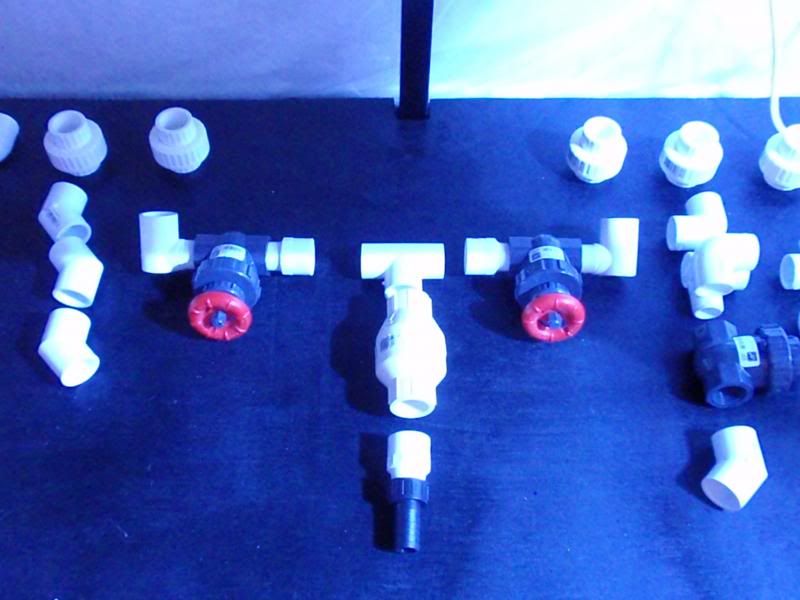
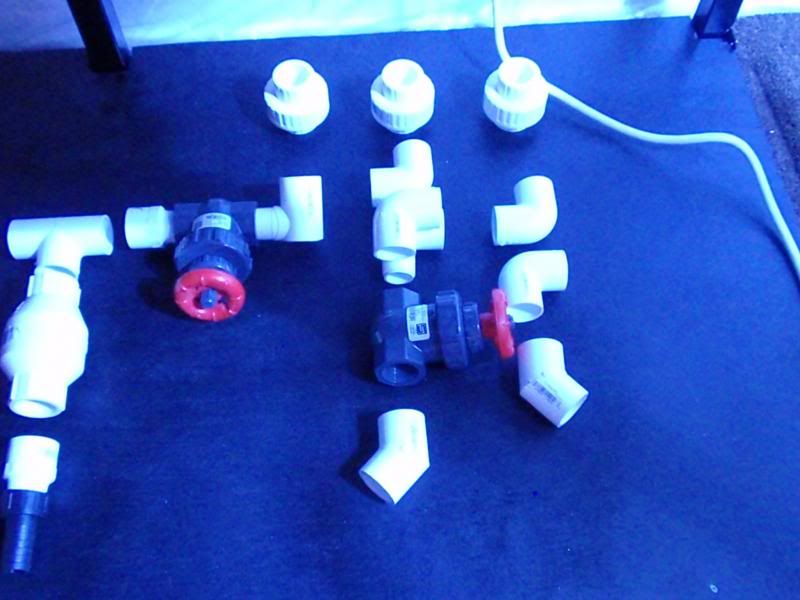
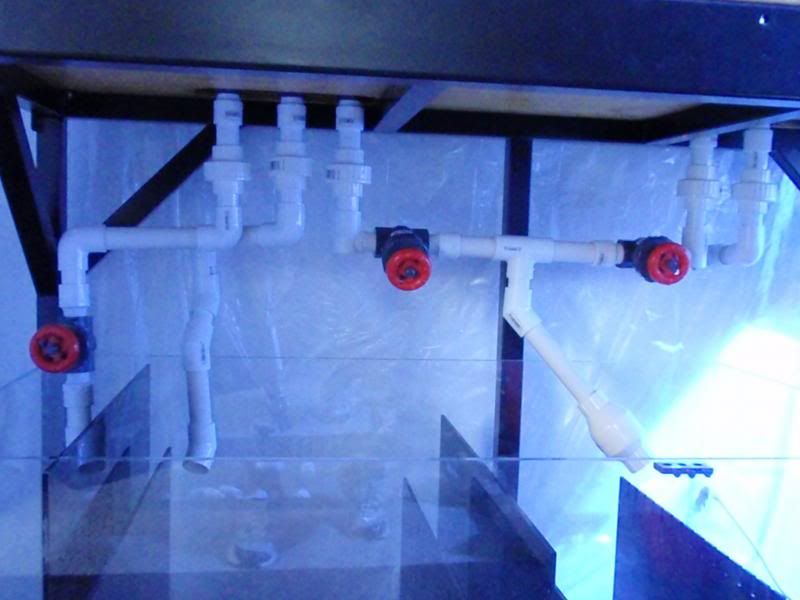
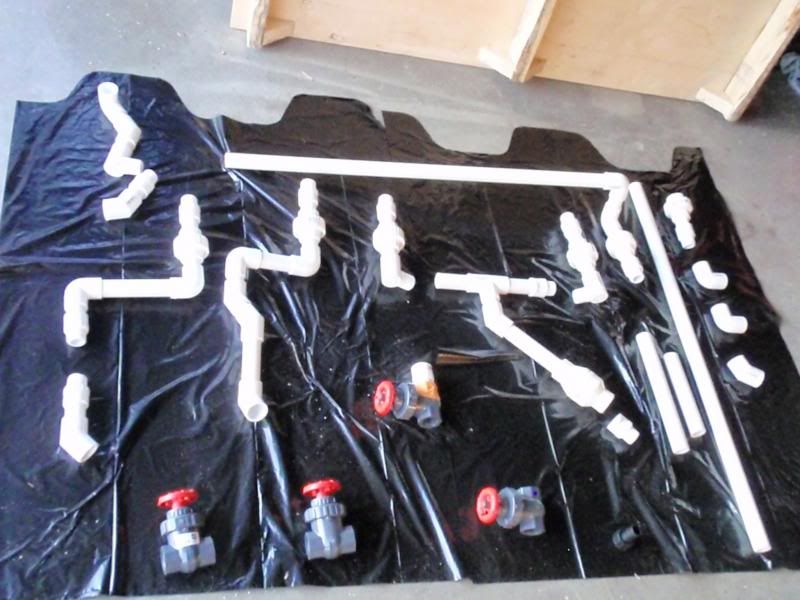
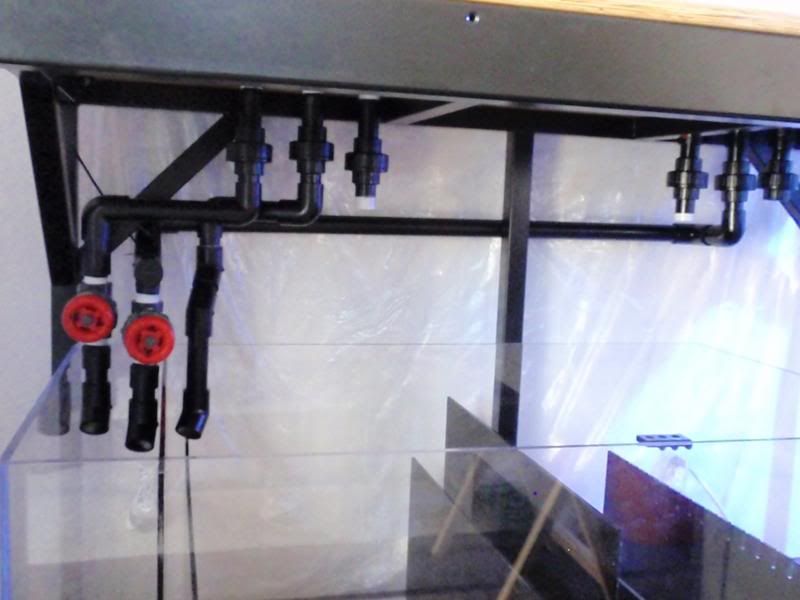
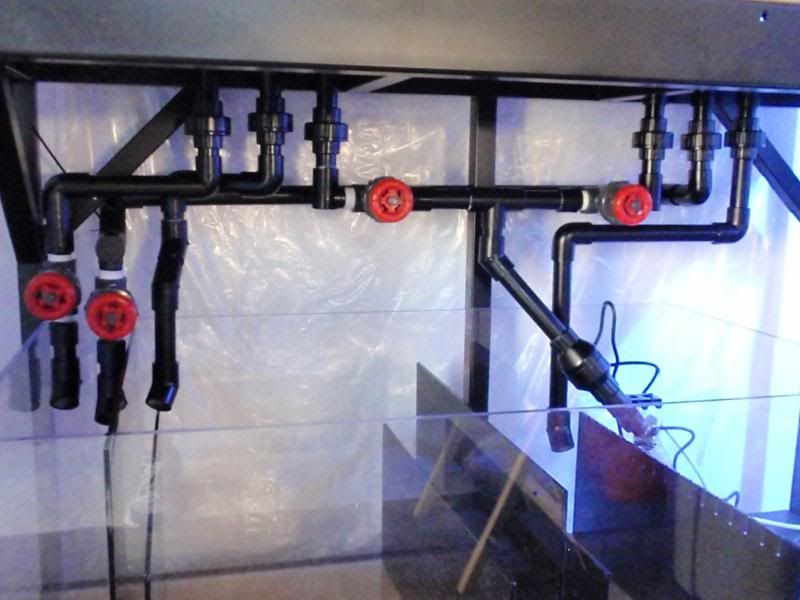
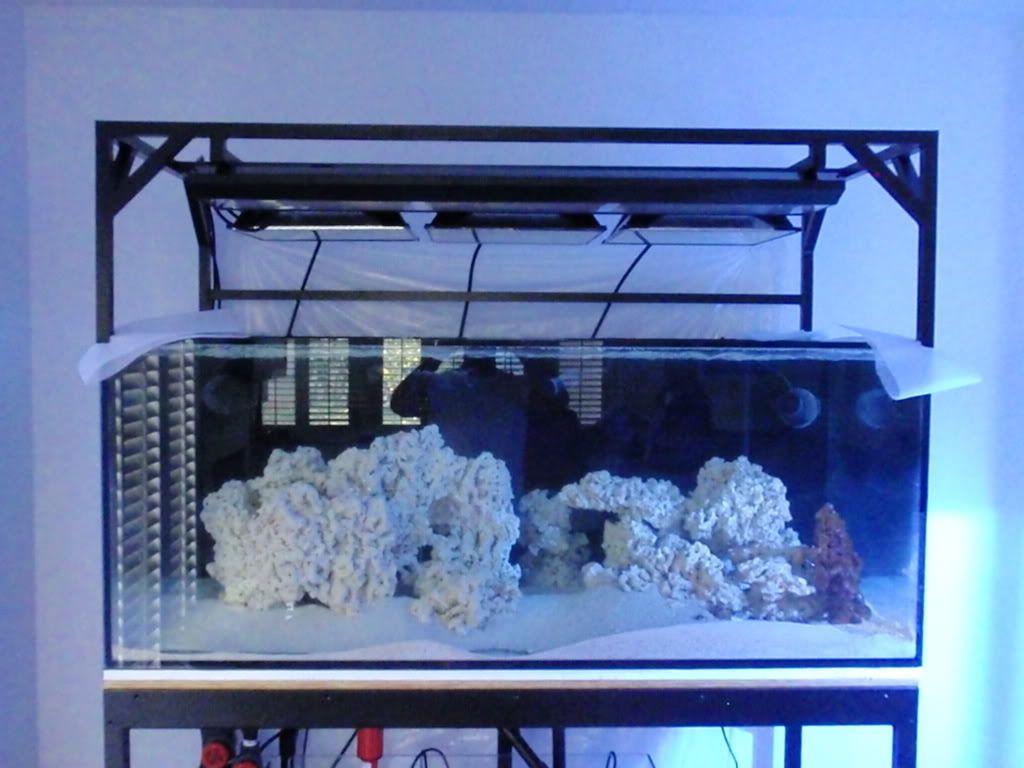
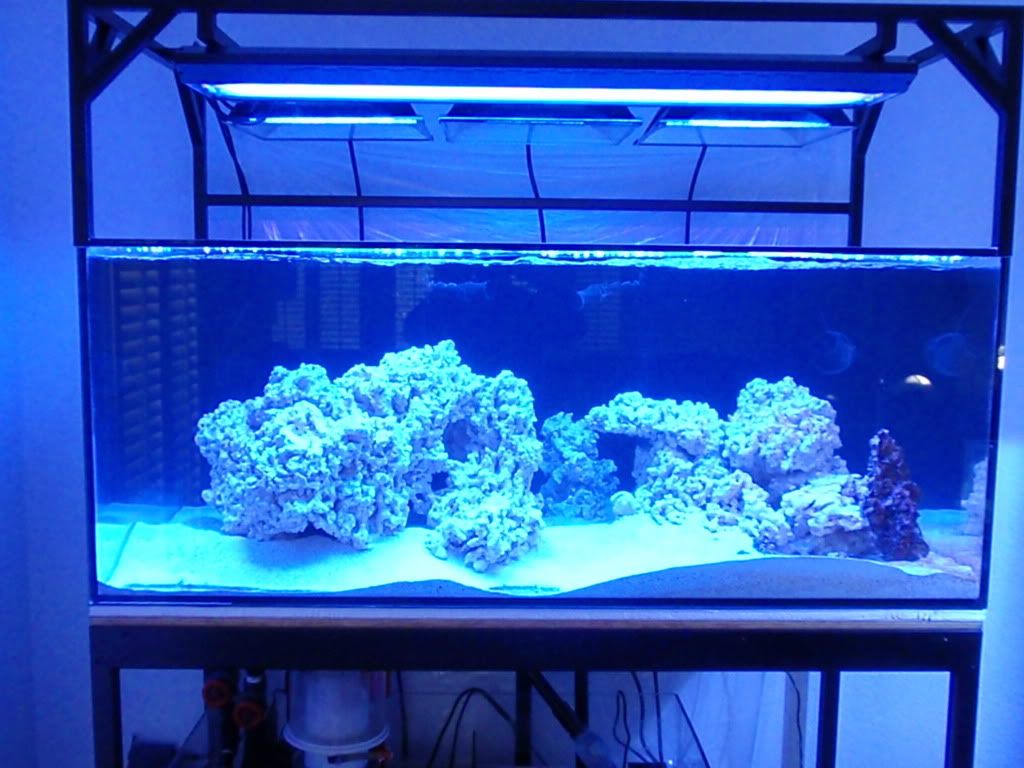
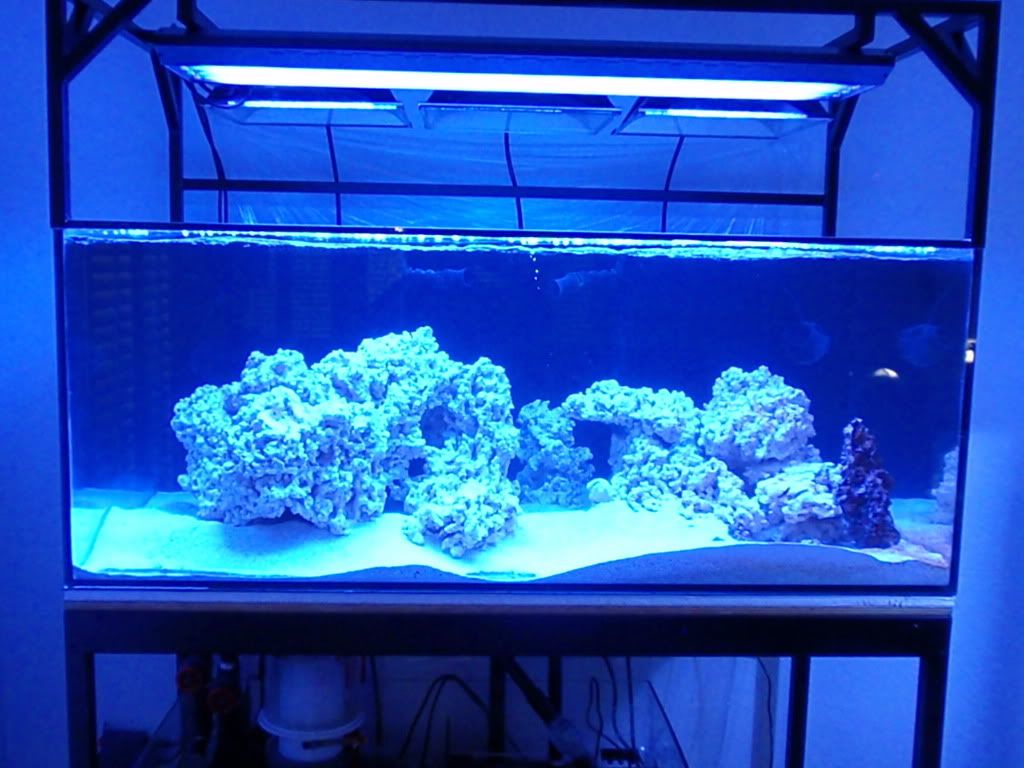
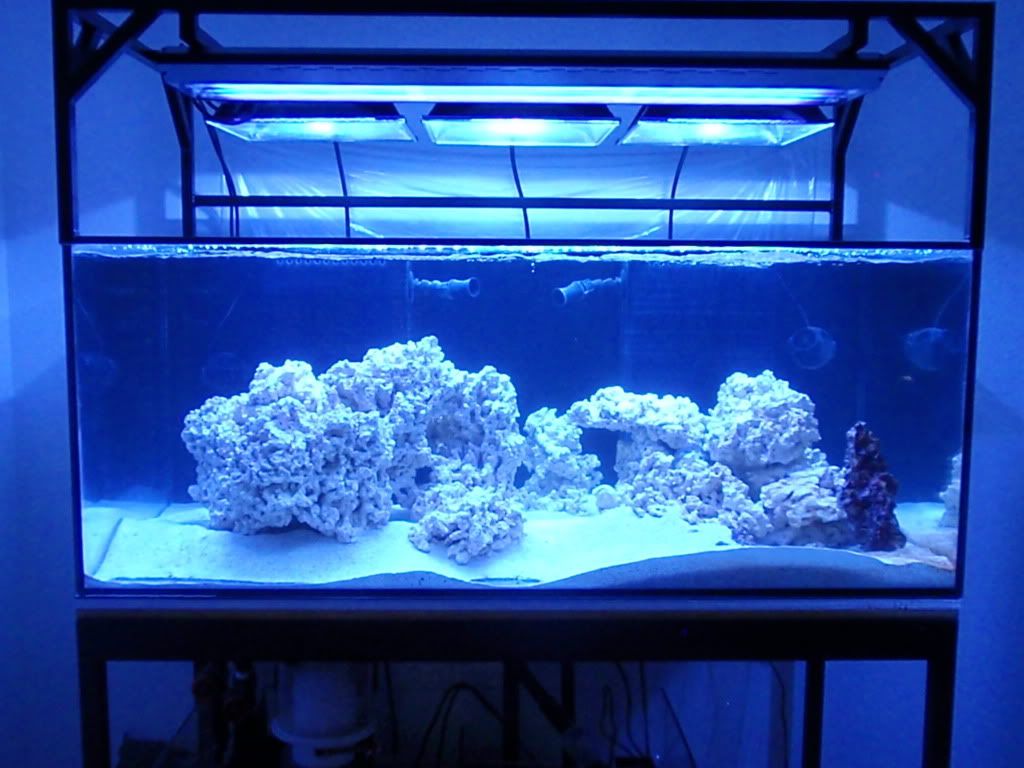
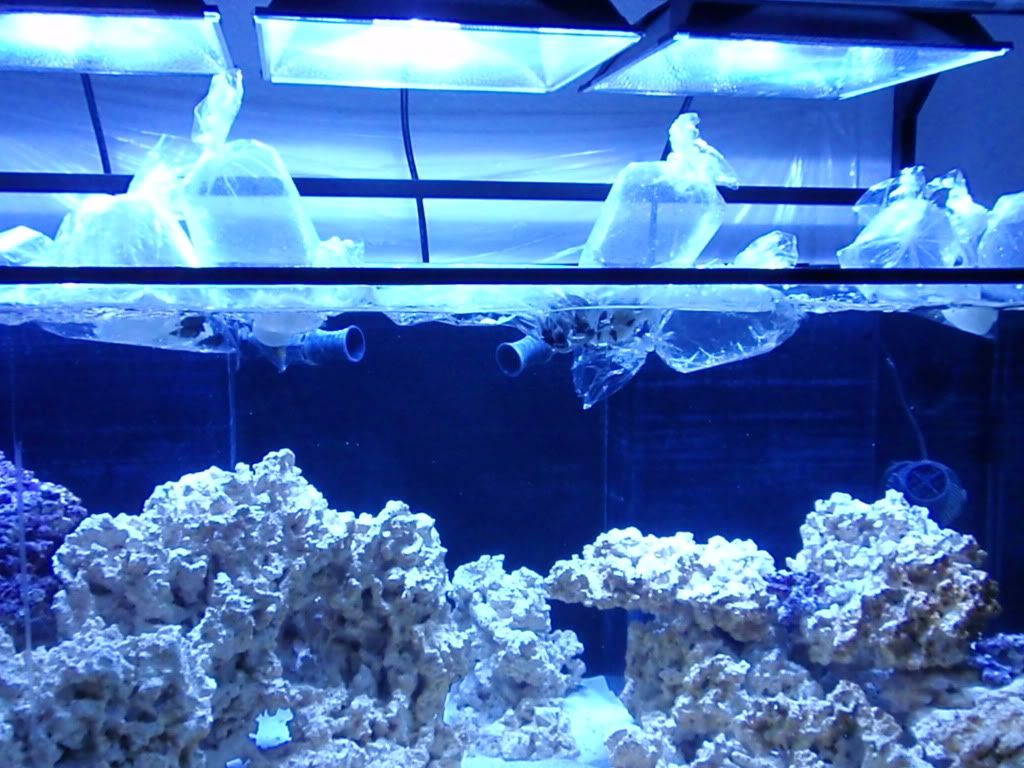
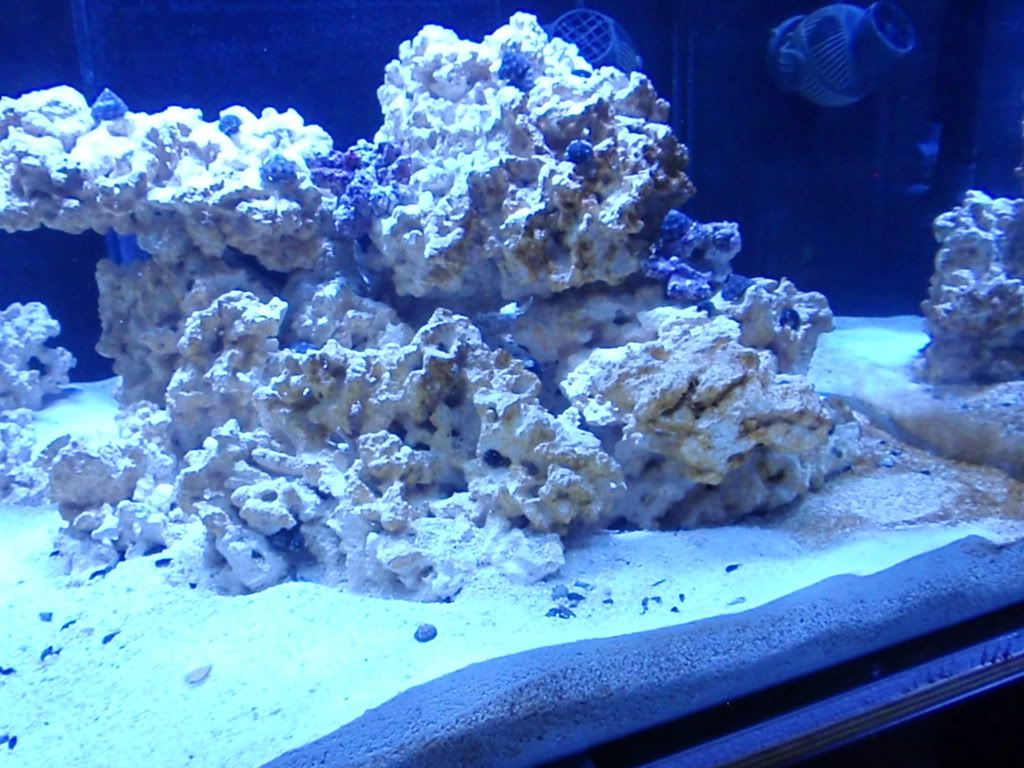
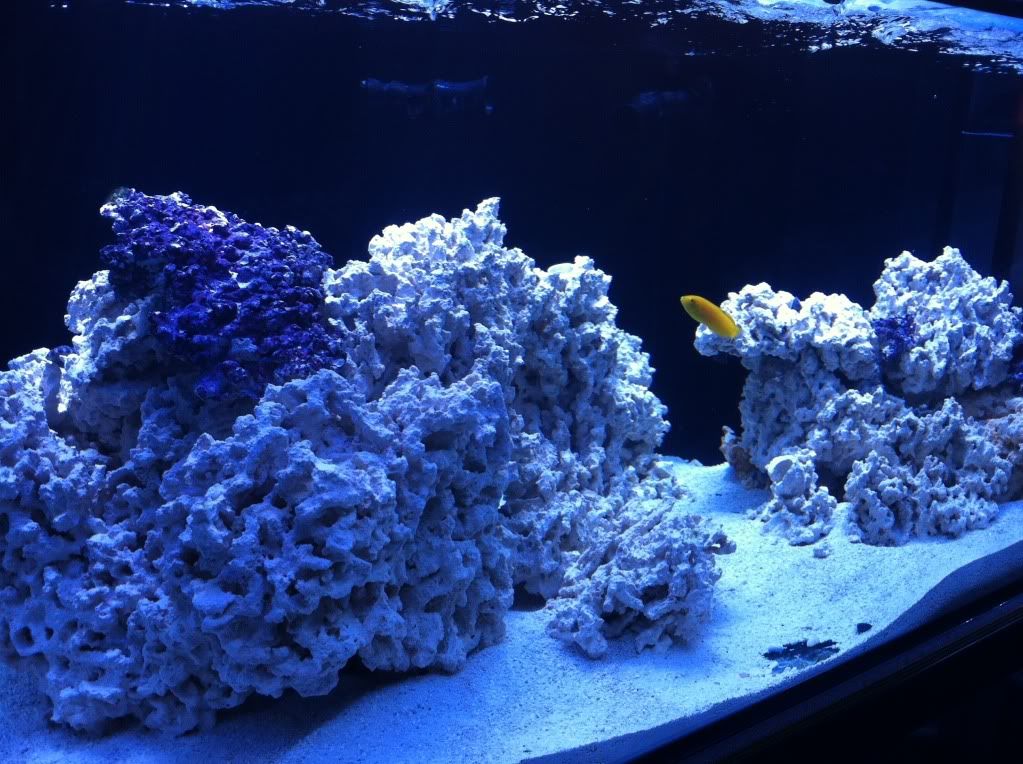
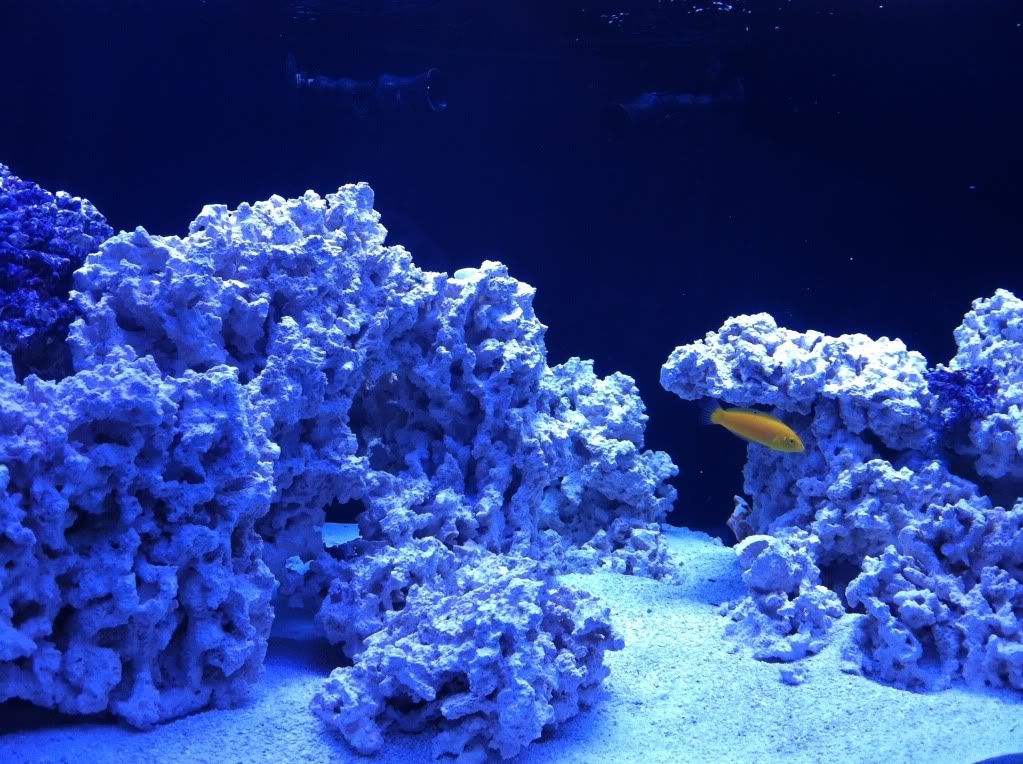
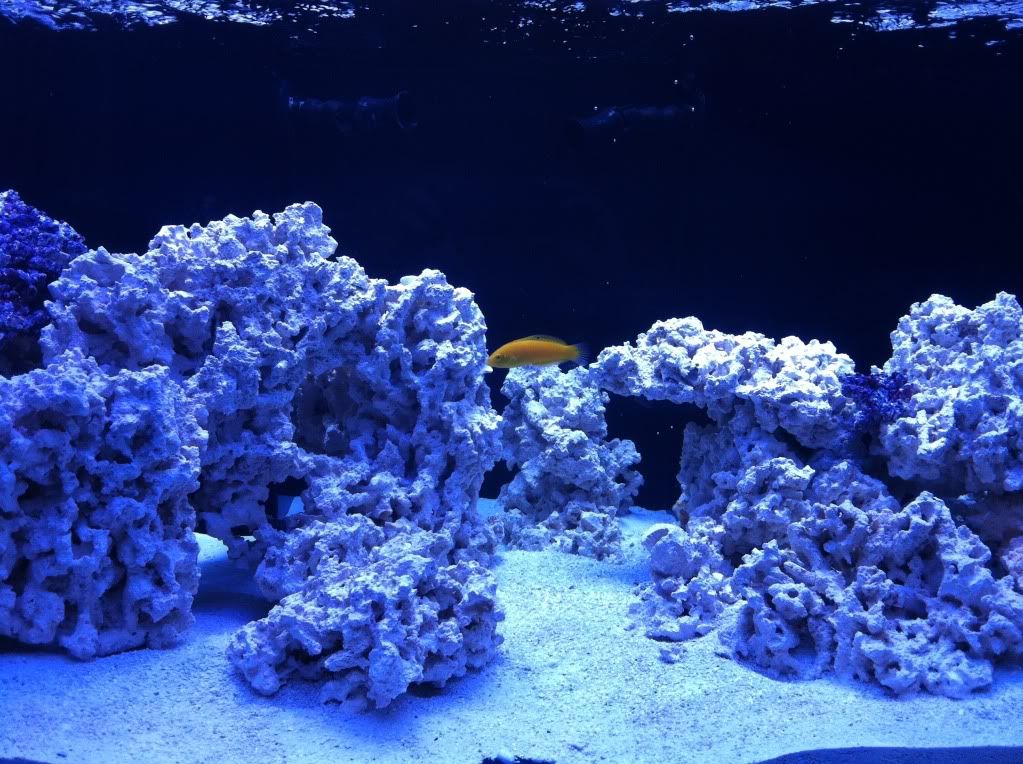
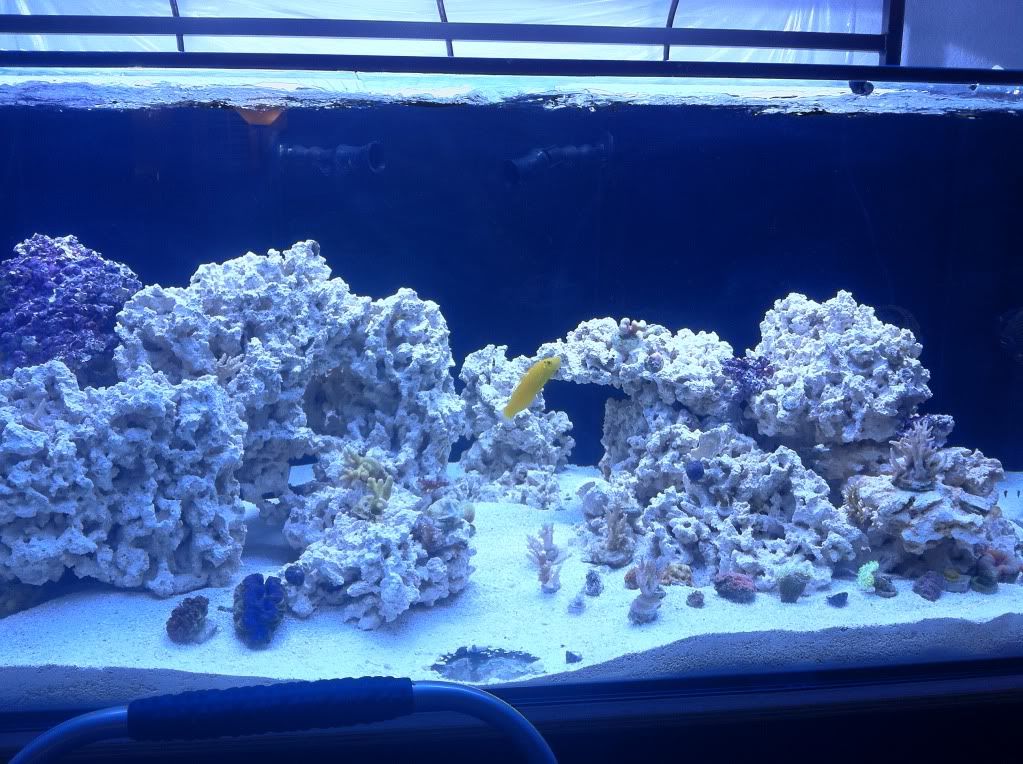
So after A LOT of planning and gathering of equipment, not to mention a lot of persuading/negotiating with and downright annoying :boink: my wife, I was able to place my order for a 60"L X 30"W X 24"T LeeMar Eurobraced tank with Starphire on the viewing panels, and two overflows drilled for the Herbie Method (two drains and one return drilled in each overflow).

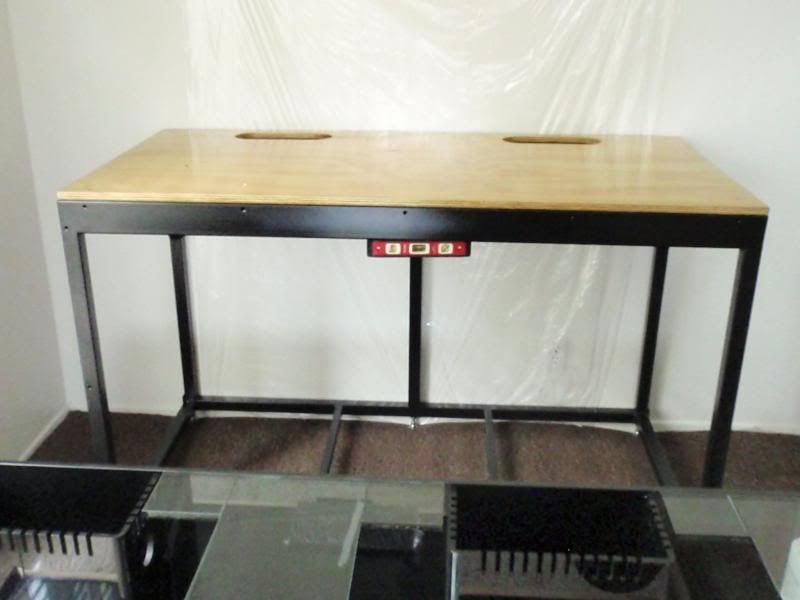
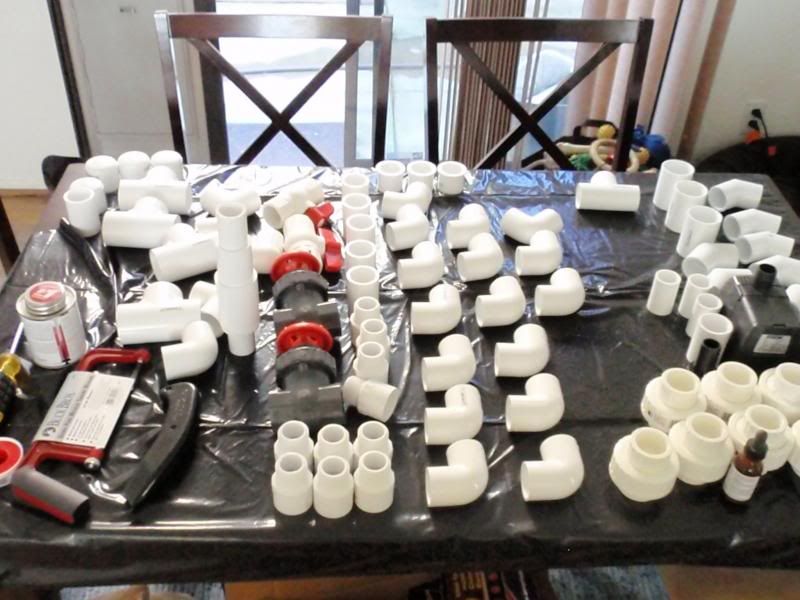
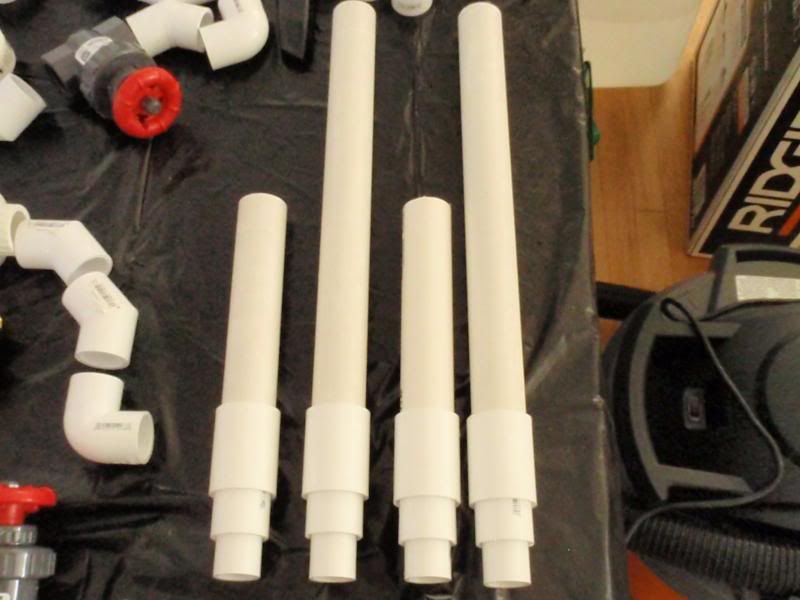
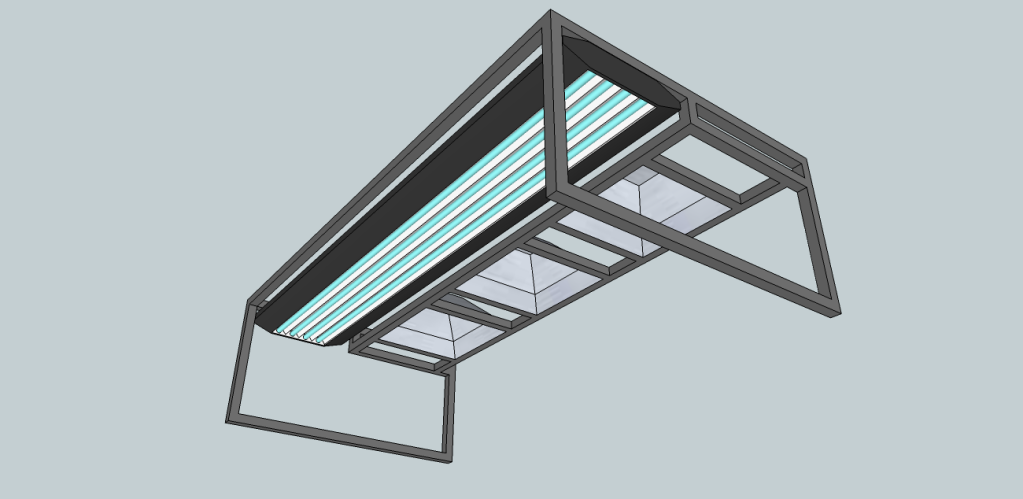
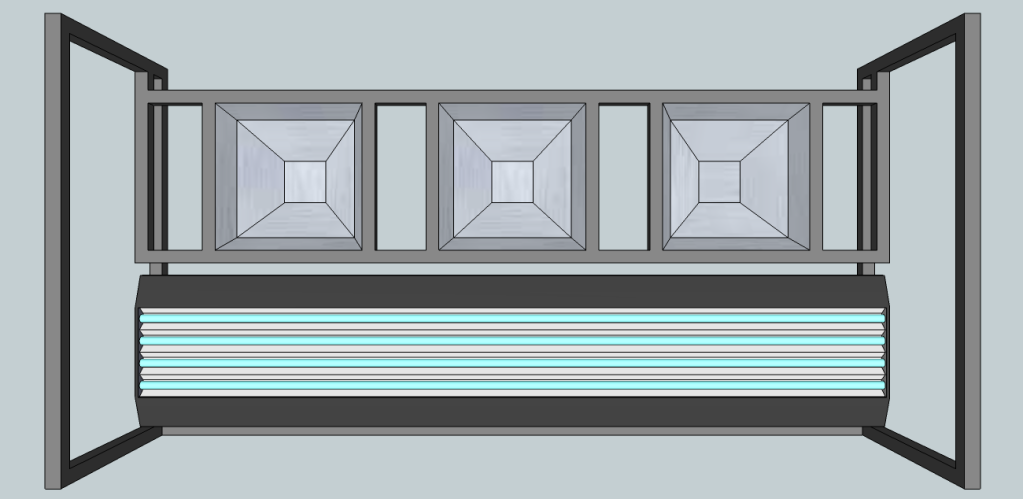
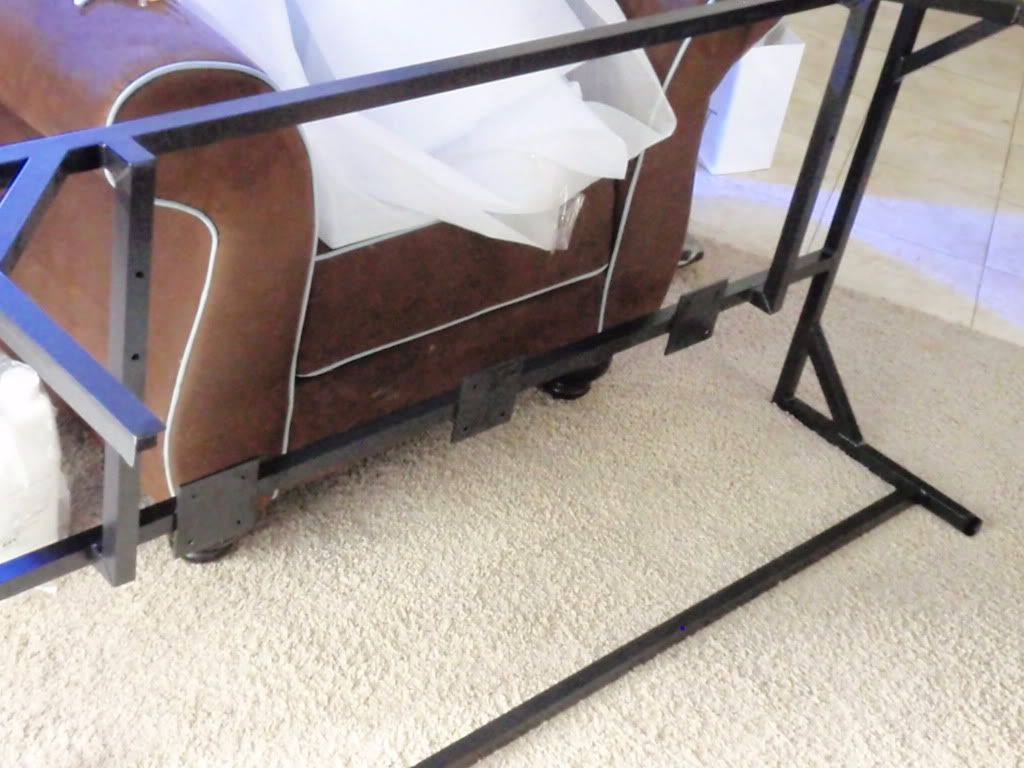
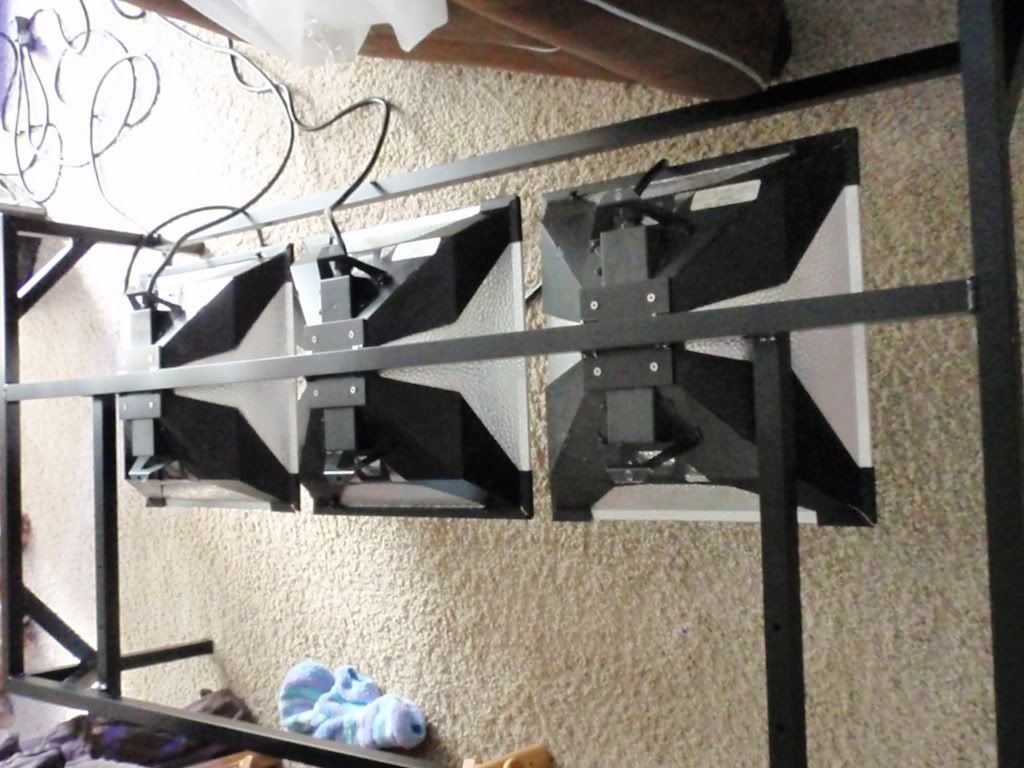
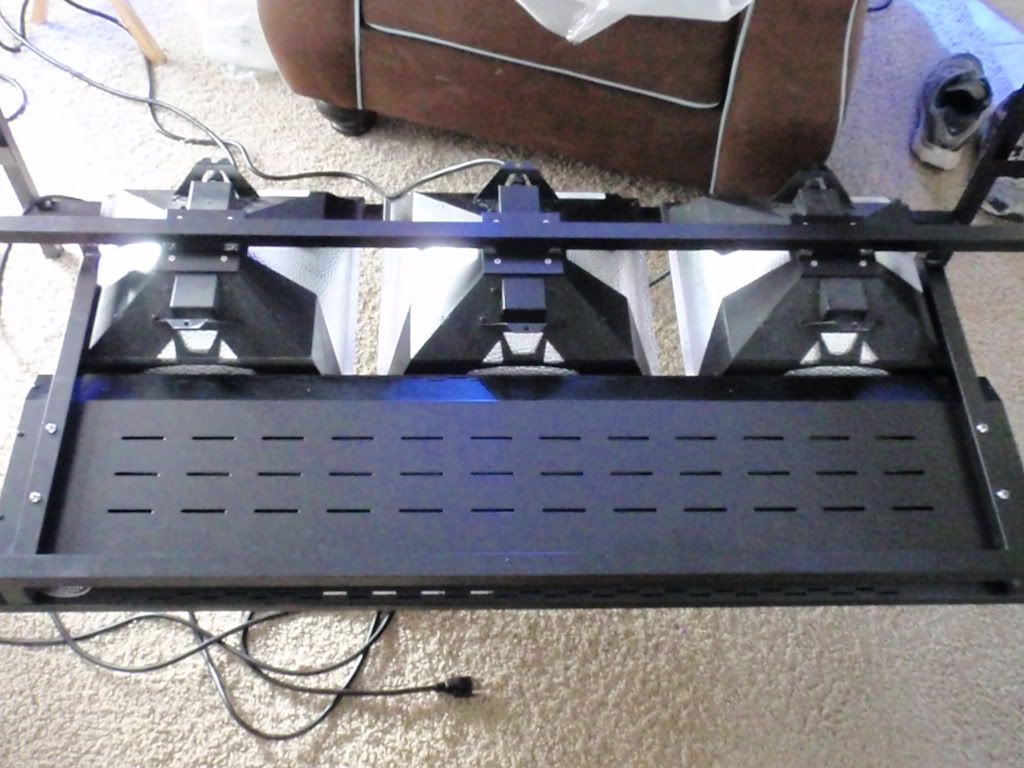
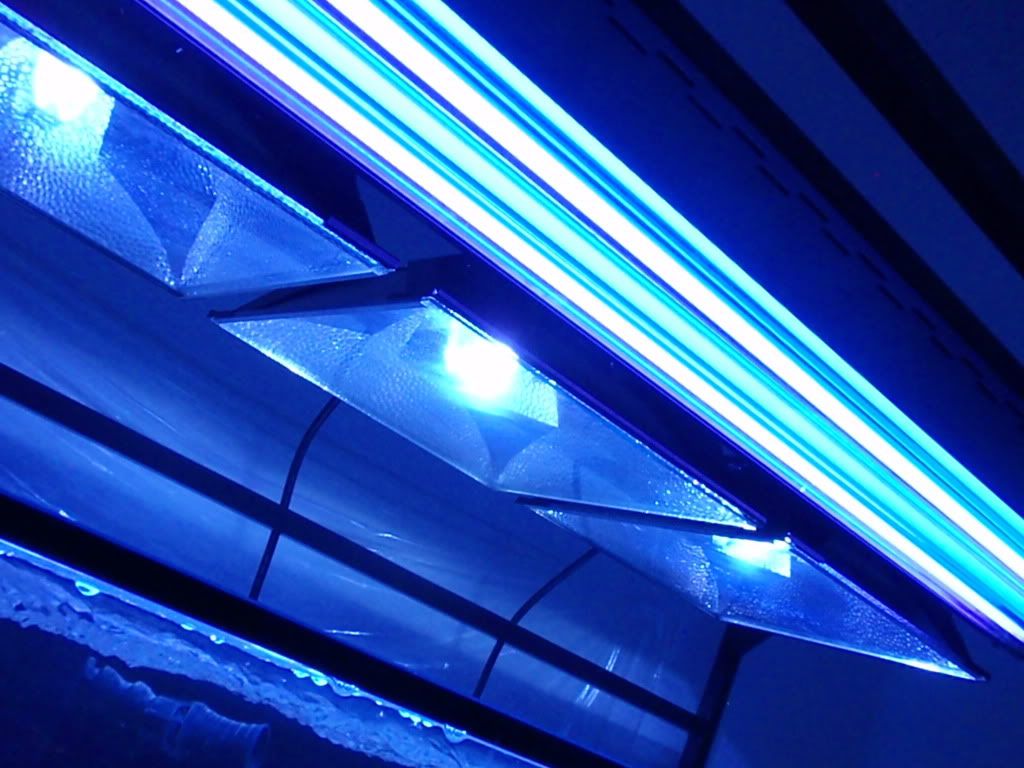
Along with that, I purchased a custom steel stand that measures 36"T so I don't have to bend down to see what I hope is an awesome tank. It'll be powdercoated black, and then skinned with nice dark stained walnut wood. I also had an aluminum light rack created to attach my three 250W LumenMax Elite fixtures and one 48-inch 4-bulb TEK light fixture, along with possibly a few LED strips for morning/sunset affects. This will also be skinned with the same material as the stand, and the top will remain open to help with ventilation, also assisted with some computer fans placed in between the MH fixtures (two blowing down, two blowing up).

Here are some sketches that were made in the planning stages...


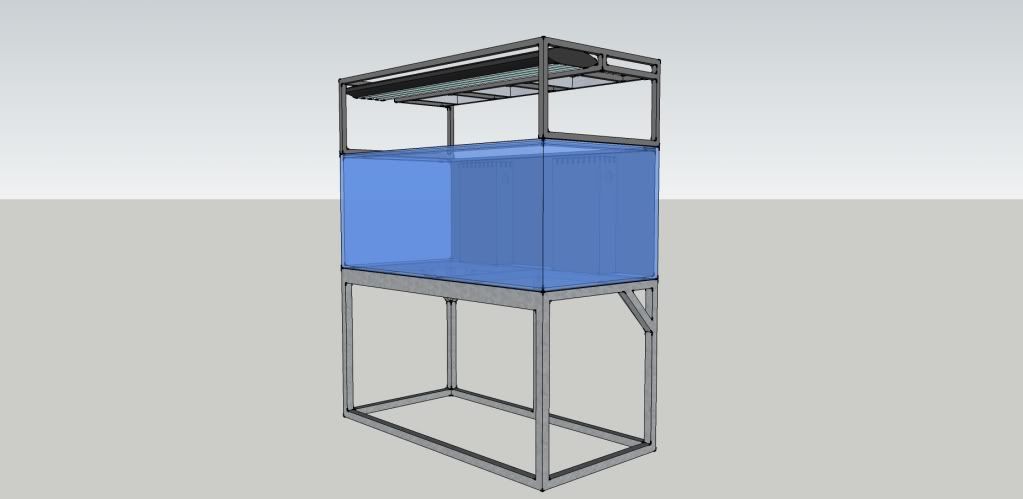
And a sketch with the stand and canopy skinned with wood...


Thanks for following!

-Chad
 
Joined
Nov 1, 2007
Messages
546
Likes
335
Points
28
#2
So, after some minor delays, the tank and stand were both finally in my house on Christmas Eve 2011... :yes2:


And I immediately started fillin' her up to test for leaks...


Luckily, it passed with flying colors... :dance:

-Chad
 
Joined
Nov 1, 2007
Messages
546
Likes
335
Points
28
#3
Not wasting too much time, I cut out some eggcrate and placed it where the rocks were going to be placed...


Rinsed out what seemed to be an endless amount of sand (CaribSea Special Grade Reef Sand mixed with a little bit of CaribSea Sugar-Sized Sand)...


Then placed it down into the tank (only 1- to 2 1/2-inches)...


-Chad
 
Joined
Nov 1, 2007
Messages
546
Likes
335
Points
28
#4
I had also pre-arranged my rocks (about 150 lbs. of Marco Dry Rock that I hand selected from Reef-a-Palooza) in my garage to map out what it would look like in the tank...


-Chad
 
Joined
Nov 1, 2007
Messages
546
Likes
335
Points
28
#5
And then placed each rock right into the tank one at a time to re-create what I had done in the garage...


-Chad
 
Joined
Nov 1, 2007
Messages
546
Likes
335
Points
28
#6
Then it was time to start fillin' her up... AGAIN (but this time with RODI water of course)...


-Chad
 

pgr11

Member
Supporter
Joined
Jul 26, 2011
Messages
11,011
Likes
92
Points
48
Location
Hesperia
#9
Looks real nice. Keep the pics coming. Looking forward to seeing how you skin the stand. Hopefully it will give me some ideas on doing mine in the future.

Sent from my DROIDX using Tapatalk
 
Joined
Nov 1, 2007
Messages
546
Likes
335
Points
28
#10
Before I topped her off though, I figured it would be a good idea to get started on the plumbing.

Here's what I had to work with...


So I cut the piping for my Herbie Overflow...


Then started the blueprint of the overall plumbing for the tank...


Then did a "mock-plumbing" to make sure my cuts were accurate...


Once the measurements were confirmed to be correct, I took it all apart and laid it out in my garage for their paint-job (used Krylon Fusion spraypaint)...


-Chad
 
Joined
Nov 1, 2007
Messages
546
Likes
335
Points
28
#11
Then the "final plumbing" commenced...


And here is essentially how it looks today...


All of this being powered by this little but very efficient and quiet pump... (the Eheim Compact+ 5000... this pushes 1320gph at only 86-watts).


-Chad
 
Joined
Nov 1, 2007
Messages
546
Likes
335
Points
28
#13
With the plumbing done and water running (near silent I might add), I started getting some more circulation in the tank (2 X Tunze Turbelle Stream 2 6085's and 2 X MP40WES- have yet to set up the MP40's since the Tunze seem to be doing an excellent job.


I then let the tank run without lighting for two weeks and no filtration (other than my in-sump refugium- which is planned to be a cryptic refugium and is already getting some substantial sponge growth) for about one week while dosing MicroBacter7 and Seachem Stability to get some bacteria in there.


I mainly did this for 2 reasons:
1) I had the time... since I was tinkering with other things and busy with post-Christmas get-togethers and what-not; and
2) I wanted to minimize algae growth in the tank during the cycle, and mistakenly used this method (no lights/no filtration) a while back on my old 60 gallon tank because my lights were delayed when I ordered them, which meant no lights the first 2 weeks and resulted in very little algae growth during the cycle.

-Chad
 
Joined
Nov 1, 2007
Messages
546
Likes
335
Points
28
#14
Then, after the first week, I started up my filtration...

My Vertex Alpha Cone 200...


And my two BRS Deluxe Media Reactors (one for carbon and one for GFO)...


-Chad
 
Joined
Nov 1, 2007
Messages
546
Likes
335
Points
28
#15
Then after 2 weeks, I tested to make sure my levels weren't crazy (which, was relatively great for only two weeks, there was 0 Ammonia and I think about 30ppm for Nitrate)... and decided to flip the switch on the lights!!! :lever:

Here's the original design for the light rack (made from the same guy that built my stand)...


Luckily, it turned out to look just as nice IMO (if not better) when it was actually built...


-Chad
 
Joined
Nov 1, 2007
Messages
546
Likes
335
Points
28
#16
Now for some horrible pictures that don't really capture the difference when just the T-5's are on, and then progressing to where all of the lights are on...


-Chad
 
Joined
Nov 1, 2007
Messages
546
Likes
335
Points
28
#17
About 2 weeks after the lights were on, and with a little algae growth, I decided to place my order for a small CUC (went with different types of snails- Trochus, Nerite, Nassarius, Cerith- and threw in a couple of Chitons). I plan on adding more later, but with the minimal algae growth I had going, I didn't want to order them just to let them die of starvation.

Here they are floating in their new home...


And here they are doing their job within minutes of being introduced...


-Chad
 
Joined
Nov 1, 2007
Messages
546
Likes
335
Points
28
#19
This whole time I had been QT'ing my first fish to be introduced (my 3-year old Yellow/Canary Wrasse). I plan on adhering to a pretty strict QT, treating with Cupramine for at least 3 weeks and then adding Prazipro in the last week, but ONLY AFTER the fish has started eating and seems to have settled into the QT will I start this treatment. I've been burned in the past with Ich (who hasn't) and don't want to risk introducing this into my tank if I can help it.

So in went my Wrasse (named "Sharpie" by my wife, since he looks like one of those bright yellow sharpie highlighters when he's swimming throughout the tank) after my levels were steady and he went through the full treatment...


Slightly larger than his old home of the last 3 years (my old 60 gallon which I now use as my QT).

-Chad
 
Joined
Nov 1, 2007
Messages
546
Likes
335
Points
28
#20
Then, just last week, I took the plunge and transferred all of my old pieces (that have all been waiting patiently in a holding/frag tank- some not so patiently... lost a few pieces unfortunately). I have been and will continue to observe them closely and will not permanently place any of them until I know that there are NO AIPTASIA or nuisance algae growing on the plugs/shells/rock.

Here's a few pics...

My Squamosa the day after (looks better everyday)...


My maximas... a gold and a blue one...


And some LPS frags...


Finally, a crappy FTS...


No close-up pics of the SPS yet, as most of them are bleached or browned out right now (these were the ones that were the least patient in the holding tank), but all of them are showing good to great PE, so I'm sure they'll color up sooner or later.

Thanks for following! Now onto those that posted in between my photos... hahaha... :peace:

-Chad
 
Top