I started posting about this build eslewhere but thought I'd share it with my RD friends (and those here in exile).
A few years back I had a large tank and multiple frag systems, until my wife and I decided to buy a house. I sold everything and was briefly tankless until my wife bought me a 55g bowfront to help scratch the reefing itch. However I never shook that desire to have another large tank.
My current tank sits in the living room which actually helped with this new project, since the noise of gurgling water and fans drives my wife crazy. This turned out to be the ideal ice breaker... "hey honey, you know how you hate the tank noise? Well how bout I eliminate the tank in the living room and have a tank in the office that we can still enjoy?" Answer: YES!
I also promised new carpet in the living room but it was a win-win!
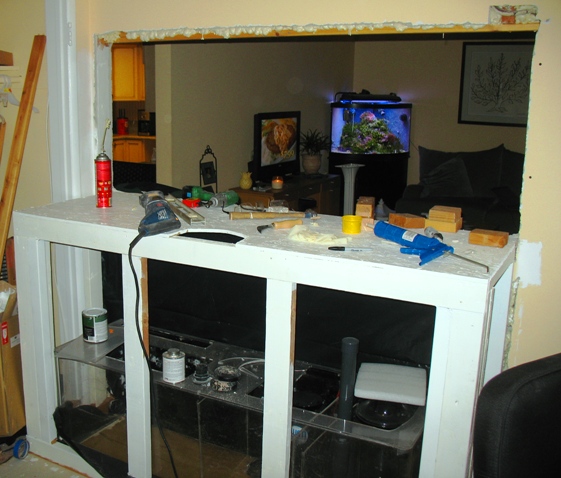
Anyway, the build began in August and has slowly progressed. Below are some of the first pictures of the stand and after ripping the hole in the wall.
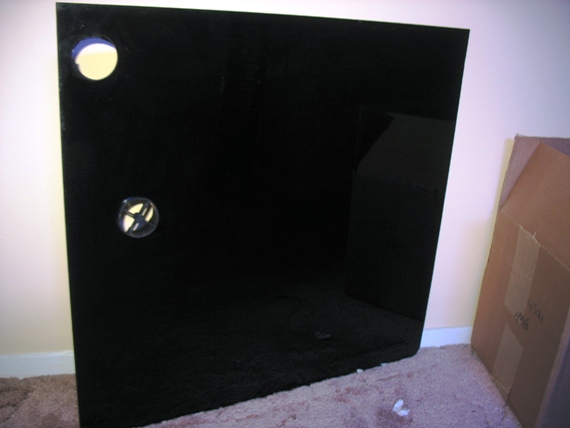
Here is the stand inside my home office (and fishroom to be). It is built into the wall studs and will probably still be standing even after the big one. The stand is 43" tall so that you can view the tank while standing in the living room and not have to bend to look down into the tank. Later I will be building a bench along the frame to stand on while working inside the tank (I don't get along well with stools or ladders).
The sump I made out of a 100g acrylic tank and has a 40g refugium section.
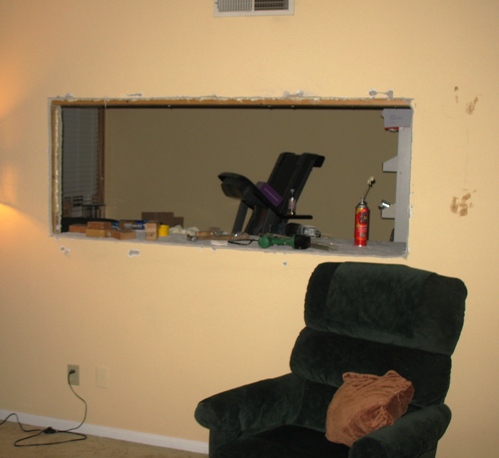
After cutting the hole through into the living room I don't think my wife was quite prepared for such a large hole or mess, but since I've been juggling other house remodeling tasks she was tolerant and didn't put on the brakes (whew).
Equipment list:
180g Lemar Eurobraced tank - 72x24x24
- Center overflow
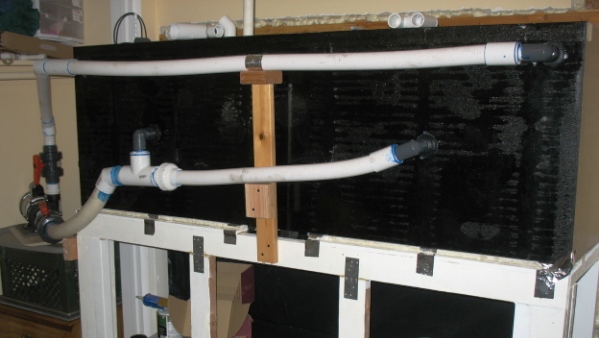
- Drilled back (x4) for closed loop
100g acrylic sump
- 40g refugium section and remote DSB
Vertex IN250 skimmer
WM media reactor
Korallin calcium reactor
Eheim 1262 return pump
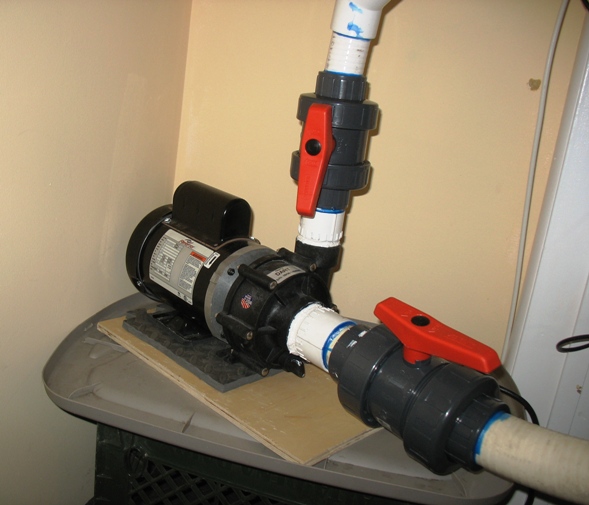
Dart closed loop (new Baldor motor version)
MP40W and several Tunze streams
Lighting wil be handled by an ATI Sunpower 60" 6x80w
Live Rock has been in a bin circulating and skimmed for months, then picked up a container of fiji pink (thanks Mike!).
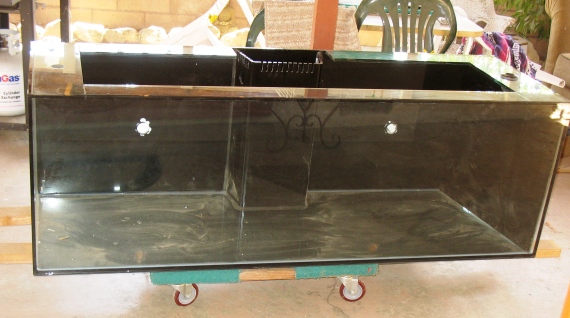
Here's the tank on the cart, LET'S ROLL
I would show pictures of us lifting the tank into the opening but there wasn't much to it other than lift and slide... plus taking a picture would have required someone not doing their job
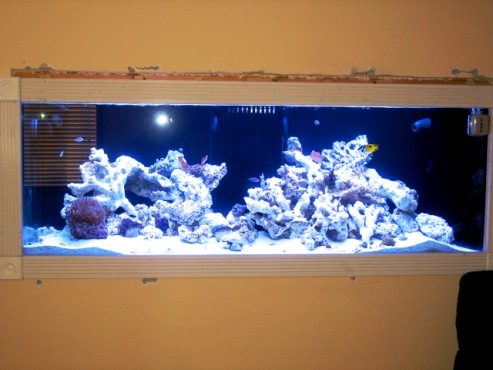
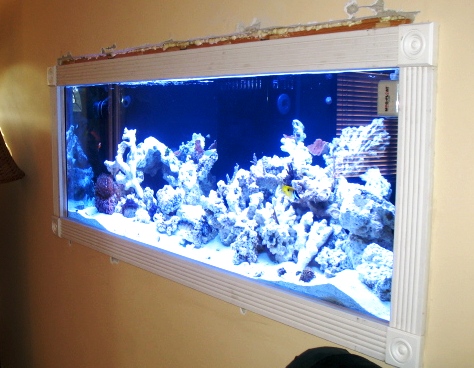
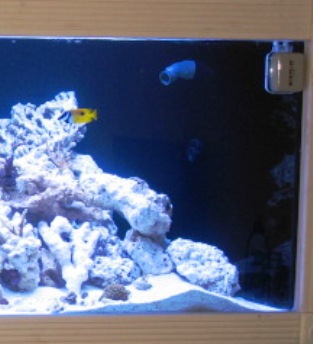
Here is the tank in place. Again, not much to look at. Yup that would be the same hole with a glass box now in it.
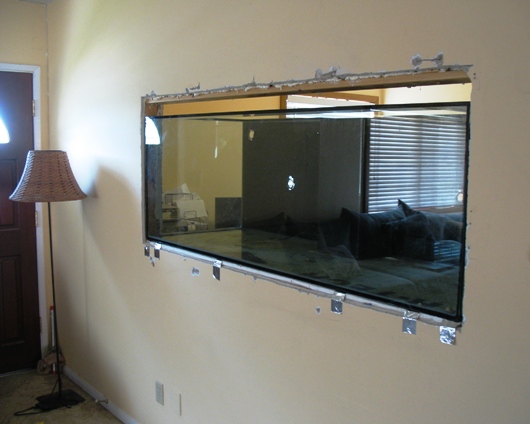
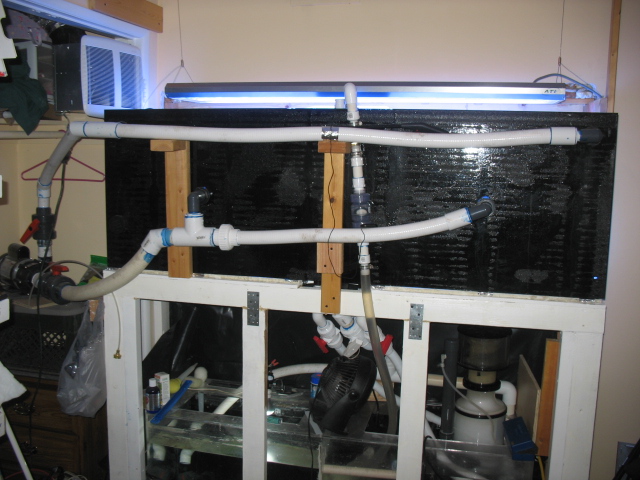
I spent that afternoon starring at the back contemplating the closed loop plumbing. I love Dart pumps but feeding a 2" inlet from a CL is a PITA (not the fur haters either).
Continued...
A few years back I had a large tank and multiple frag systems, until my wife and I decided to buy a house. I sold everything and was briefly tankless until my wife bought me a 55g bowfront to help scratch the reefing itch. However I never shook that desire to have another large tank.
My current tank sits in the living room which actually helped with this new project, since the noise of gurgling water and fans drives my wife crazy. This turned out to be the ideal ice breaker... "hey honey, you know how you hate the tank noise? Well how bout I eliminate the tank in the living room and have a tank in the office that we can still enjoy?" Answer: YES!
I also promised new carpet in the living room but it was a win-win!
Anyway, the build began in August and has slowly progressed. Below are some of the first pictures of the stand and after ripping the hole in the wall.
Here is the stand inside my home office (and fishroom to be). It is built into the wall studs and will probably still be standing even after the big one. The stand is 43" tall so that you can view the tank while standing in the living room and not have to bend to look down into the tank. Later I will be building a bench along the frame to stand on while working inside the tank (I don't get along well with stools or ladders).
The sump I made out of a 100g acrylic tank and has a 40g refugium section.
After cutting the hole through into the living room I don't think my wife was quite prepared for such a large hole or mess, but since I've been juggling other house remodeling tasks she was tolerant and didn't put on the brakes (whew).
Equipment list:
180g Lemar Eurobraced tank - 72x24x24
- Center overflow
- Drilled back (x4) for closed loop
100g acrylic sump
- 40g refugium section and remote DSB
Vertex IN250 skimmer
WM media reactor
Korallin calcium reactor
Eheim 1262 return pump
Dart closed loop (new Baldor motor version)
MP40W and several Tunze streams
Lighting wil be handled by an ATI Sunpower 60" 6x80w
Live Rock has been in a bin circulating and skimmed for months, then picked up a container of fiji pink (thanks Mike!).
Here's the tank on the cart, LET'S ROLL
I would show pictures of us lifting the tank into the opening but there wasn't much to it other than lift and slide... plus taking a picture would have required someone not doing their job
Here is the tank in place. Again, not much to look at. Yup that would be the same hole with a glass box now in it.
I spent that afternoon starring at the back contemplating the closed loop plumbing. I love Dart pumps but feeding a 2" inlet from a CL is a PITA (not the fur haters either).
Continued...