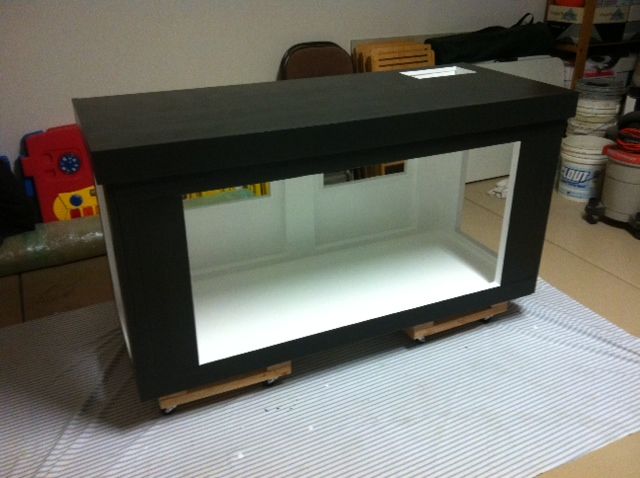
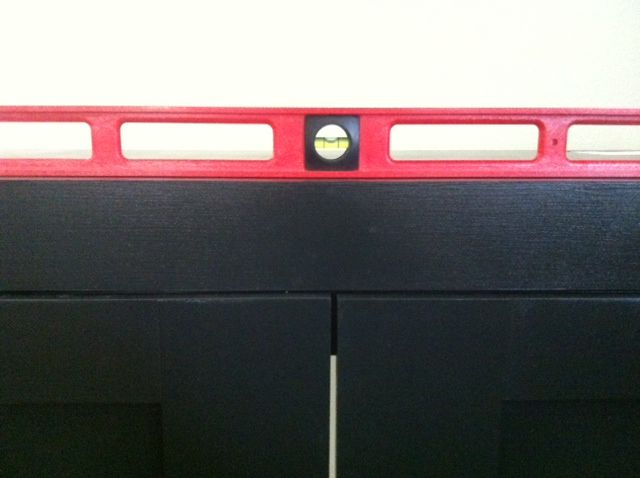
I added some top trim using finishing nails. I used a punch to recess the nails a bit, more wood filler and sanding and I got a nice smooth finish.
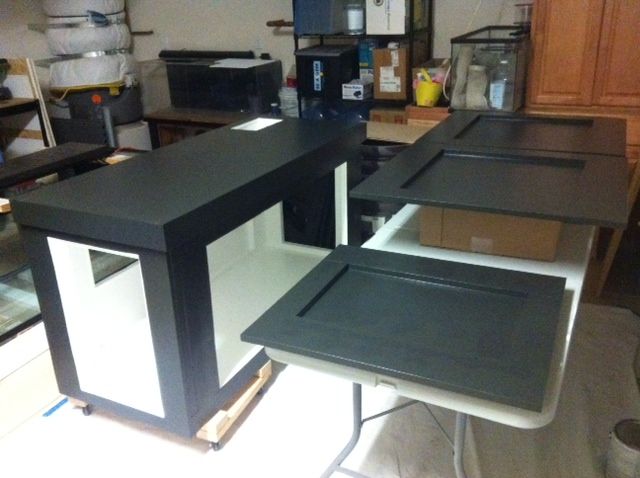
Onto the cabinet doors... I used some nice 1x4 and 1x6 pine from HD and I was going for a shaker style door. I again used the kreg jig and joined the wood with pocket holes and used wood plugs this time. Here are some shots of the wood plugs before and after sanding.
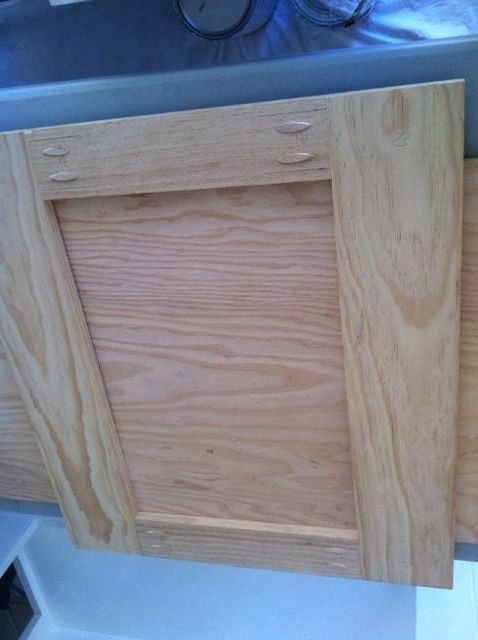
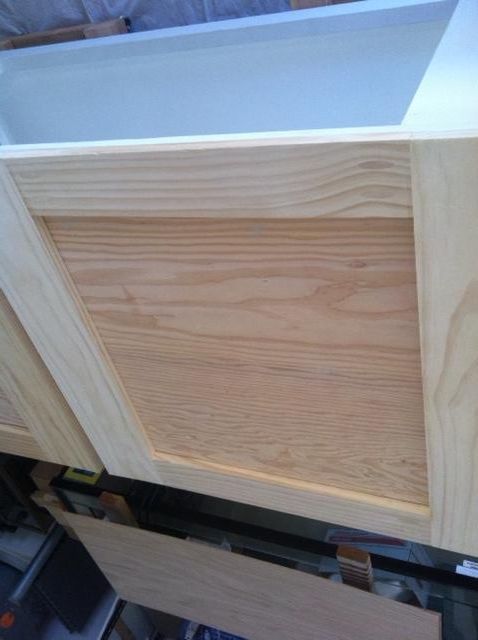
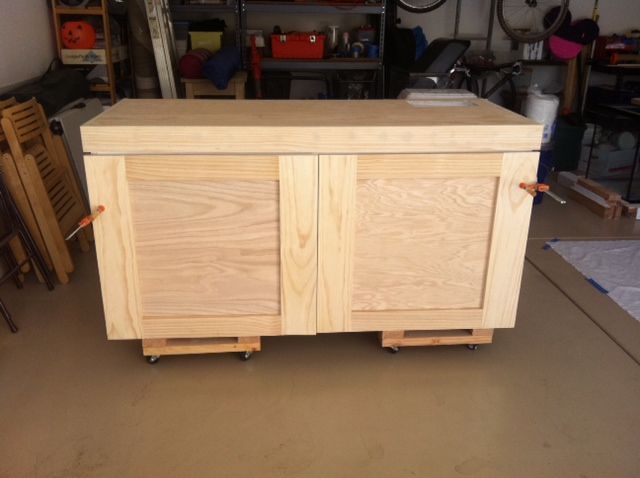
I didn’t take pics of the whole cabinet door building, but I used more left over in ply for the middle of the side door panels and some ” ply for the front panels. Used more wood filler to cover up the screw and finishing nail holes on the back of each door panel because I again wanted this thing to look as clean as possible (per wife’s request).
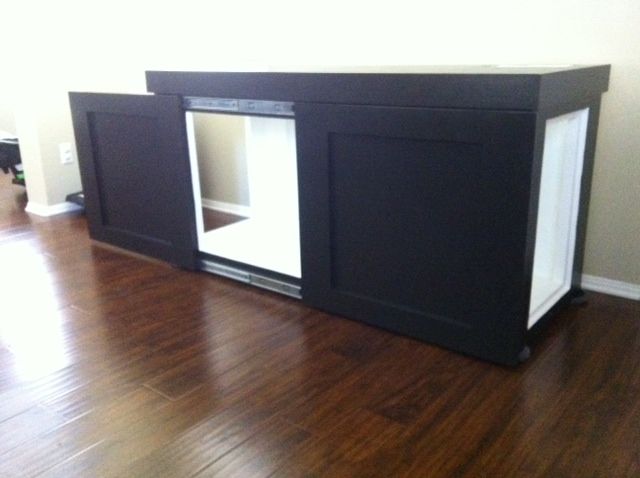
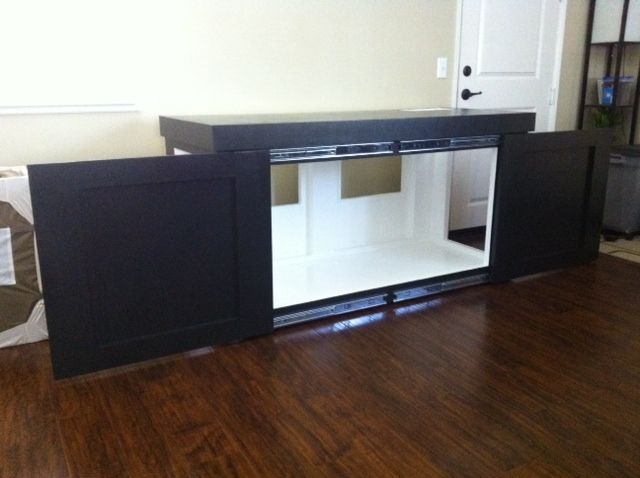
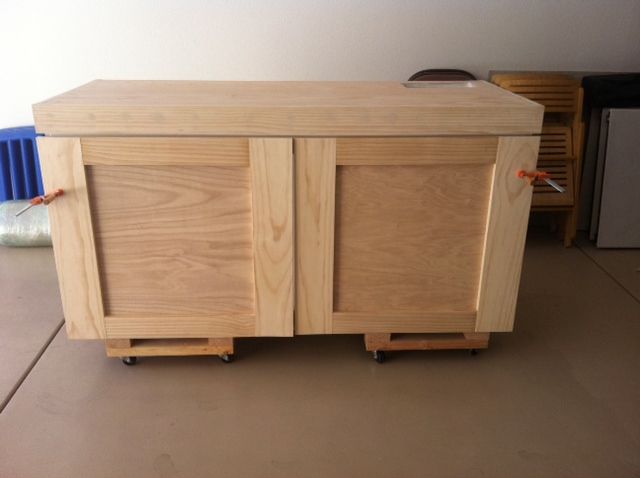
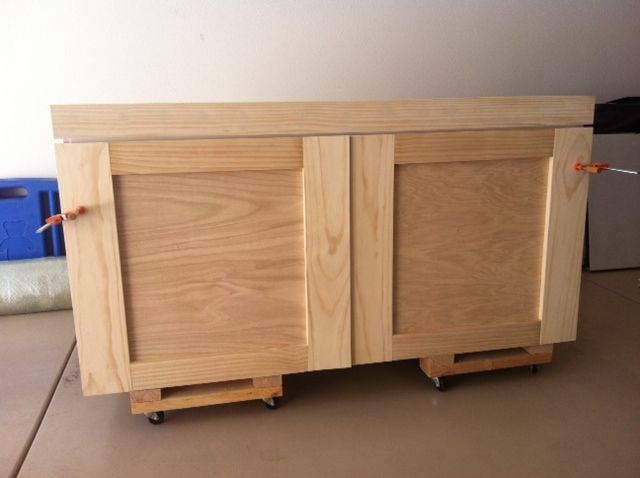
Here’s the end result. I only took some pics of the front door panels clamped in place so I could make sure I didn’t “F” anything up.
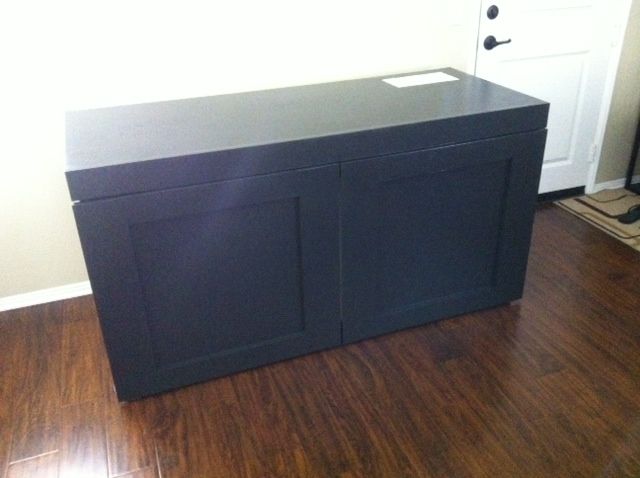
So doors are done. I would’ve stained them and the trim, but my woodworking skills were a bit sloppy and I’m afraid that stain wouldn’t work out so well or look so nice. My wife picked out a color she liked, kind of a black-brown espresso color (more on the black side to luckily hide some imperfections in the build), so I’m going to be doing some late night priming and painting this week and next. Also ordering some cabinet hardware, so hopefully the stand and tank will finally be in the house in the next couple weeks.
Then more fun stuff on the list, like reconfiguring a DIY sump I used on my old tank, plumbing, deciding on lights, aquascaping the pile o’ rocks I have waiting in the garage, deciding on reactors and flow, etc.—basically everything else a proper reef build needs.
More to follow in the coming weeks. I really hope my next update isn’t in another six months.
Hope you all enjoyed the pics.
Jay
Onto the cabinet doors... I used some nice 1x4 and 1x6 pine from HD and I was going for a shaker style door. I again used the kreg jig and joined the wood with pocket holes and used wood plugs this time. Here are some shots of the wood plugs before and after sanding.
I didn’t take pics of the whole cabinet door building, but I used more left over in ply for the middle of the side door panels and some ” ply for the front panels. Used more wood filler to cover up the screw and finishing nail holes on the back of each door panel because I again wanted this thing to look as clean as possible (per wife’s request).
Here’s the end result. I only took some pics of the front door panels clamped in place so I could make sure I didn’t “F” anything up.
So doors are done. I would’ve stained them and the trim, but my woodworking skills were a bit sloppy and I’m afraid that stain wouldn’t work out so well or look so nice. My wife picked out a color she liked, kind of a black-brown espresso color (more on the black side to luckily hide some imperfections in the build), so I’m going to be doing some late night priming and painting this week and next. Also ordering some cabinet hardware, so hopefully the stand and tank will finally be in the house in the next couple weeks.
Then more fun stuff on the list, like reconfiguring a DIY sump I used on my old tank, plumbing, deciding on lights, aquascaping the pile o’ rocks I have waiting in the garage, deciding on reactors and flow, etc.—basically everything else a proper reef build needs.
More to follow in the coming weeks. I really hope my next update isn’t in another six months.
Hope you all enjoyed the pics.
Jay