DIY Stand Build, 40B
- Thread starter SB_805
- Start date

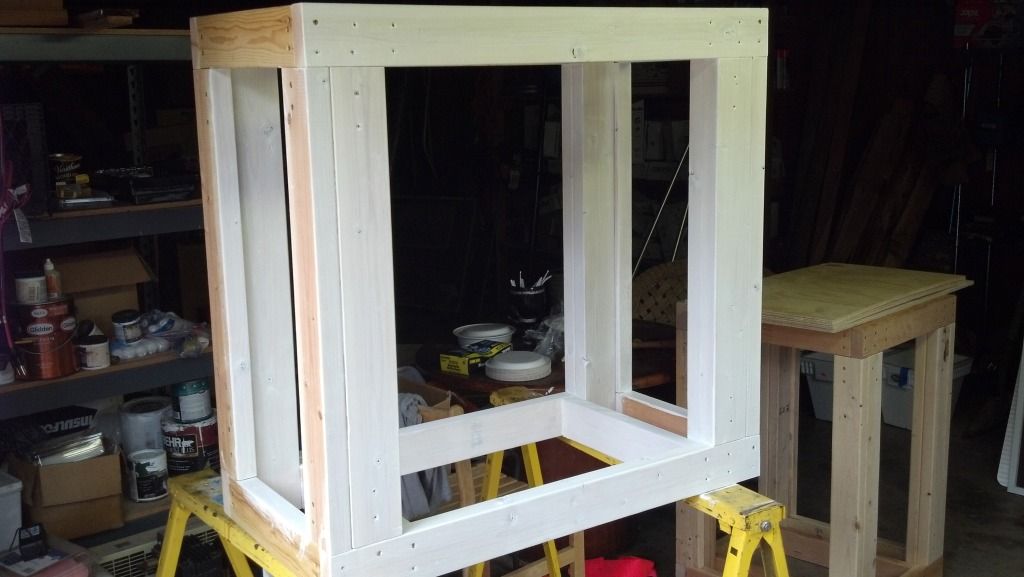


Alright...got some plywood layed down today!
Screwing down the right side panel.

Top, Left, and Right panels on.

View from front. I had some pieces cut, to frame around the front opening, but I measured wrong...lol. I'll have to re-measure, and re-cut.


The opening is 27", and the depth is 19". The sump I have, is 25.5" x 13.5", it'll be a perfect fit!!!

Screwing down the right side panel.
Top, Left, and Right panels on.
View from front. I had some pieces cut, to frame around the front opening, but I measured wrong...lol. I'll have to re-measure, and re-cut.
The opening is 27", and the depth is 19". The sump I have, is 25.5" x 13.5", it'll be a perfect fit!!!


I went with MDF, since it tends to be A LOT staighter than plywood, with less bow. I had them cut them to size, which was 1/2" bigger than the opening, so they overlap the face of the stand.
I used the same trim thats around the bottom of the stand, to frame the edges of the MDF pieces.
I then cut them to size, using the miter saw, at the 45 deg. setting.
Using small 3/4" wood screws (and the help of clamps), I screwed the trim to the MDF, from the the back side.
Next is to mount them to the stand, using "flush" style cabinet hinges!!


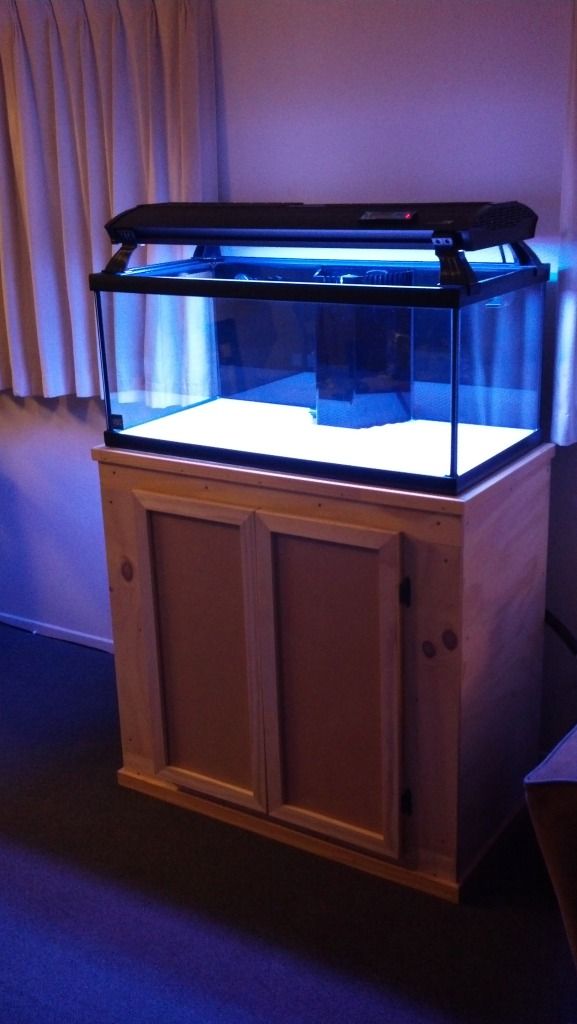
Well I coated the stand with 3 coats of semi-gloss clear. It didn't add much shine or luster (I'm glad), but hopefully it added some protection against water drips.

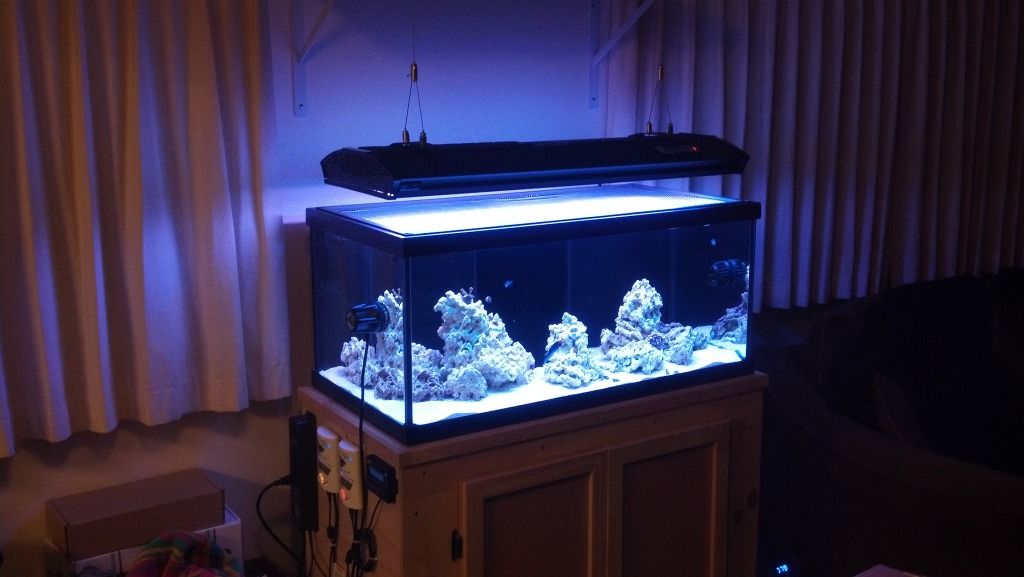
At first I used a 3 1/4" hole saw to core a hole for the overflow to run down to the sump. This ended up being too small, as the bulkhead would not fit through it. So I used a jigsaw to cut out a bigger hole. This worked perfect, and there's plenty of room to screw/unscrew the bulkhead.

At first I used a 3 1/4" hole saw to core a hole for the overflow to run down to the sump. This ended up being too small, as the bulkhead would not fit through it. So I used a jigsaw to cut out a bigger hole. This worked perfect, and there's plenty of room to screw/unscrew the bulkhead.


")