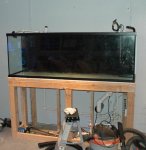
Time for me to document my move from a 135g tank to a new 300g tank. I have had the 135g for just over a year now and I felt that it was time to get bigger. Actually the wife pushed me to it because I can not finish the living room remodel until the tank is the way I want it. Here are some details:
300g Leemar glass tank
Front pane is Starphire
96"L x 24"W x 30"T
Black back
dual 5"x12" overflows in back corners
Drilled for closed loop, 1.5" drain and (4) 1" returns
(2) 1.5" drains in each overflow
(2) 3/4" returns in each overflow
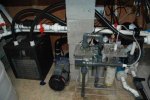
I have a 60g refugium and I just picked up a 90g acrylic tank that I am going to make into a sump. I have two GenX40's for my returns and a Sequence 5000gph pump for my CL.
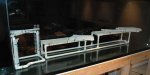
Hopefully I will be able to get the tank next week sometime. Was supposed to be delivered this Friday, but Leemar ran into a small delay. No worries, though. That gives me more time to get the stand built.
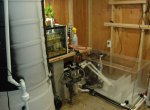
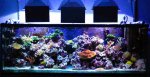
Here is the 135g a few days ago:
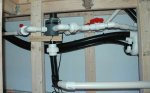
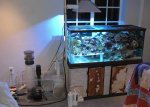
Here it is yesterday:
And here is my temporary 75g for holding my corals:
Dave
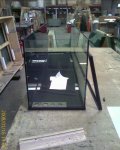
300g Leemar glass tank
Front pane is Starphire
96"L x 24"W x 30"T
Black back
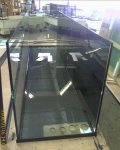
dual 5"x12" overflows in back corners
Drilled for closed loop, 1.5" drain and (4) 1" returns
(2) 1.5" drains in each overflow
(2) 3/4" returns in each overflow
I have a 60g refugium and I just picked up a 90g acrylic tank that I am going to make into a sump. I have two GenX40's for my returns and a Sequence 5000gph pump for my CL.
Hopefully I will be able to get the tank next week sometime. Was supposed to be delivered this Friday, but Leemar ran into a small delay. No worries, though. That gives me more time to get the stand built.
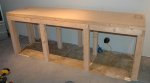
Here is the 135g a few days ago:
Here it is yesterday:
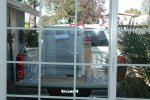
And here is my temporary 75g for holding my corals:
Dave


 roud:
roud: