Well here we go, first a 75g and now upgrading to a 150g
Here we start 3.5.10 through 3.6.2010
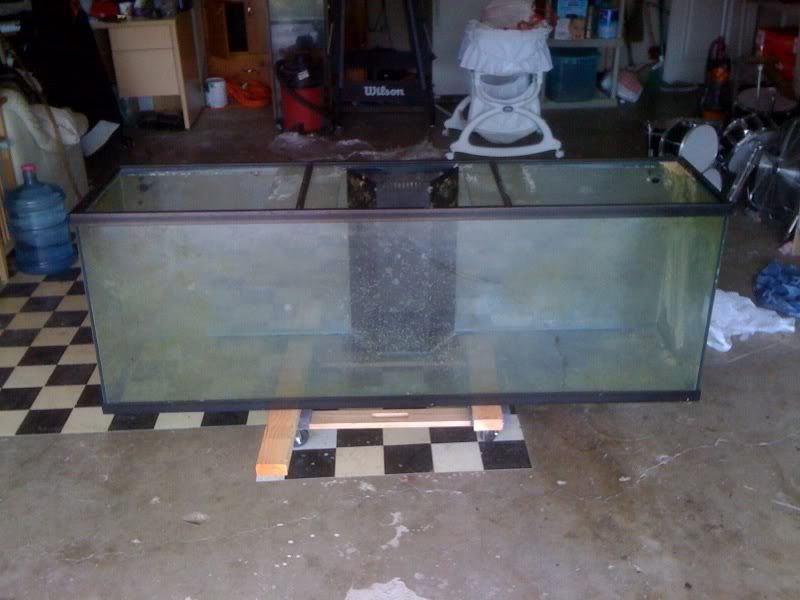
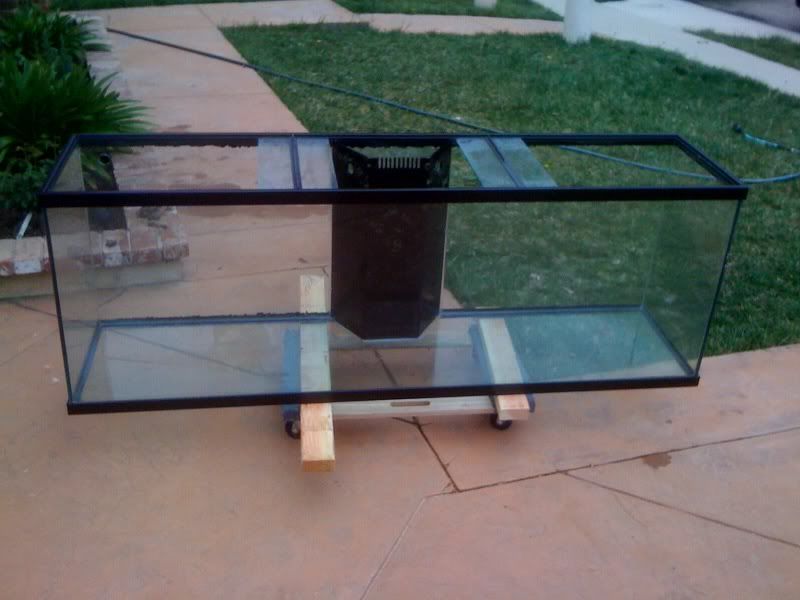
Tank just picked up
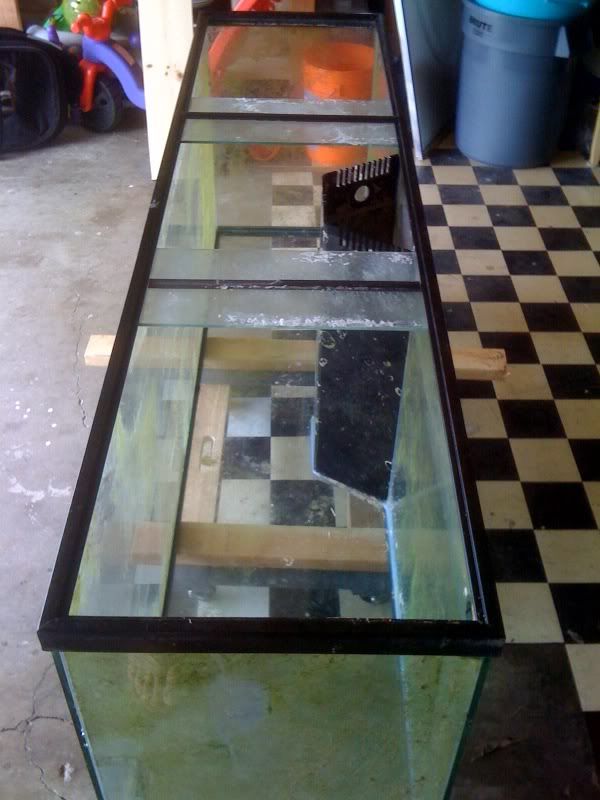
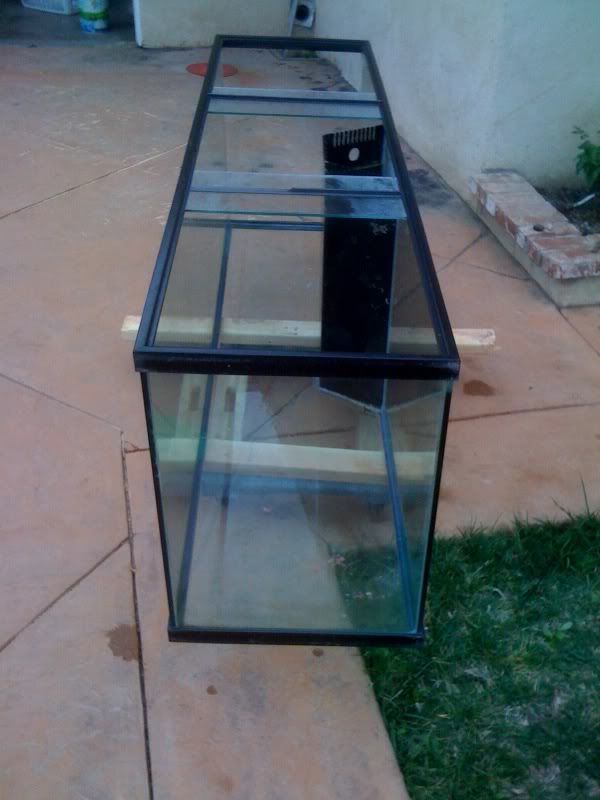
Tank just picked up from the side
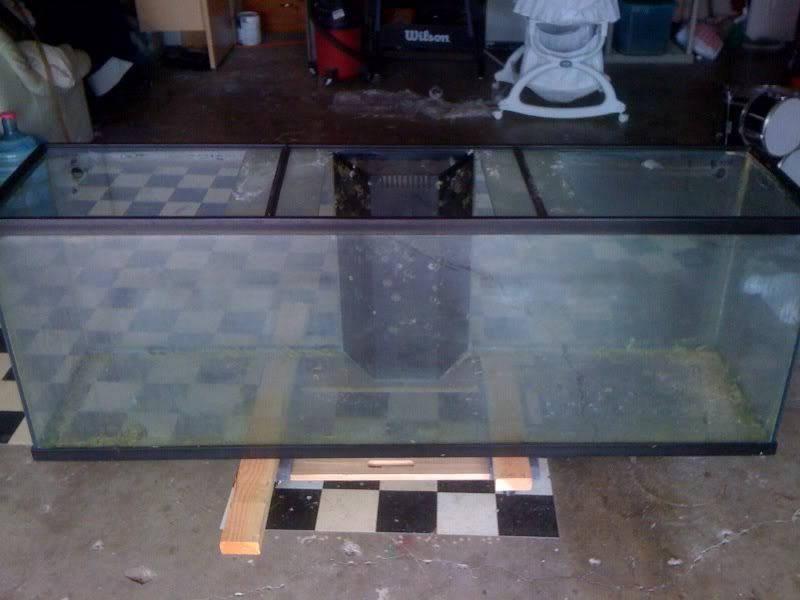
Tank after first razor blade scrap
Tank after first razor scrap side

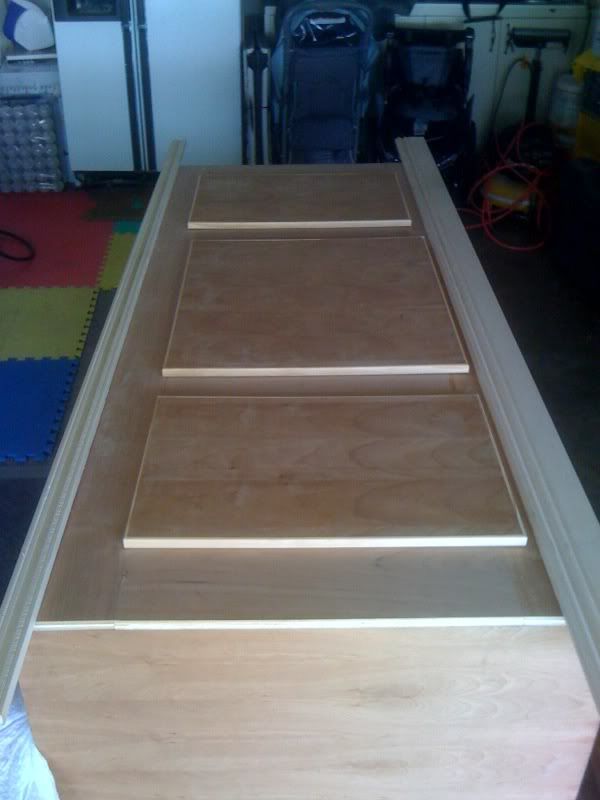
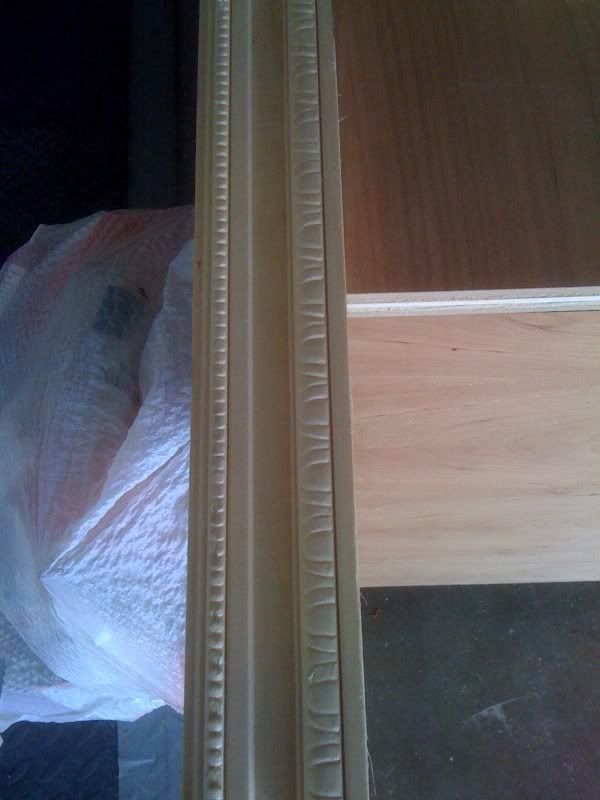
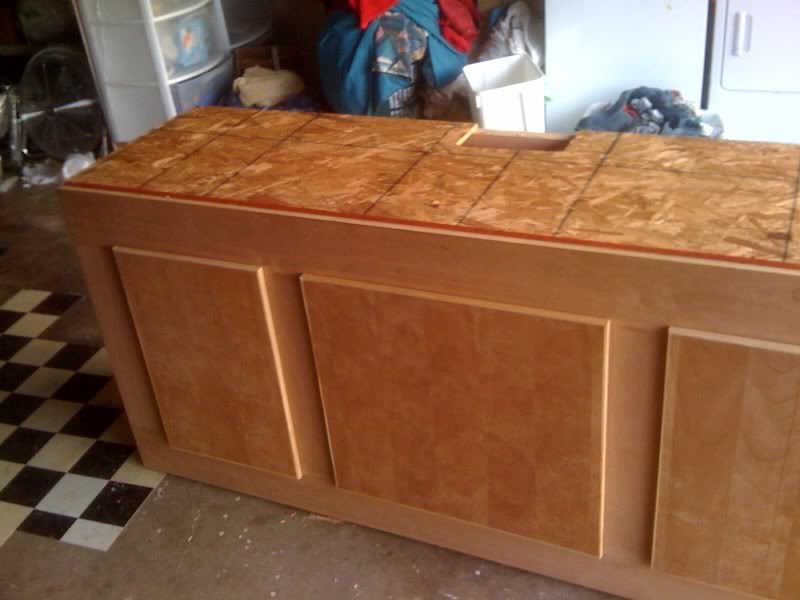
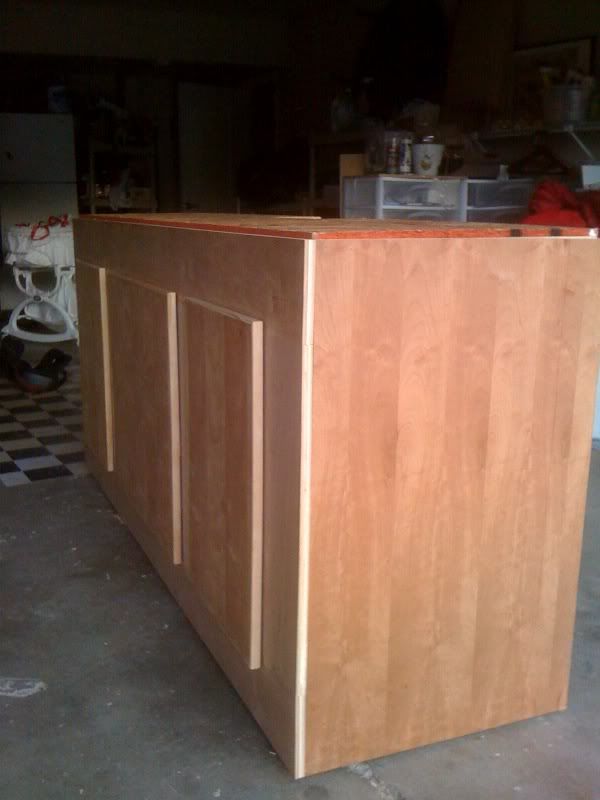
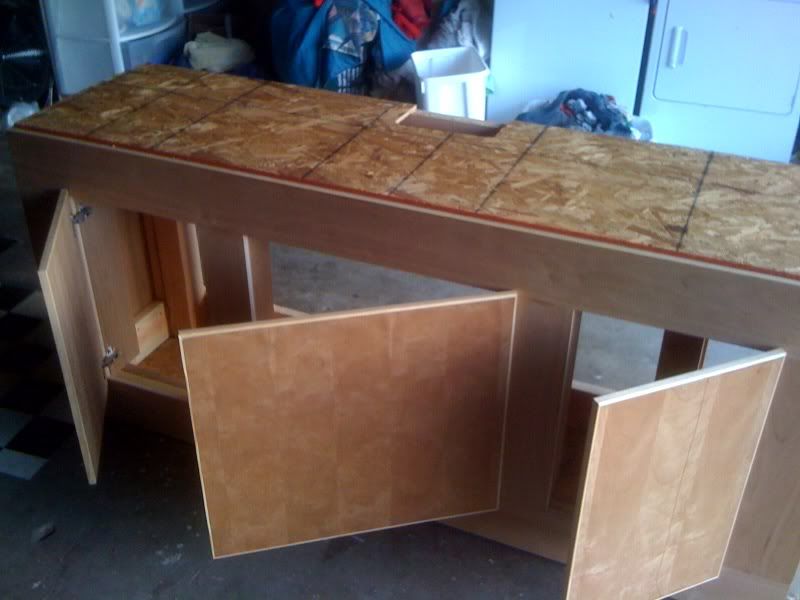
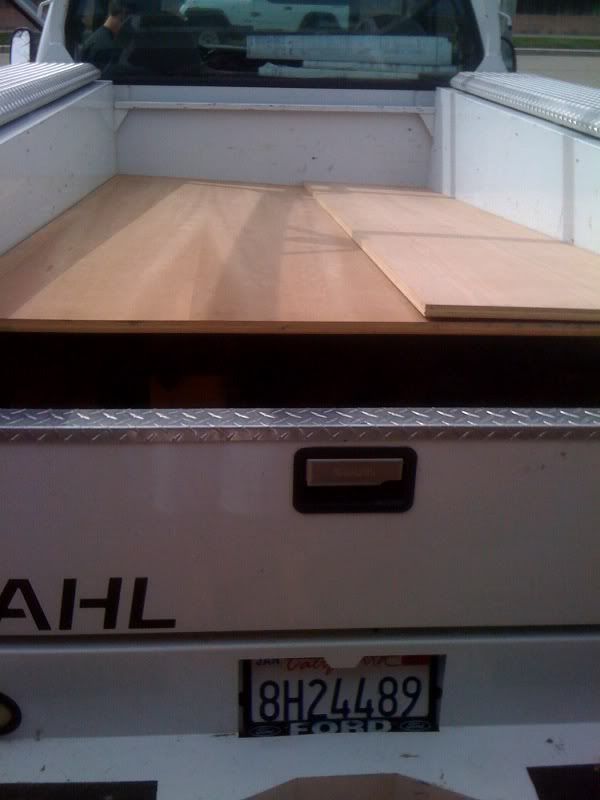
Tank stand materials just arrived - 2x4 - 2x6, 4x4, and some cherry plywood
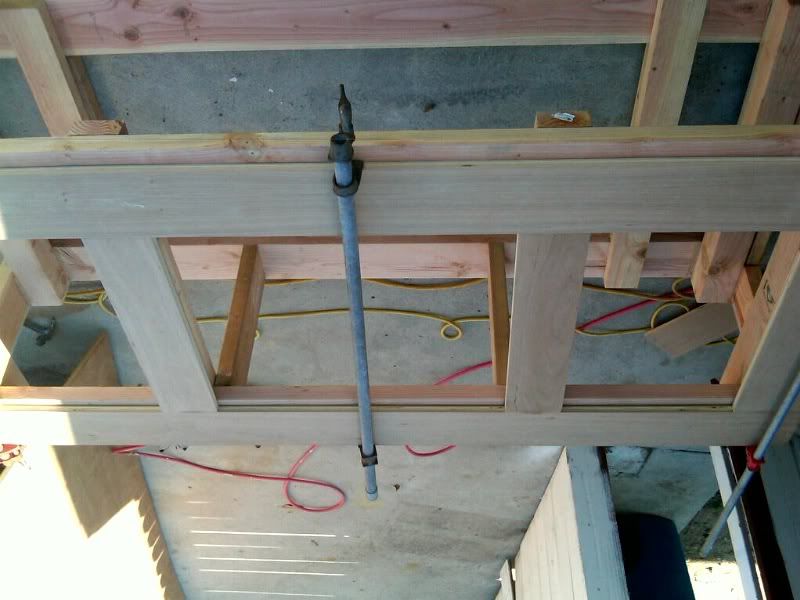
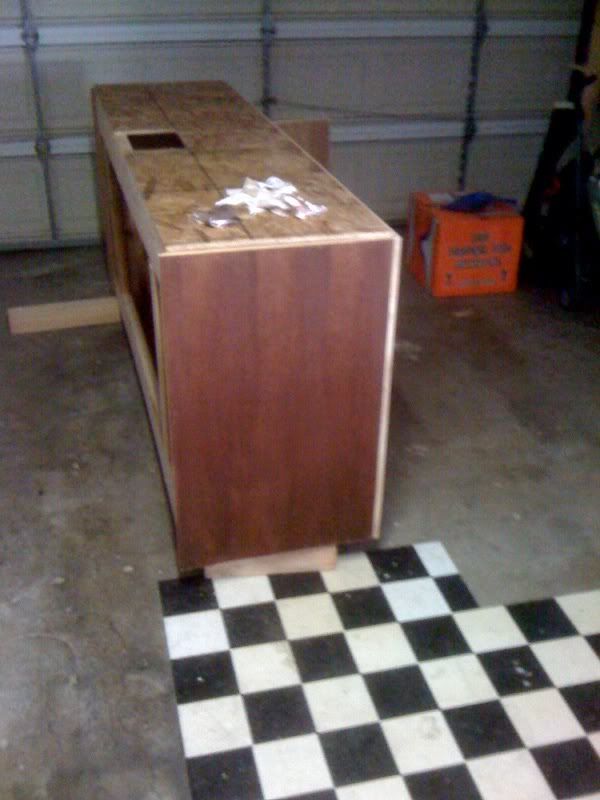
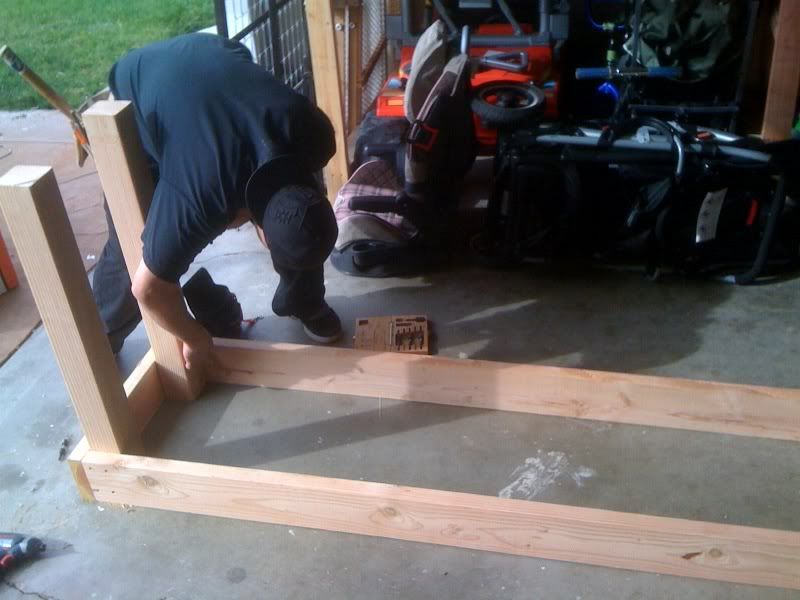
Tank stand build 1
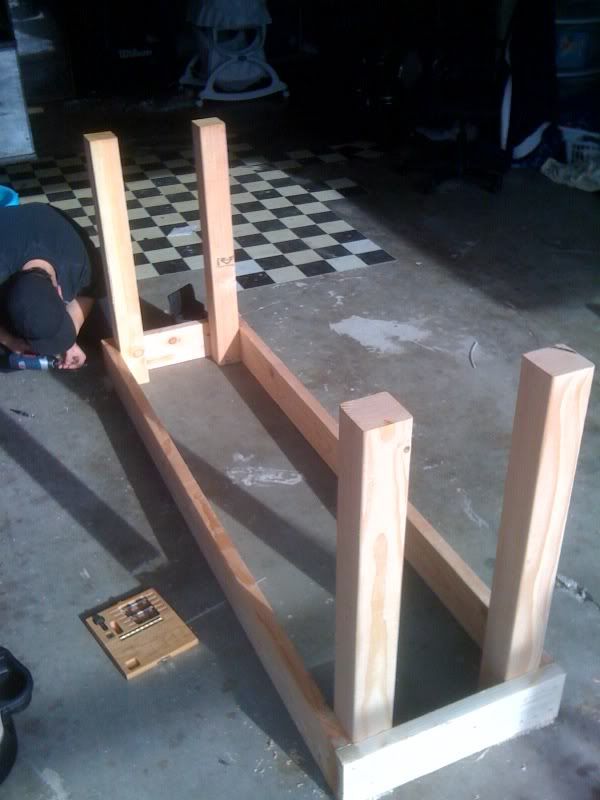
Tank stand build 2
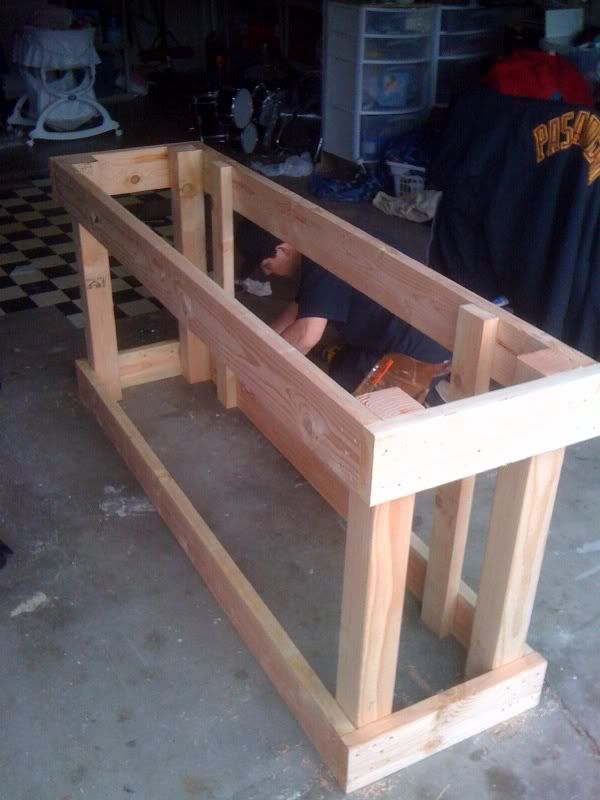
Tank stand build 3
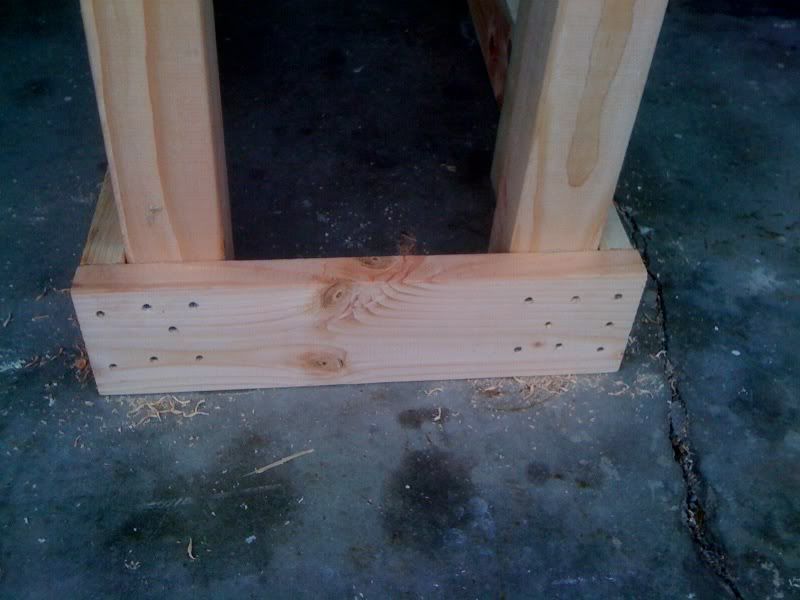
Tank stand hardware
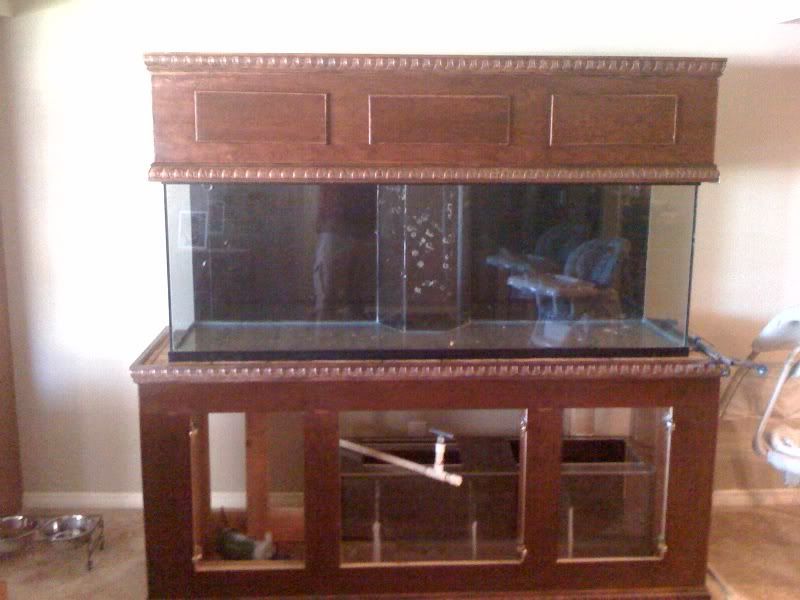
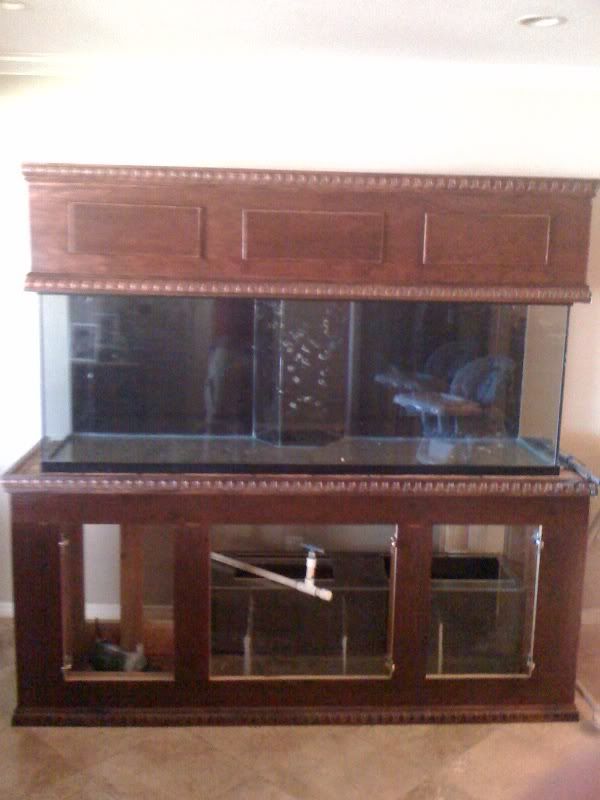
Tank after cleaning
Tank after cleaning side
Here we start 3.5.10 through 3.6.2010
Tank just picked up
Tank just picked up from the side
Tank after first razor blade scrap
Tank after first razor scrap side
Tank stand materials just arrived - 2x4 - 2x6, 4x4, and some cherry plywood
Tank stand build 1
Tank stand build 2
Tank stand build 3
Tank stand hardware
Tank after cleaning
Tank after cleaning side