i'm gonna make a very small and simple tutorial on how to quickly edit your macro or whatever shots of your corals... i know photoshop is complicated, but once you get to know it it'll be easy...
let me show you some examples on how i would edit some pics...
first i got a picture of liz's amazing soprano zoa... (hope she don't mind)...
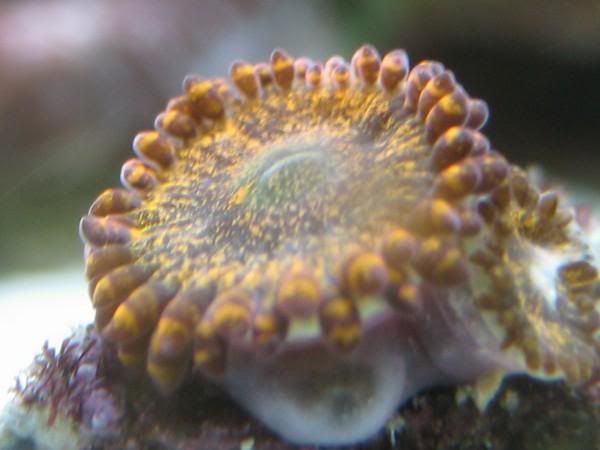
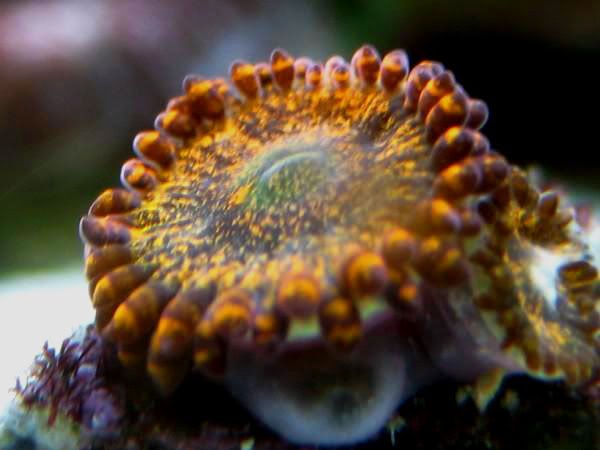
this was a picture i got from her, and this isn't a super amazing macro shot... i think it might be a camera phone picture... well whatever... it needs some major adjustments IMO... although she got mad when i photoshoped this picture the first time... LOL... but i'm artsy when it comes to pictures, so i'll edit it my way...
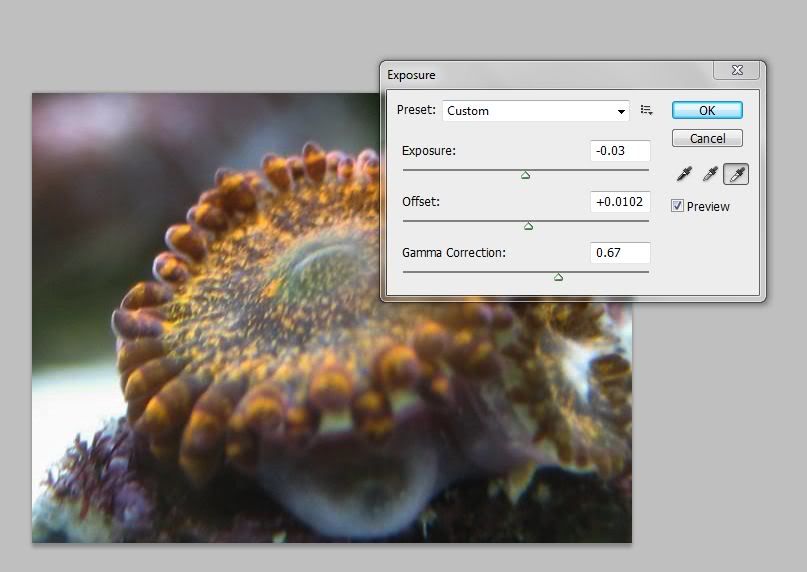
first thing i like to do is adjust the tone... you can auto tone it, but i hate the auto tone... although it works most of the time... not for me... i do this by adjusting the exposure... i'm not gonna get technical with it, because everyone has their own taste amirite...? so yeah...
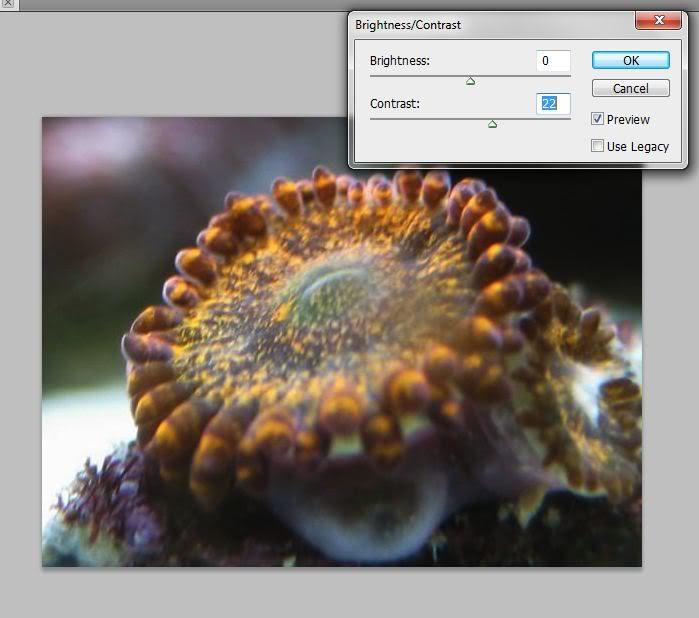
next i adjust the contrast... this kind of gets rid of the white balance but not really... LOL... it just needs to get a tiny bit darker... TINY BIT!!!... don't darken it a whole lot, you will lose colors...
now for saturation... this is a somewhat tricky, but very simple effect... check out this video... oh shnap... i have to find it again... fail... this video...
http://www.youtube.com/watch?v=gDB_FMRRlk8
it explains how it works... but anyways... i adjust a bit of the saturation by master, just to get all the colors on the live rock/frag plug out...
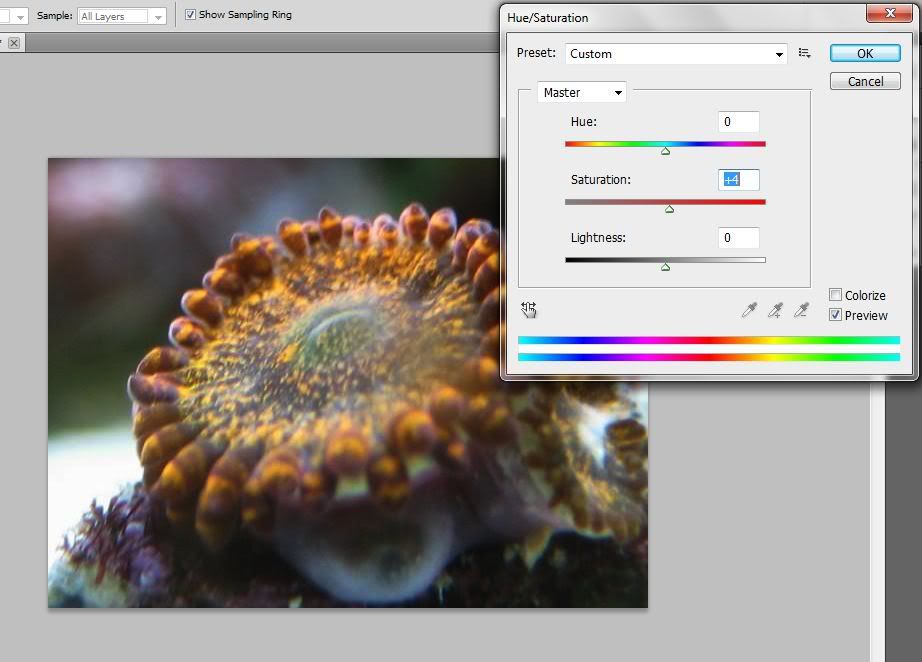
first i saturate the greens... since the mouth is green and it's like super grey... whatever... but check it out... you see where i moved the little green bar in the bottom...? i also spread the green out to some of the yellow and a tiny bit of the blue... why...? because when you saturate the greens, it doesn't have such a loud/violent cut off... watch...

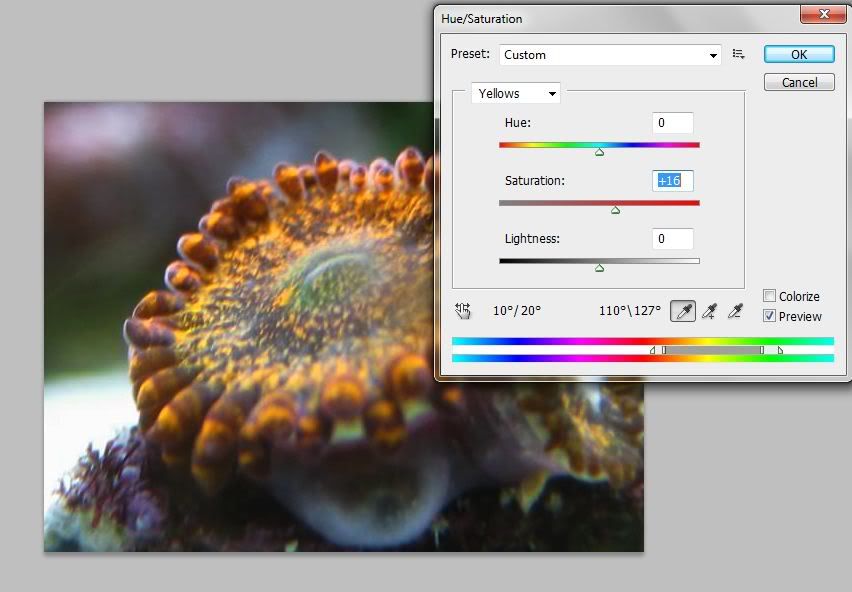
now i do the yellow... did the same exact thing... got some of the reds in there to bring out the oranges and sharp lines around the gold on the zoas...
wait... now i forgot what i was doing... ugh... i haven't slept, hold on... jaskdlfjaskl;djfkasl;jfdal
oh yeah...
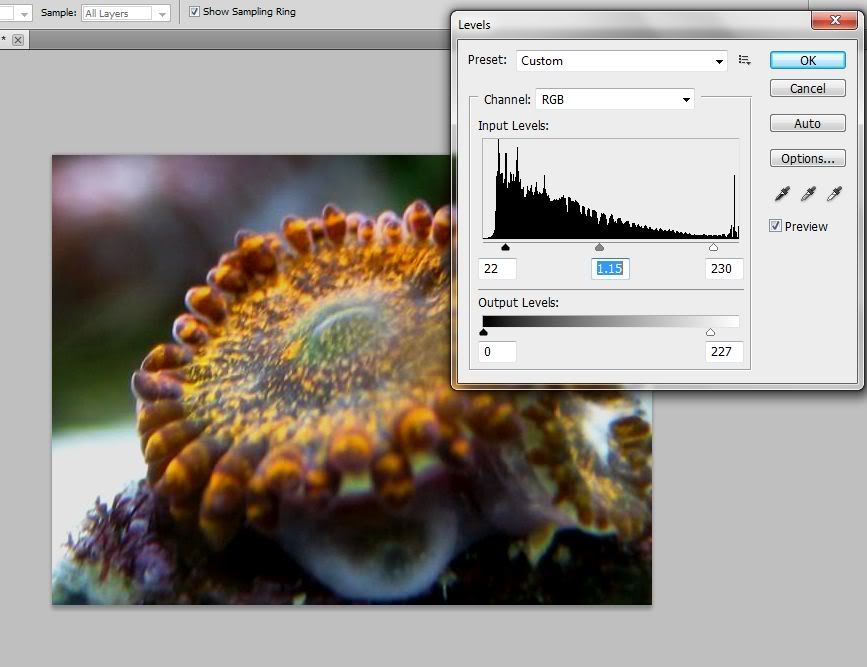
levels... the final thing is i deleted some un necessary levels... this lightens/darkens the picture and finally fixes the white ballance... remember i said not to darken the picture all the way... i usually just adjust as master, unless it's a super huge detailed picture that has multiple layers and such... anyways... i take out some of the colors start from the right... gets rid of the bright tones... then the left... then even out the balance with the middle thingy... LOL... the bottom bar is to fine tune it... i don't know how to explain it right now... maybe after i get some sleep i'll get into details, but just play with it... you'll notice what it does...
and here is the final product...
here's another quick edit i did before... this was with auto tone, auto contrast, a bit of saturation and levels... but i don't think it's a good quality edit... i just did it to be a jerk and make liz mad... LOL... i ♥ liz...
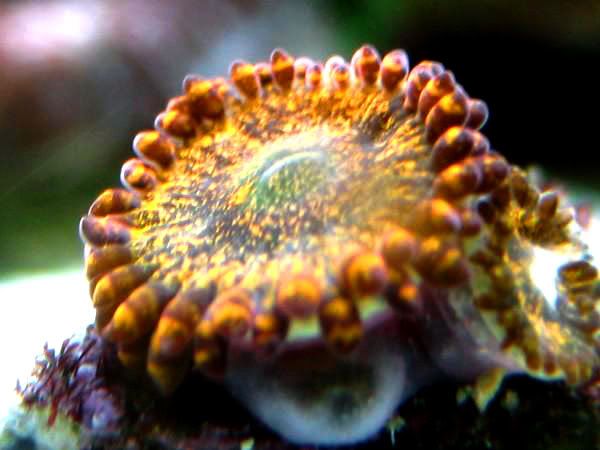
the saturation is pretty fail on that one... you can see the green blocked and other stuff... but also, the polyp looks WAY awesome and em ay zing... that's kind of how online stores and stuff show them to you... it really sells the coral... whatever... when i wake up and if i remember, i'll do like a chalice or something else with more color... or, or, or... put up a picture you want me to edit... i'll do steps again... whatever... good nite...
let me show you some examples on how i would edit some pics...
first i got a picture of liz's amazing soprano zoa... (hope she don't mind)...
this was a picture i got from her, and this isn't a super amazing macro shot... i think it might be a camera phone picture... well whatever... it needs some major adjustments IMO... although she got mad when i photoshoped this picture the first time... LOL... but i'm artsy when it comes to pictures, so i'll edit it my way...
first thing i like to do is adjust the tone... you can auto tone it, but i hate the auto tone... although it works most of the time... not for me... i do this by adjusting the exposure... i'm not gonna get technical with it, because everyone has their own taste amirite...? so yeah...
next i adjust the contrast... this kind of gets rid of the white balance but not really... LOL... it just needs to get a tiny bit darker... TINY BIT!!!... don't darken it a whole lot, you will lose colors...
now for saturation... this is a somewhat tricky, but very simple effect... check out this video... oh shnap... i have to find it again... fail... this video...
http://www.youtube.com/watch?v=gDB_FMRRlk8
it explains how it works... but anyways... i adjust a bit of the saturation by master, just to get all the colors on the live rock/frag plug out...
first i saturate the greens... since the mouth is green and it's like super grey... whatever... but check it out... you see where i moved the little green bar in the bottom...? i also spread the green out to some of the yellow and a tiny bit of the blue... why...? because when you saturate the greens, it doesn't have such a loud/violent cut off... watch...
now i do the yellow... did the same exact thing... got some of the reds in there to bring out the oranges and sharp lines around the gold on the zoas...
wait... now i forgot what i was doing... ugh... i haven't slept, hold on... jaskdlfjaskl;djfkasl;jfdal
oh yeah...
levels... the final thing is i deleted some un necessary levels... this lightens/darkens the picture and finally fixes the white ballance... remember i said not to darken the picture all the way... i usually just adjust as master, unless it's a super huge detailed picture that has multiple layers and such... anyways... i take out some of the colors start from the right... gets rid of the bright tones... then the left... then even out the balance with the middle thingy... LOL... the bottom bar is to fine tune it... i don't know how to explain it right now... maybe after i get some sleep i'll get into details, but just play with it... you'll notice what it does...
and here is the final product...
here's another quick edit i did before... this was with auto tone, auto contrast, a bit of saturation and levels... but i don't think it's a good quality edit... i just did it to be a jerk and make liz mad... LOL... i ♥ liz...
the saturation is pretty fail on that one... you can see the green blocked and other stuff... but also, the polyp looks WAY awesome and em ay zing... that's kind of how online stores and stuff show them to you... it really sells the coral... whatever... when i wake up and if i remember, i'll do like a chalice or something else with more color... or, or, or... put up a picture you want me to edit... i'll do steps again... whatever... good nite...
Last edited: