A little history about myself...I've been out of the hobby for about 6 or so years. I started off like many with a semi natural progression... 40g fresh, and then went to a 10g salt w/ a clown -> 40g reef -> 60g reef -> 190g reef. I took down my previous tank mostly because of a move and over the last few years I've lurked on the boards from time to time to see what was going on.
About 3 months ago I jumped online and started reading up on some of the new technology that really has improved the ease and maintenance of the hobby. After reading about the LED's and the thought of not having the heat and electric bill of MH's I was ready to jump back in.
After much research I decided this next tank would be a cube. I originally started off with a small tank in mind...something easy...right...what was 40 turned into maybe 60, then 80, then why not just do 100! It seemed to grow by the day so i just ordered the 100 so it wouldn't grow anymore!
I posted on this board asking for advice for a local tank builder and Ron from Coral Obsessions almost instantly PM'ed me and offered his assistance. We hit it off and I ended up working with him not only on the tank itself but a lot of my equipment. He was fantastic and relayed all the expectations of the tank to Lee-Mar which turned out great. I also purchased a bunch of the equipment from him and he gave me great deals on it...better prices then everyone online for all the items he could discount. Plus top notch service and a willingness to help which is hard to find. I highly recommend.
Many thanks to all those who I borrowed little bits of your designs and ideas.
Tank: Lee-Mar 30x30x28 (I had to go 28 after I noticed I had to fit through a 30" door), 3 sides are starfire, bottom tempered, 1x 1.5 drain, 2x 3/4 return. The wait for it was long but I love the tank. Great work.
Stand+Canopy: Lee-Mar, 3 full doors, cappuccino paint.
Lighting: Radion XR30w LED
Flow: 2x Vortech MP40 w/ battery backup
Skimmer: Reef Octopus Extreme XS200
Return: Mag 12
Reactors: BRS Dual Reactor GFO & Carbon (running off main return manifold)
Top Off/Dosing: BRS Doser (Kalk + Topoff)
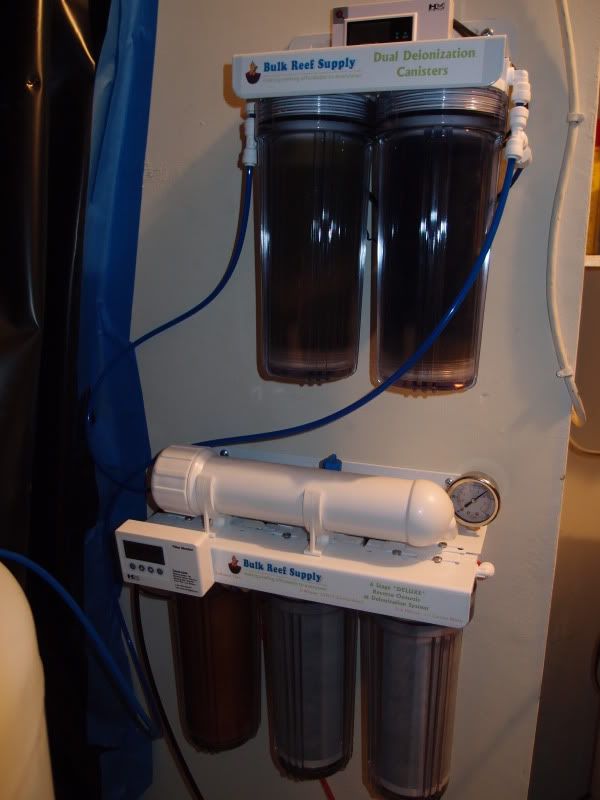
RO/DI: BRS 75 GPD RO/DI 6 Stage *DELUXE* System
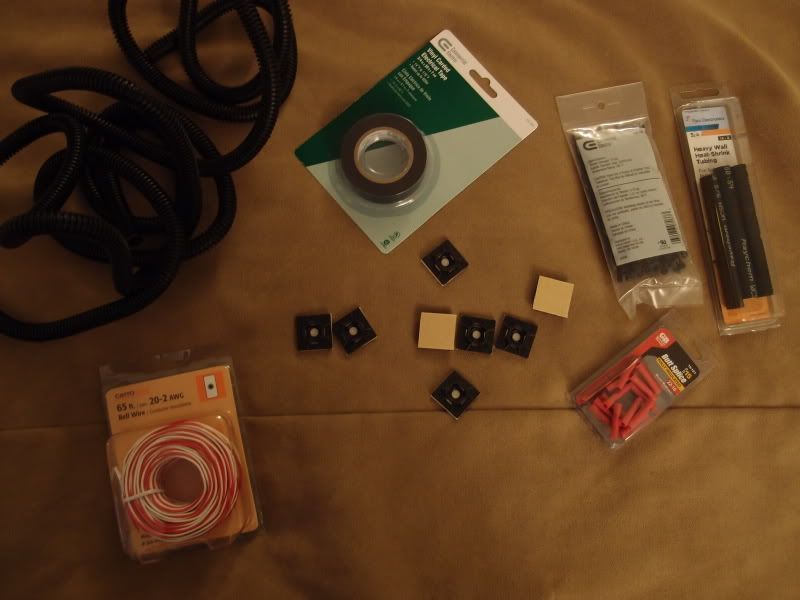
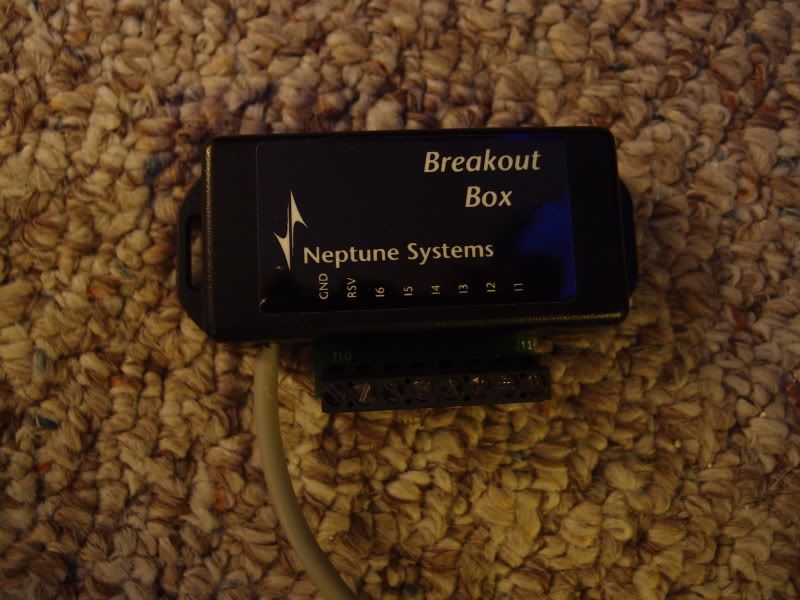
Controller: Neptune APEX
*As I'm writing this the tank is actually up and running...I wanted to have enough content to start a good thread.
While I was waiting for Lee-Mar to finish my tank (a long wait!) I had time to work on a few projects:
Water Storage:
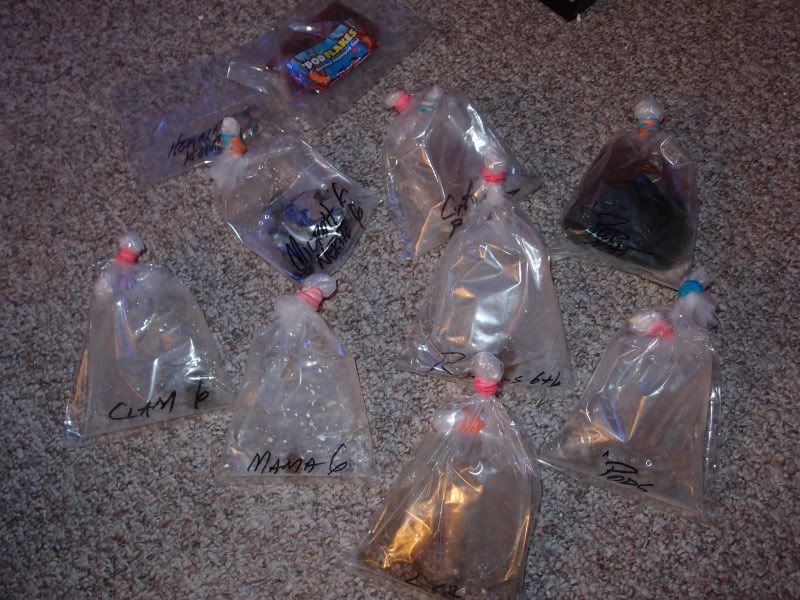
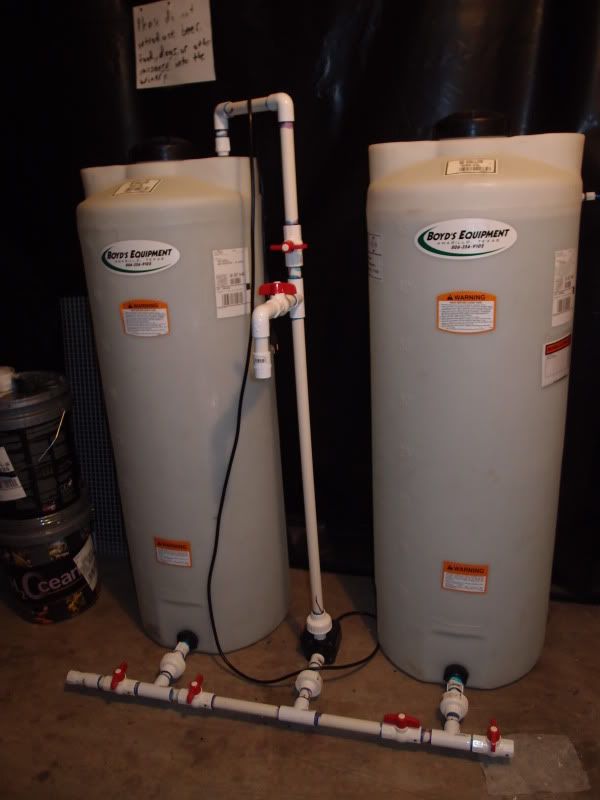
I wanted to make sure I had plenty of fresh and salt water always ready and waiting for me. I ordered 2x 45g drums from eBay and setup my plumbing so that it's as close to automated as I was comfortable with. The RO/DI kicks on automatically and stop using a float valve on the top of one of the drums. The connecting plumbing allows me to pump from fresh to salt tanks and also pump independently from either tank into a 5g container for transport to the tank.
Excuse the black tarp background and signit splits the 3rd stall in the garage off into our winery. Another little project.
Aquascaping:
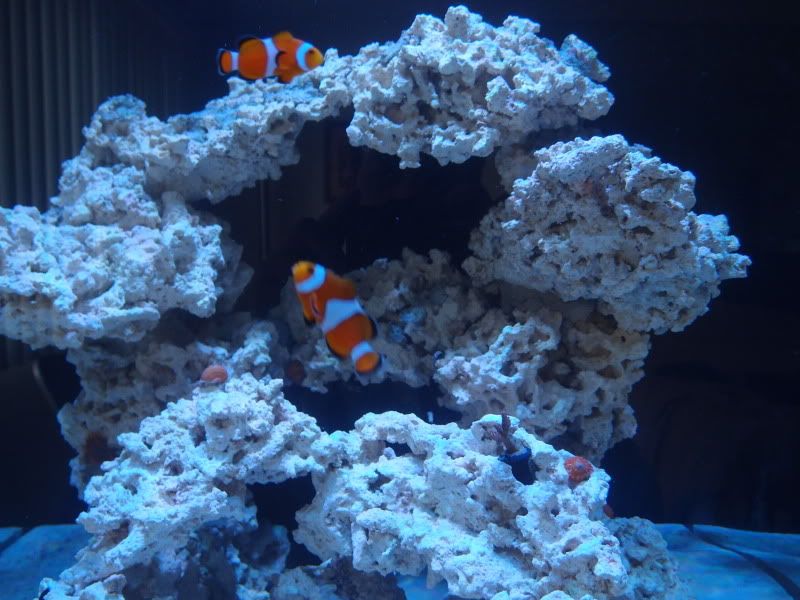
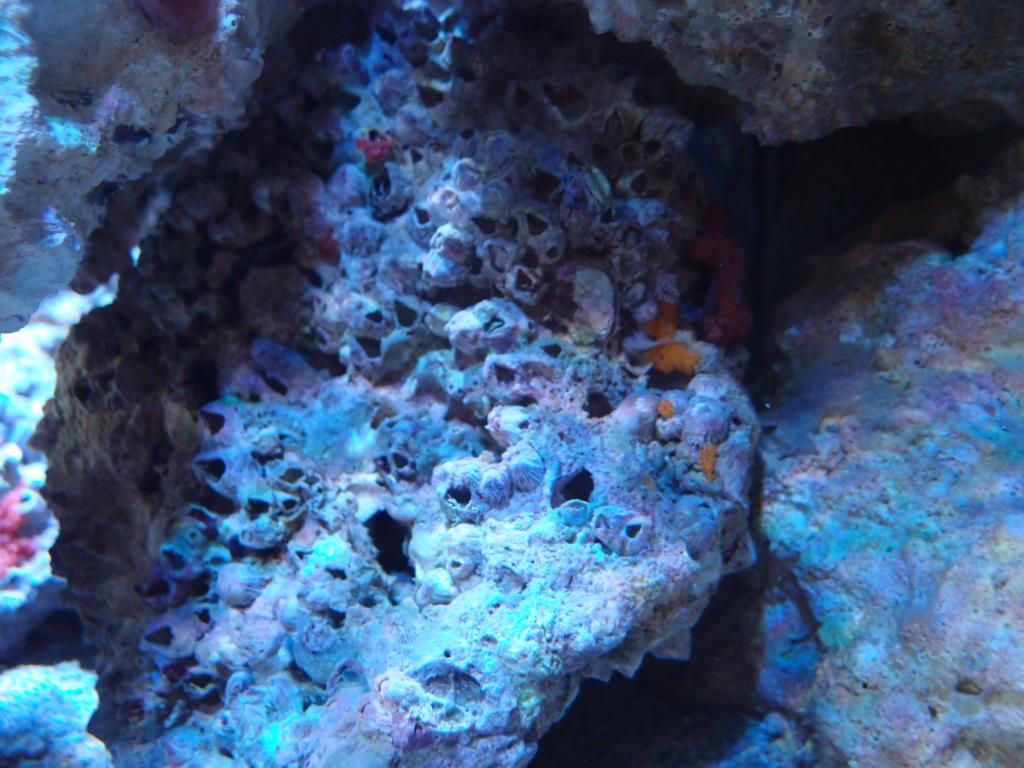
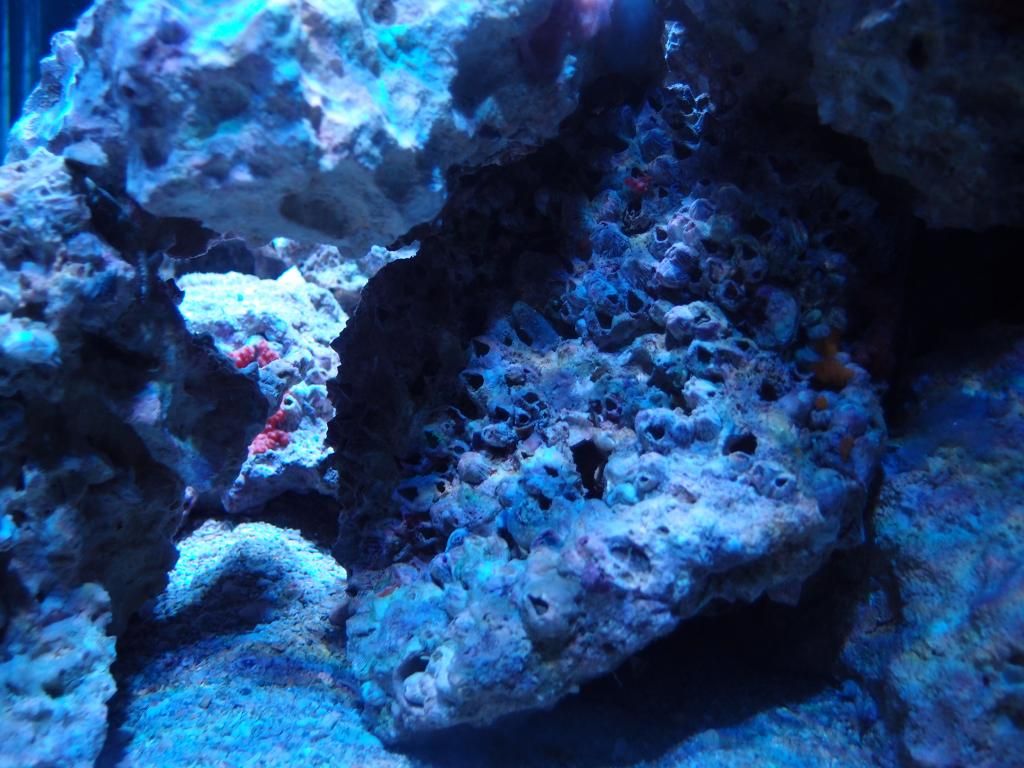
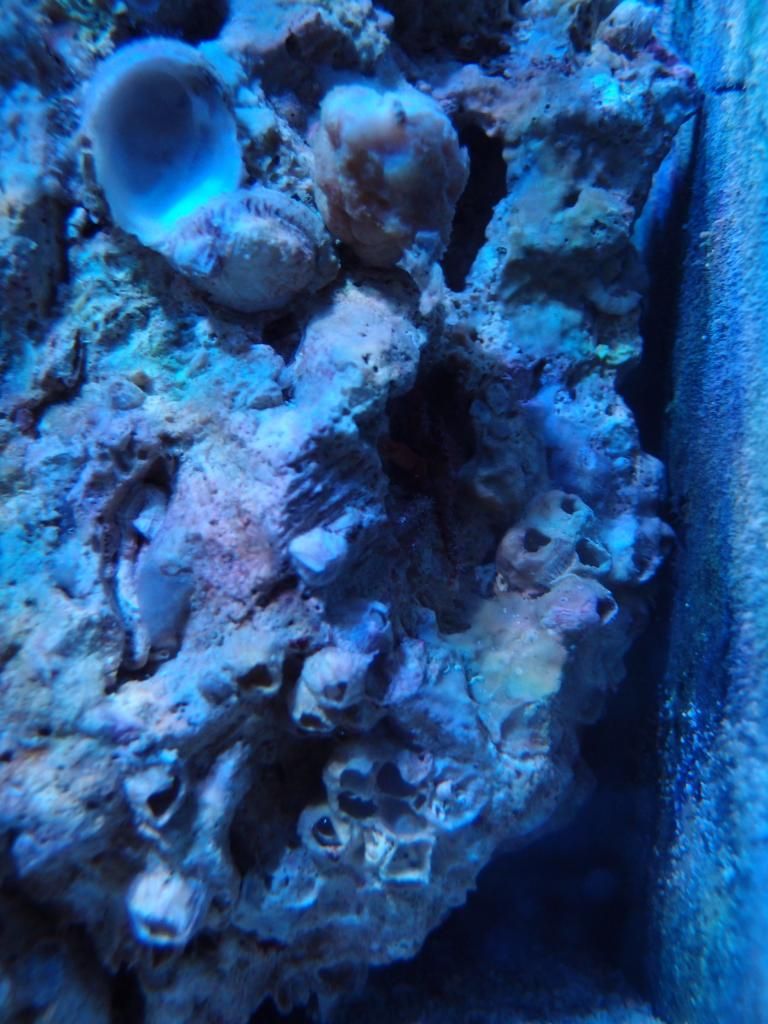
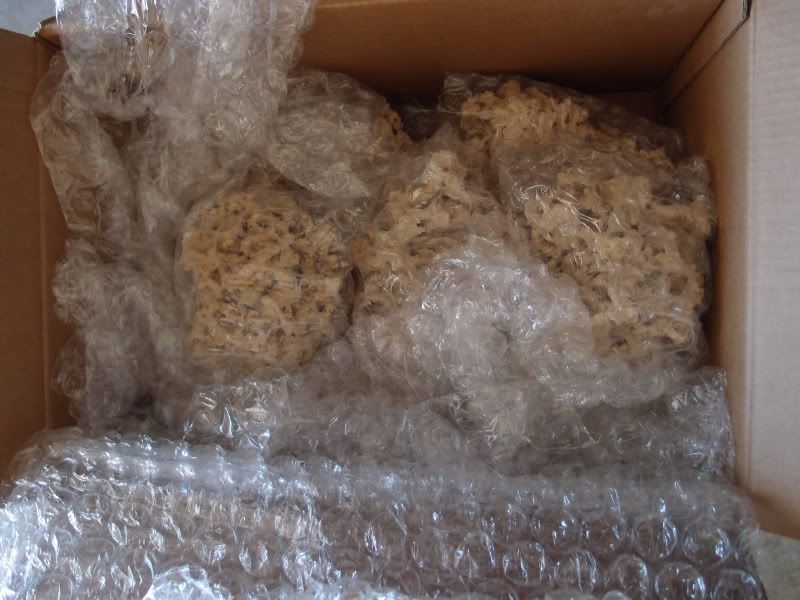
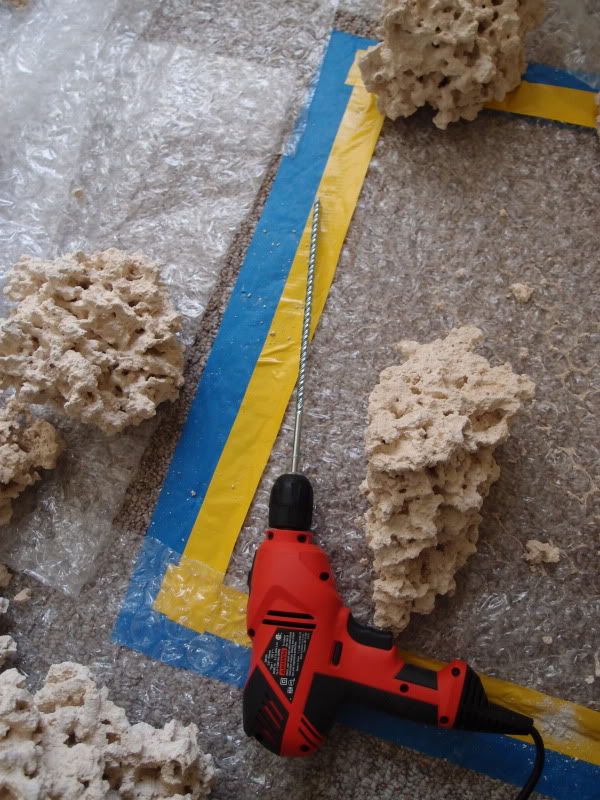
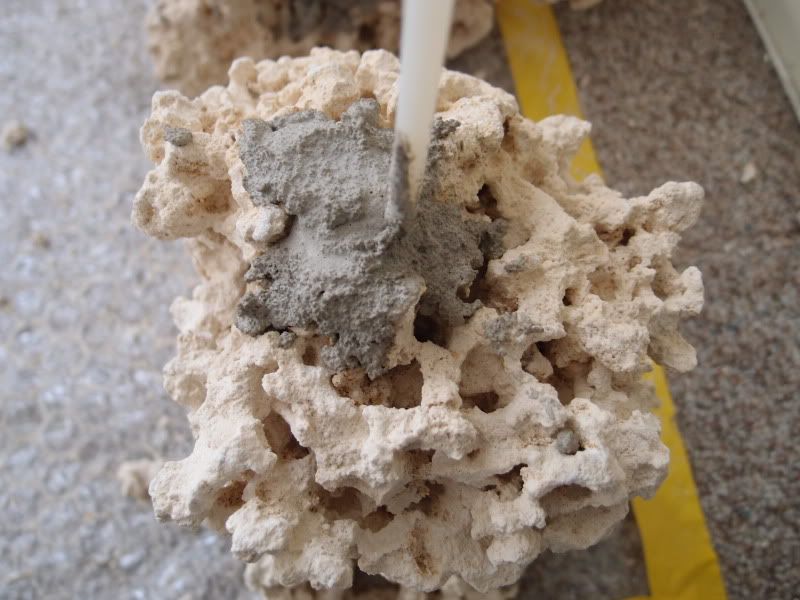
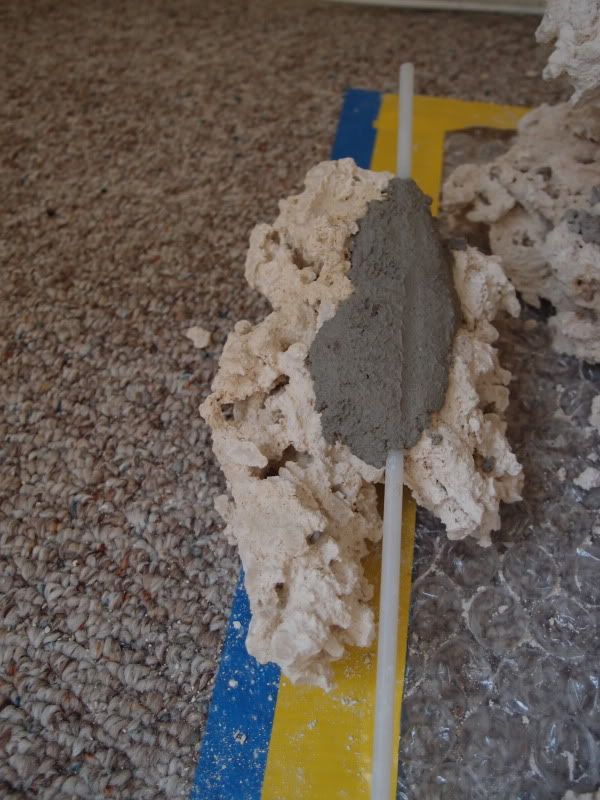
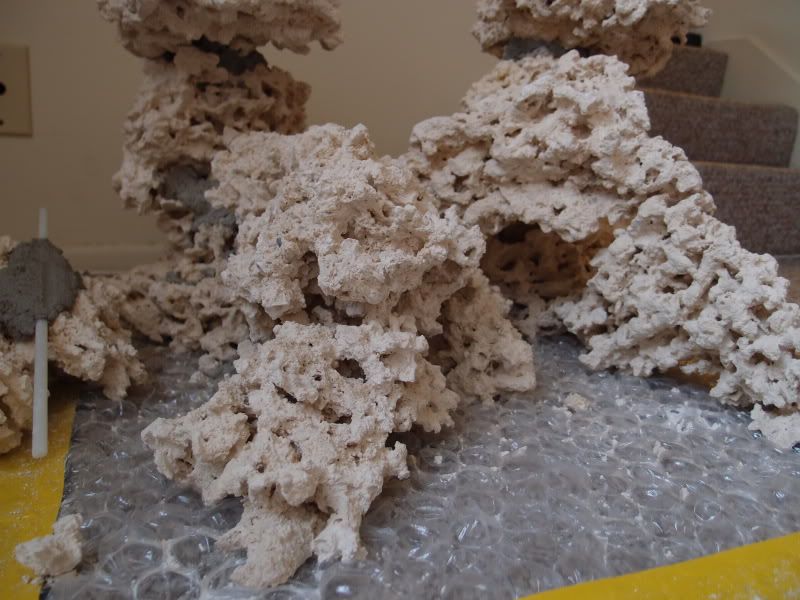
In the past Ive tried a few times to drill my LR and use plastic rods and cement to build great formations. Every time I was unsuccessful usually due to the rock falling apart on me when I tried to drill. With the cube I really wanted to utilize the height and width that I had available. I ended up going with 100# of Macro rocks (http://www.marcorocks.com/) and their mortar. I also purchased 2x Natural Nylon 101 Rod 1/4" Dia (http://www.usplastic.com/catalog/item.aspx?itemid=26455&catid=668) and a 12 cement drill.
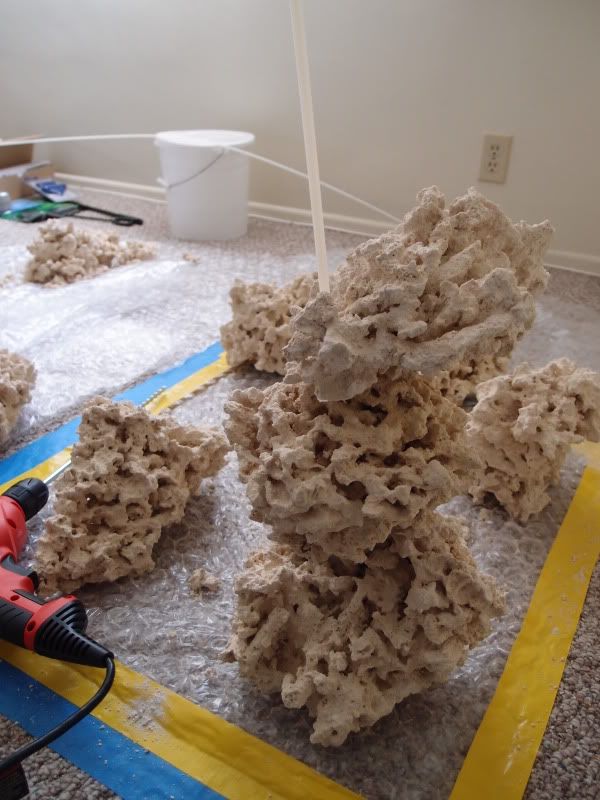
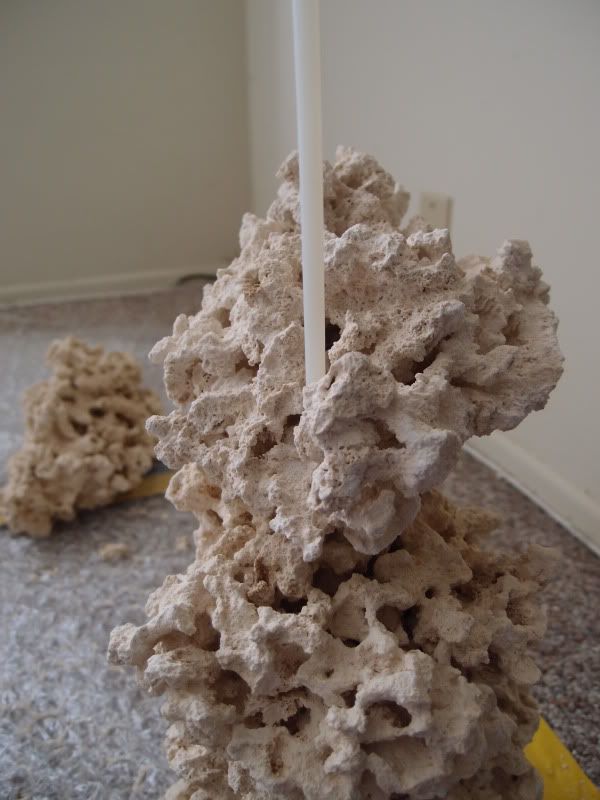
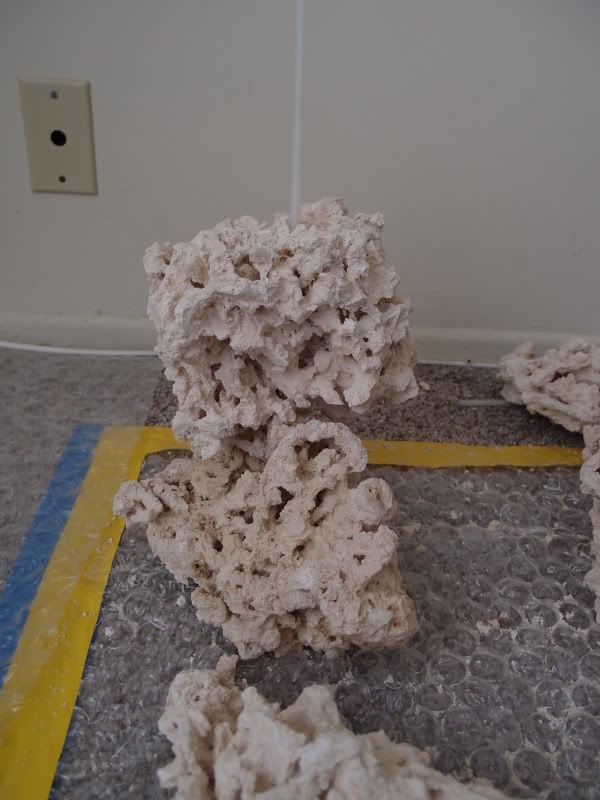
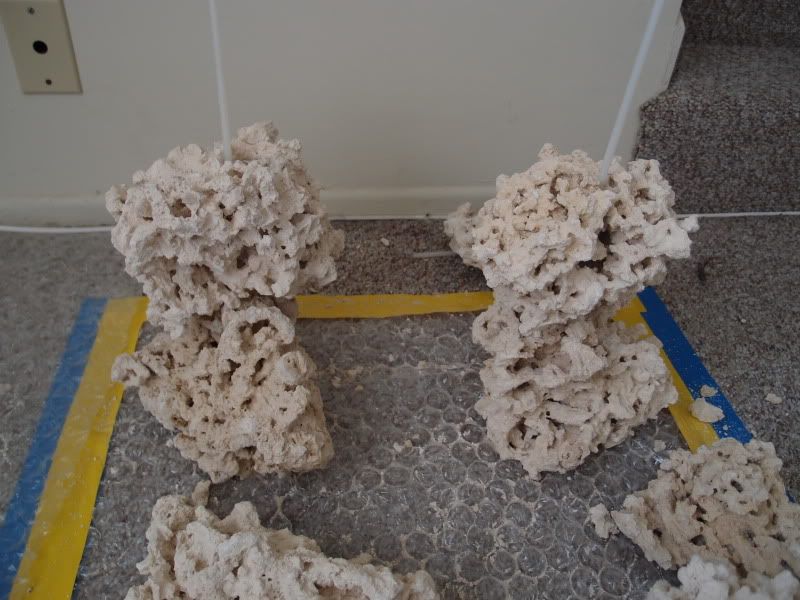
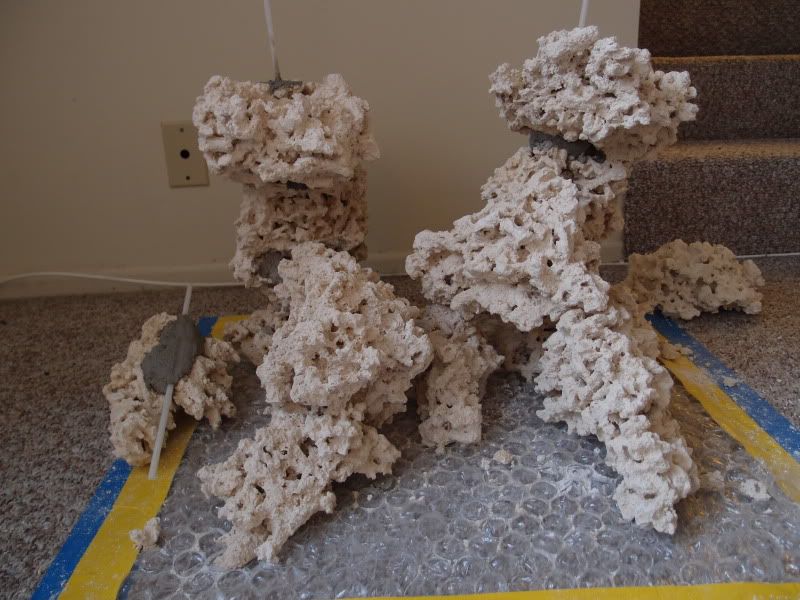
I taped off a space on the ground that would represent the tank measurements and started to stack. At first I just piled rocks on top of each other and after a few attempts got something close to what I thought I would like. After my GF and I both liked the formation I took it apart and start to work on the bases by drilling the wholes, inserting the rods, and using the mortar to cement each piece together. I did one or two pieces a day to make sure it had enough time to set until I was done.
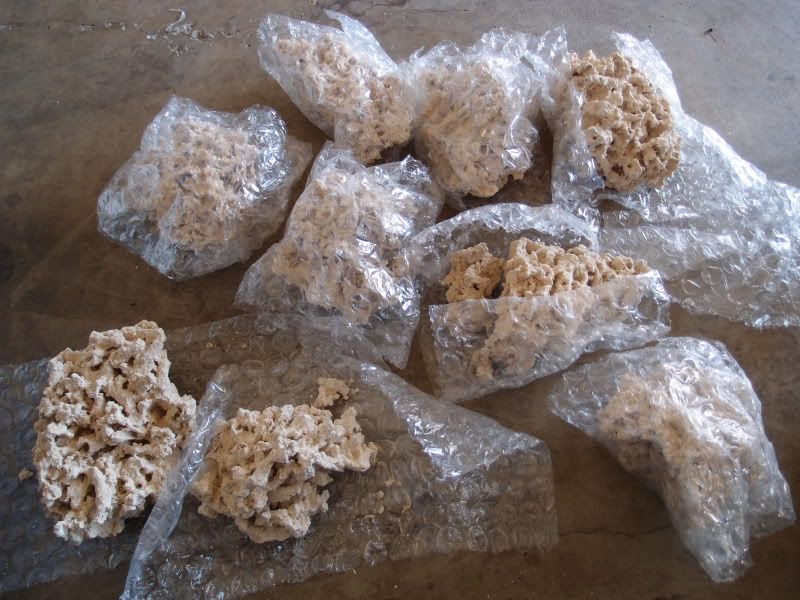
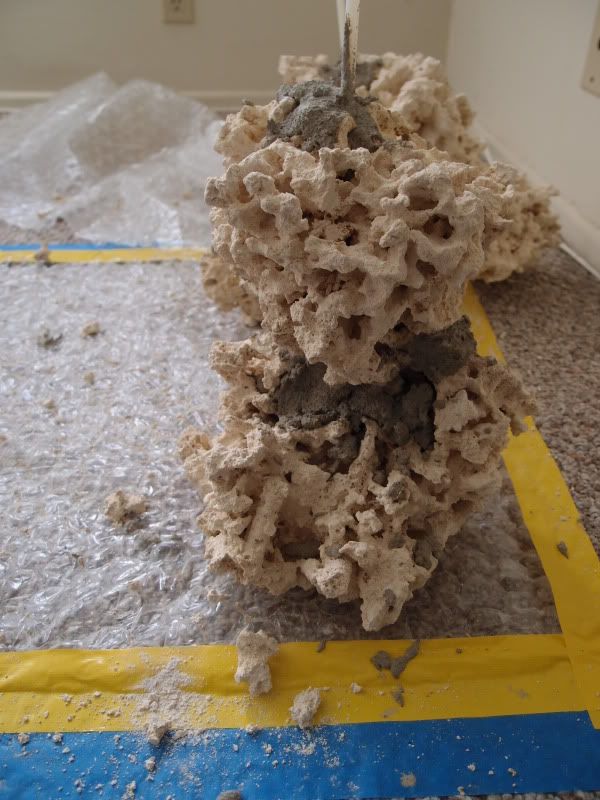
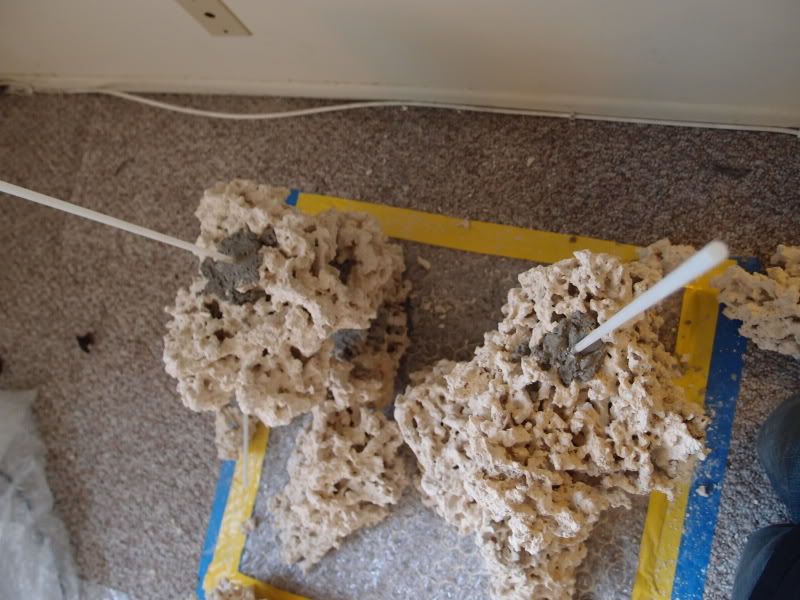
I let them soak in RO water for about a week w/ pumps on to not only water test but make sure I got out as much dust as I couldthese things have a lot of rock dust!
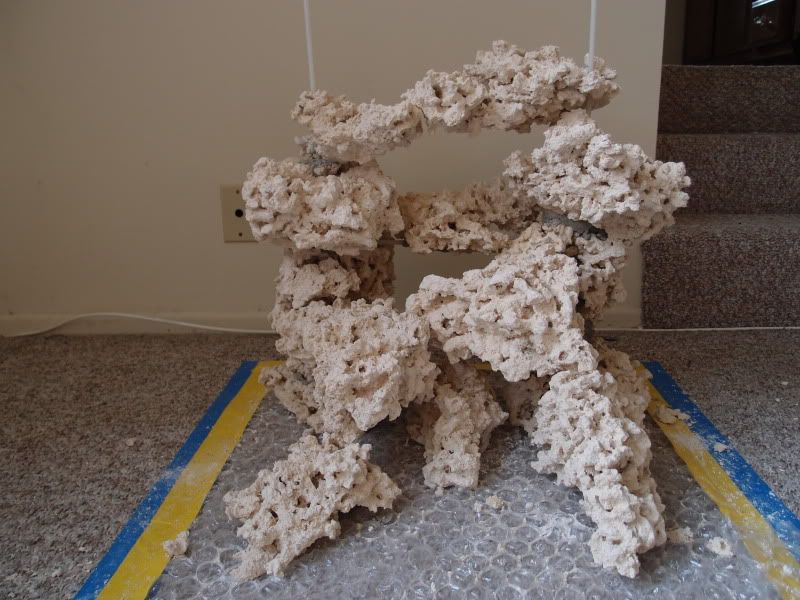
I left the rods in so when I made the transfer to the tank I could adjust as needed. *Note only the two back towers were cemented together at this stage. I waited until the tank was water tested and in place before I glued the final pieces together.
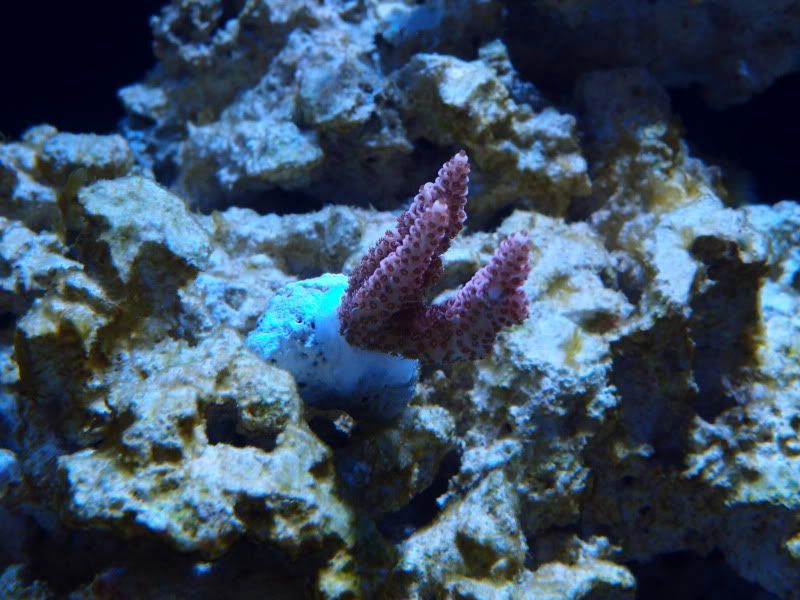
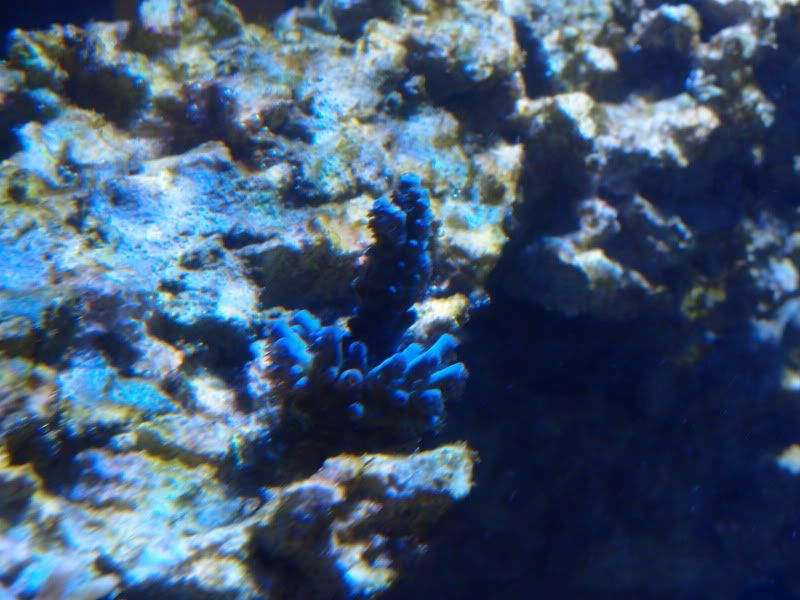
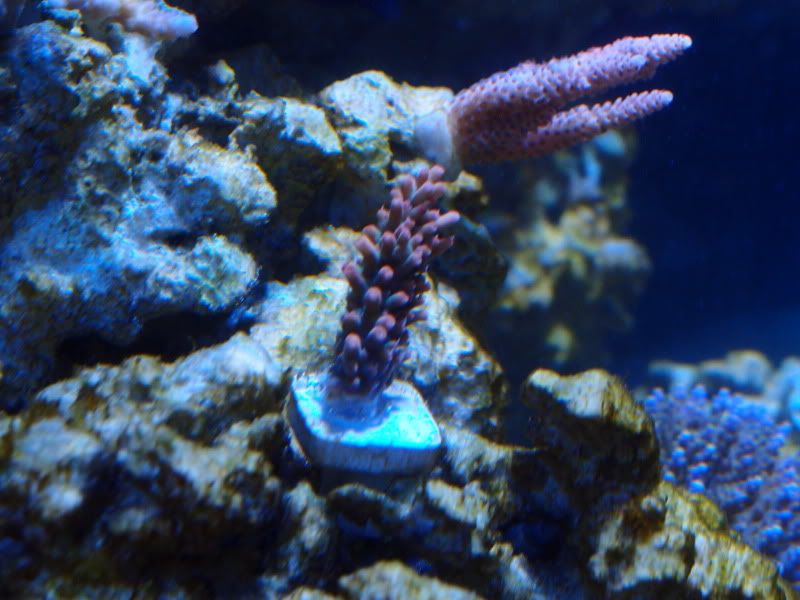
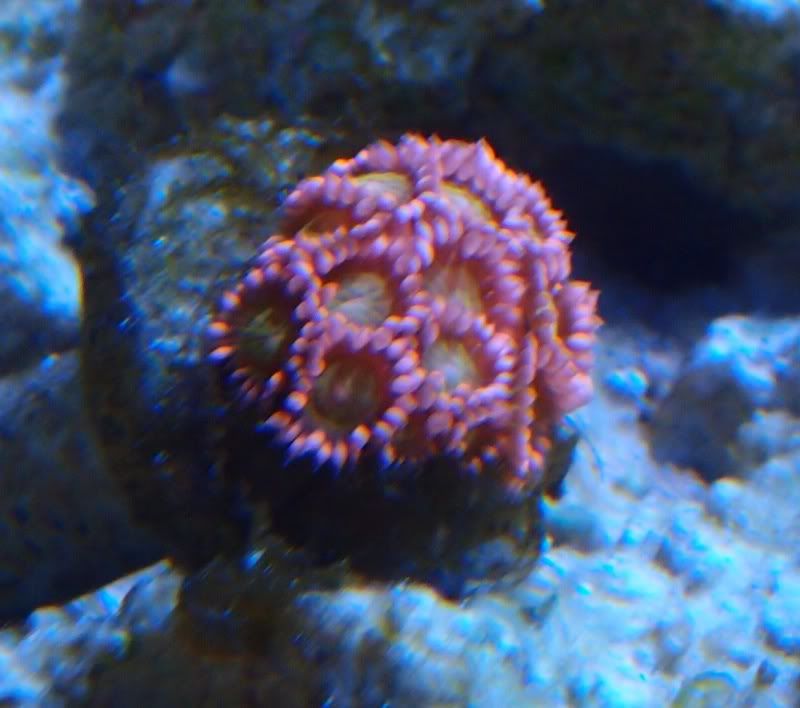
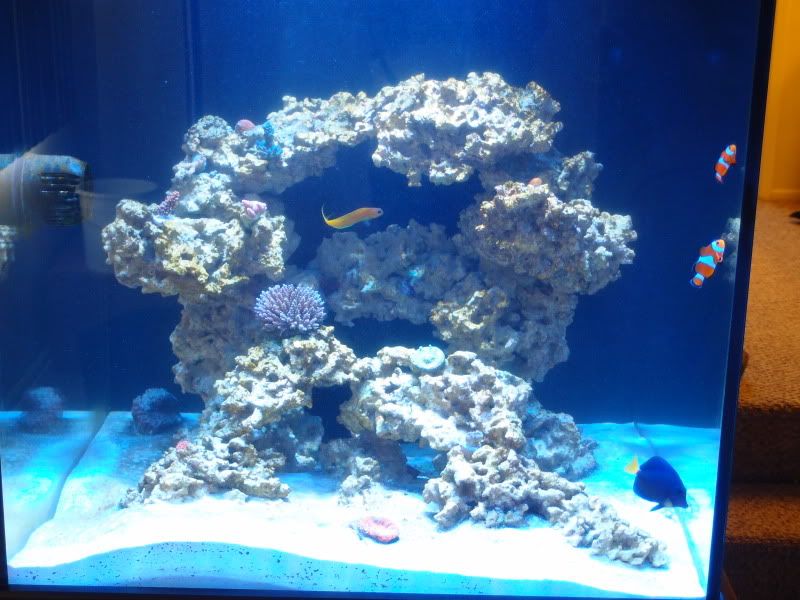
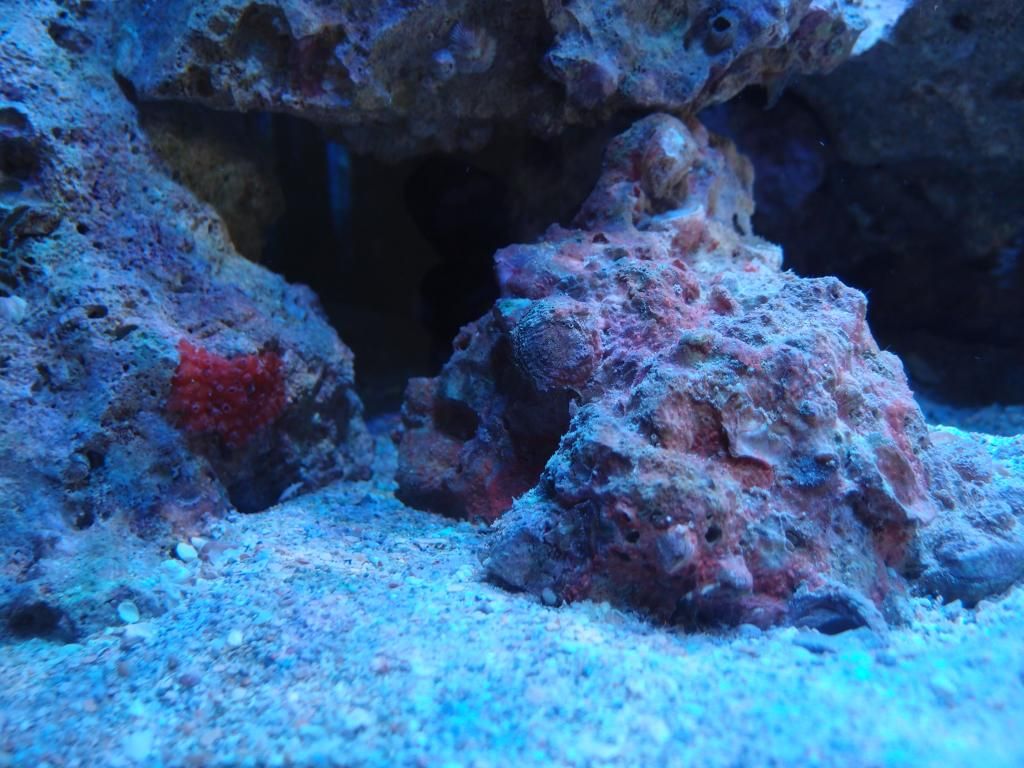
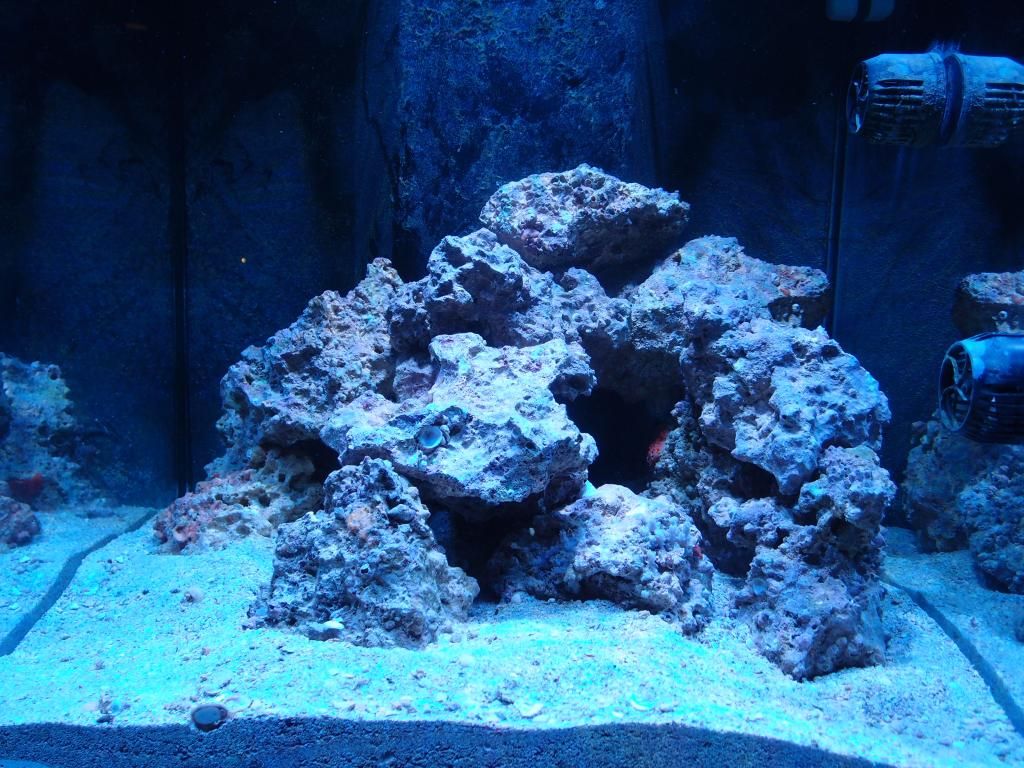
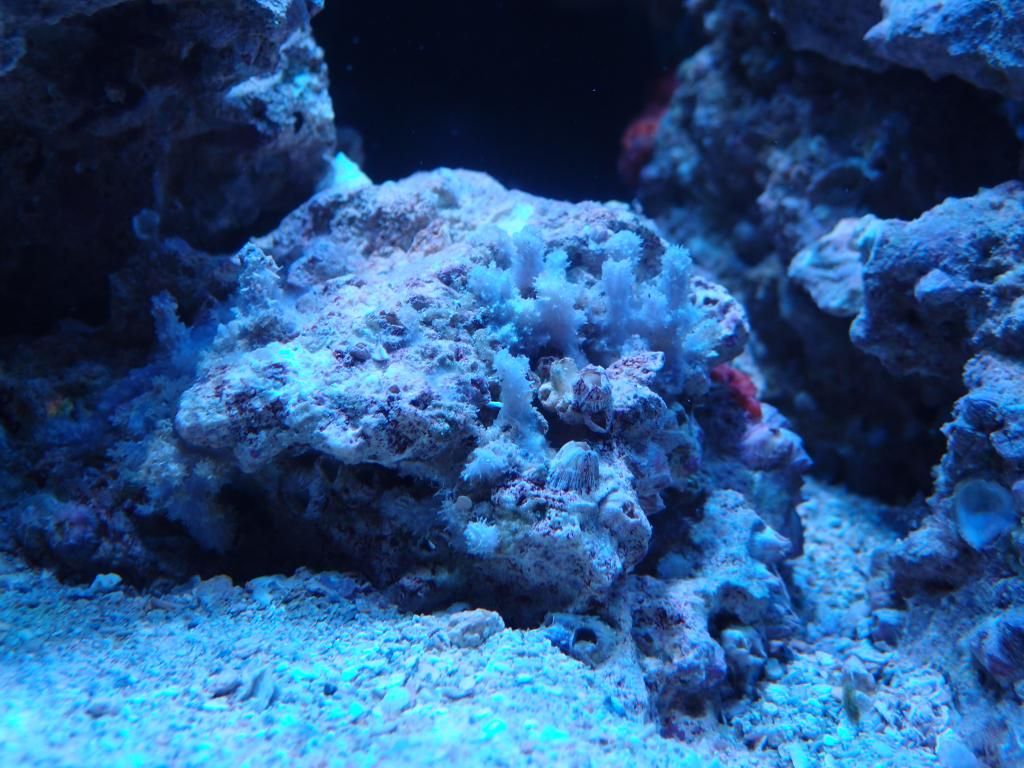
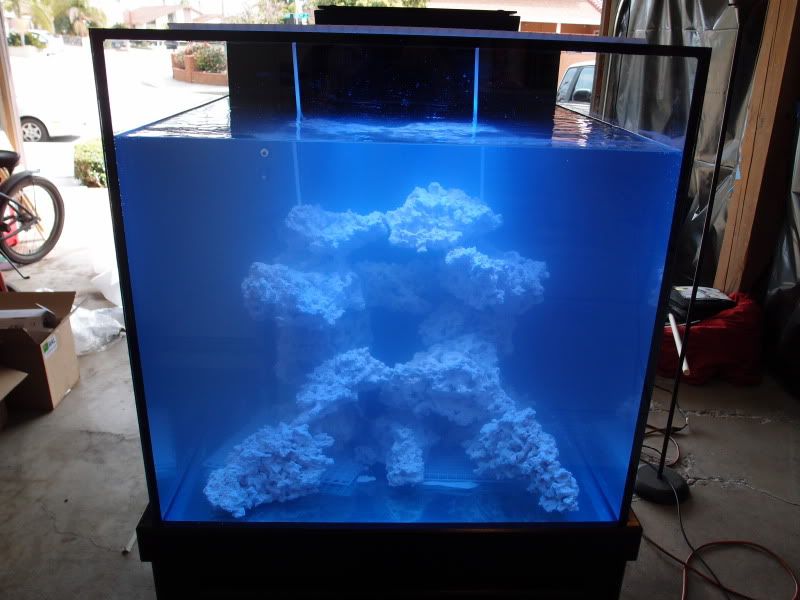
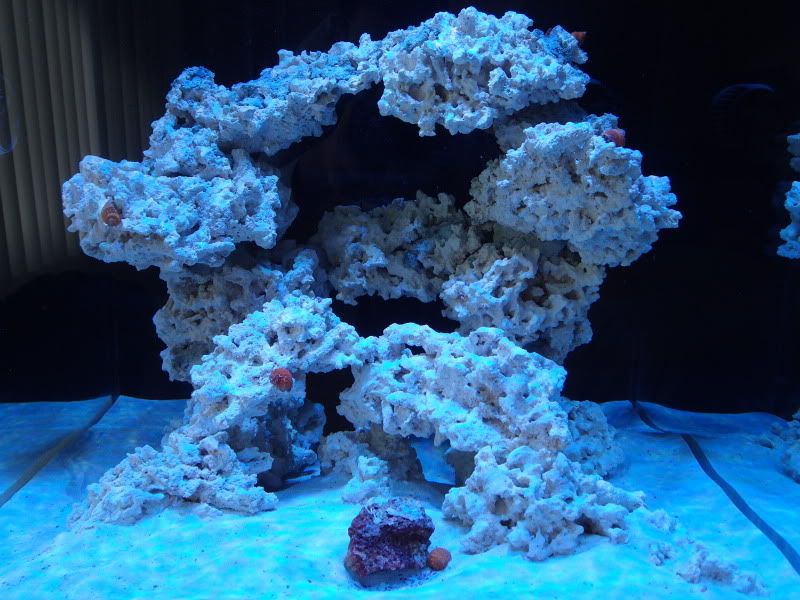
Final formation in the tank:
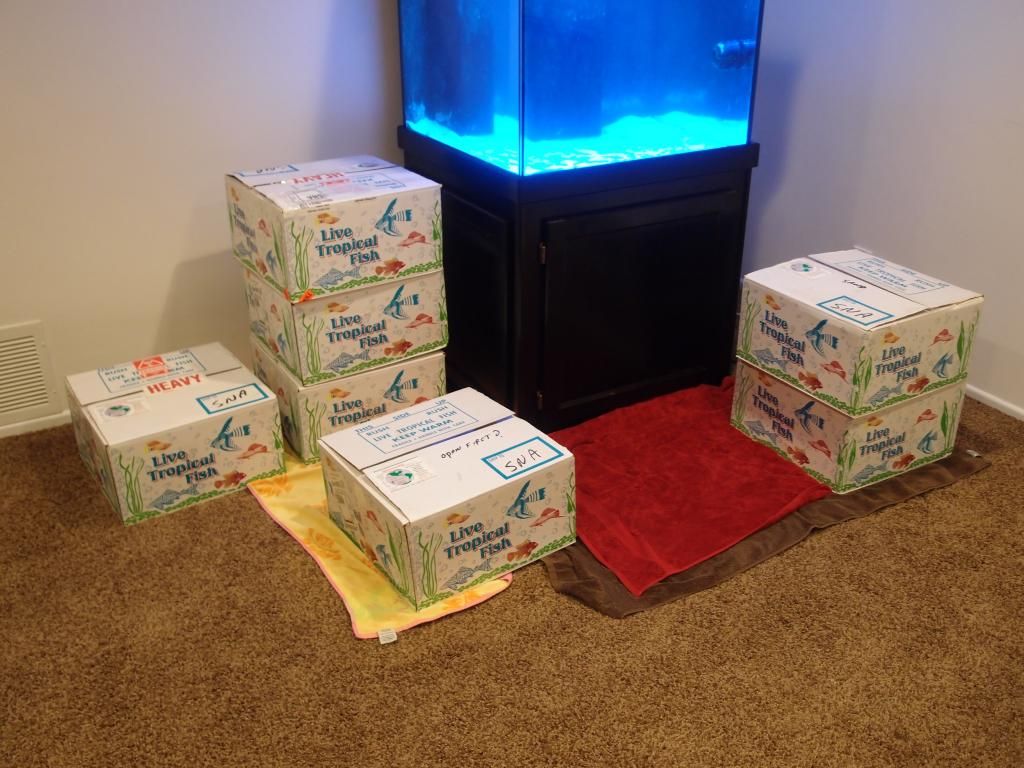
After about a month and a half of waiting the tank arrived!
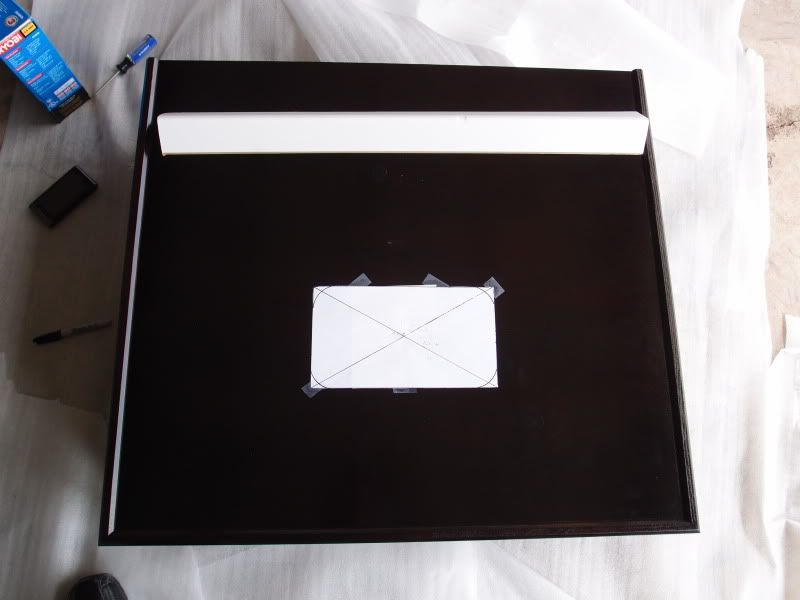
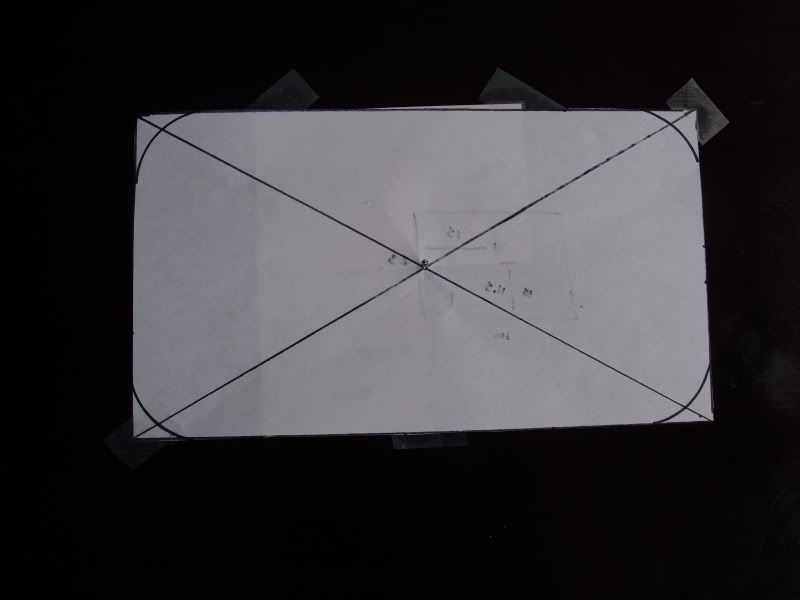
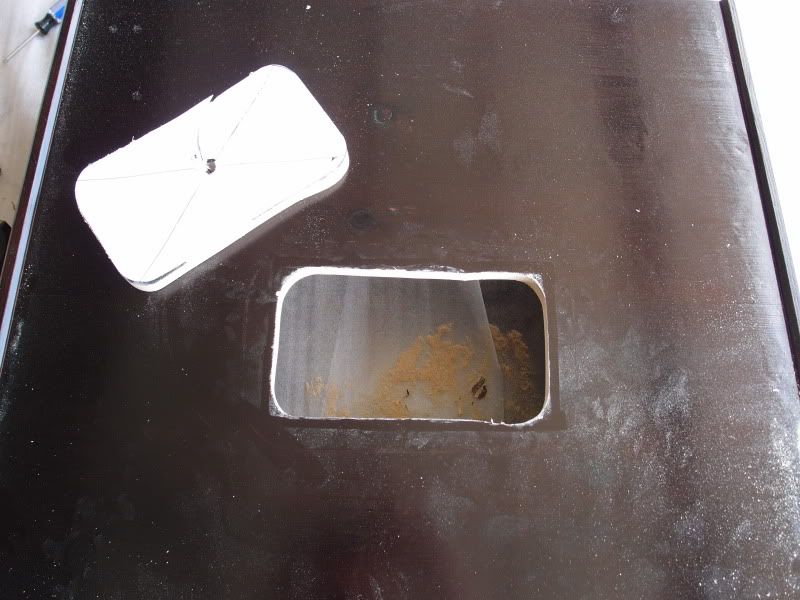
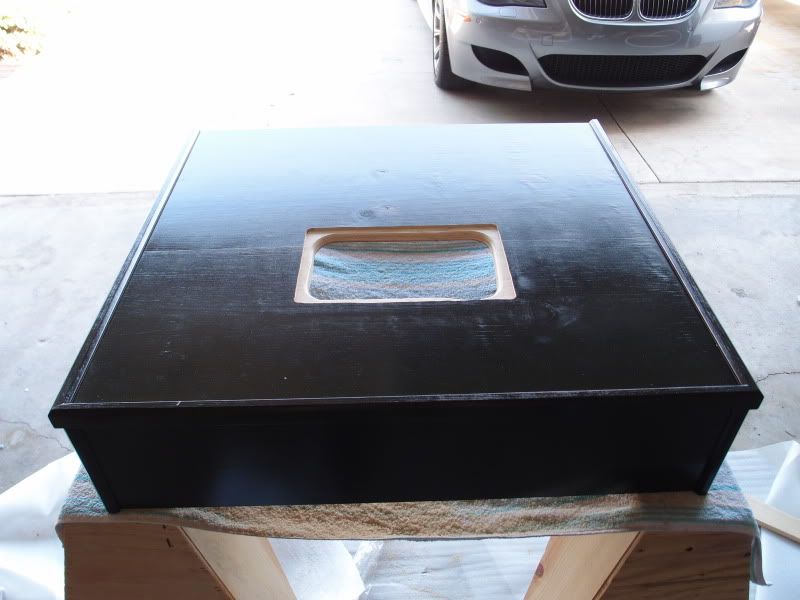
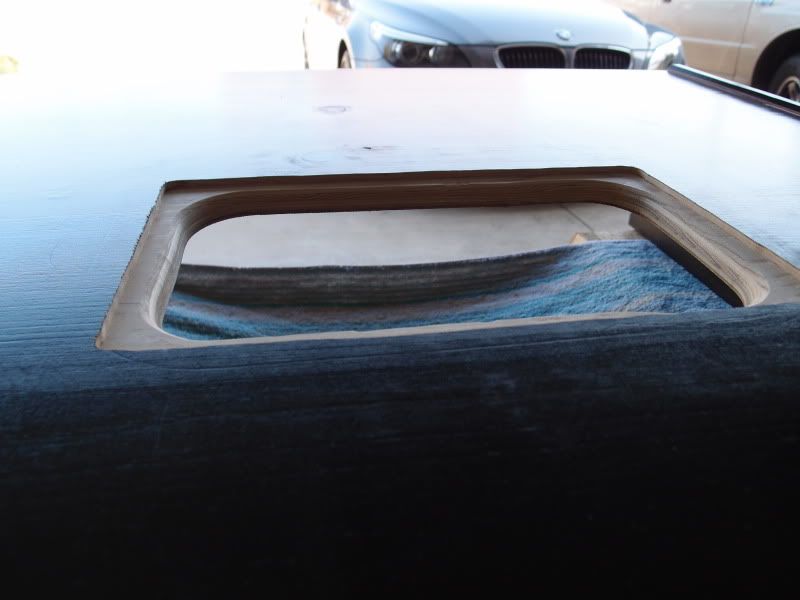
One of the first things I did was cut out the canopy and use a router to create a space for the LEDs. Its about cut into the wood so the fixture wont slide back when I open the canopy.
About 3 months ago I jumped online and started reading up on some of the new technology that really has improved the ease and maintenance of the hobby. After reading about the LED's and the thought of not having the heat and electric bill of MH's I was ready to jump back in.
After much research I decided this next tank would be a cube. I originally started off with a small tank in mind...something easy...right...what was 40 turned into maybe 60, then 80, then why not just do 100! It seemed to grow by the day so i just ordered the 100 so it wouldn't grow anymore!
I posted on this board asking for advice for a local tank builder and Ron from Coral Obsessions almost instantly PM'ed me and offered his assistance. We hit it off and I ended up working with him not only on the tank itself but a lot of my equipment. He was fantastic and relayed all the expectations of the tank to Lee-Mar which turned out great. I also purchased a bunch of the equipment from him and he gave me great deals on it...better prices then everyone online for all the items he could discount. Plus top notch service and a willingness to help which is hard to find. I highly recommend.
Many thanks to all those who I borrowed little bits of your designs and ideas.
Tank: Lee-Mar 30x30x28 (I had to go 28 after I noticed I had to fit through a 30" door), 3 sides are starfire, bottom tempered, 1x 1.5 drain, 2x 3/4 return. The wait for it was long but I love the tank. Great work.
Stand+Canopy: Lee-Mar, 3 full doors, cappuccino paint.
Lighting: Radion XR30w LED
Flow: 2x Vortech MP40 w/ battery backup
Skimmer: Reef Octopus Extreme XS200
Return: Mag 12
Reactors: BRS Dual Reactor GFO & Carbon (running off main return manifold)
Top Off/Dosing: BRS Doser (Kalk + Topoff)
RO/DI: BRS 75 GPD RO/DI 6 Stage *DELUXE* System
Controller: Neptune APEX
*As I'm writing this the tank is actually up and running...I wanted to have enough content to start a good thread.
While I was waiting for Lee-Mar to finish my tank (a long wait!) I had time to work on a few projects:
Water Storage:
I wanted to make sure I had plenty of fresh and salt water always ready and waiting for me. I ordered 2x 45g drums from eBay and setup my plumbing so that it's as close to automated as I was comfortable with. The RO/DI kicks on automatically and stop using a float valve on the top of one of the drums. The connecting plumbing allows me to pump from fresh to salt tanks and also pump independently from either tank into a 5g container for transport to the tank.
Excuse the black tarp background and signit splits the 3rd stall in the garage off into our winery. Another little project.


Aquascaping:
In the past Ive tried a few times to drill my LR and use plastic rods and cement to build great formations. Every time I was unsuccessful usually due to the rock falling apart on me when I tried to drill. With the cube I really wanted to utilize the height and width that I had available. I ended up going with 100# of Macro rocks (http://www.marcorocks.com/) and their mortar. I also purchased 2x Natural Nylon 101 Rod 1/4" Dia (http://www.usplastic.com/catalog/item.aspx?itemid=26455&catid=668) and a 12 cement drill.
I taped off a space on the ground that would represent the tank measurements and started to stack. At first I just piled rocks on top of each other and after a few attempts got something close to what I thought I would like. After my GF and I both liked the formation I took it apart and start to work on the bases by drilling the wholes, inserting the rods, and using the mortar to cement each piece together. I did one or two pieces a day to make sure it had enough time to set until I was done.


I let them soak in RO water for about a week w/ pumps on to not only water test but make sure I got out as much dust as I couldthese things have a lot of rock dust!

I left the rods in so when I made the transfer to the tank I could adjust as needed. *Note only the two back towers were cemented together at this stage. I waited until the tank was water tested and in place before I glued the final pieces together.
Final formation in the tank:

After about a month and a half of waiting the tank arrived!
One of the first things I did was cut out the canopy and use a router to create a space for the LEDs. Its about cut into the wood so the fixture wont slide back when I open the canopy.