I am finally getting around to putting together this tank out of 3/4" acrylic. It was originally meant to replace the 2 small tanks in the office. But due to increased workload, I simply have no time to keep a separate tank there anymore. Instead, this will be my frag tank tied into the 300 gallon tank in the garage, sharing a common sump. Now that I have committed this to be a frag tank, it'll actually work out extremely well because it's rather shallow and meant to be view from the top. Shooting photos in this tank will be a piece of cake.
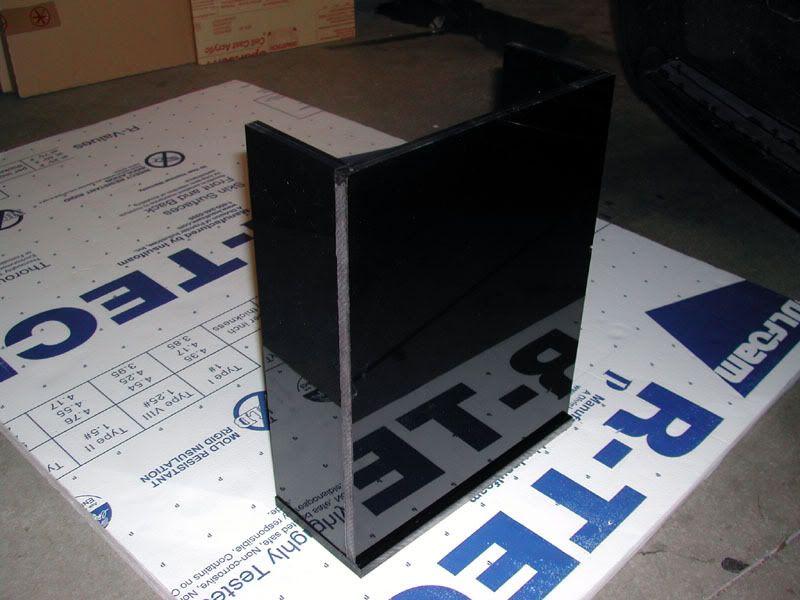
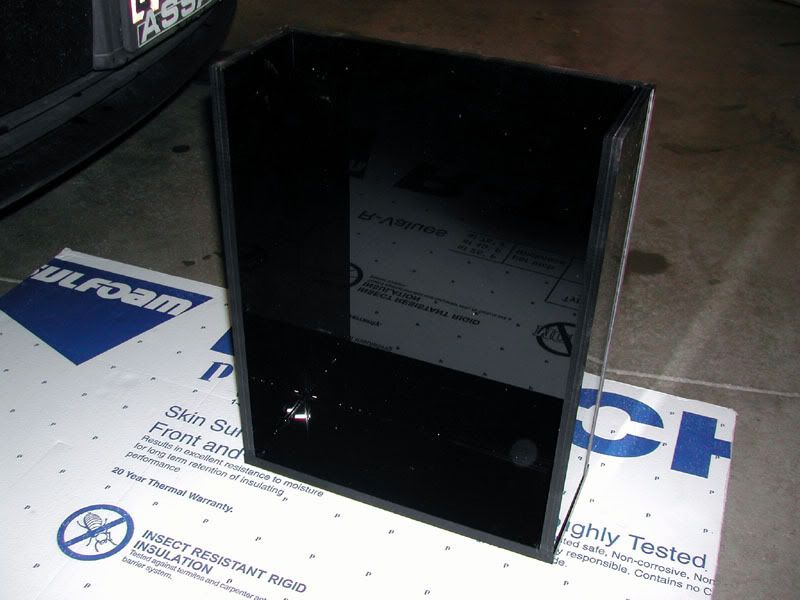
This will be a braceless tank, hence the 3/4" thick acrylic, with an external overflow. I know it might be a bit of an overkill on the thickness, but I don't want any bowing at all. The over all dimensions will be 32"Lx25"Wx16"H with an internal volume of approximately 45 gallons. The stand has already been built and the tank build started today. I am hoping to have everything glued by Friday and the actual finish work on the tank will start. That's where the hard labor comes in.
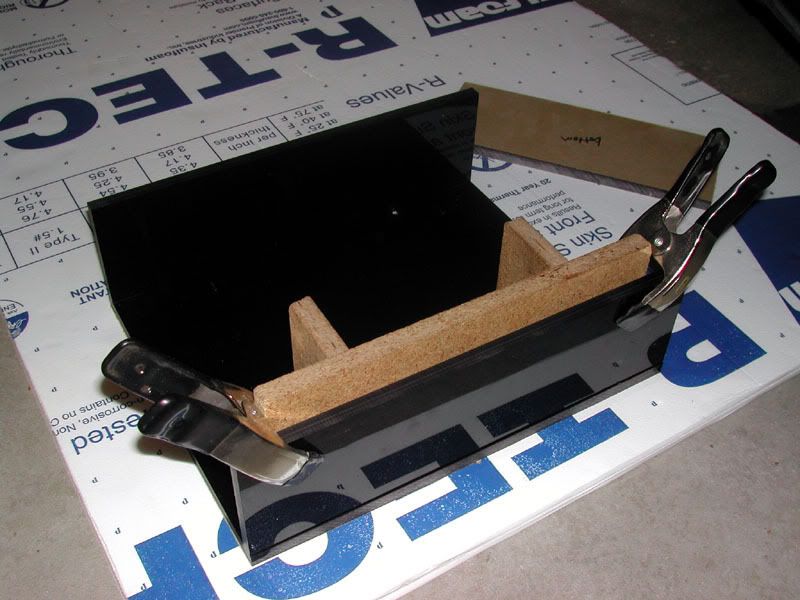
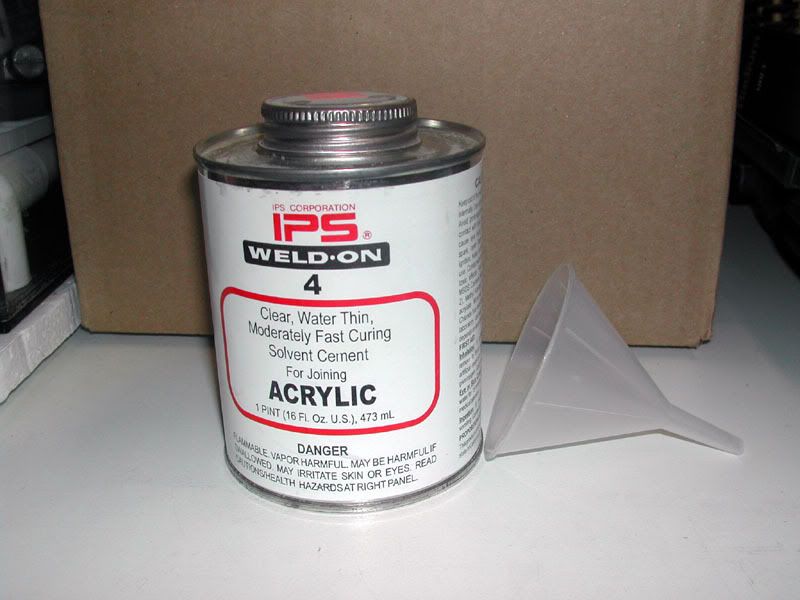
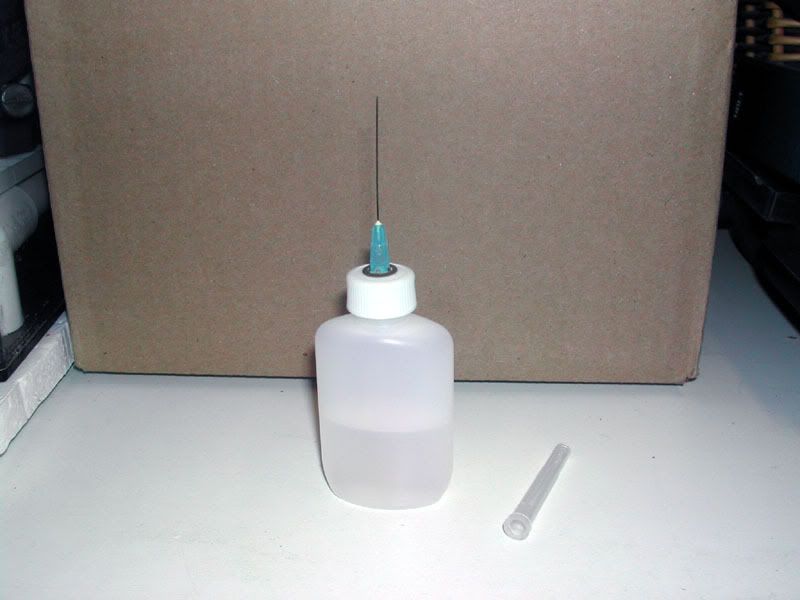
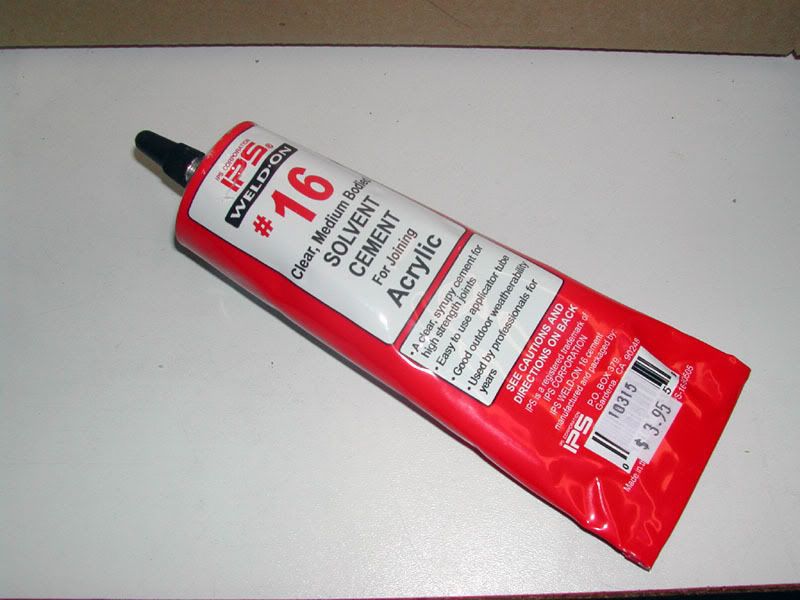
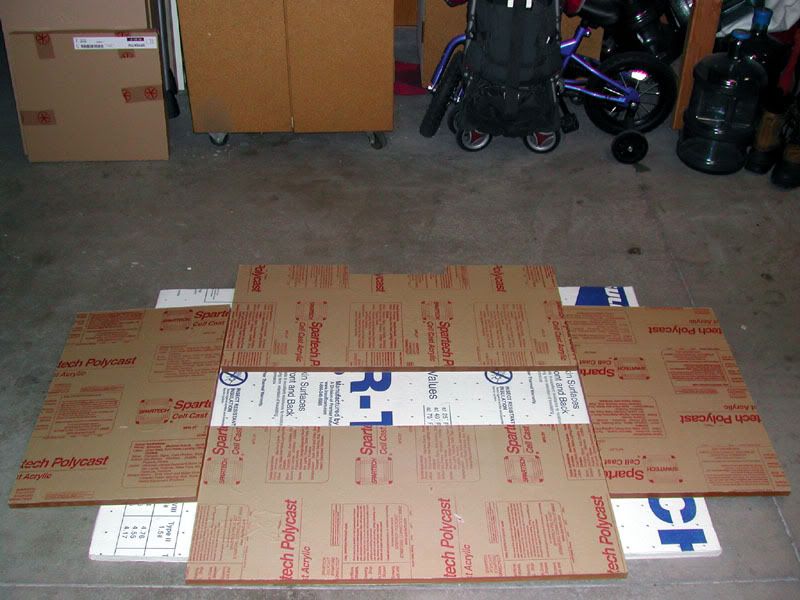
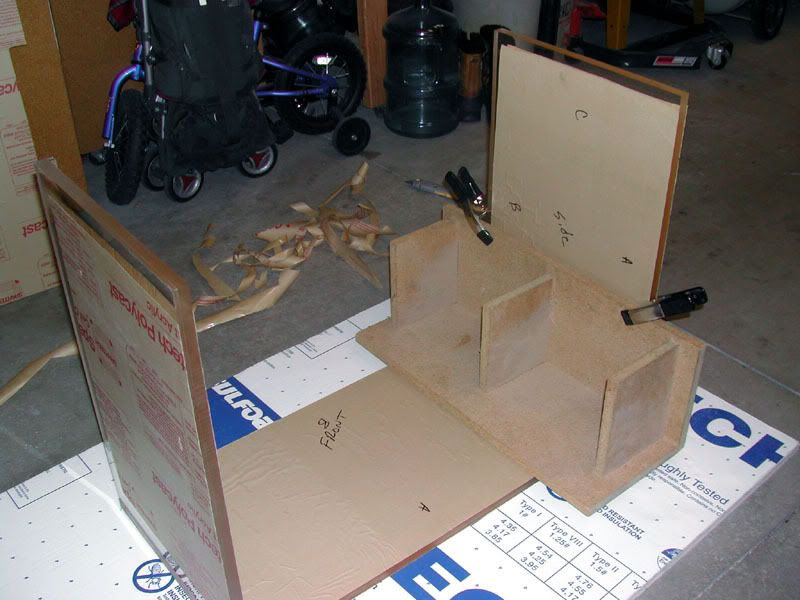
I did kinda cheat a little in this project :rofl: All of the acrylic pieces were bought from SoCalCreations before they closed down shop. They were cut to size and the edges were prepped for glueing. Normally I would do all that work myself but didn't want to chance making any bad cuts to the thick material on my probably underpowered tablesaw. Anyways, enough talk. Here are some pix from another one of Pook's Kreations :rock:
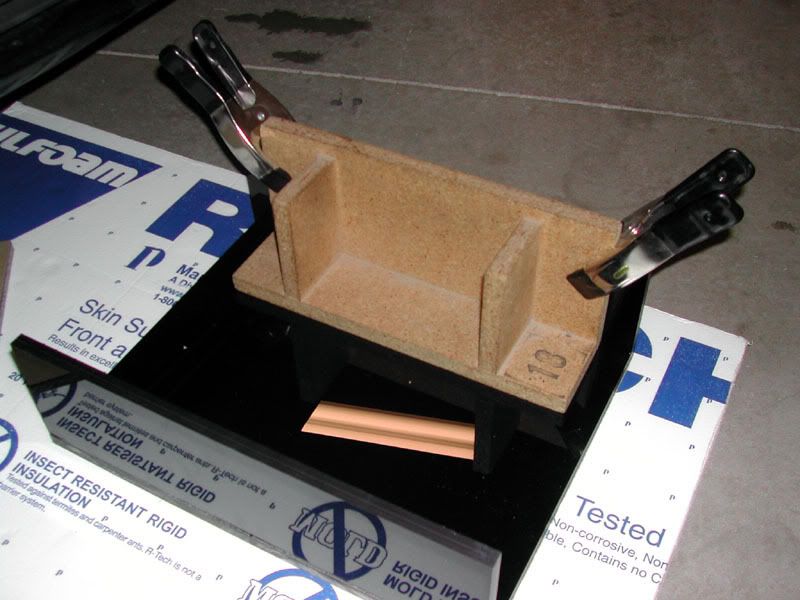
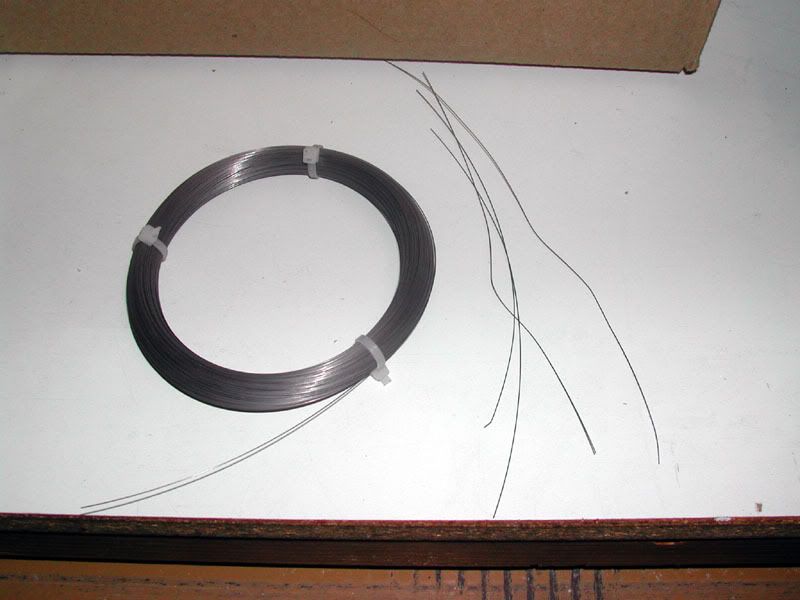
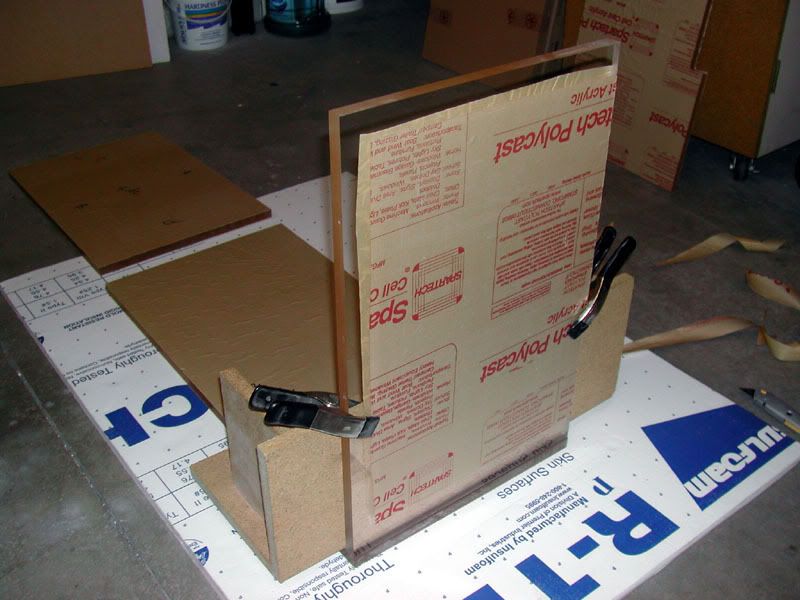
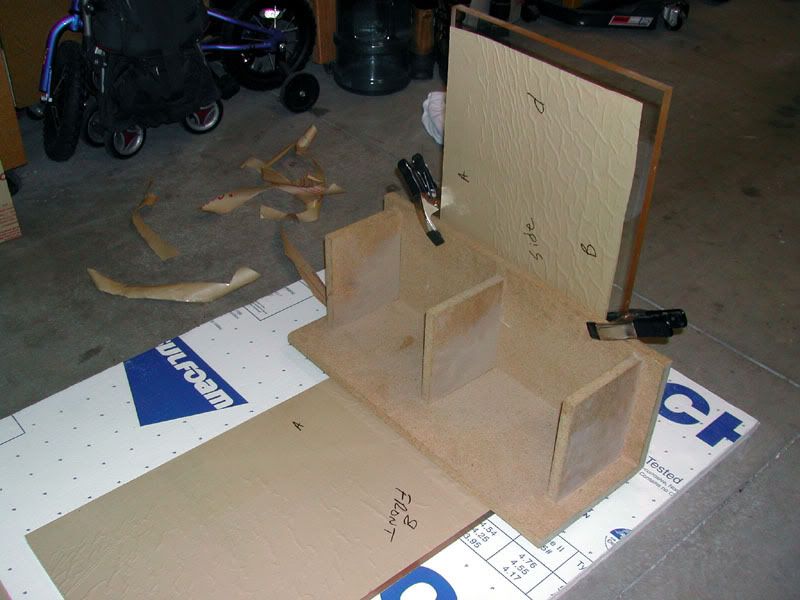
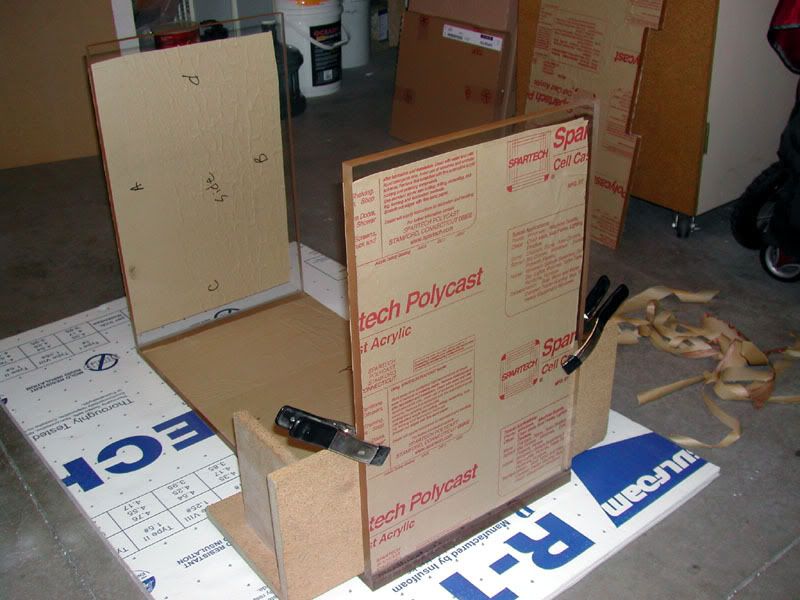
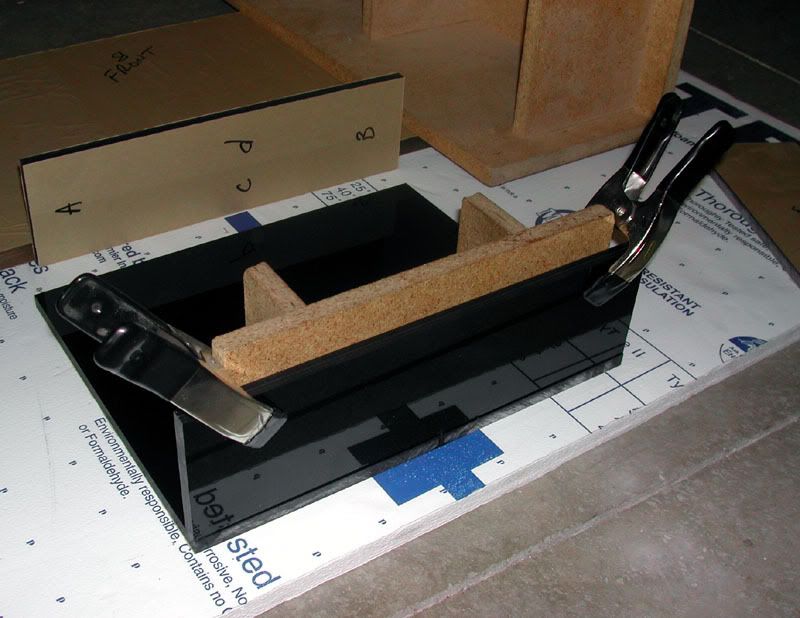
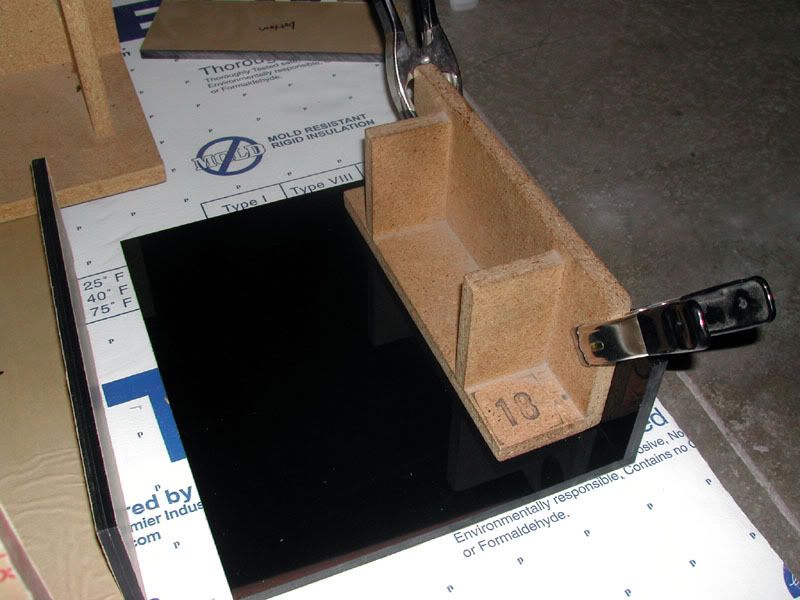
Glueing one of the sides to the front panel
This will be a braceless tank, hence the 3/4" thick acrylic, with an external overflow. I know it might be a bit of an overkill on the thickness, but I don't want any bowing at all. The over all dimensions will be 32"Lx25"Wx16"H with an internal volume of approximately 45 gallons. The stand has already been built and the tank build started today. I am hoping to have everything glued by Friday and the actual finish work on the tank will start. That's where the hard labor comes in.
I did kinda cheat a little in this project :rofl: All of the acrylic pieces were bought from SoCalCreations before they closed down shop. They were cut to size and the edges were prepped for glueing. Normally I would do all that work myself but didn't want to chance making any bad cuts to the thick material on my probably underpowered tablesaw. Anyways, enough talk. Here are some pix from another one of Pook's Kreations :rock:
Glueing one of the sides to the front panel
Last edited:
")