- Joined
- Nov 2, 2009
- Messages
- 1,210
- Likes
- 81
- Points
- 48
And finally.. an update. Sorry guys, been busy busy busy.
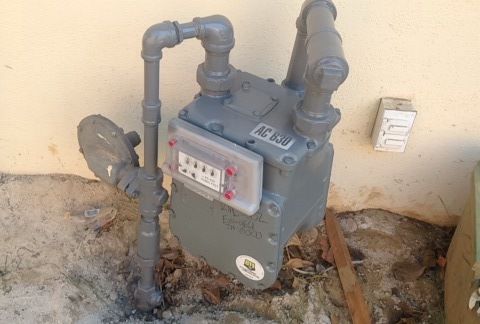
Gas meter was finally upgraded to accommodate the generator, heater, and water heater. This one is about 4x the size of the one we previously had.
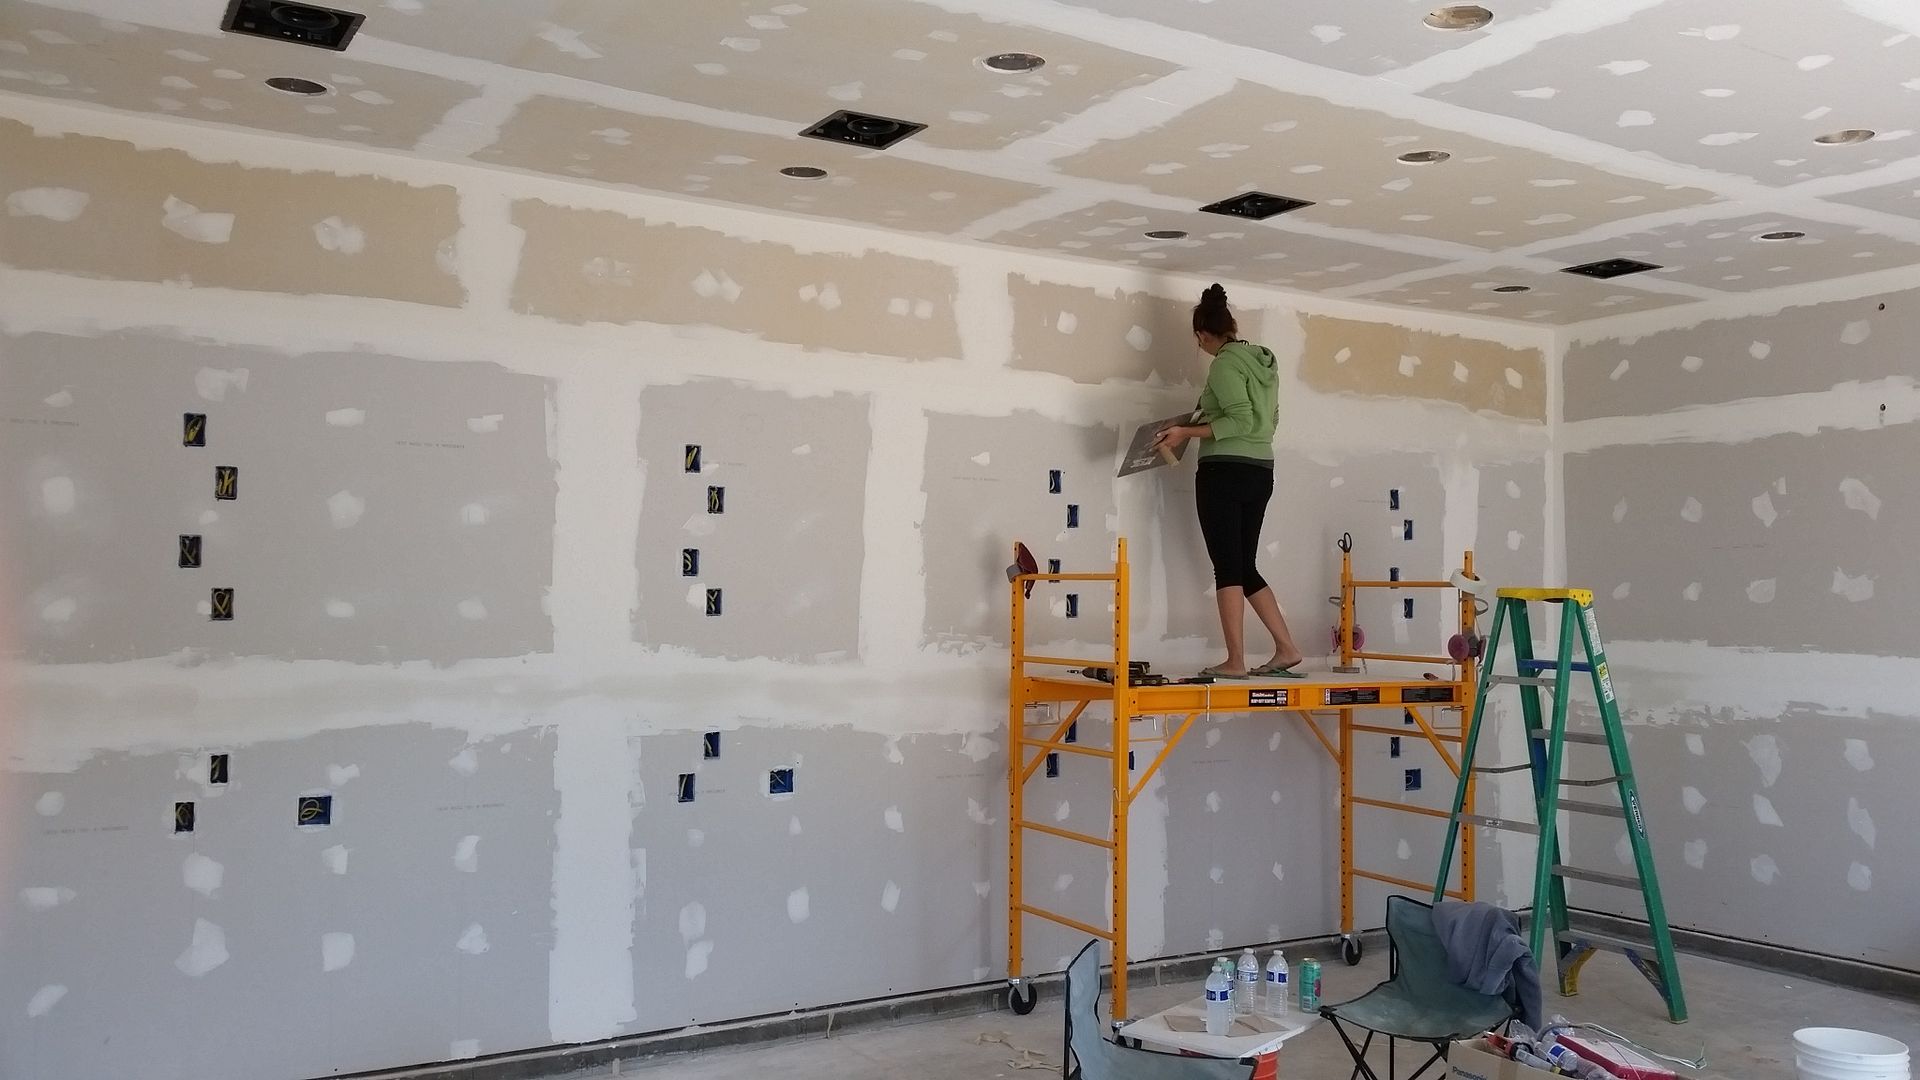
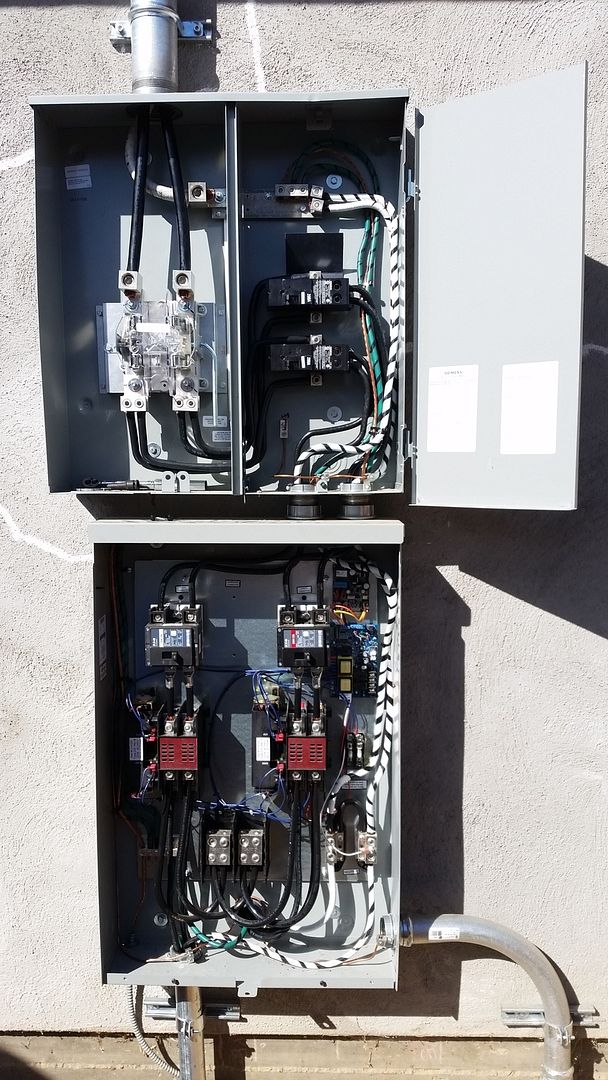
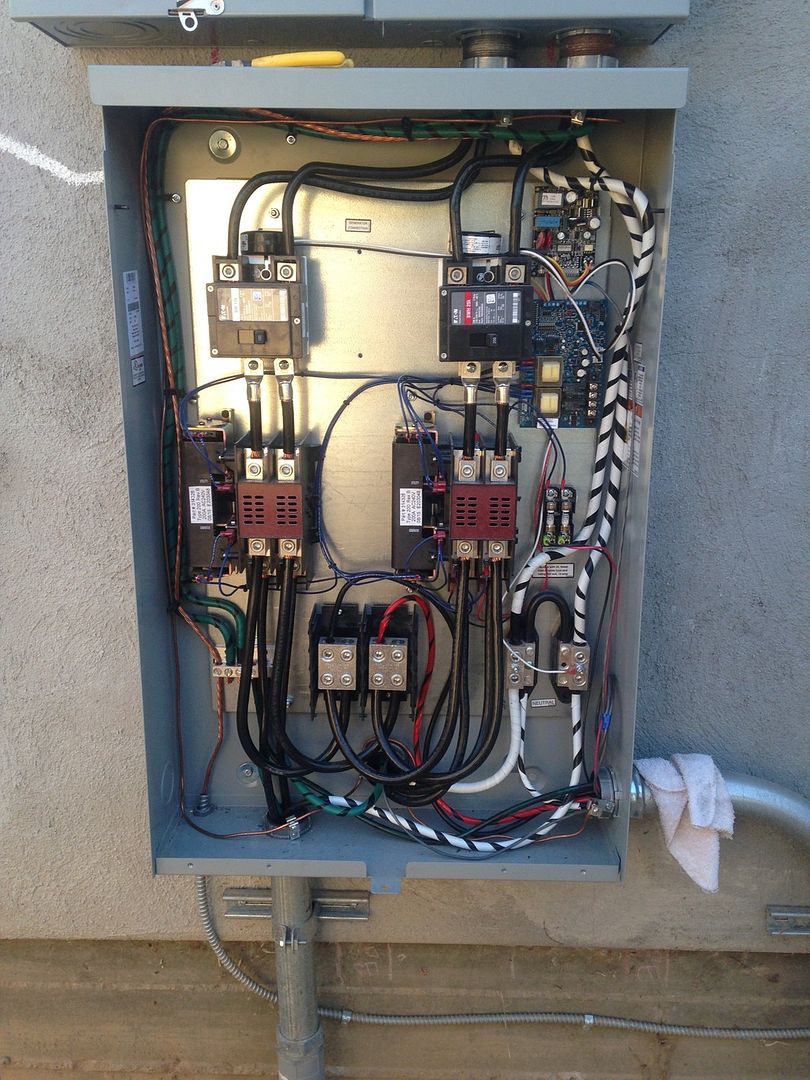
Panel finally up on the wall, being wired.
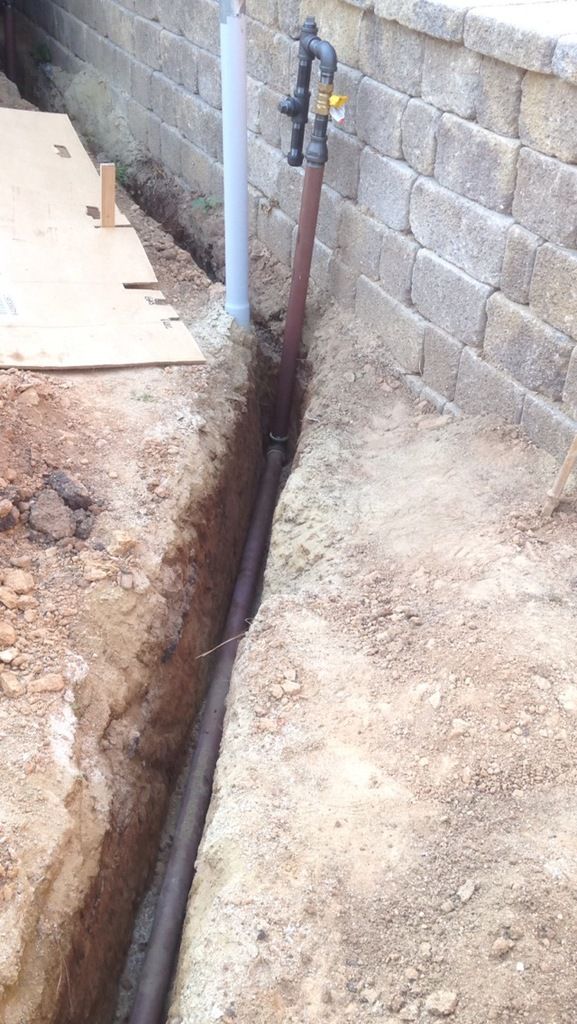
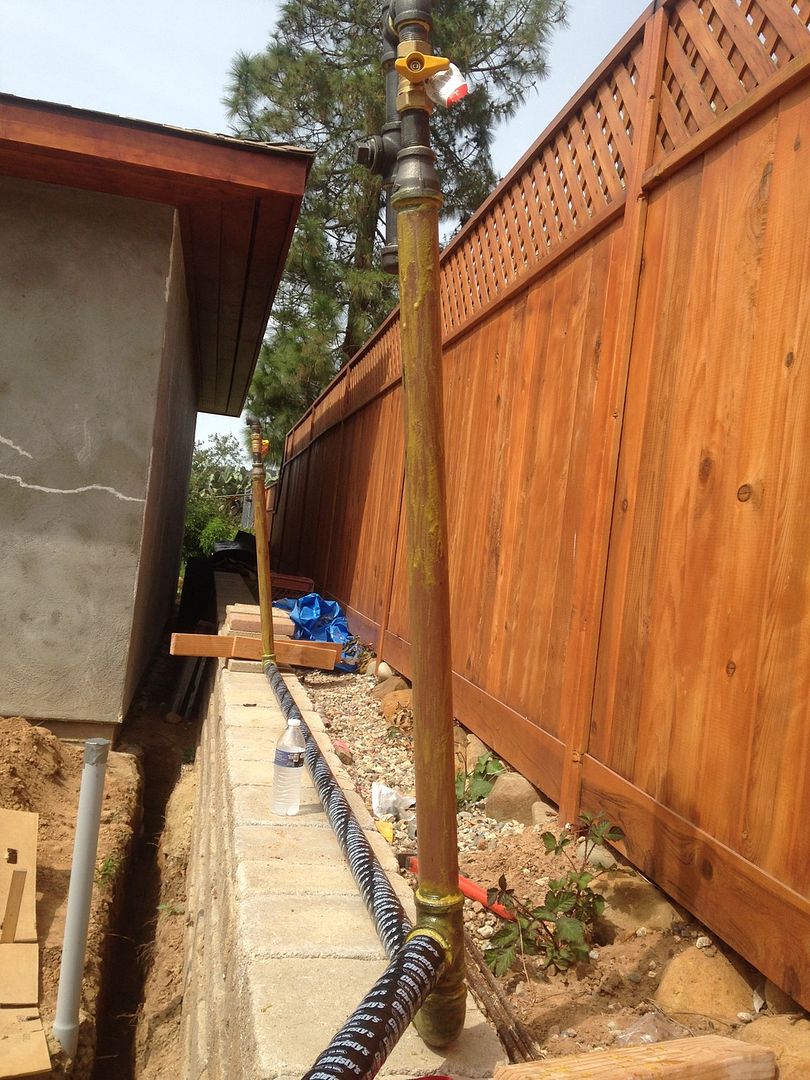
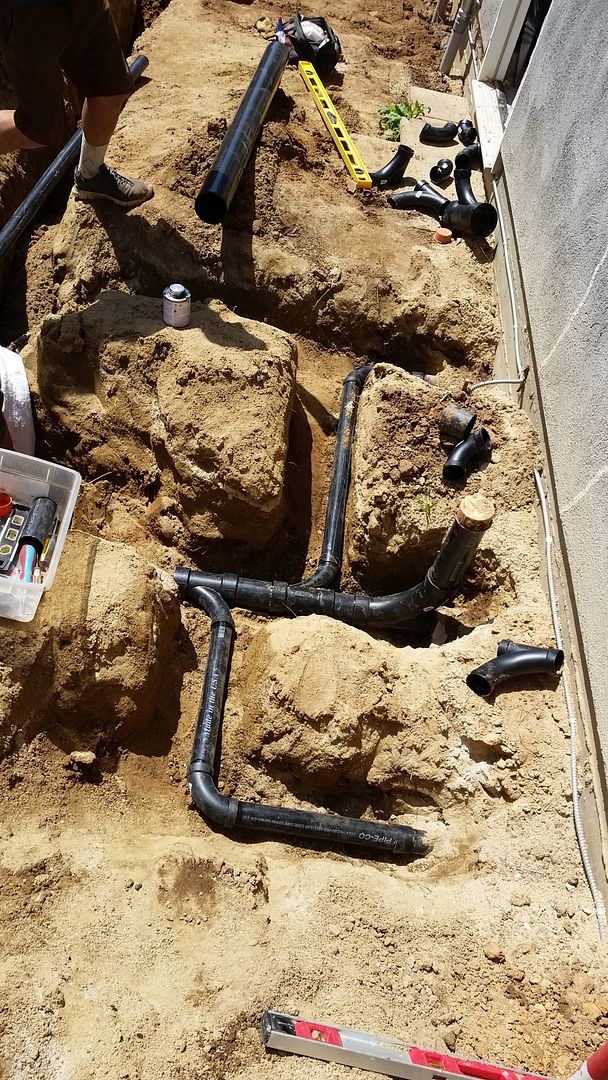
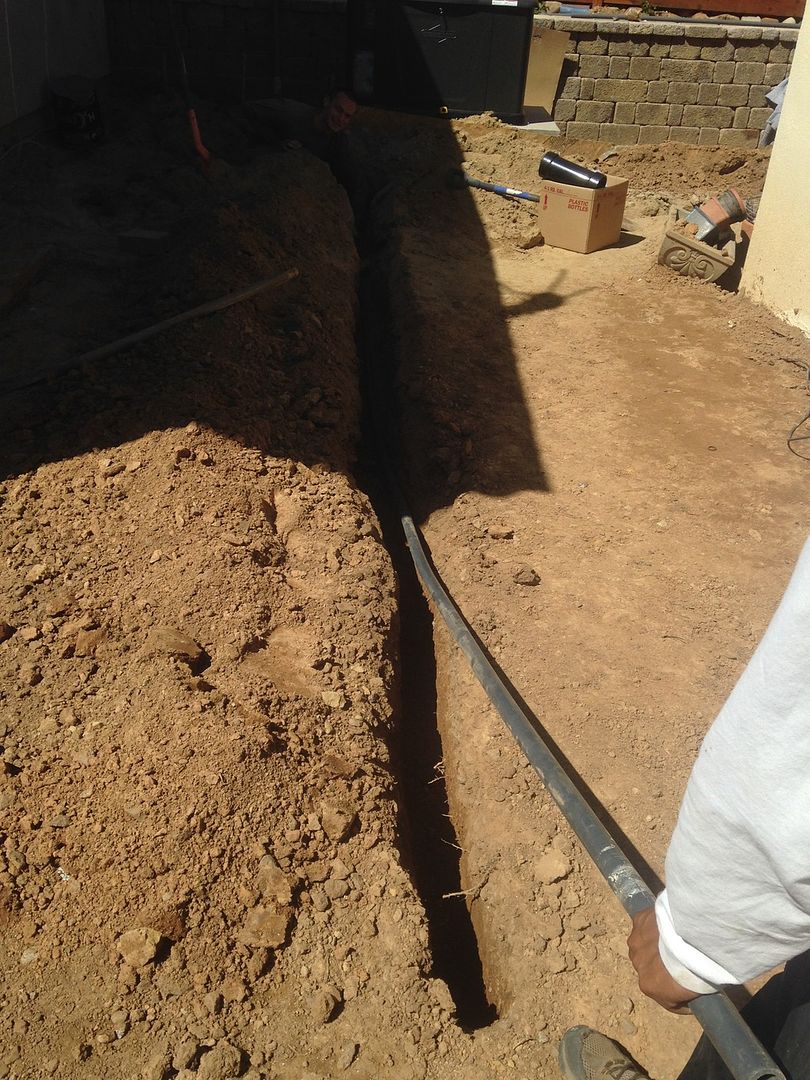
Gas line trench, 1-1/2" line to allow for future growth.
Really had a difficult time finding an honest, fair plumber to install the gas lines for us. I'm sorry, but $2000 for 2 days of labor, when we already had the trench dug and the permits obtained.. no thank you. Ran them all our selves. Everything pressure tested, inspected, and kosher. Feels good!!
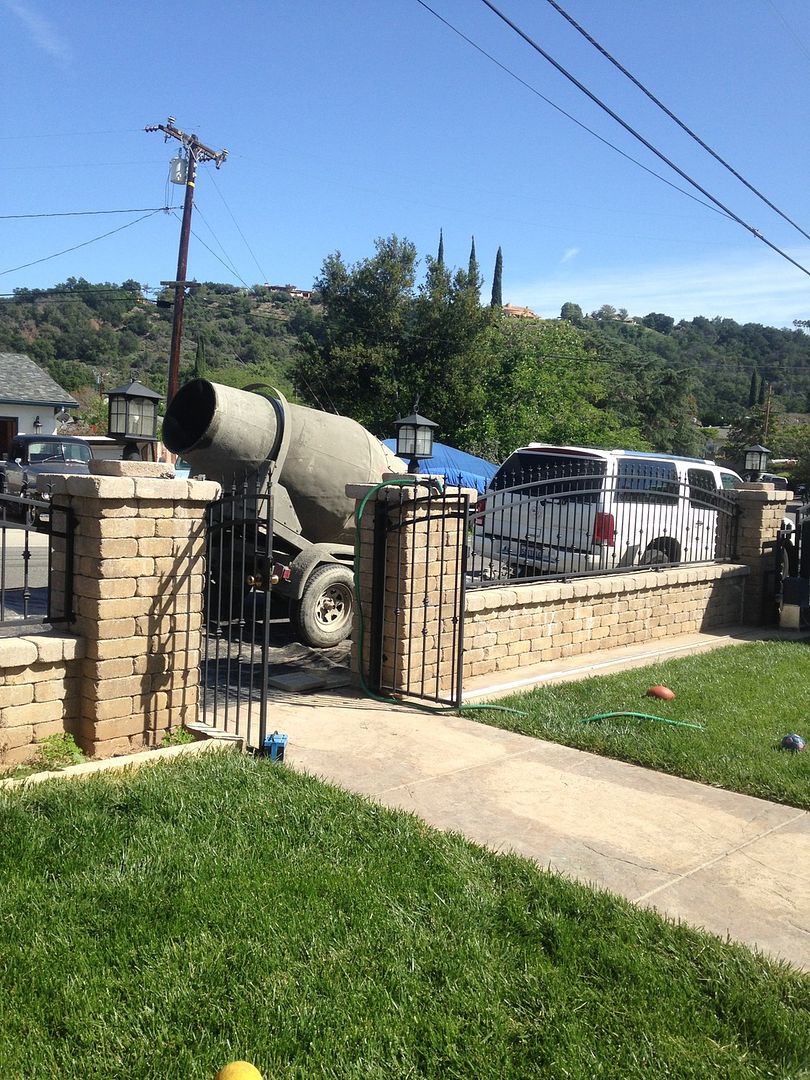
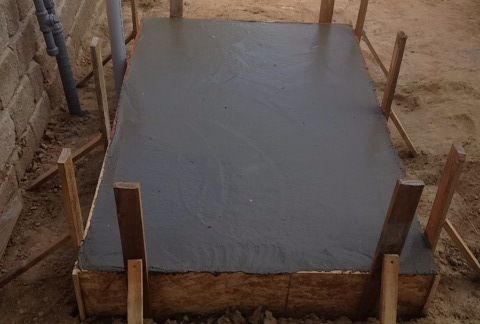
Pouring the slab for the generator pad. 14" thick to get it high enough, as the finished grade isn't quite right yet.. (pavers still need to be installed)
They expect you to put two steel pipes through the base of the generator and then four burly dudes would each grab a corner and try to carry this 500lb beast onto the slab.. No thank you! We have a better idea.
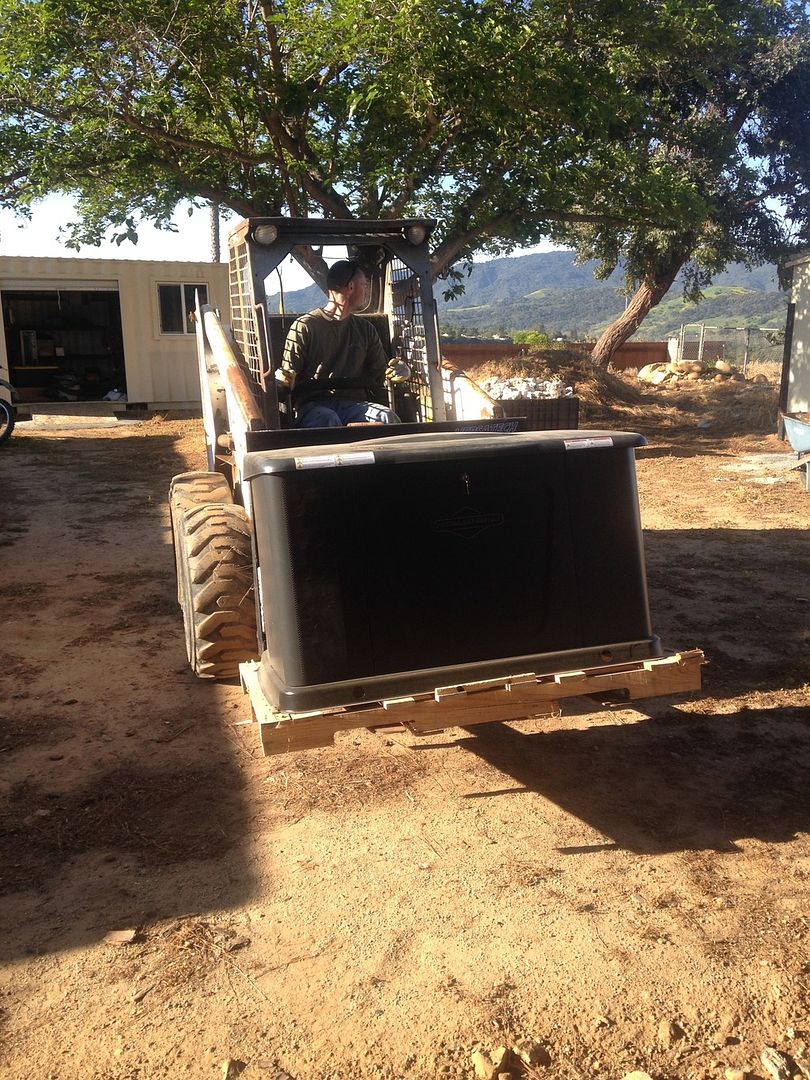
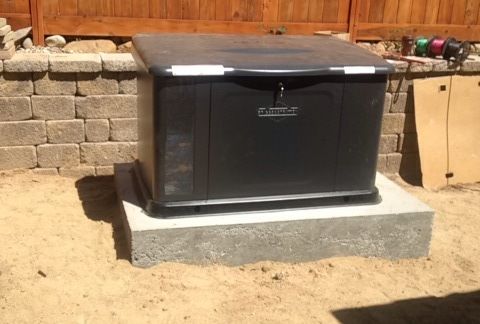
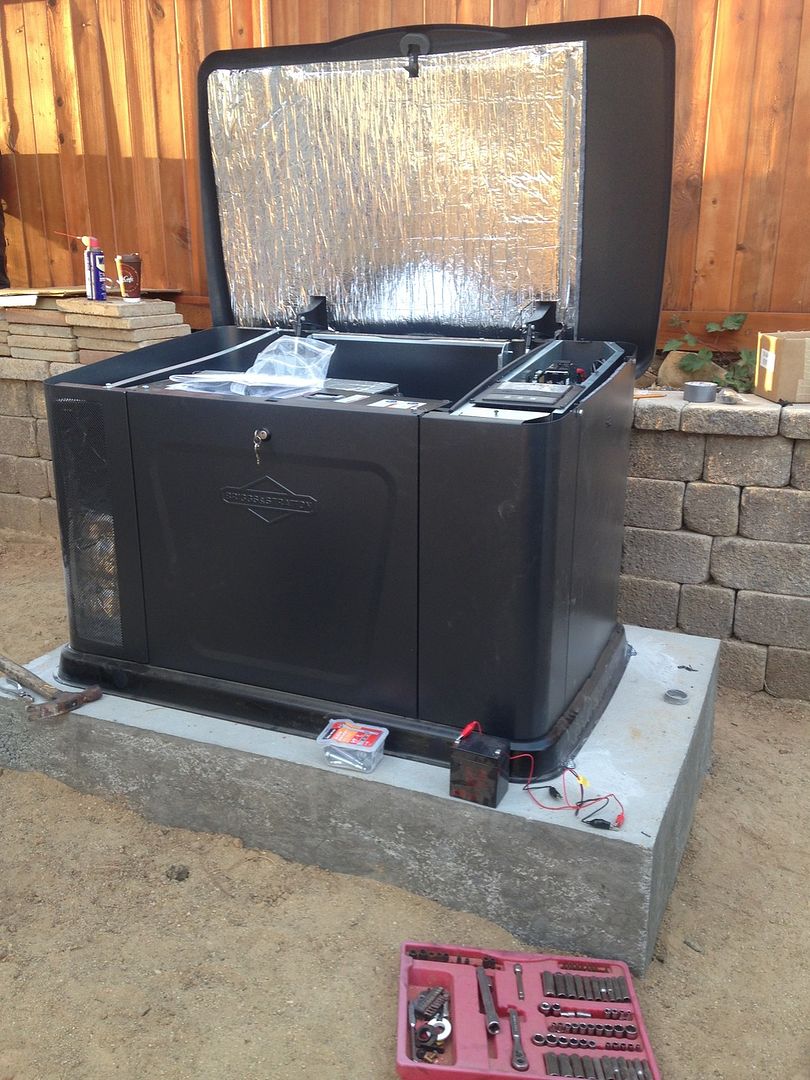
Generator set..
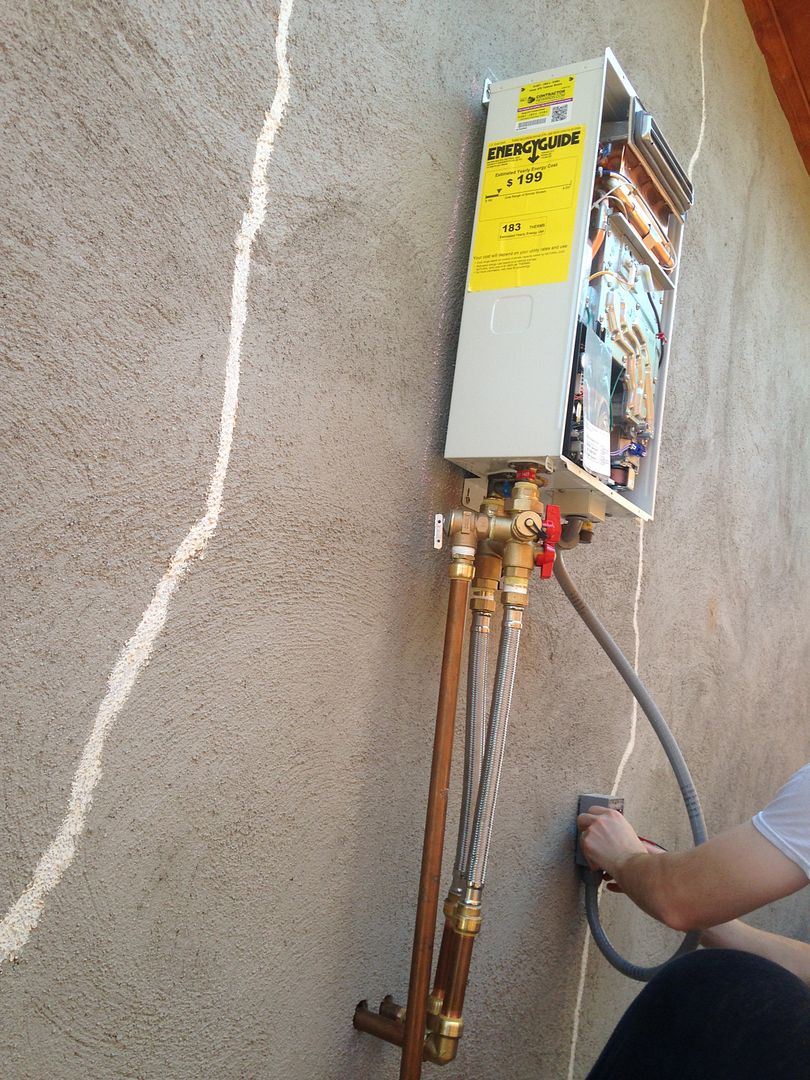
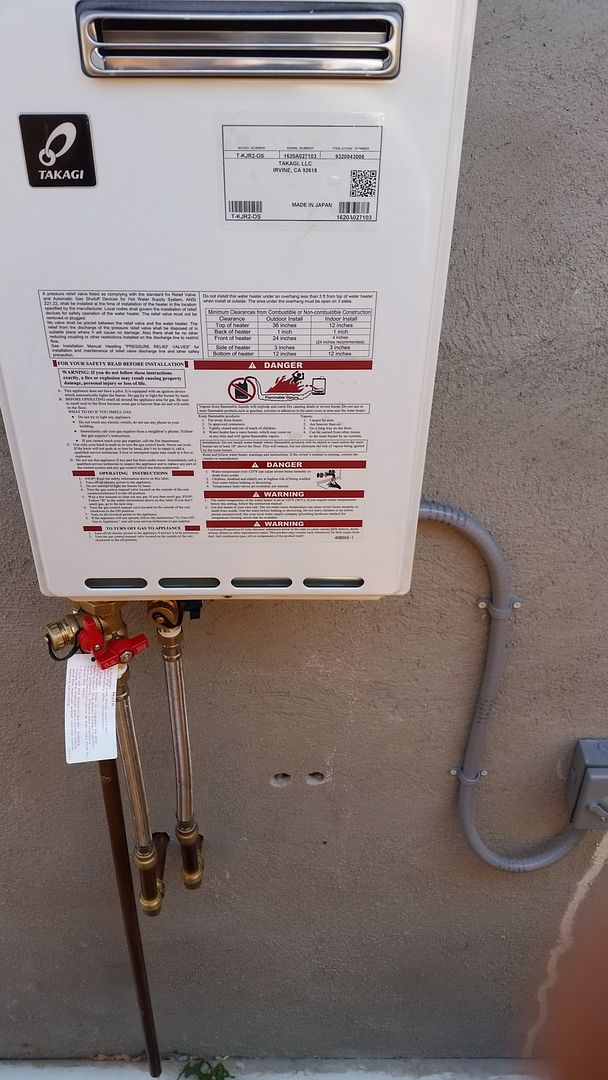
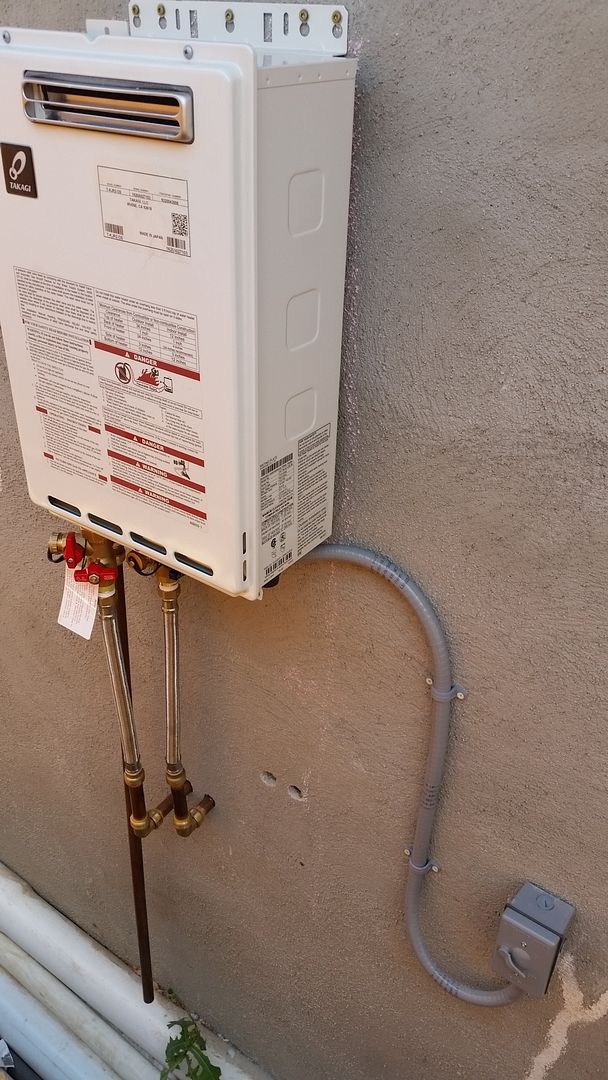
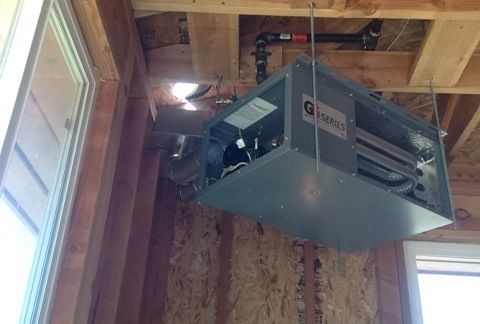
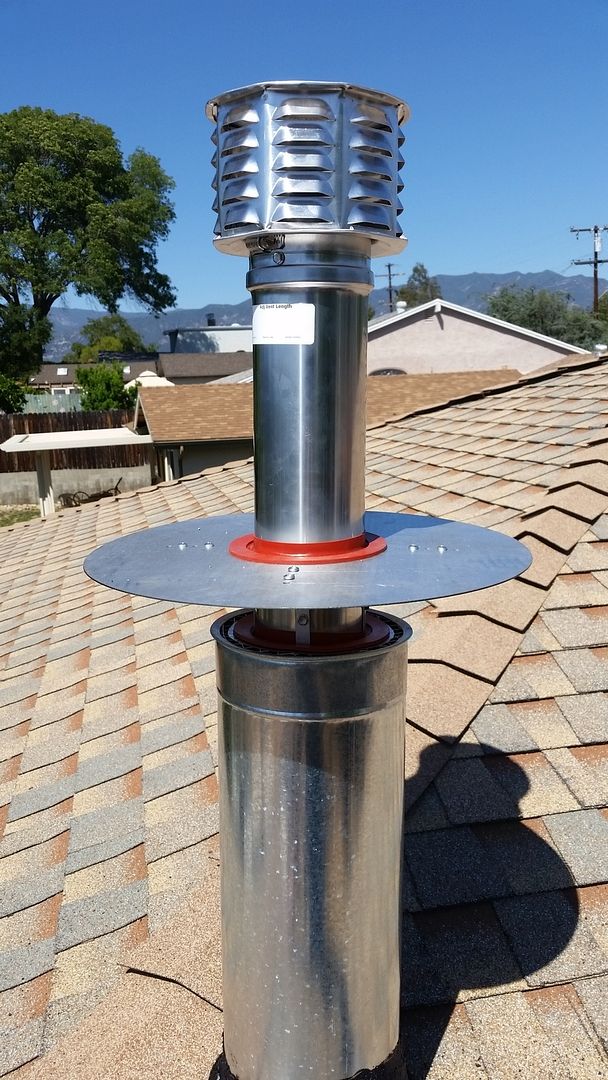
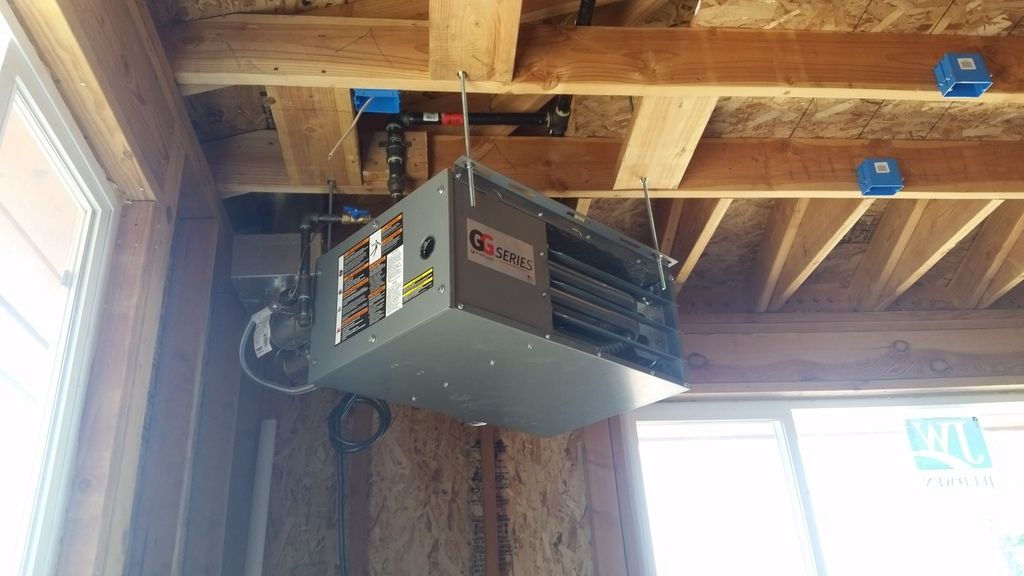
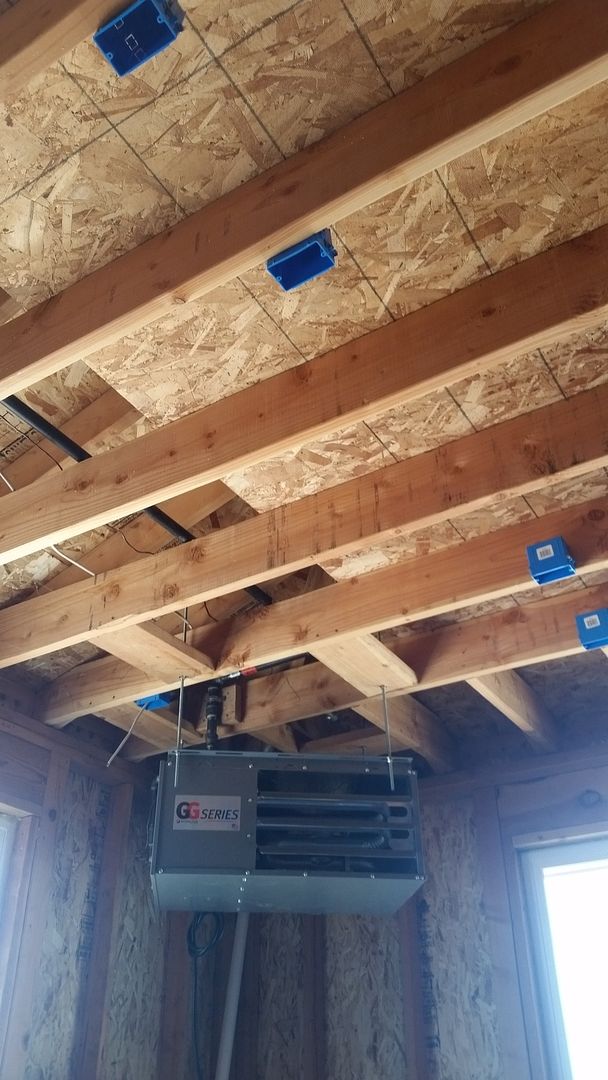
Heater getting installed.. ventilation time. Category 3, stainless for the inner pipe. Expensive stuff
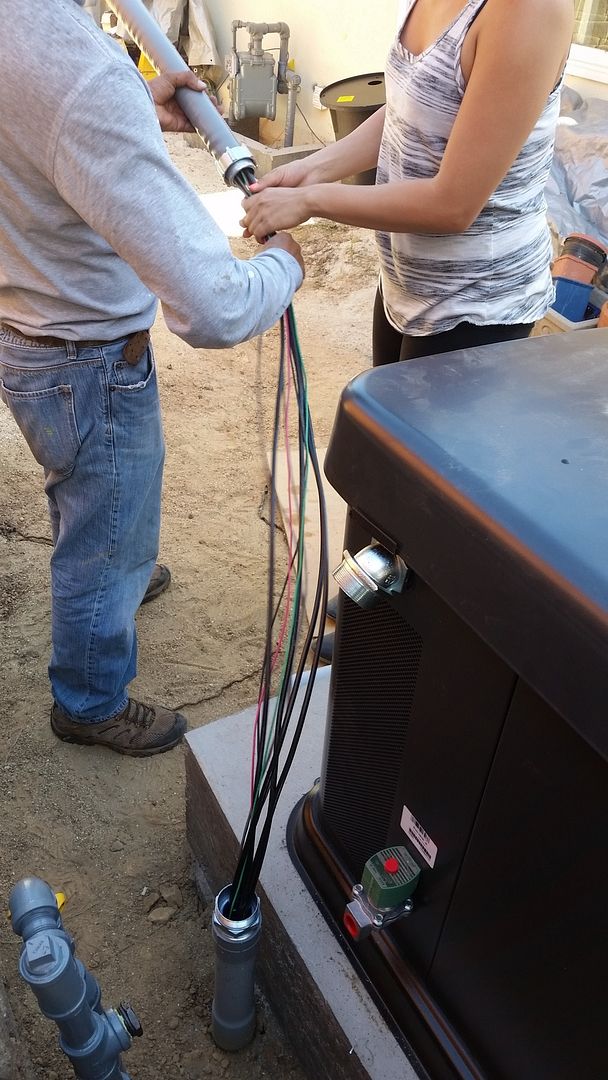
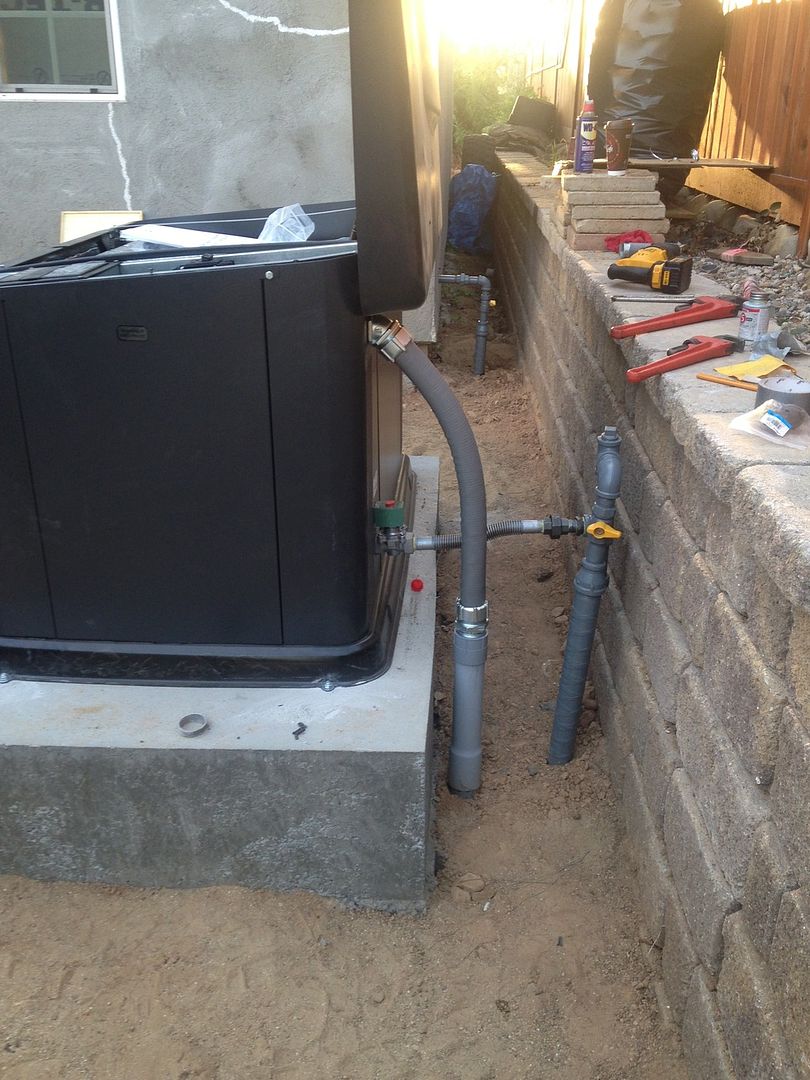
Wiring up the generator.. Can't believe that 45 degree 1-1/2 liquidtight fitting was like $35! Oh well.. it's done and over with.
Clearing out our temporary storage mess..
Tank layout
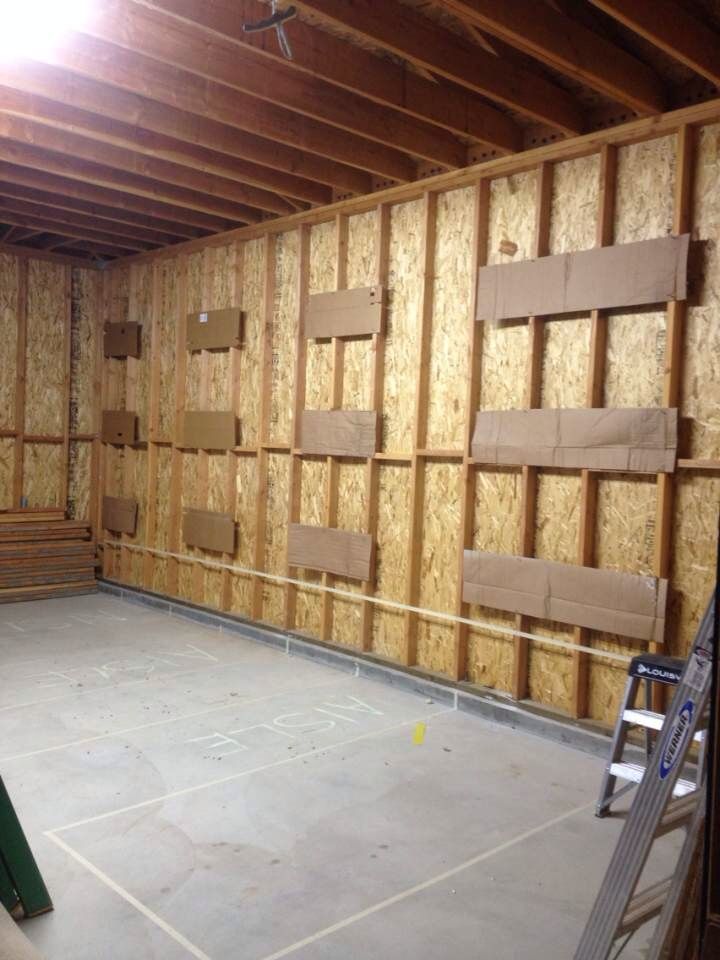
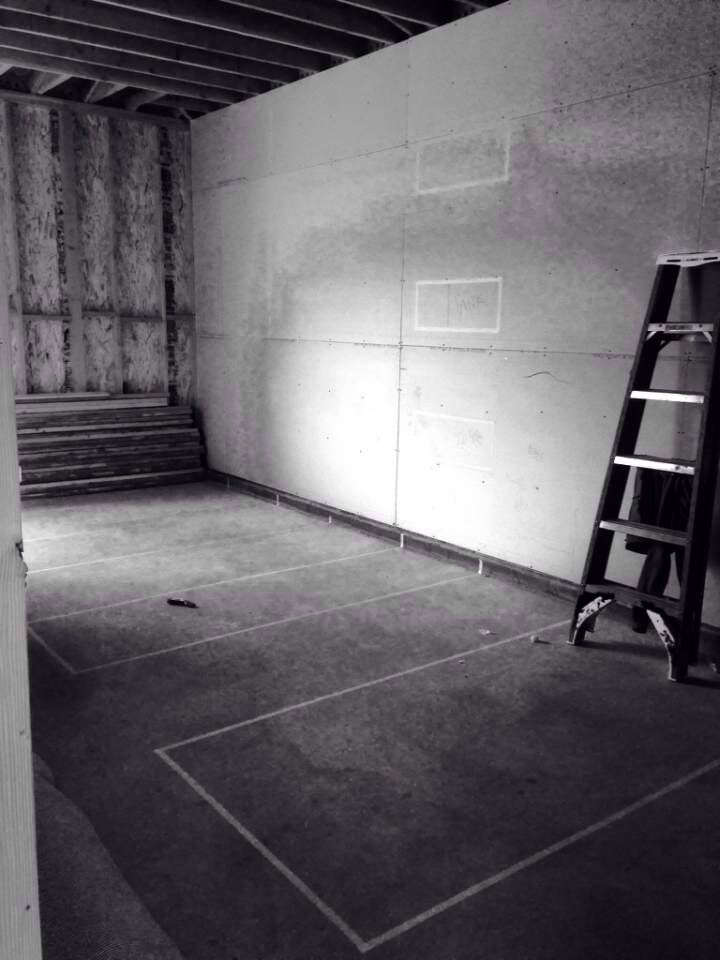
A pic to look back on once this project is finally done and over with..
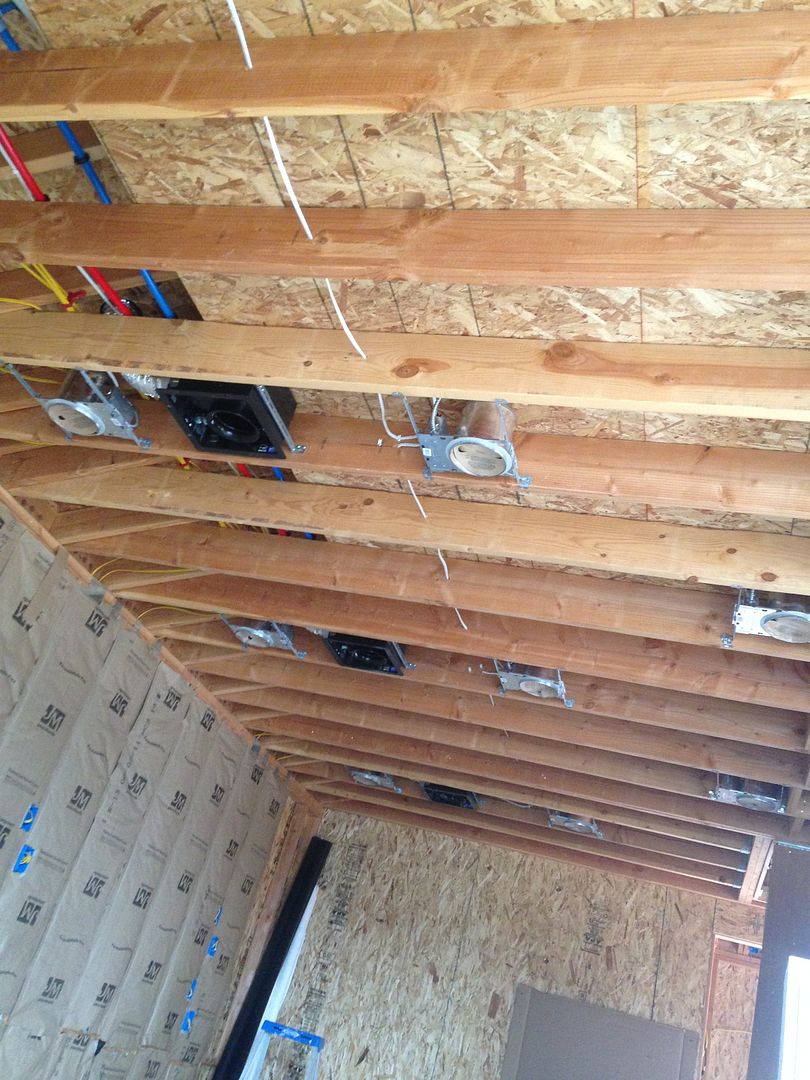
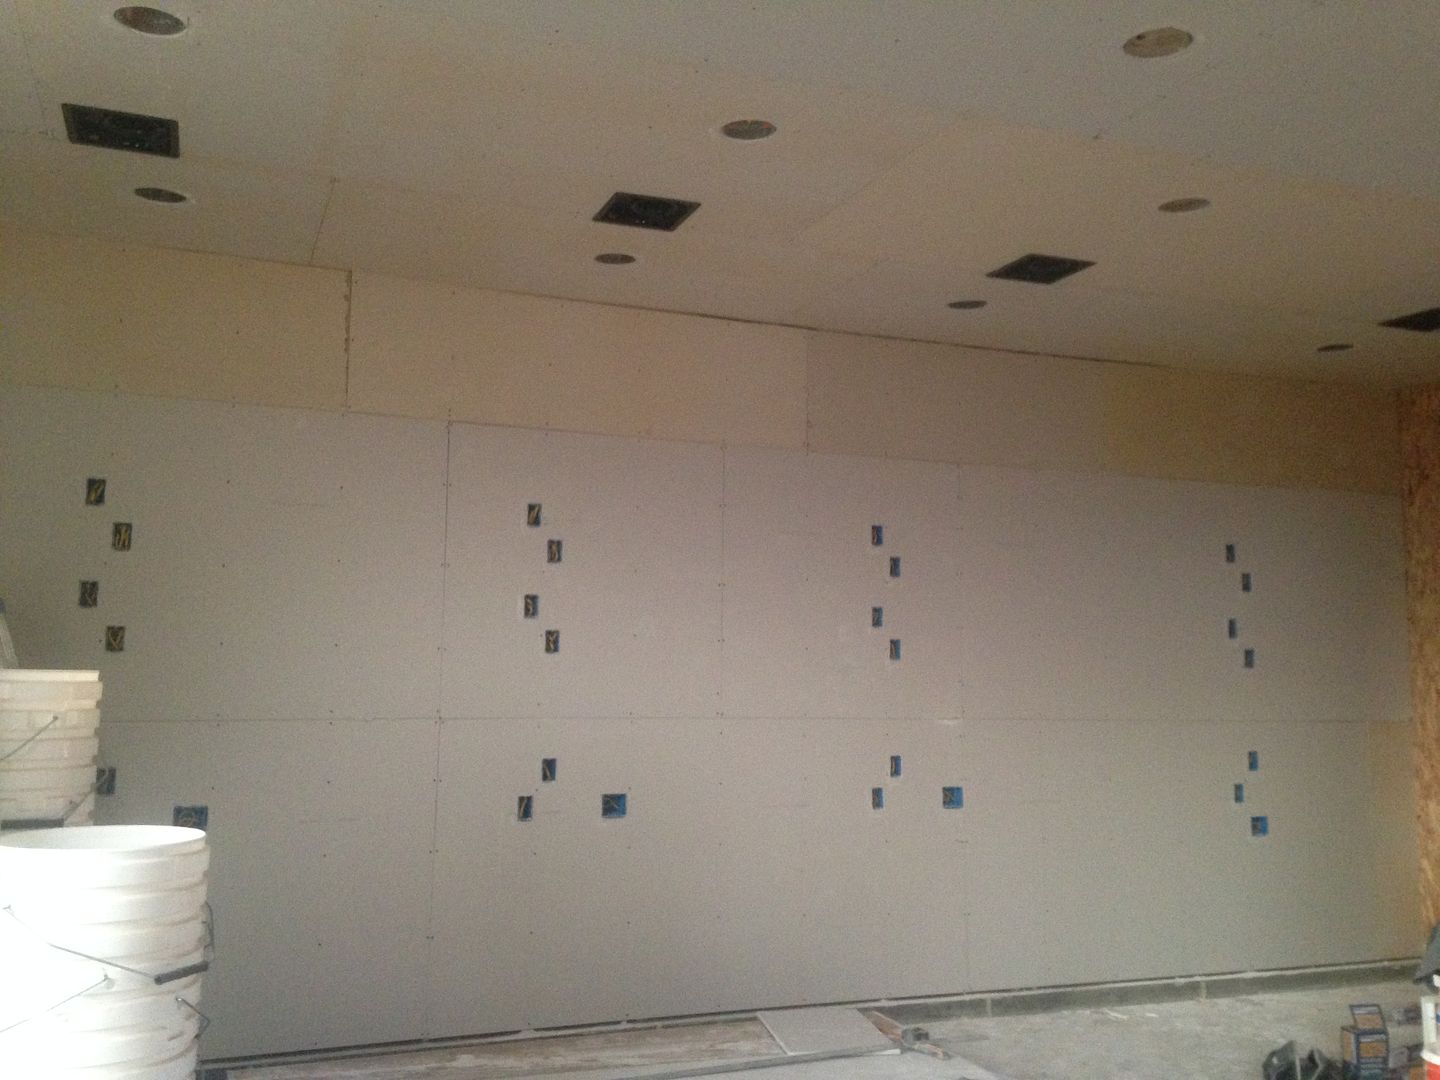
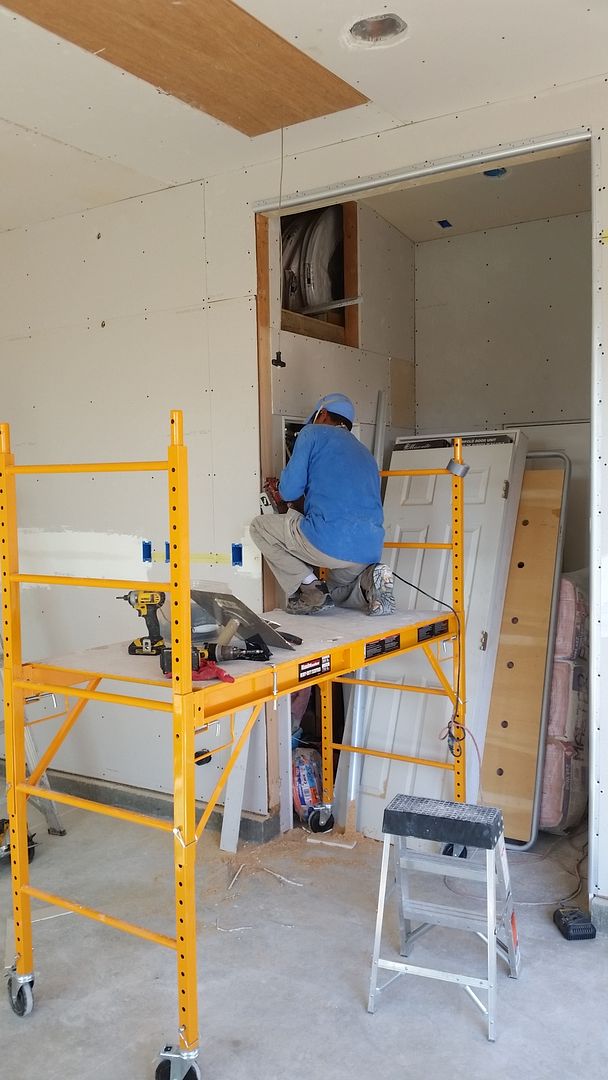
Boxes goin up.
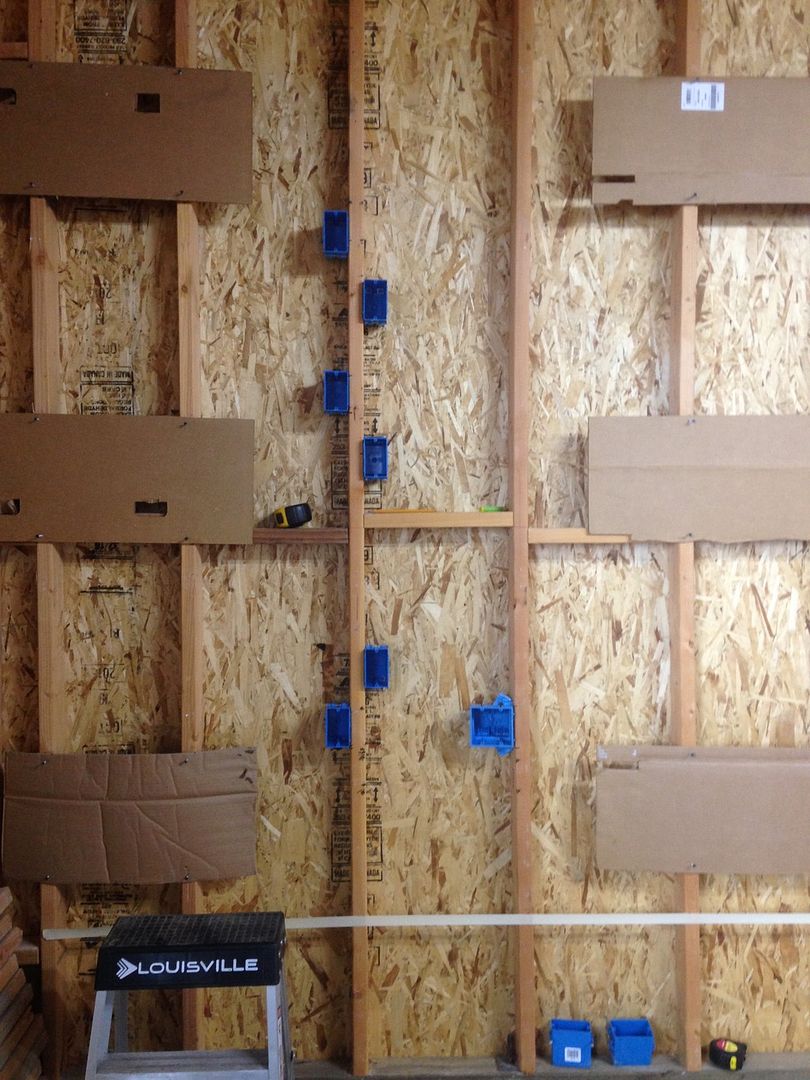
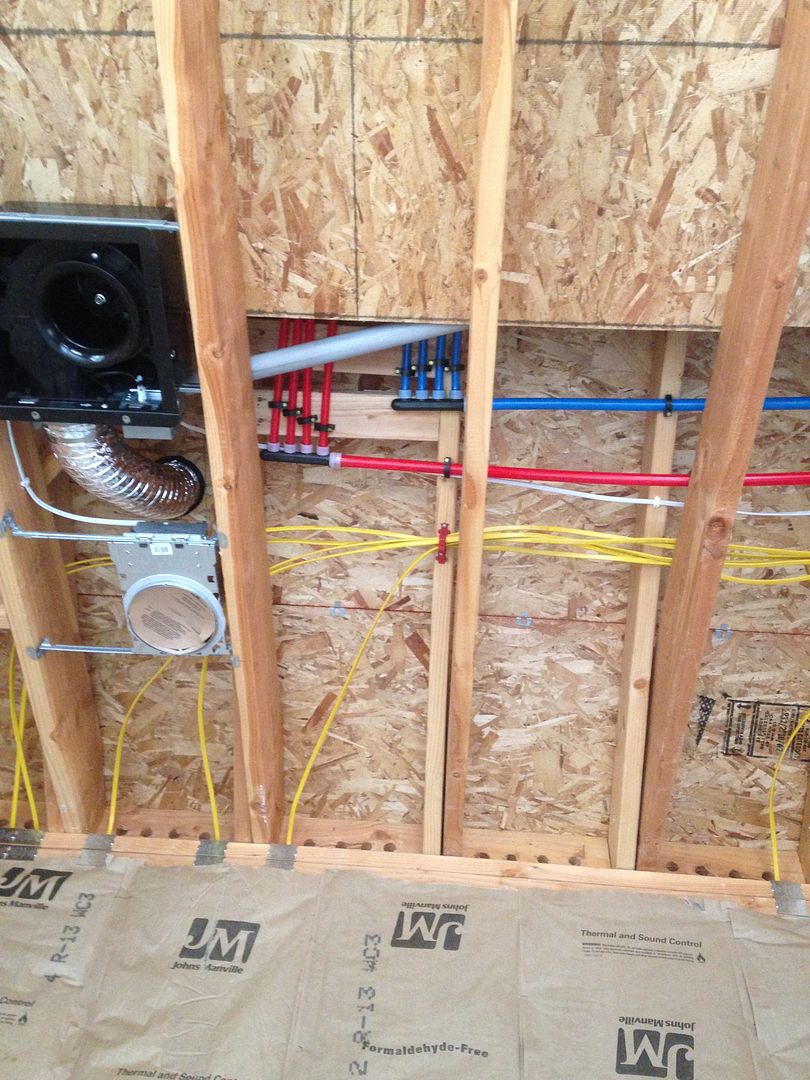
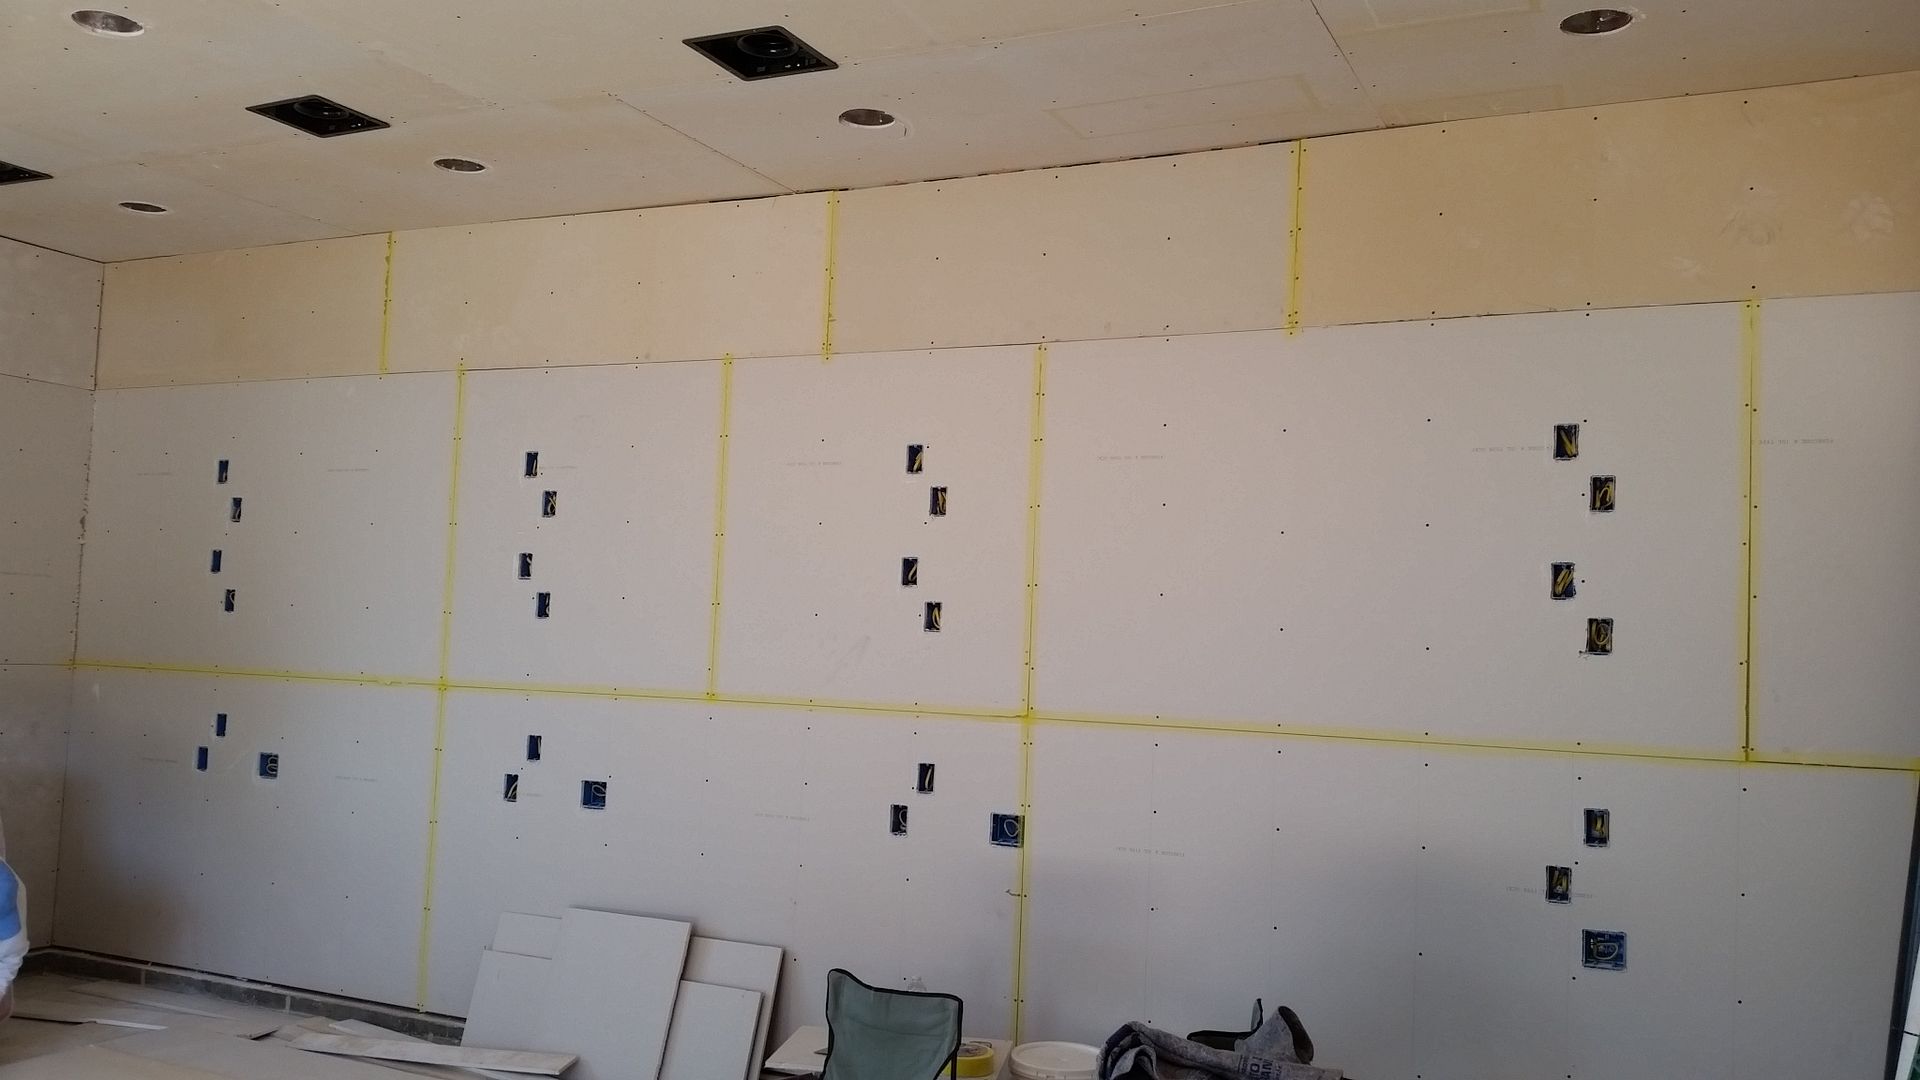
Romex going in.. There's (20) 20 amp circuits ran so far.. just for the tanks that are going up against that wall. What we've learned from past experience is to allow room for future growth.. In our current setup, we have to constantly add up the draw of lighting/pumps/heaters, etc, to make sure we stay at 80% of the circuit amperage and then make adjustments.. what a pain in the butt. This is overkill, but at this point, we'll gladly pay the extra in copper costs to avoid future headaches.
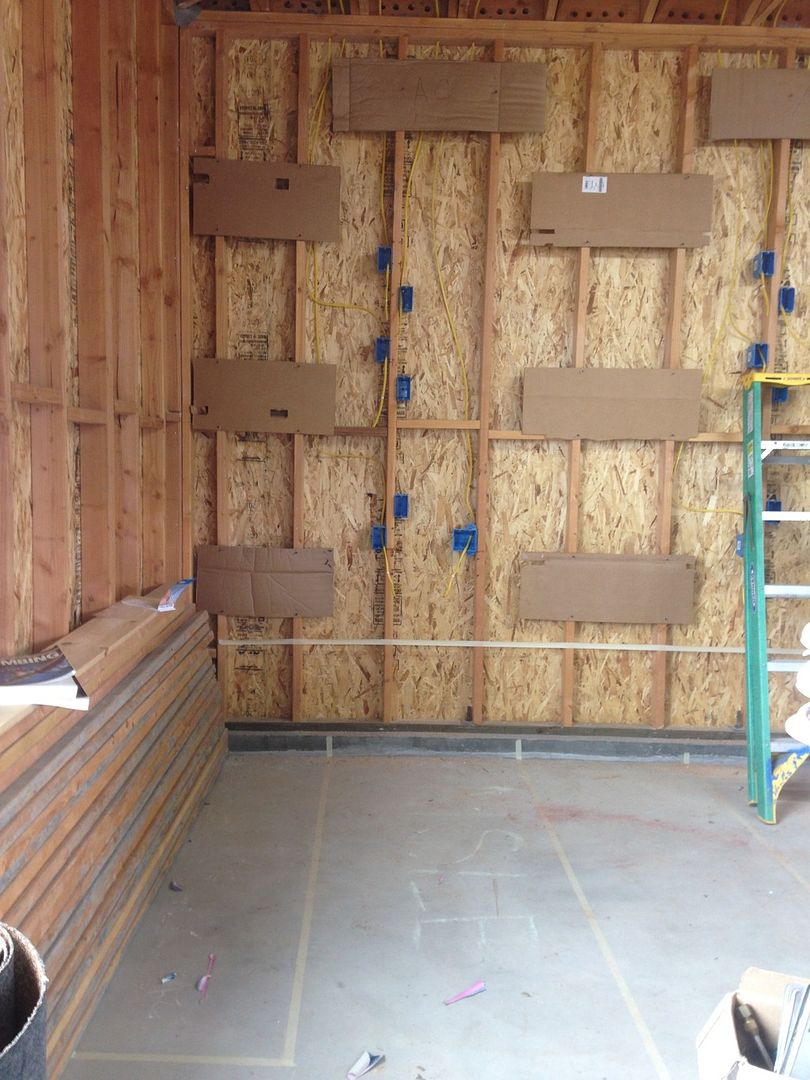
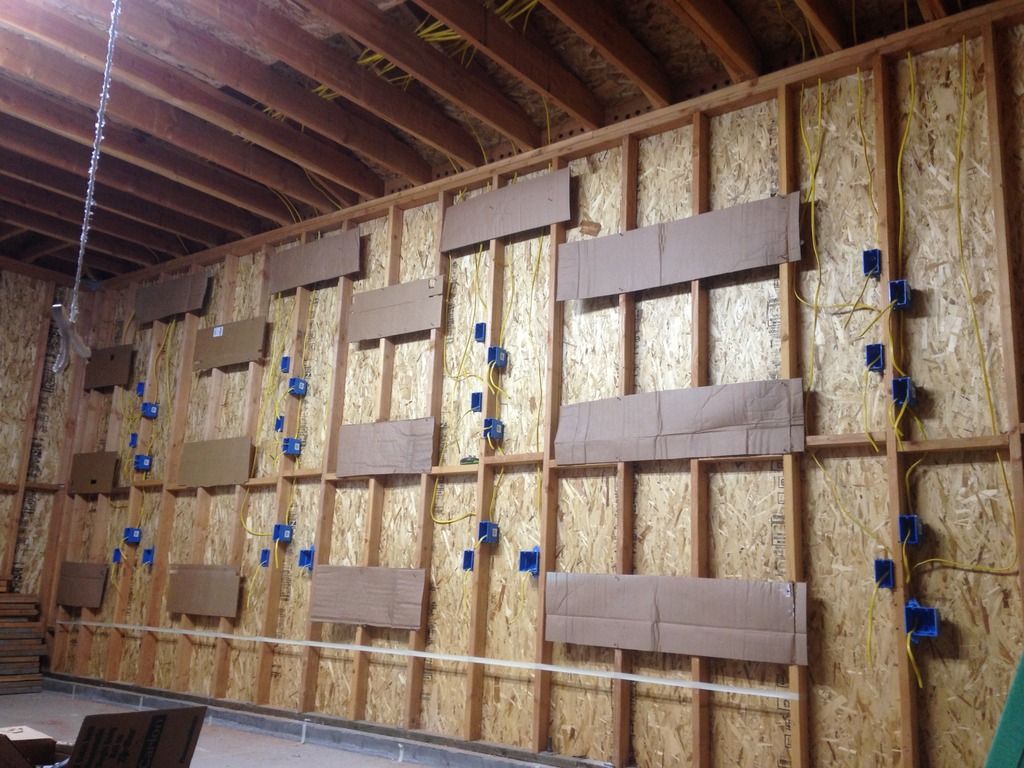
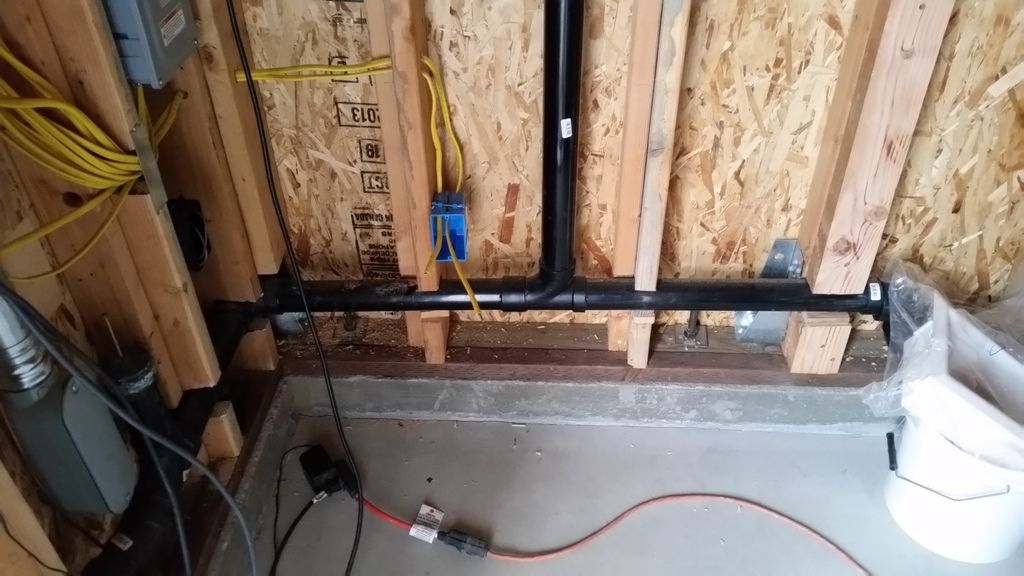
Figure now would be the time to upgrade our sewer lateral line.. why not!
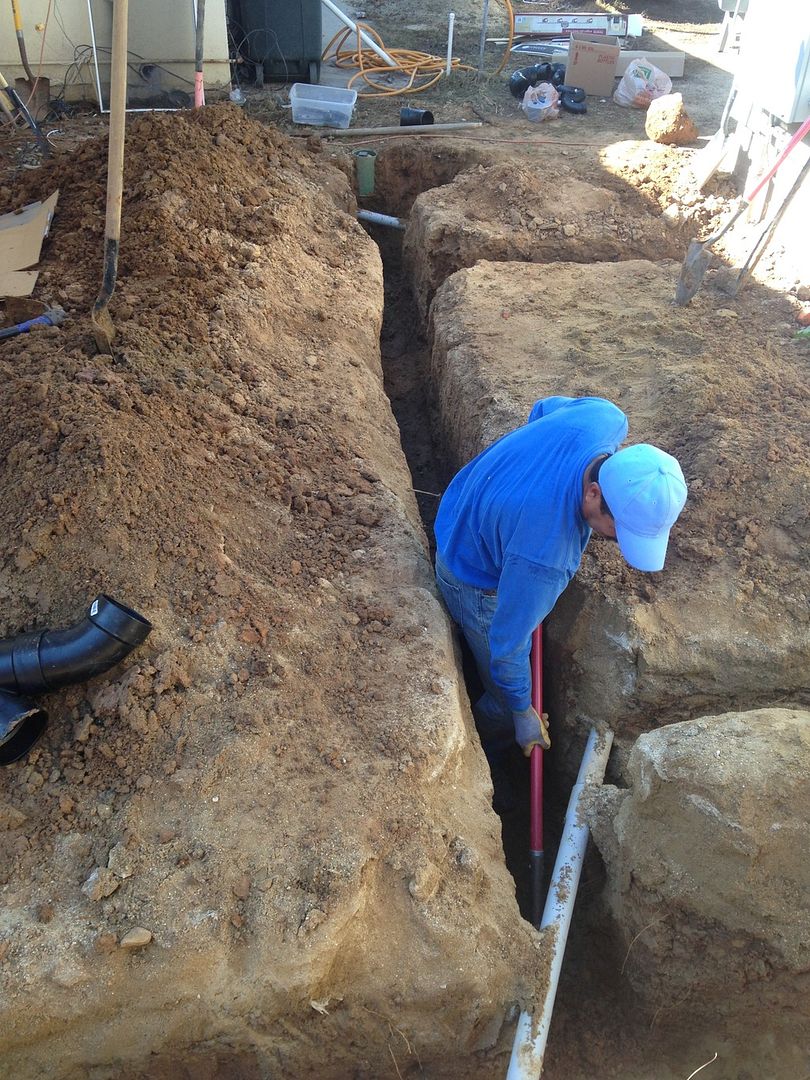
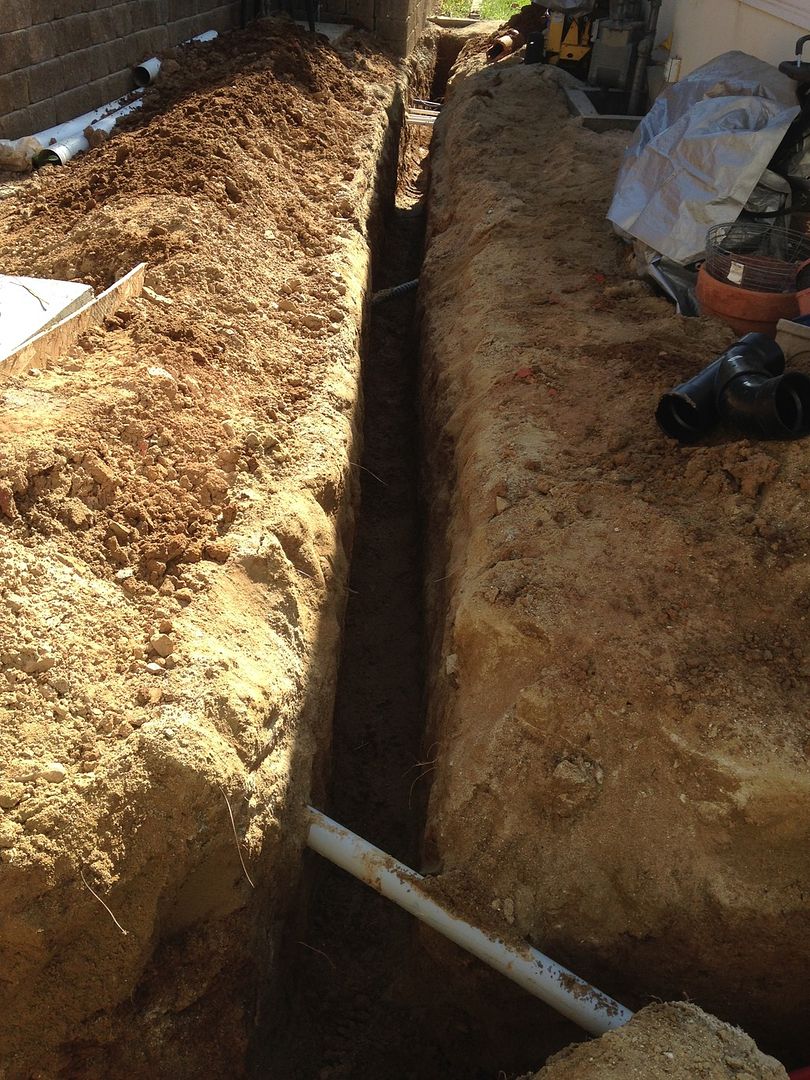
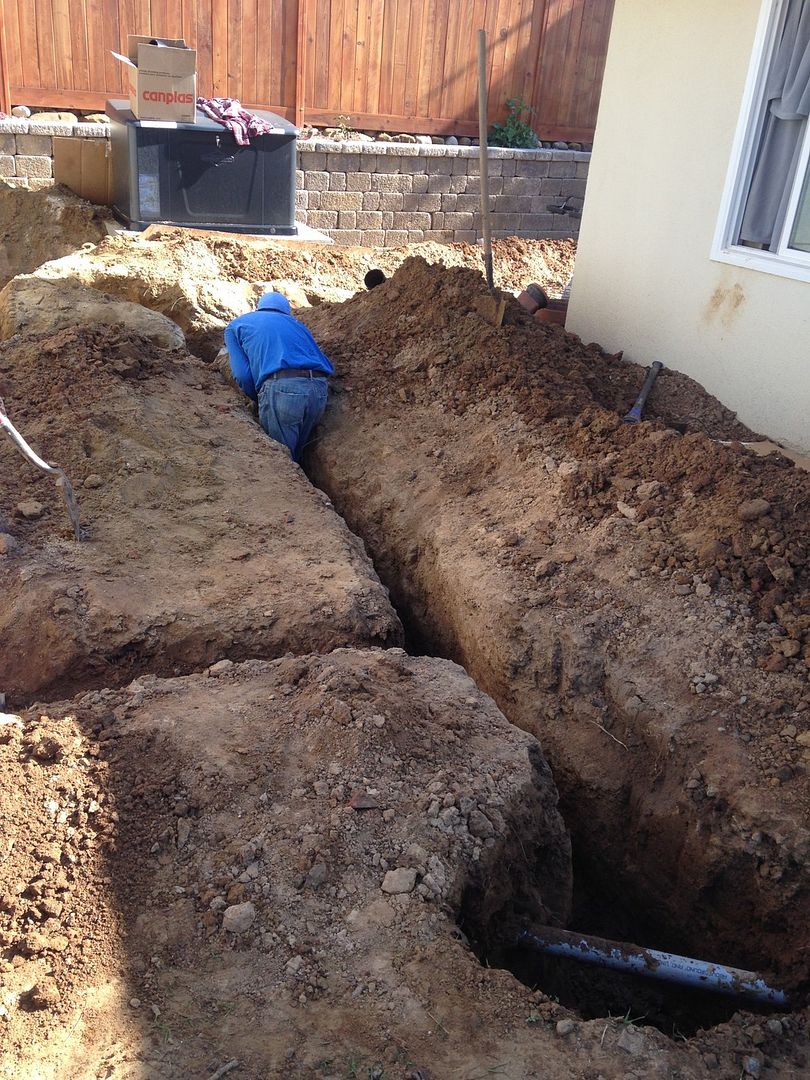
Sewer lines..
$800 in ABS and 3" / 4" PVC pipe.. Doesn't look like much.. Dang.
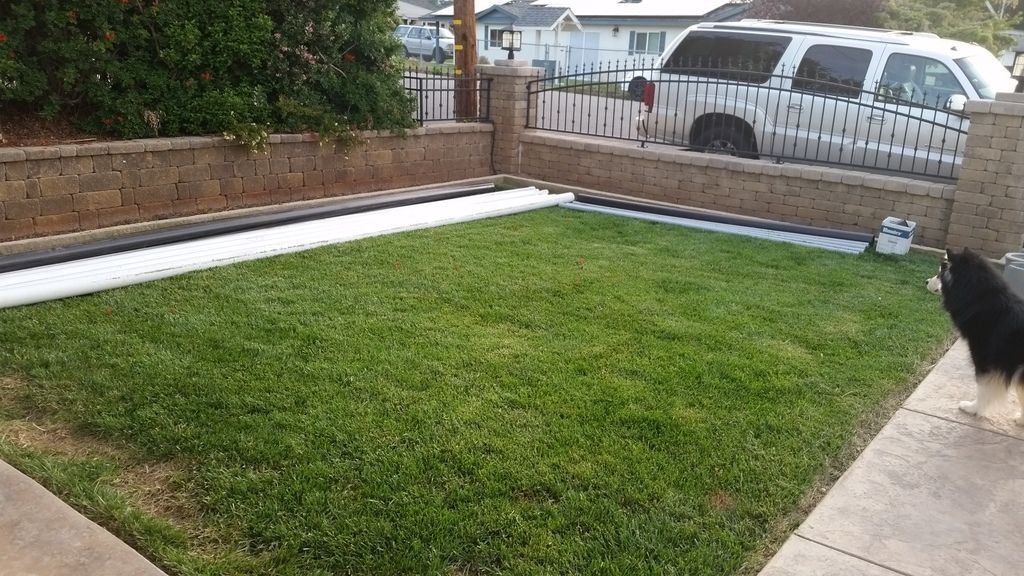
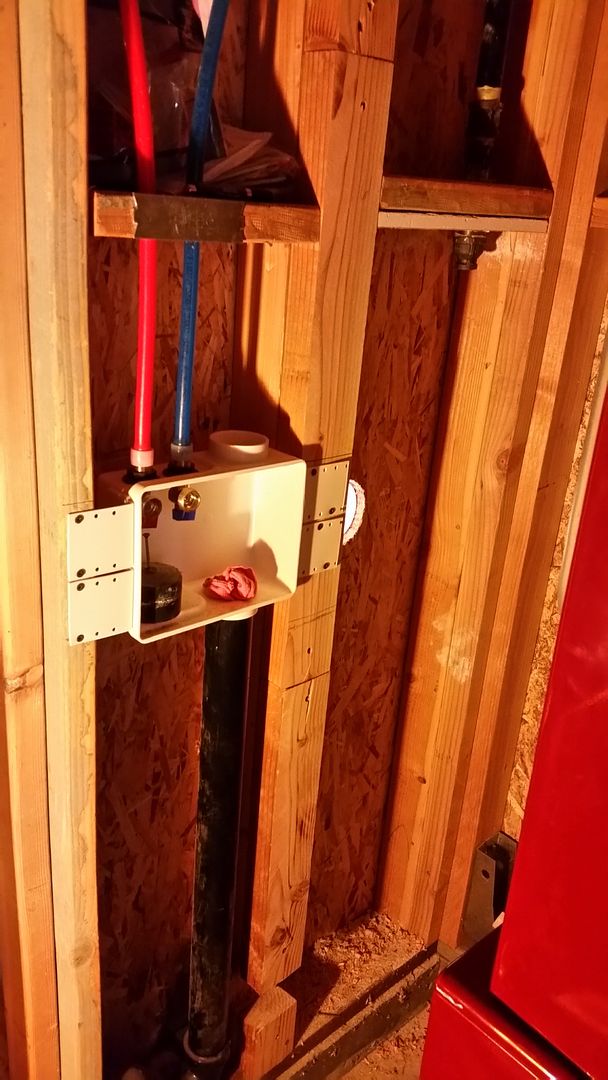
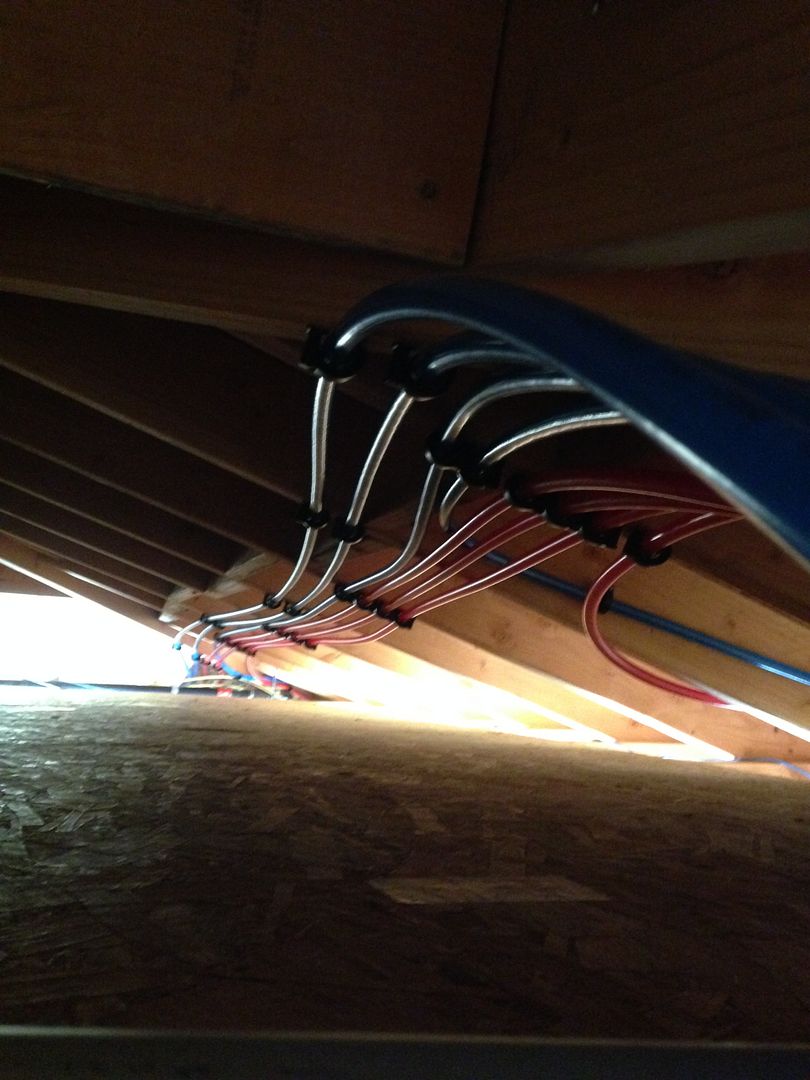
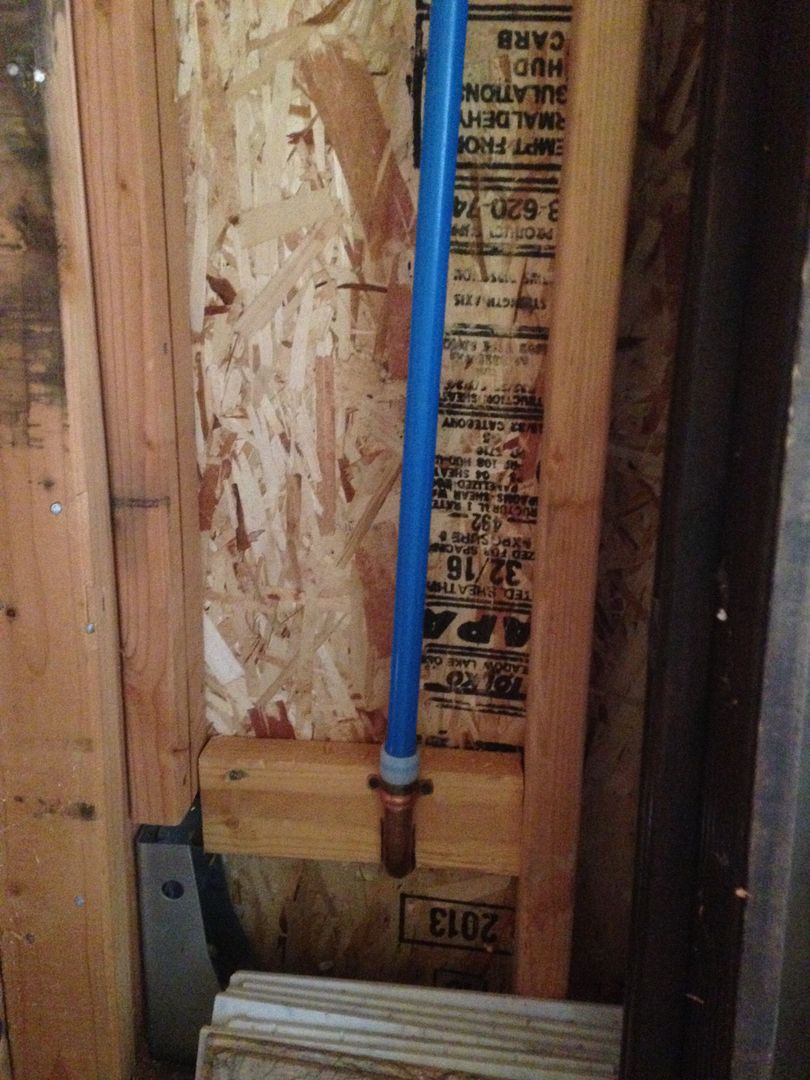
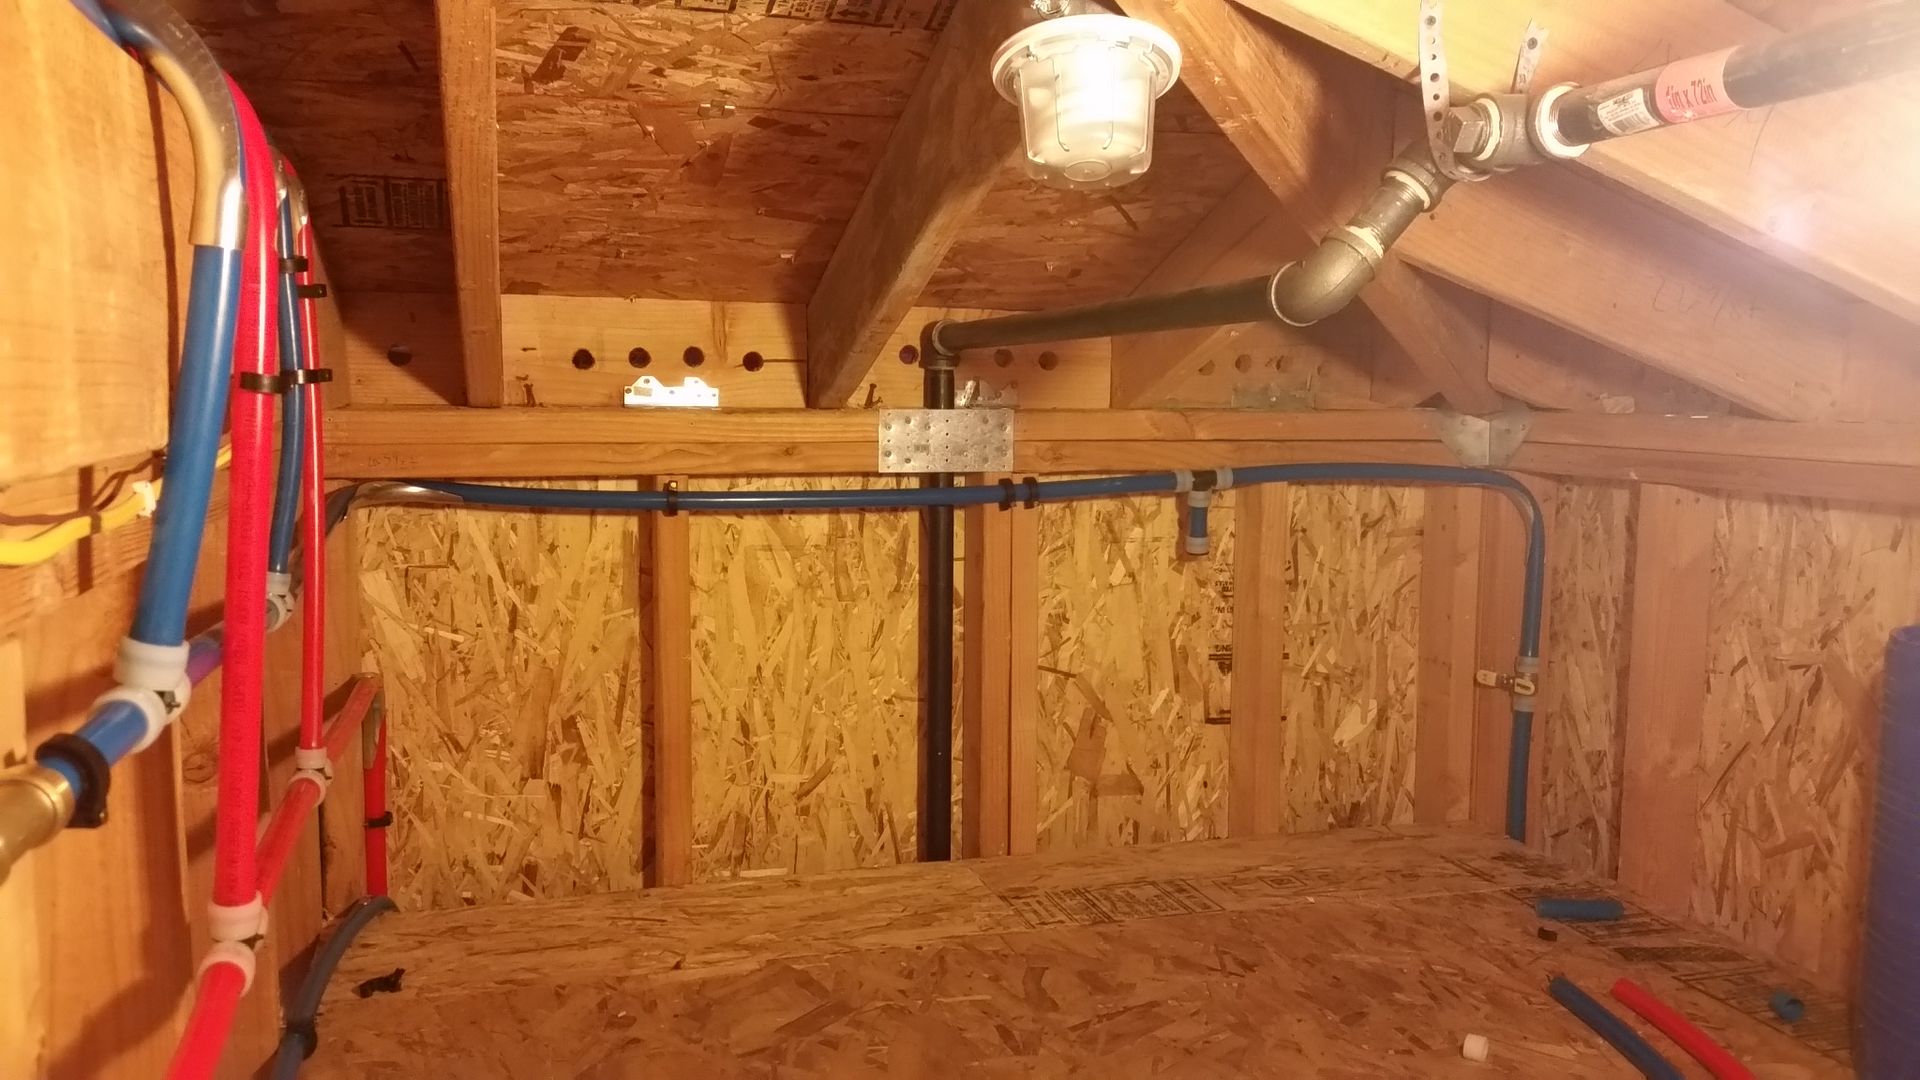
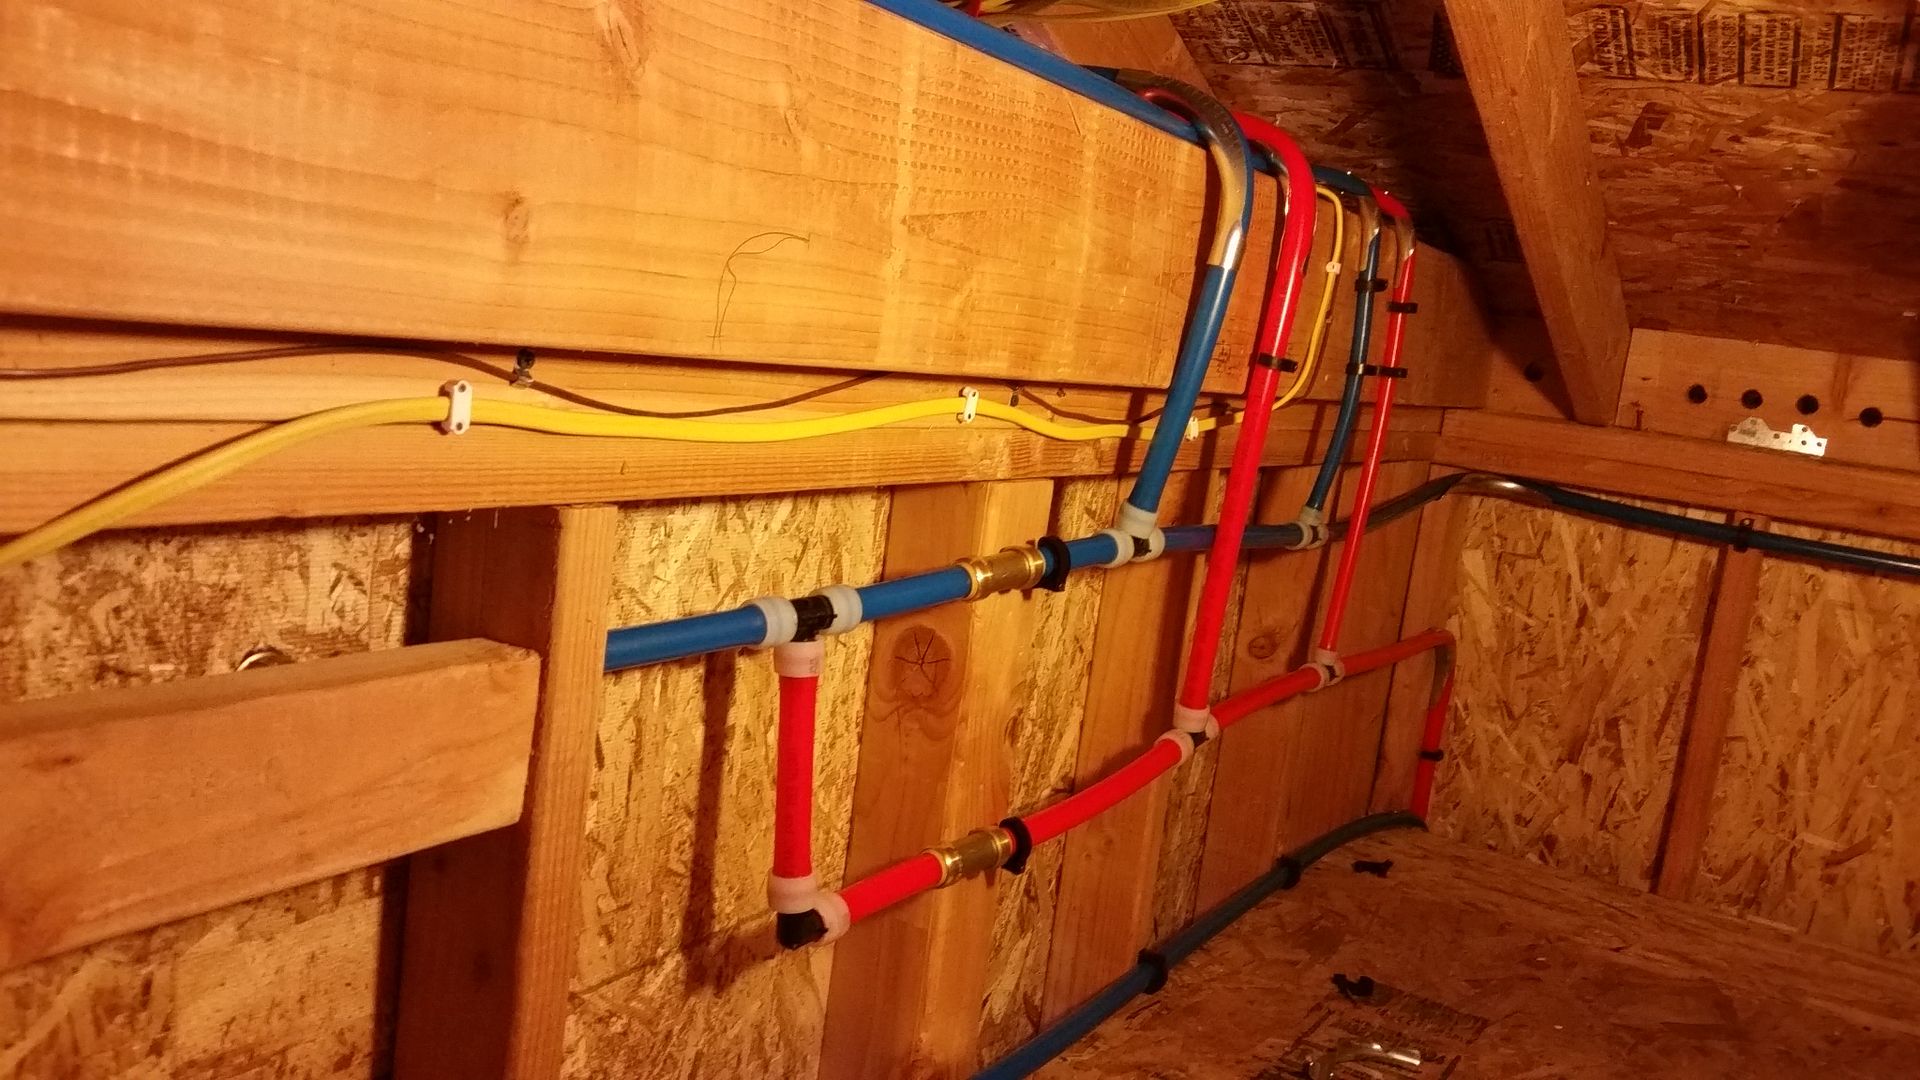
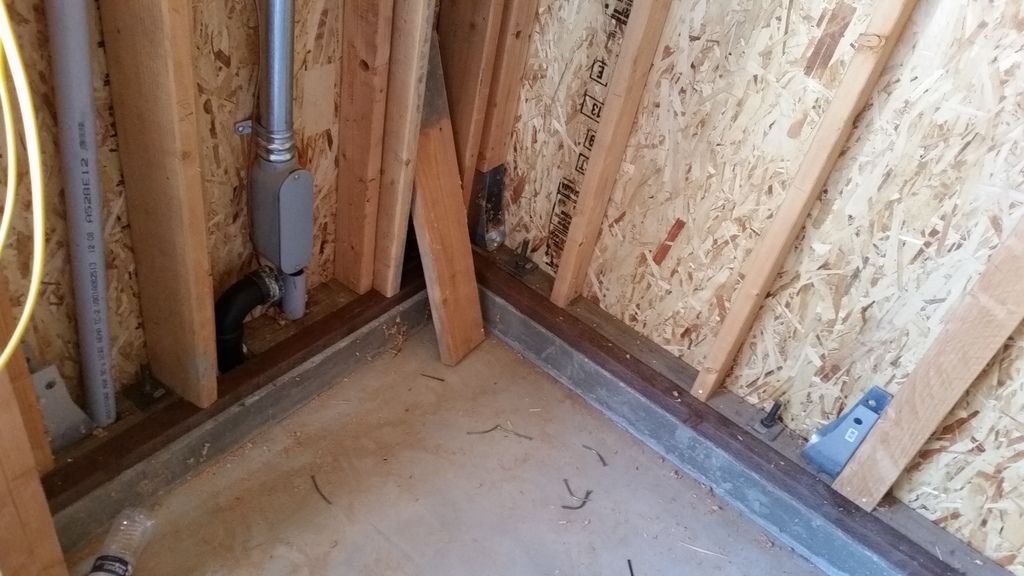
Water line going in..
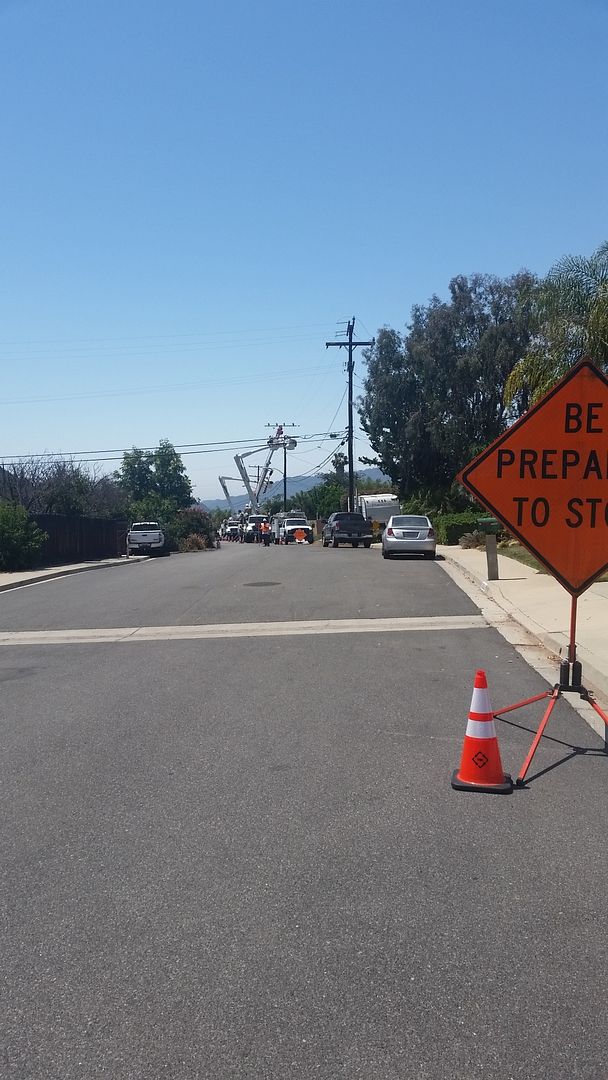
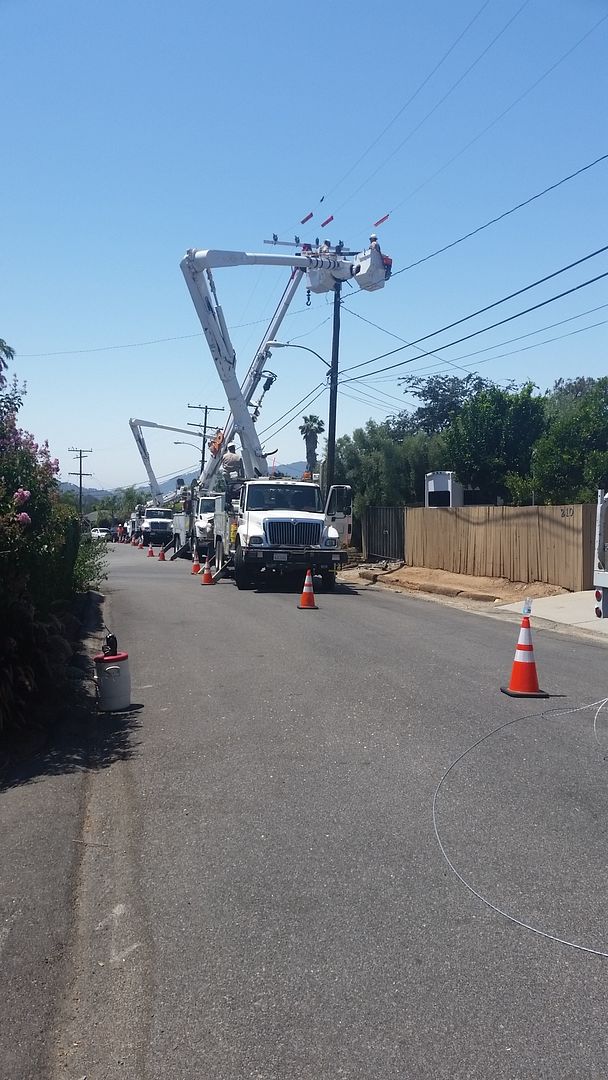
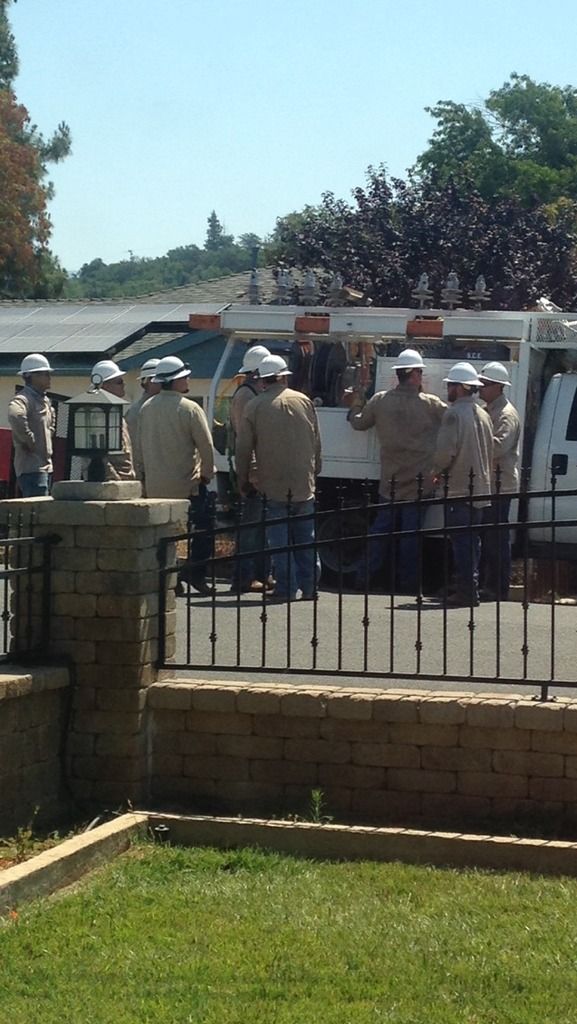
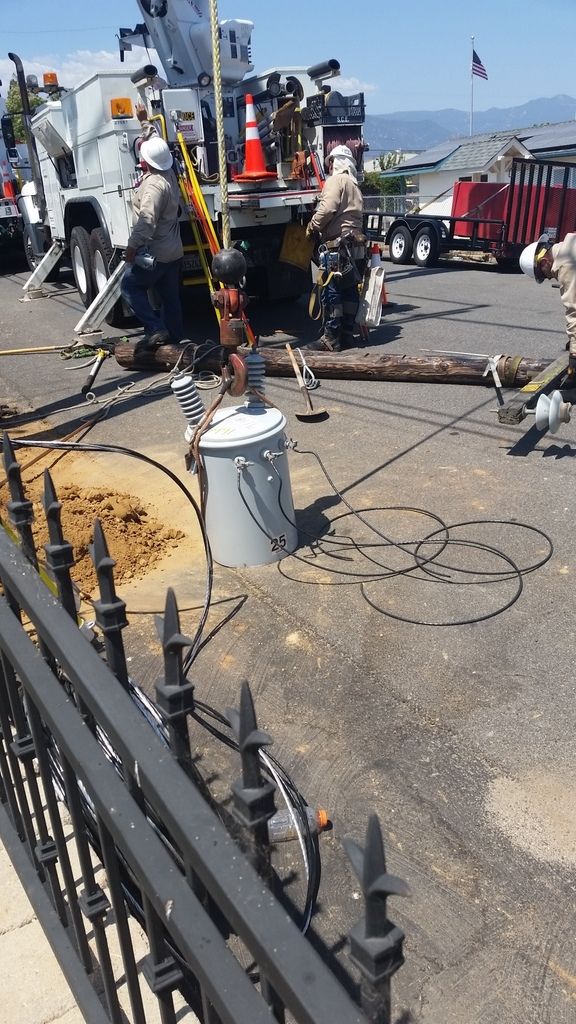
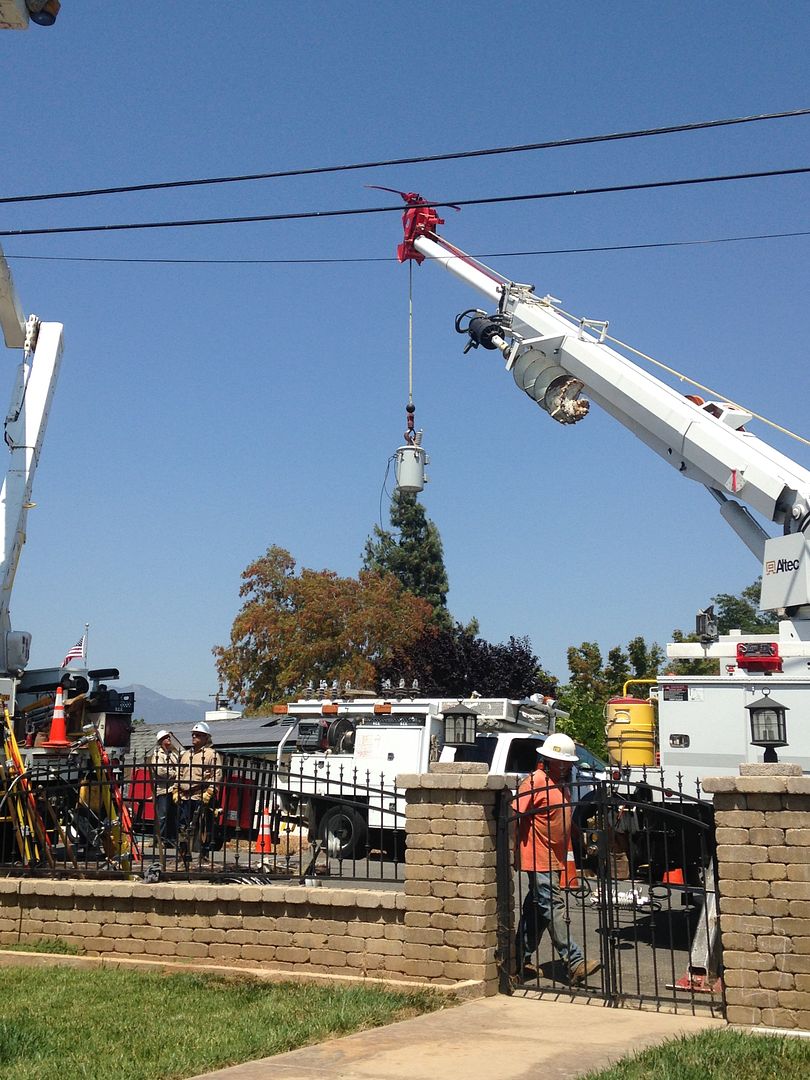
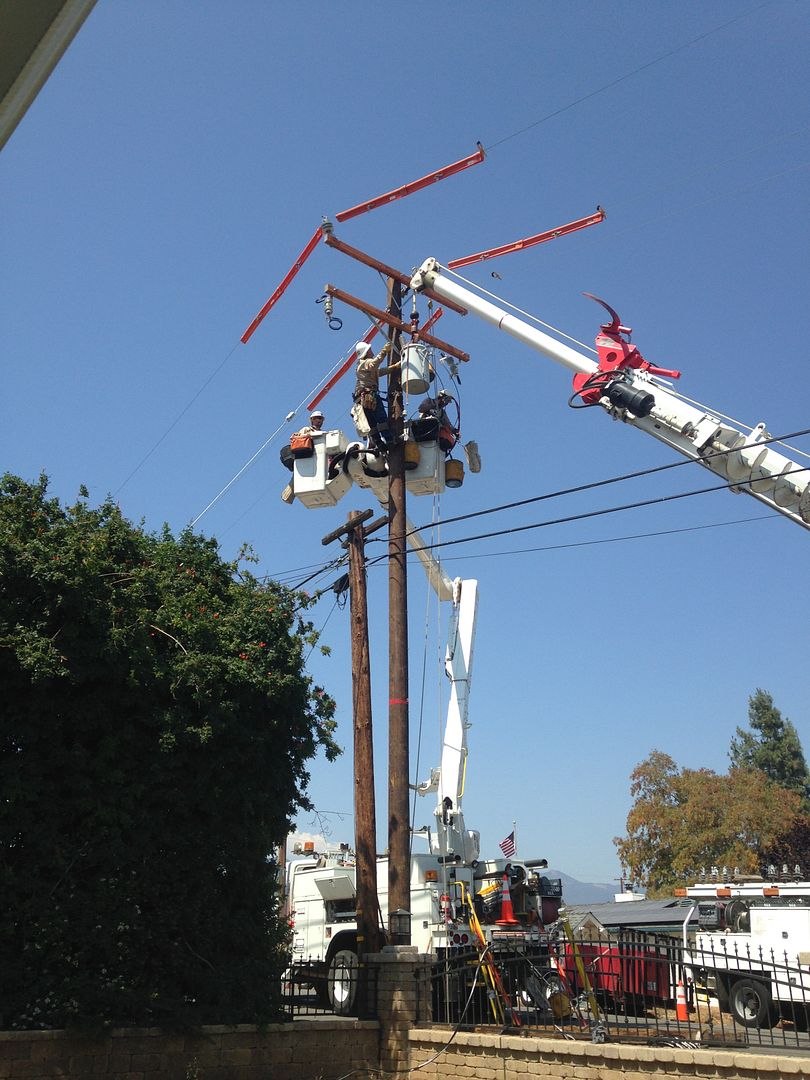
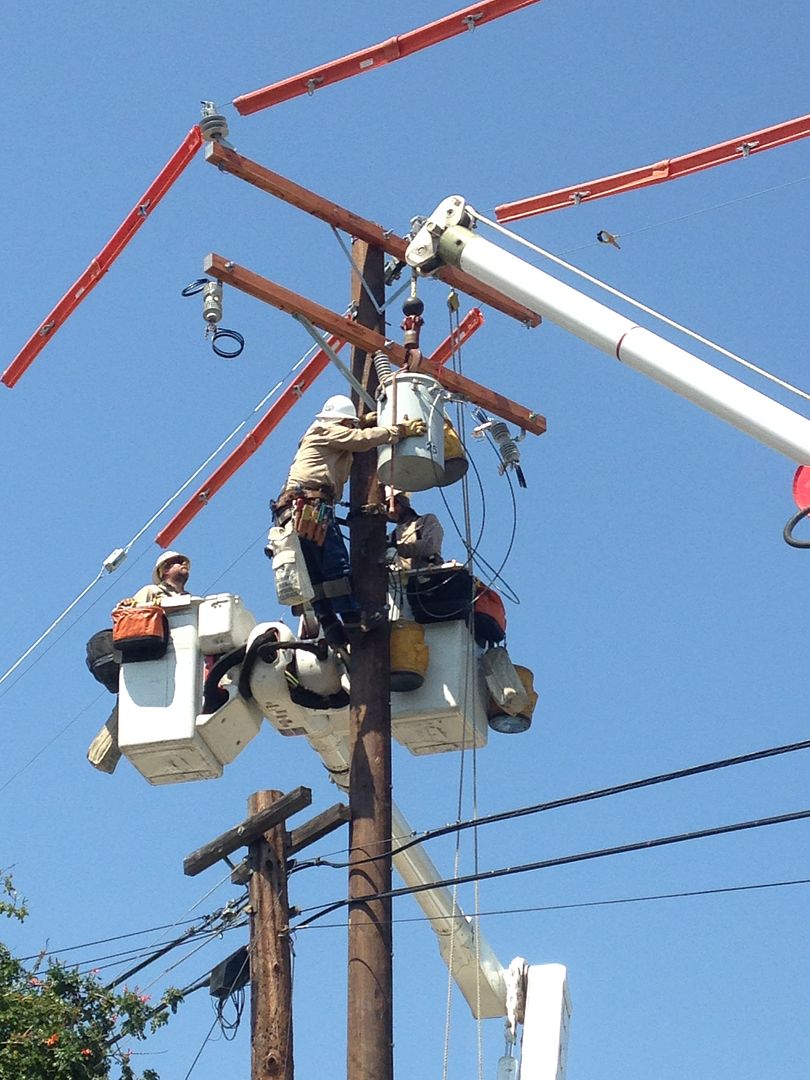
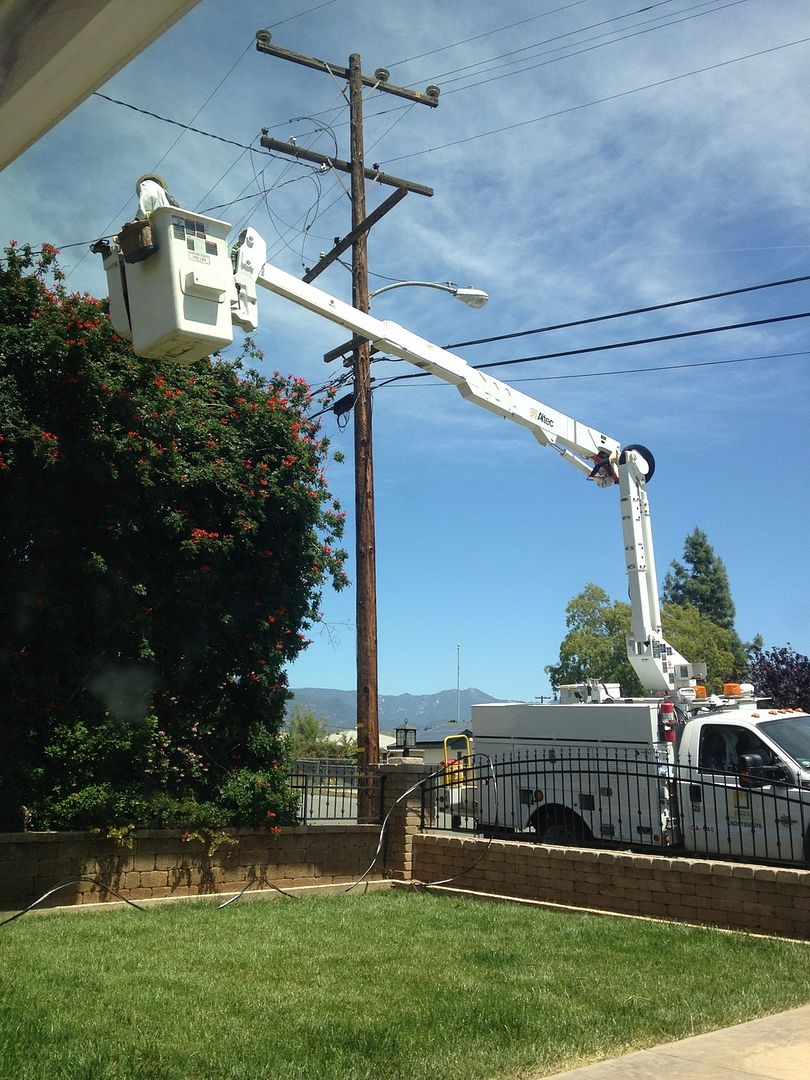
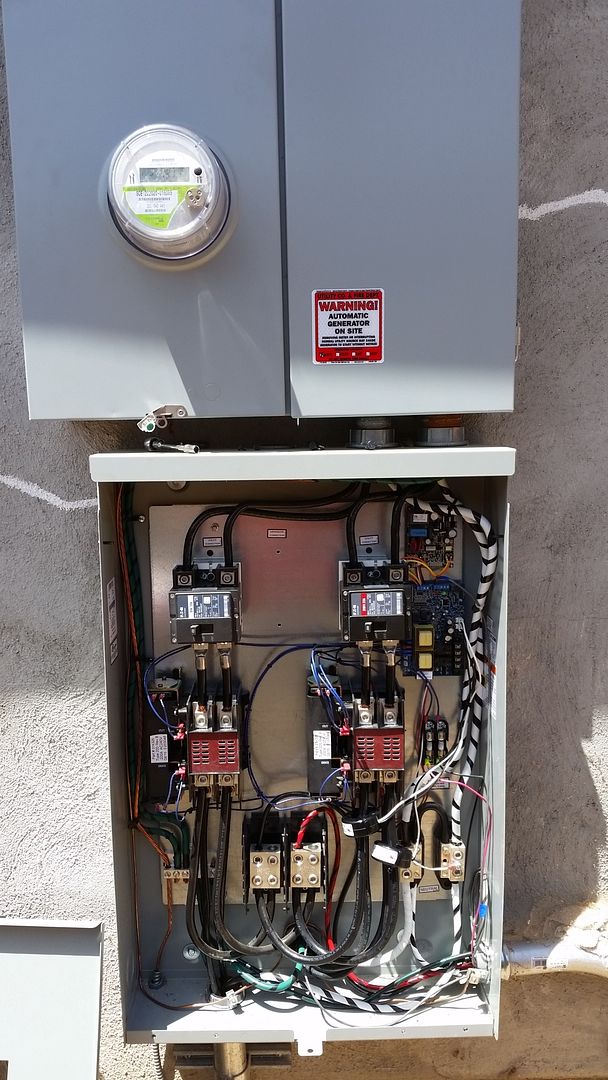
SCE hooked up the new panel but we were instructed not to go crazy on the draw until their new transformer(s) go in.
Future effluent drain pump going in to catch gutter run off.. from all these heavy El Nino rains we've been having.. (sarcasm)

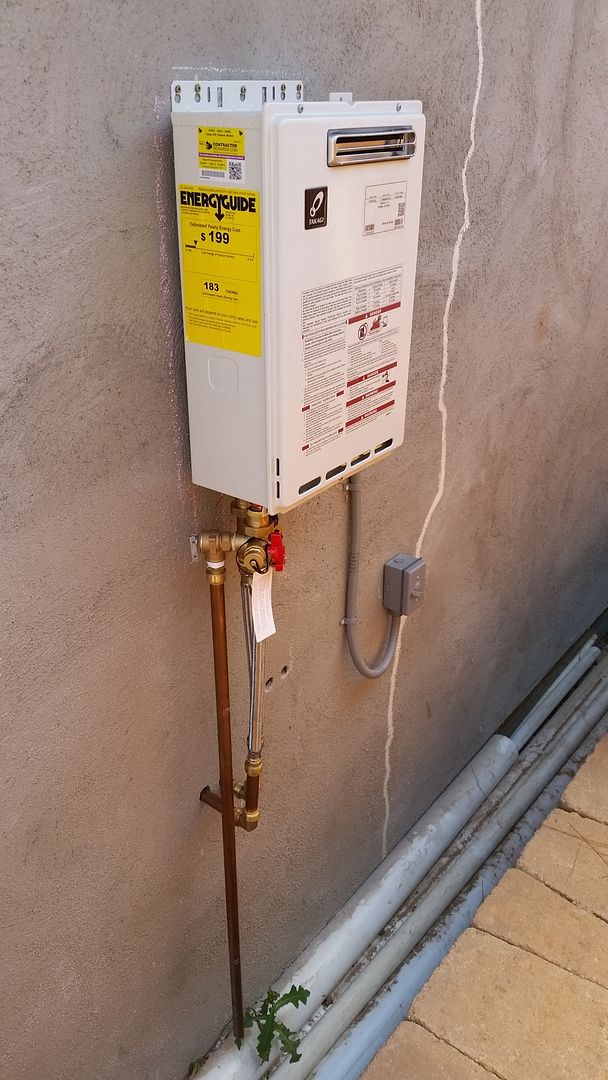
Heater installed and signed off..
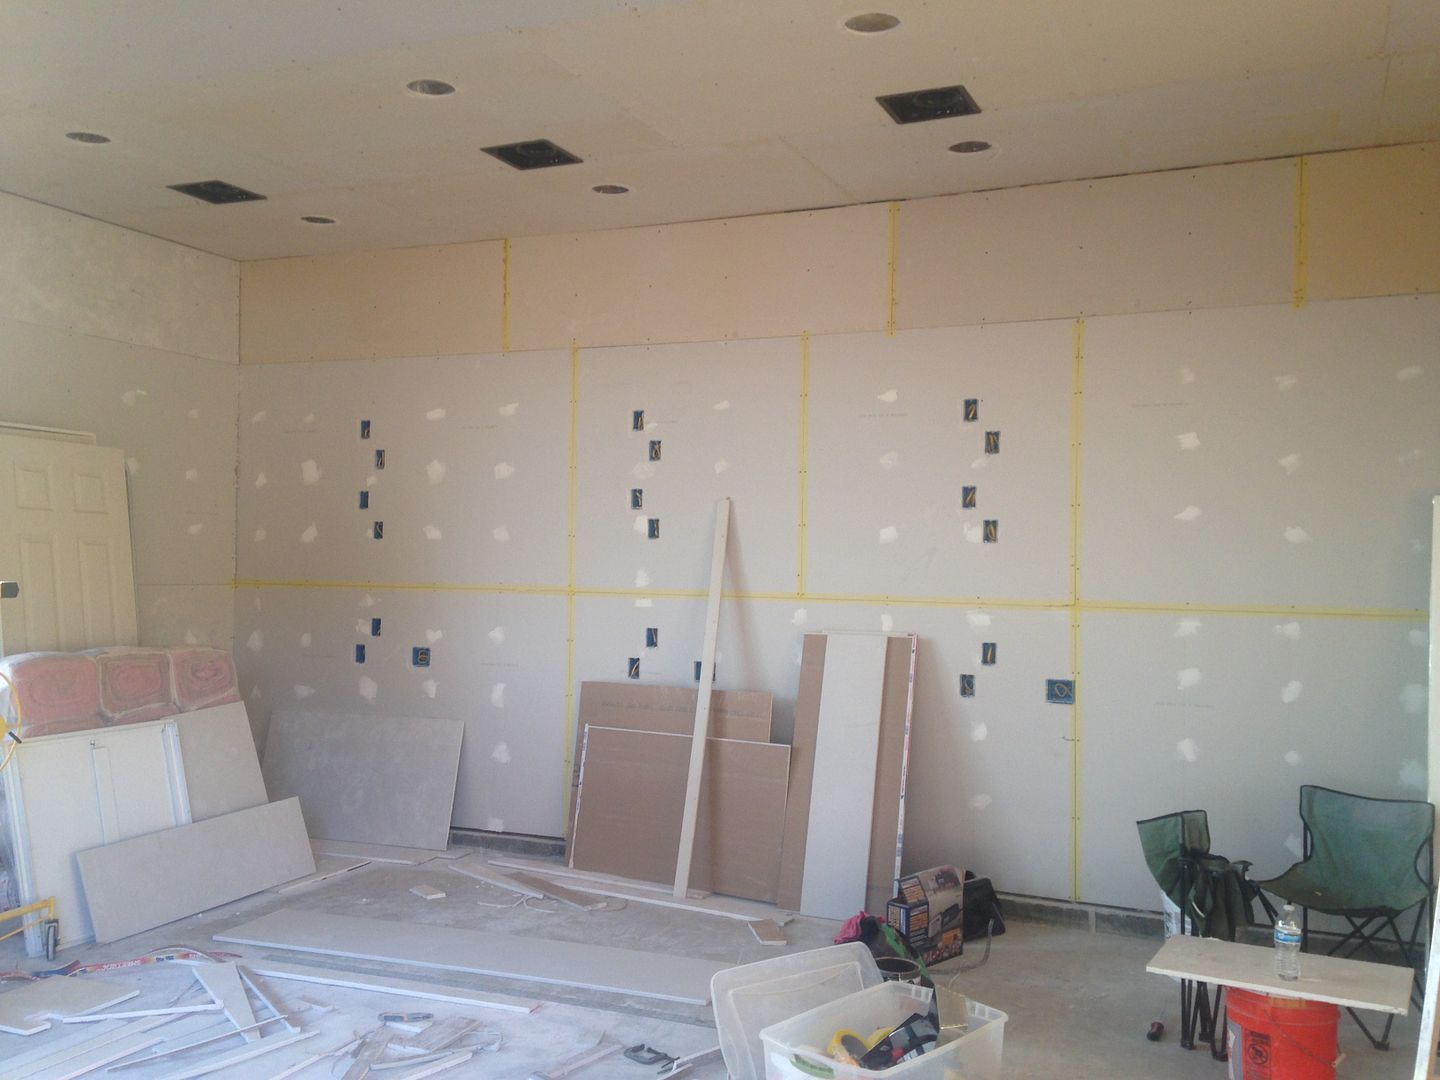
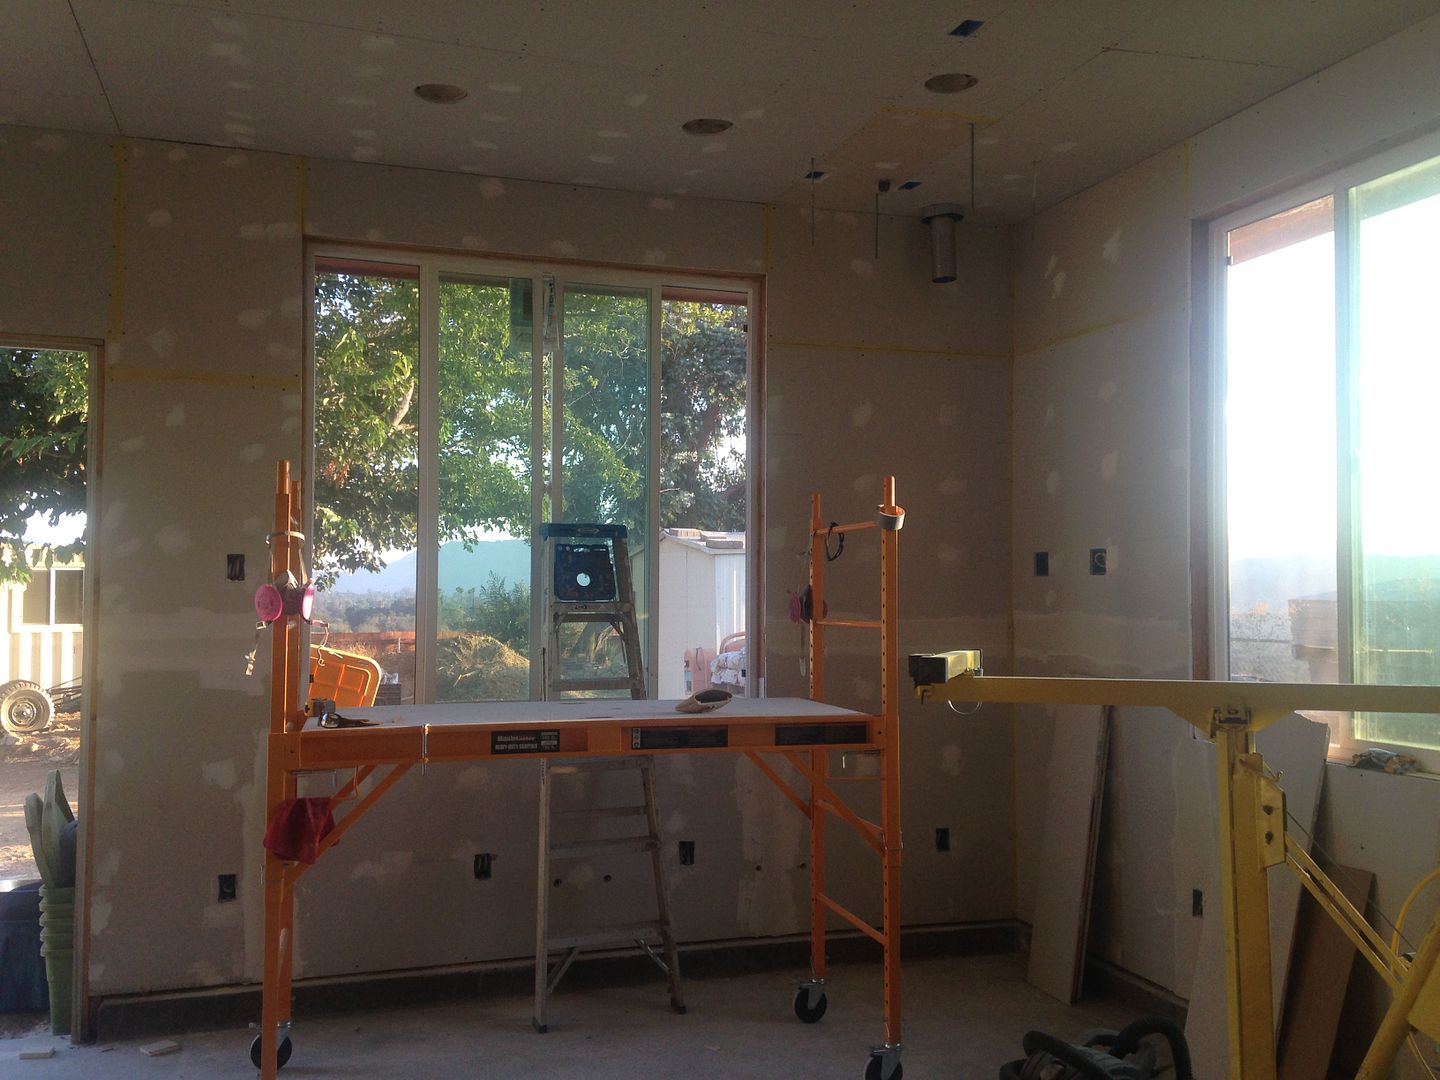
More boxes.. and still more to come.
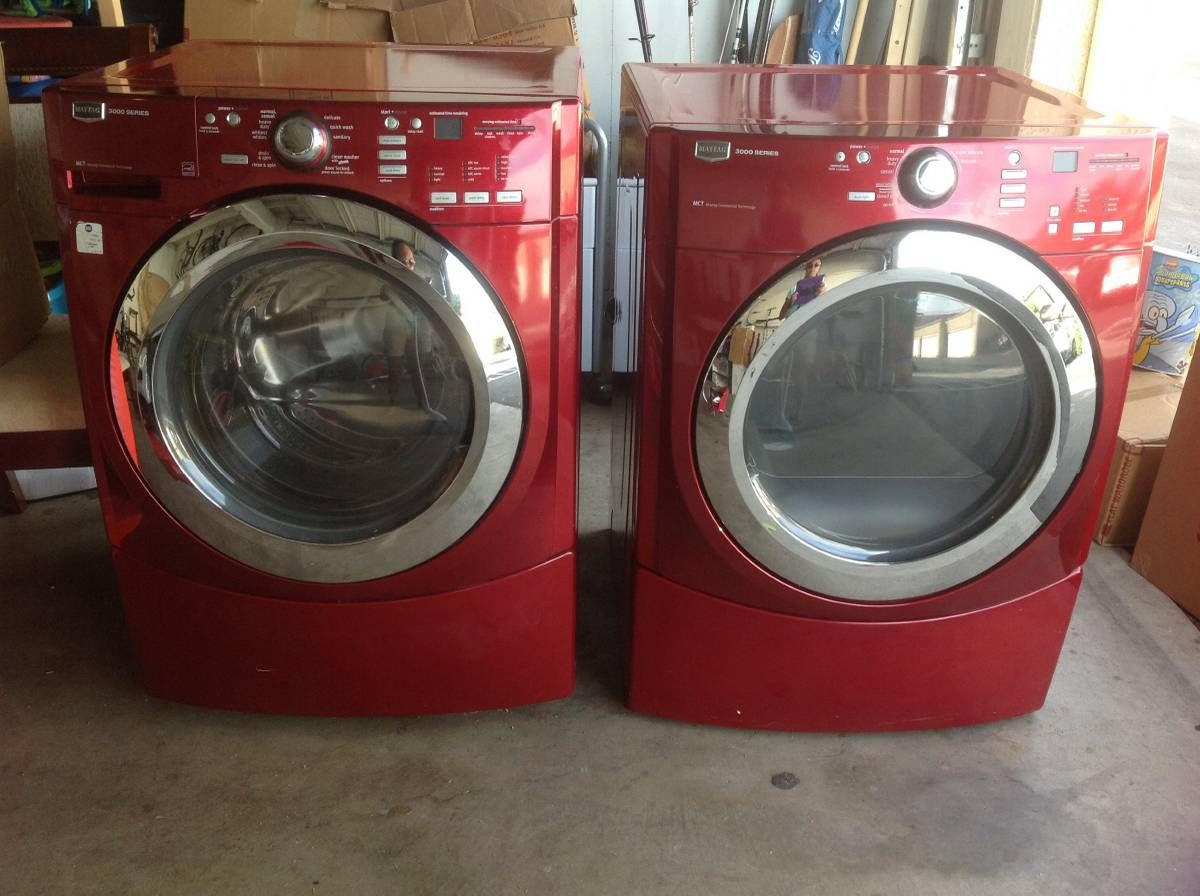
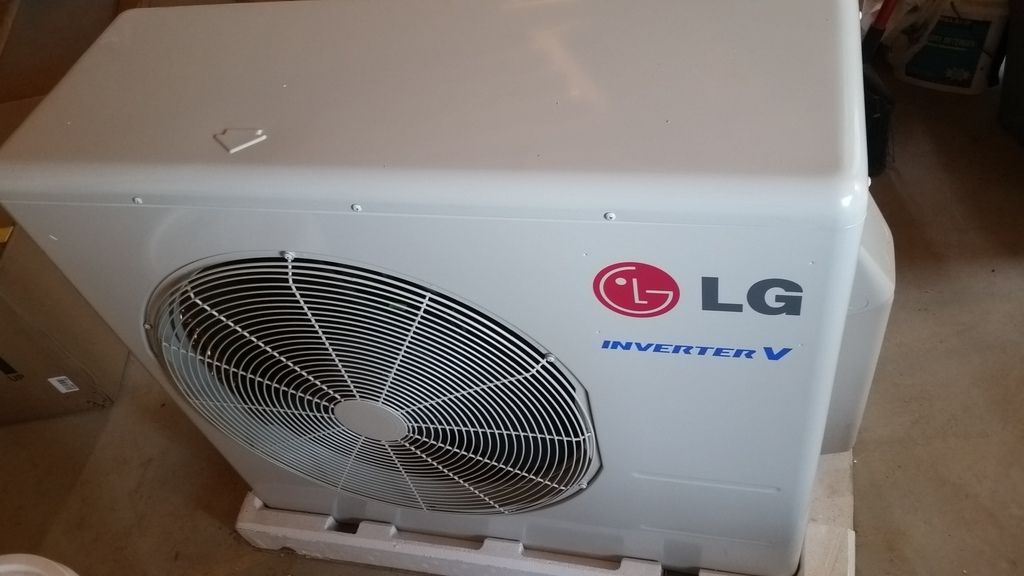
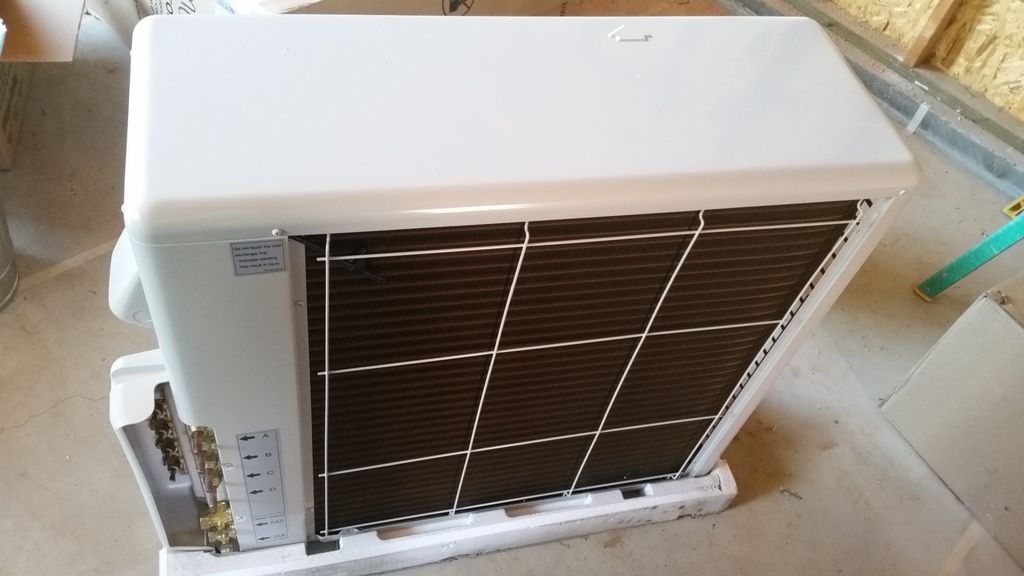
4 years later.. we finally unpacked this thing out of its box. Bummer.. it's got to be out of warranty by now and this is the first time we've seen it. Oh well. NOT looking forward to learning how to install this. Any HVAC techs willing to lend a hand when the time comes?
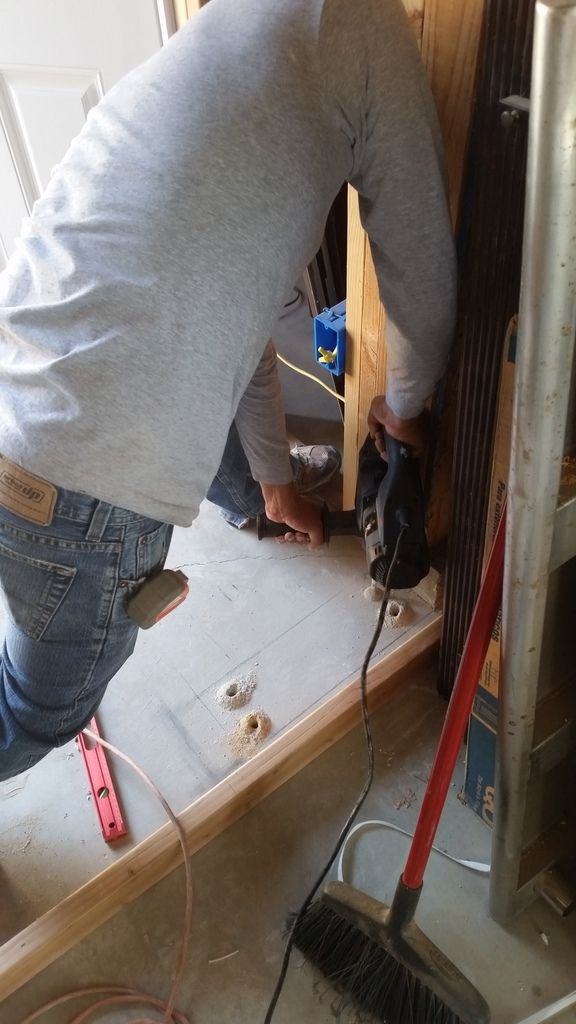
Slab for the AC unit.
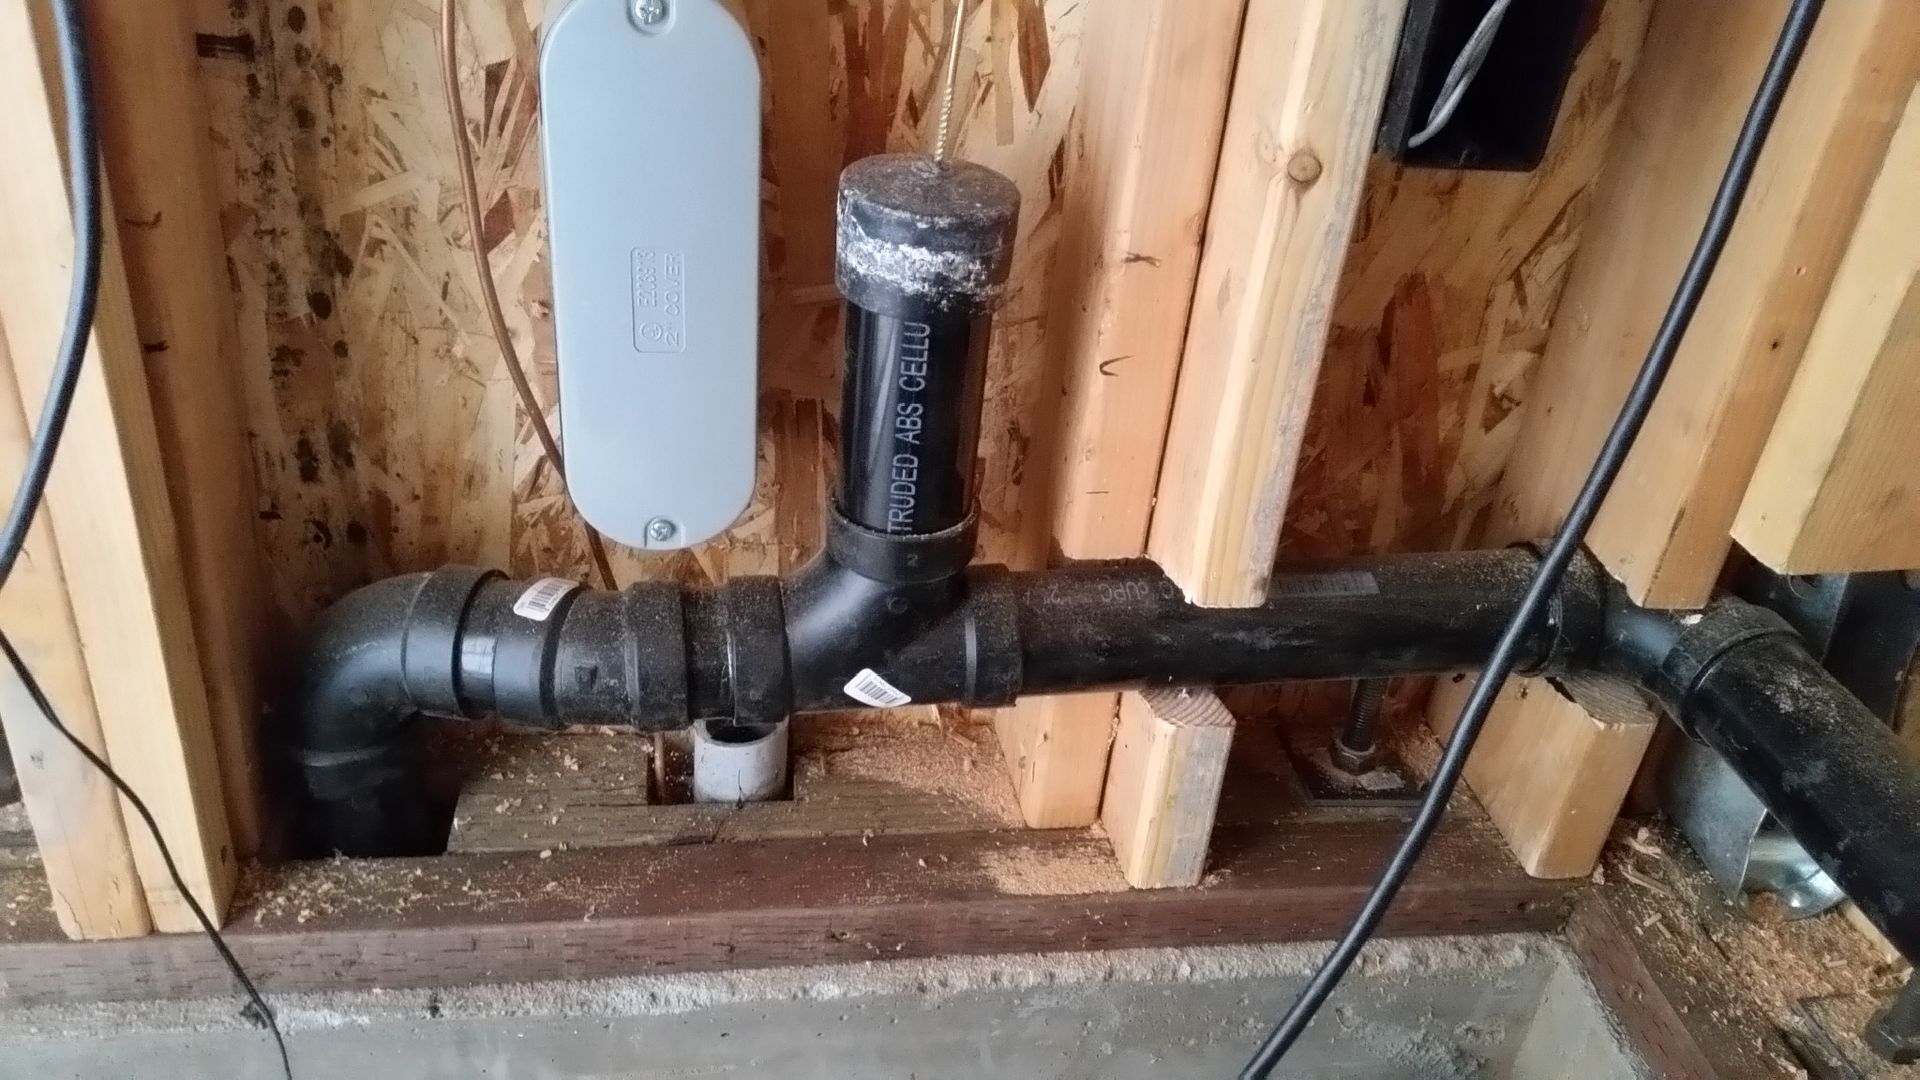
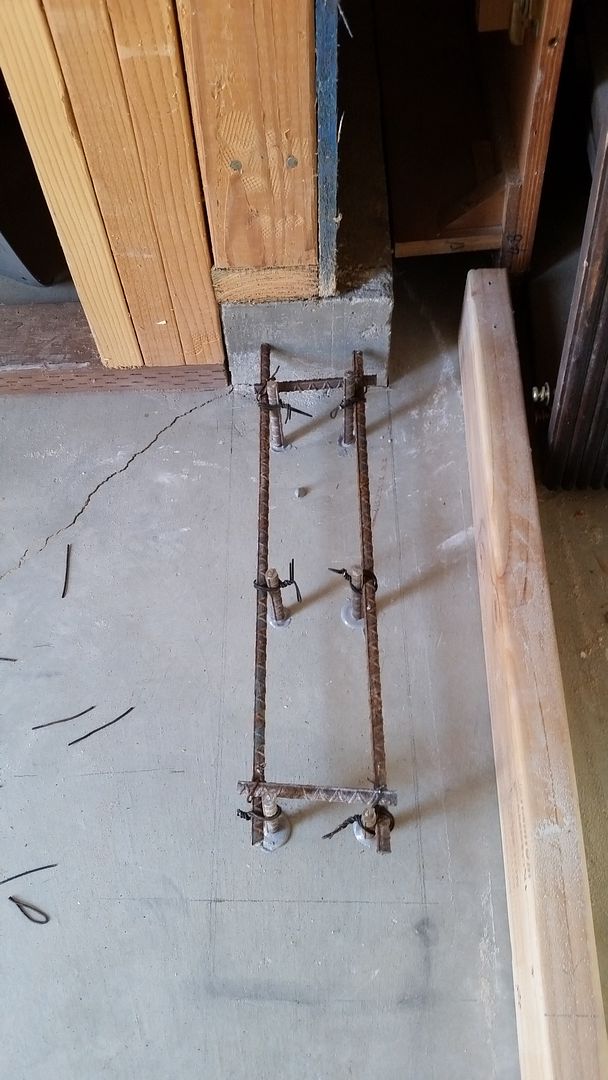
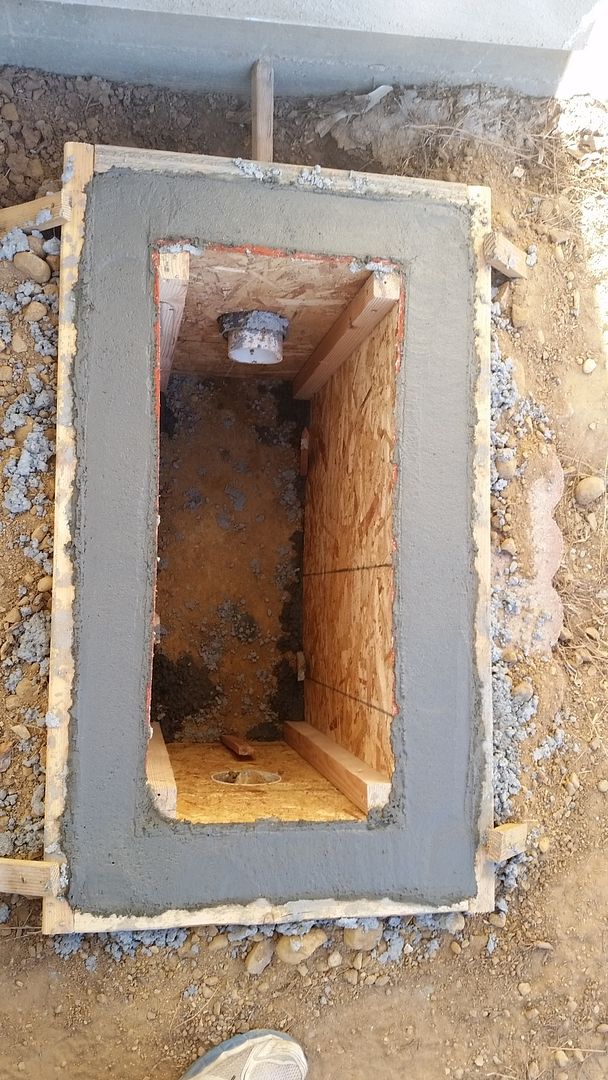
Access box for future sewer clean out/trap access for floor drain. Should have put a trap in before pouring the concrete, but it was literally a last second idea and oversight.
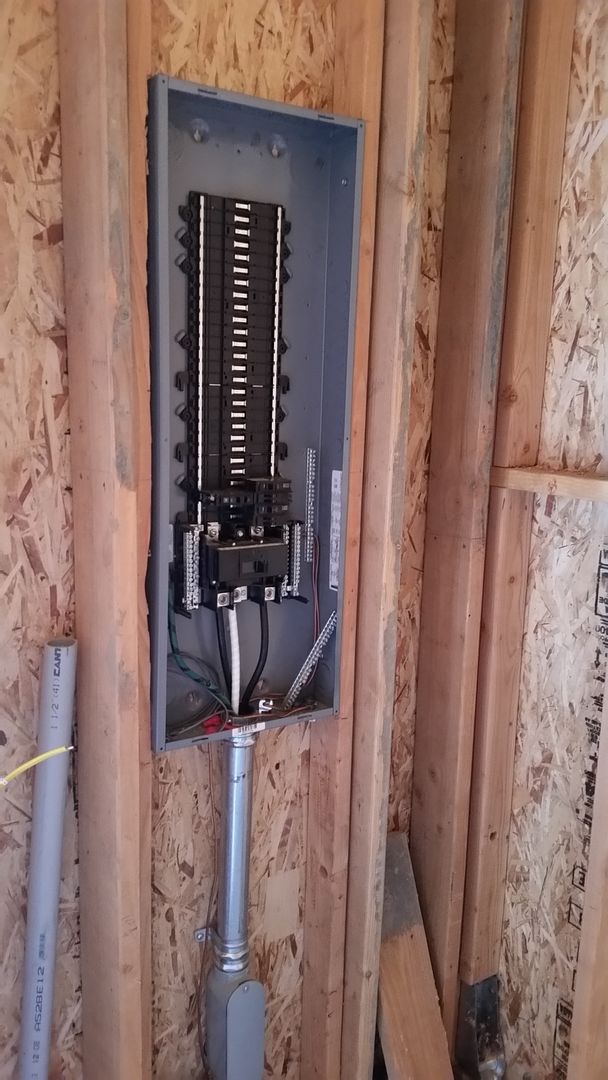
Dedicated 200 amp 54 space electrical panel.. nice, empty, and clean.. for now..
Should have built this wall 2x6 to begin with.. oh well.. adapt and overcome.
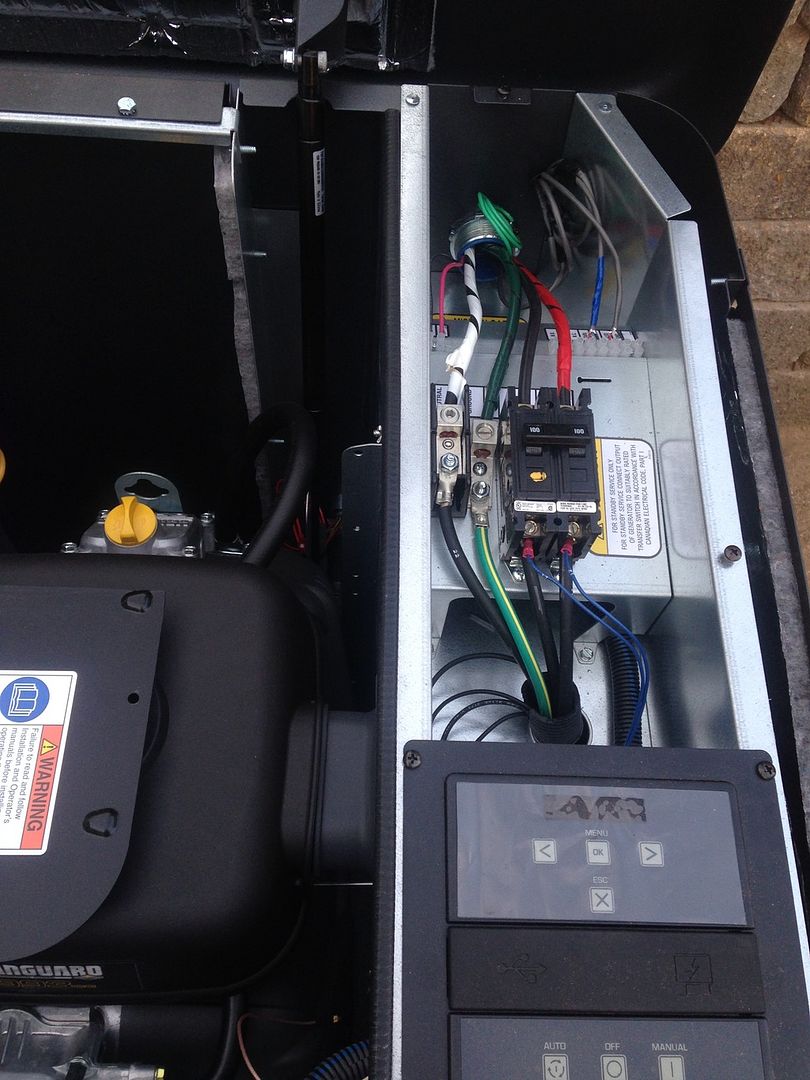
Generator wiring complete.. and it's alive!
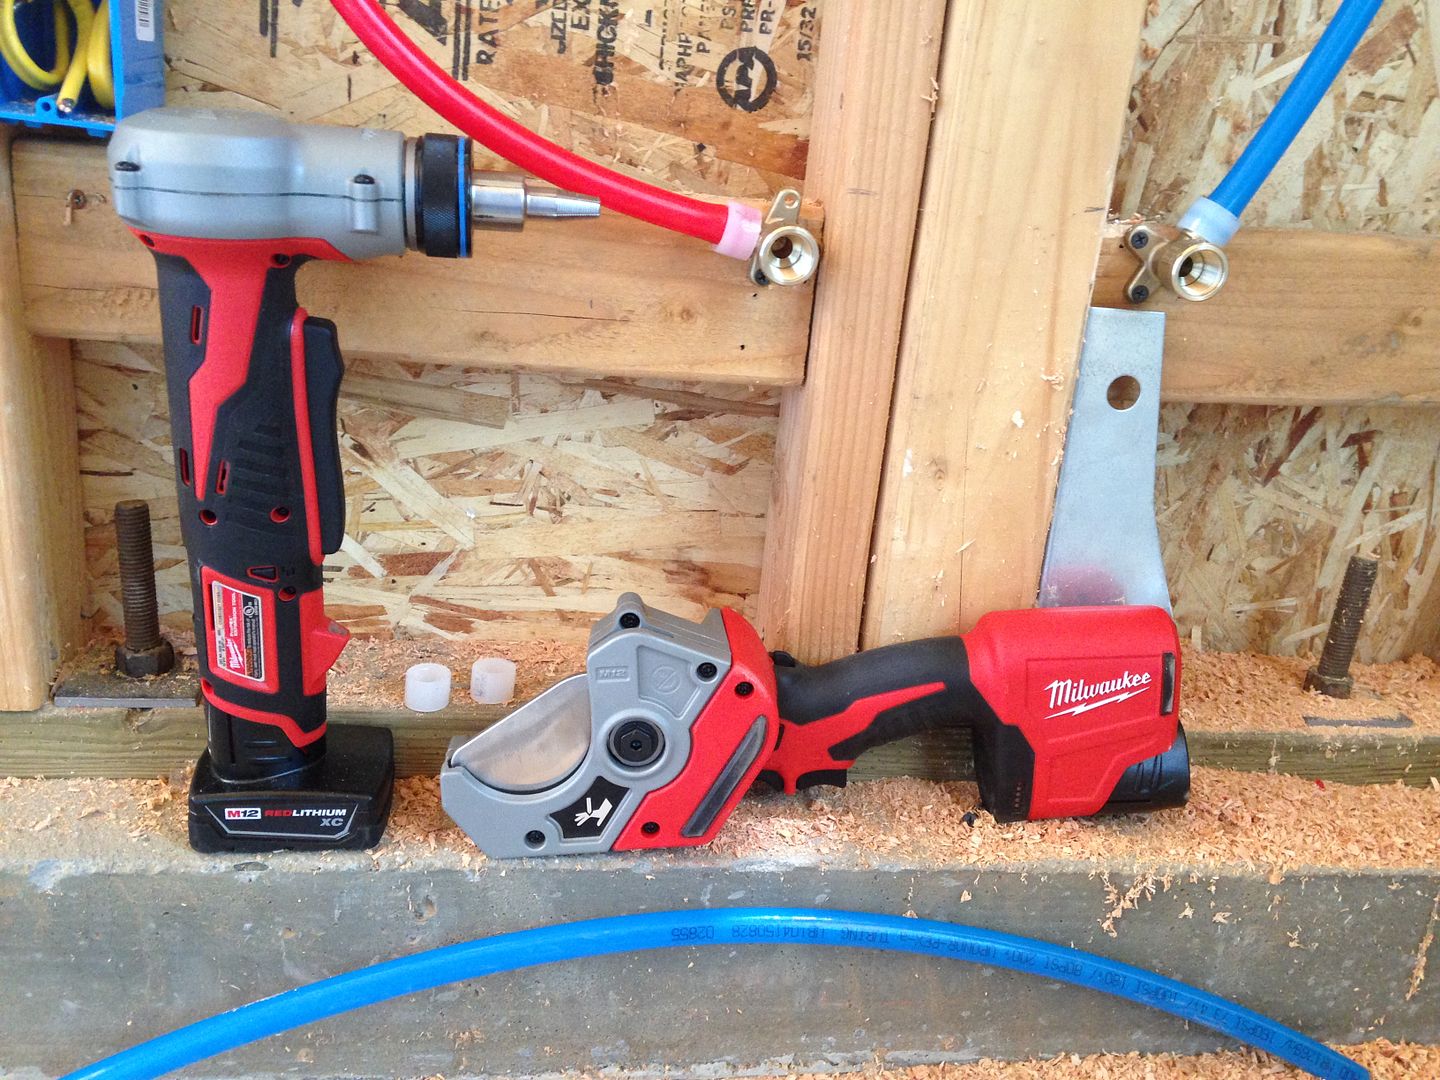
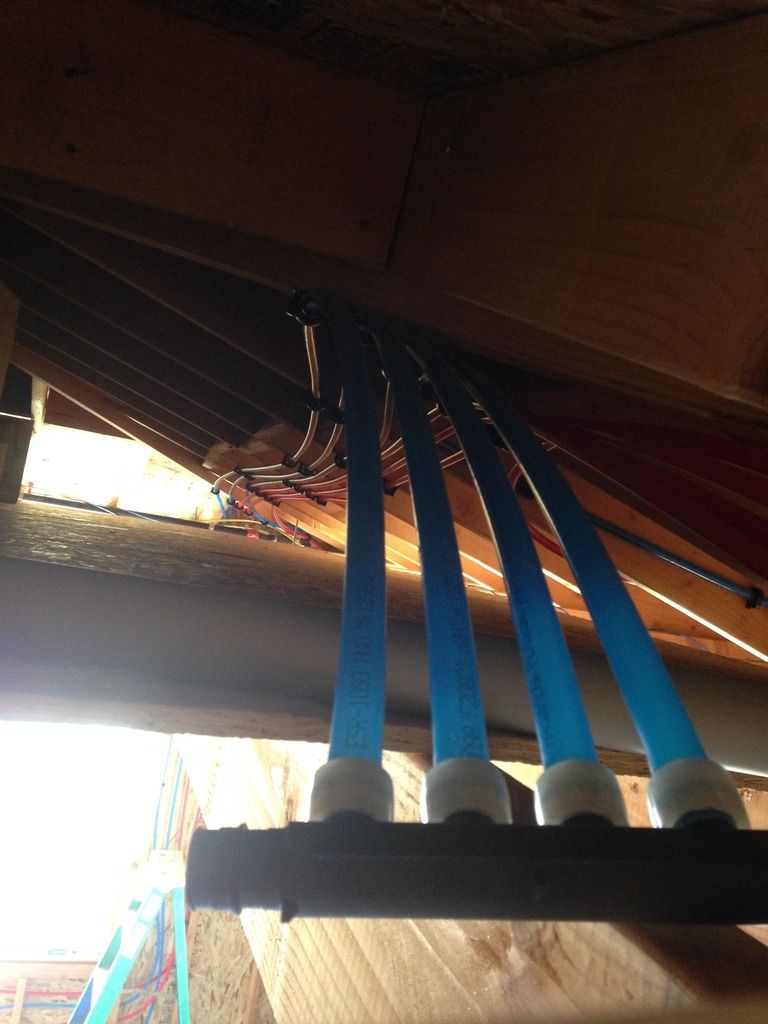
That's it for now.. still so much to do. Modifying the framing a bit to allow for more storage above the electrical room/bathroom. More boxes of stuff are arriving daily. The four Panasonic ventilation fans are here, waiting to be installed. Additional generator bypass modules will be here this week (to bypass lighting in order to not overload the generator).. Plumbing supplies, etc. Got a new nifty Milwaukee PEX Expansion tool and will be learning how to plumb with Pex. Any excuse for a new tool is a good one!! :dance:
Also.. we're getting to the point where we need to finalize our gas water heater selection. If any one has any experience with radiant heating, I'd love to get some feedback on closed loops, recirculation pumps, heat exchangers, brands, models, etc. Been doing lots of reading on gas water heater setups to heat reef tanks and I've discovered a whole new world I'm not ready to dive into.. a bit over whelming to say the least!
Gas meter was finally upgraded to accommodate the generator, heater, and water heater. This one is about 4x the size of the one we previously had.
Panel finally up on the wall, being wired.
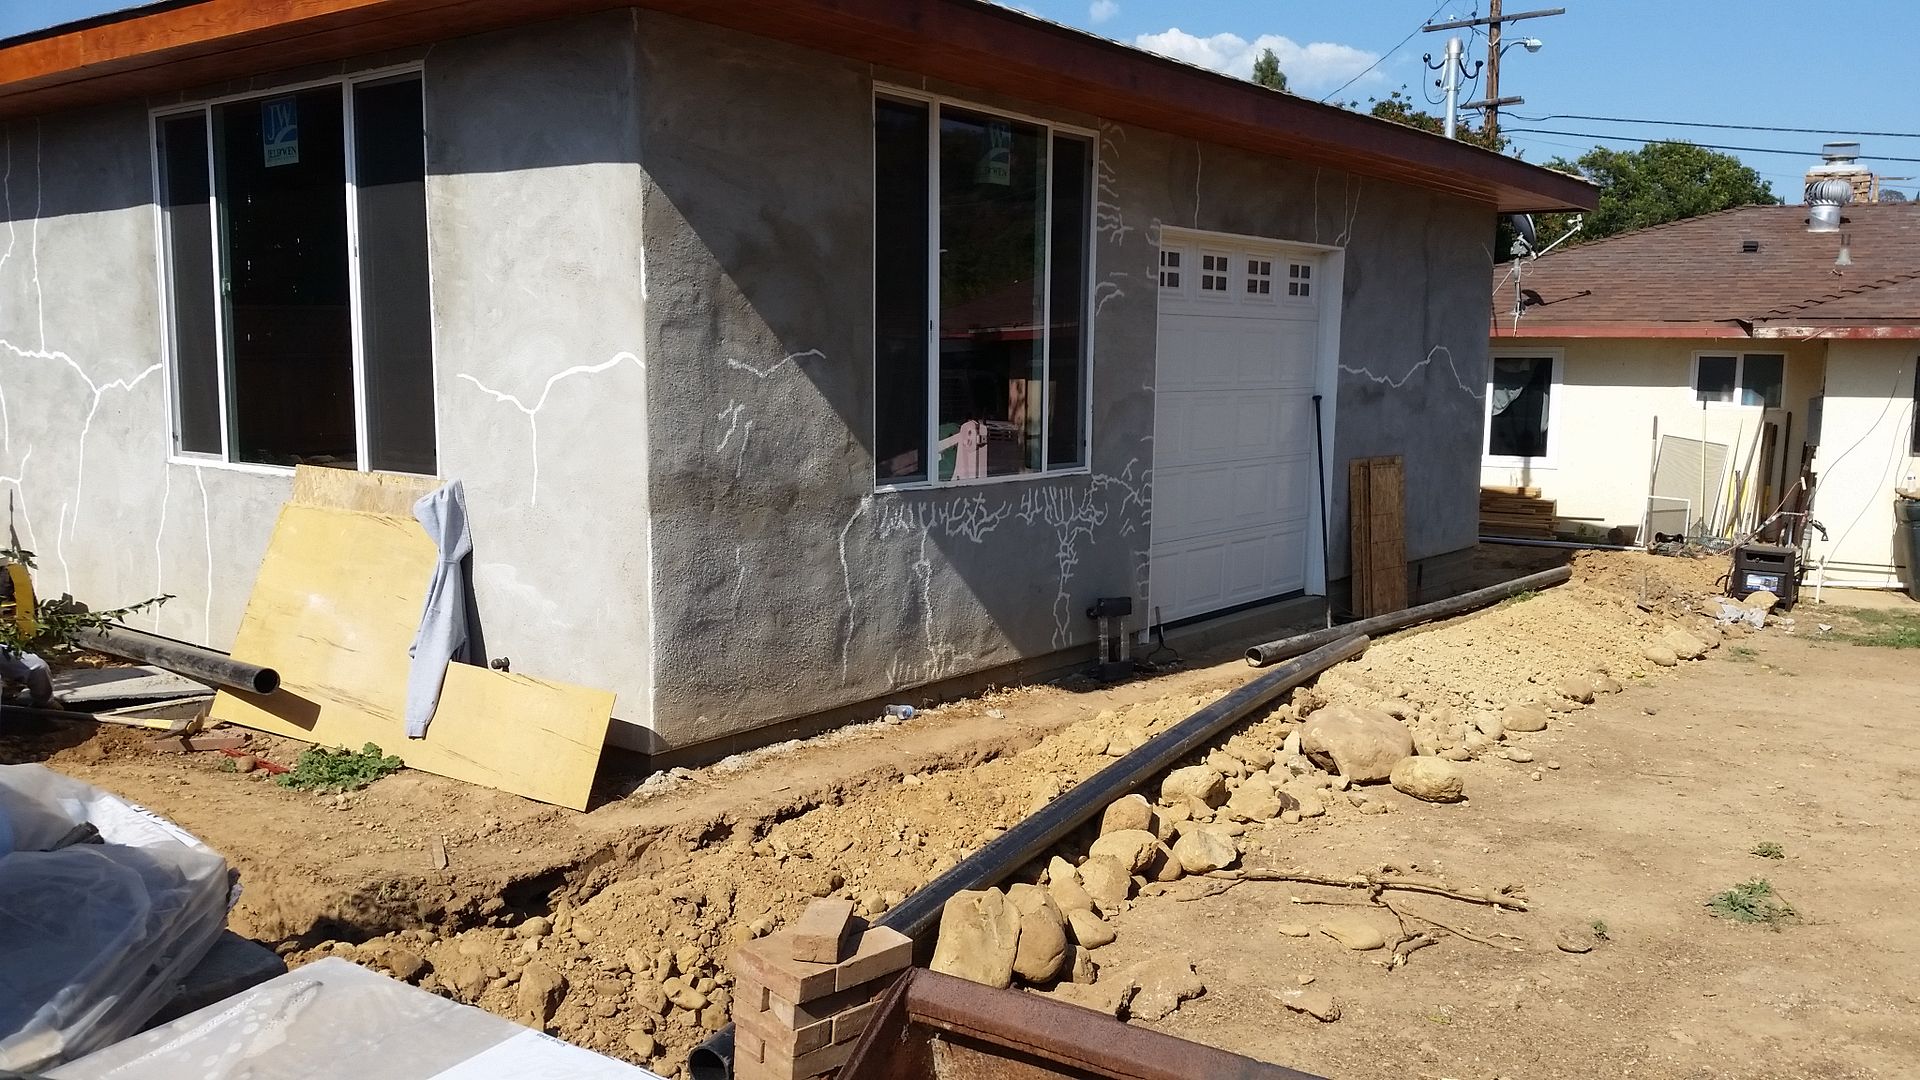
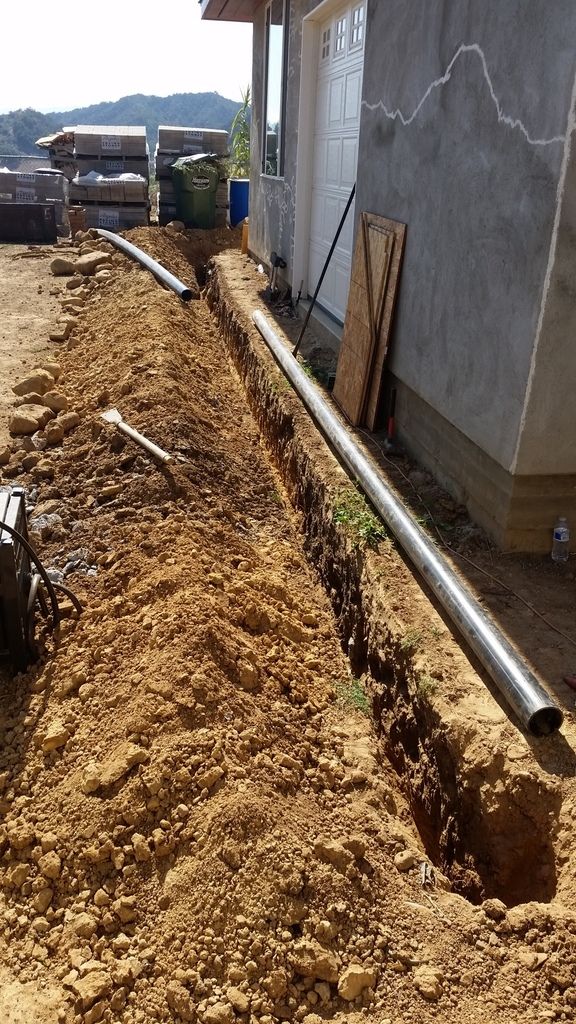
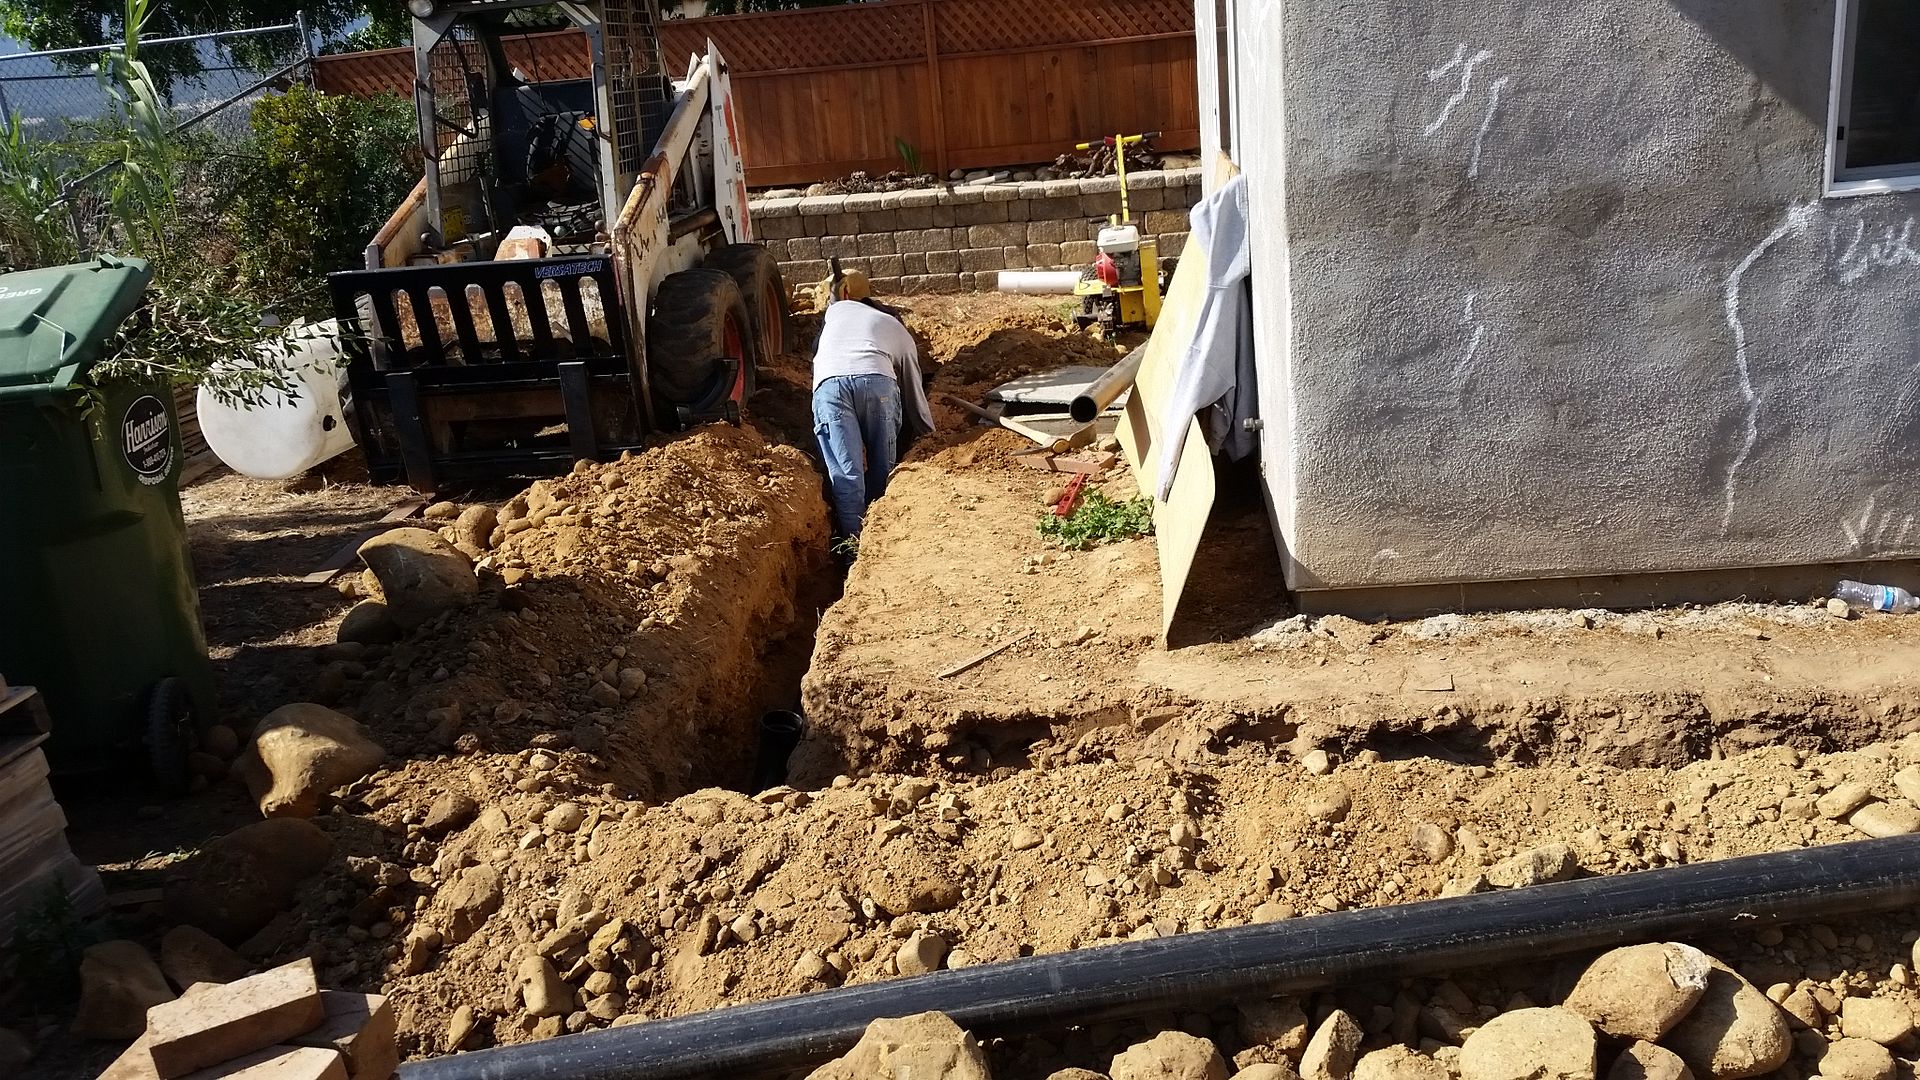
Gas line trench, 1-1/2" line to allow for future growth.
Really had a difficult time finding an honest, fair plumber to install the gas lines for us. I'm sorry, but $2000 for 2 days of labor, when we already had the trench dug and the permits obtained.. no thank you. Ran them all our selves. Everything pressure tested, inspected, and kosher. Feels good!!
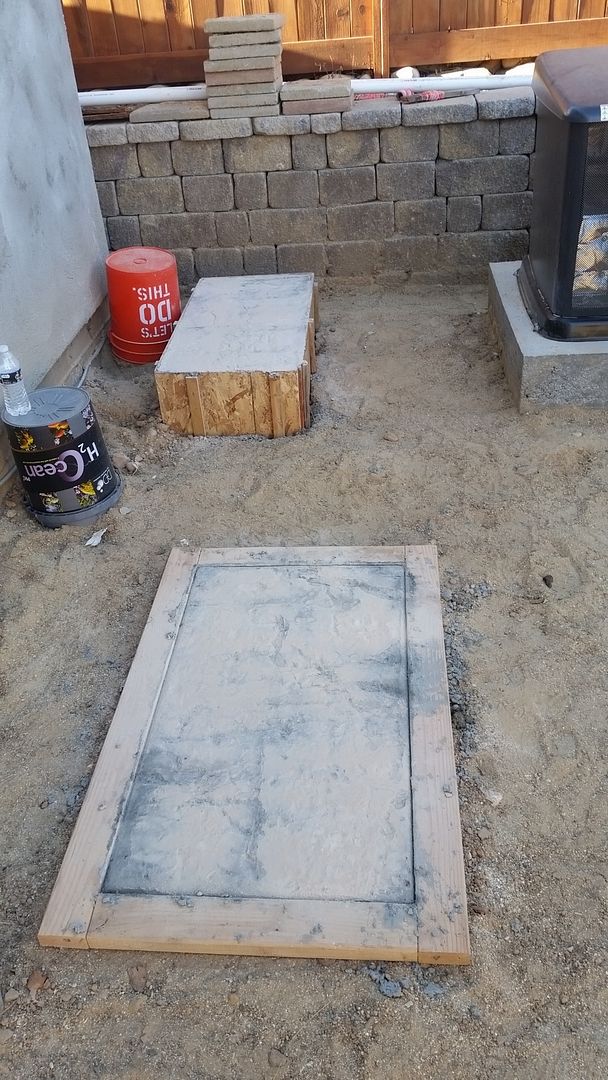
Pouring the slab for the generator pad. 14" thick to get it high enough, as the finished grade isn't quite right yet.. (pavers still need to be installed)
They expect you to put two steel pipes through the base of the generator and then four burly dudes would each grab a corner and try to carry this 500lb beast onto the slab.. No thank you! We have a better idea.
Generator set..
Heater getting installed.. ventilation time. Category 3, stainless for the inner pipe. Expensive stuff
Wiring up the generator.. Can't believe that 45 degree 1-1/2 liquidtight fitting was like $35! Oh well.. it's done and over with.
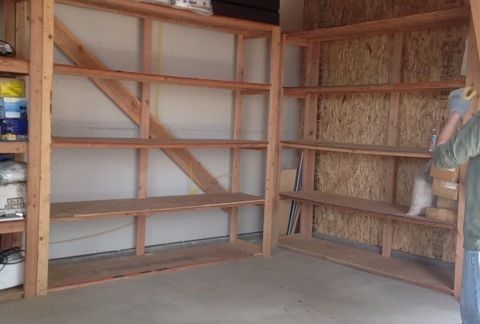
Clearing out our temporary storage mess..
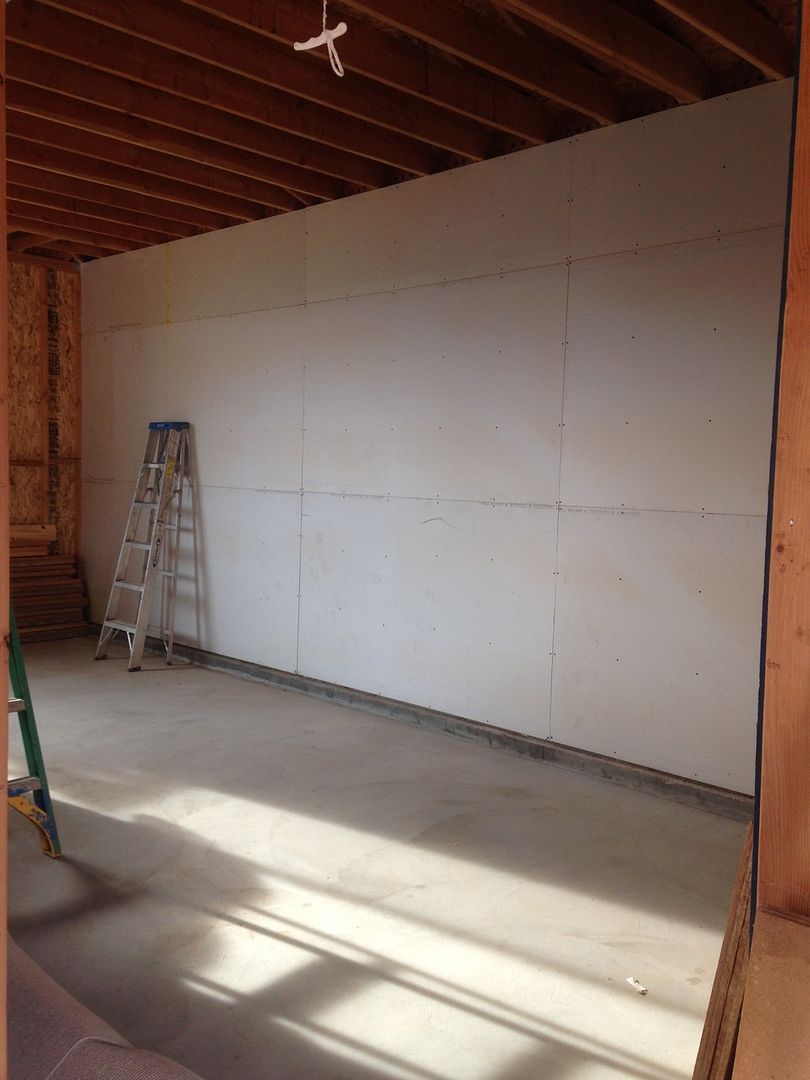
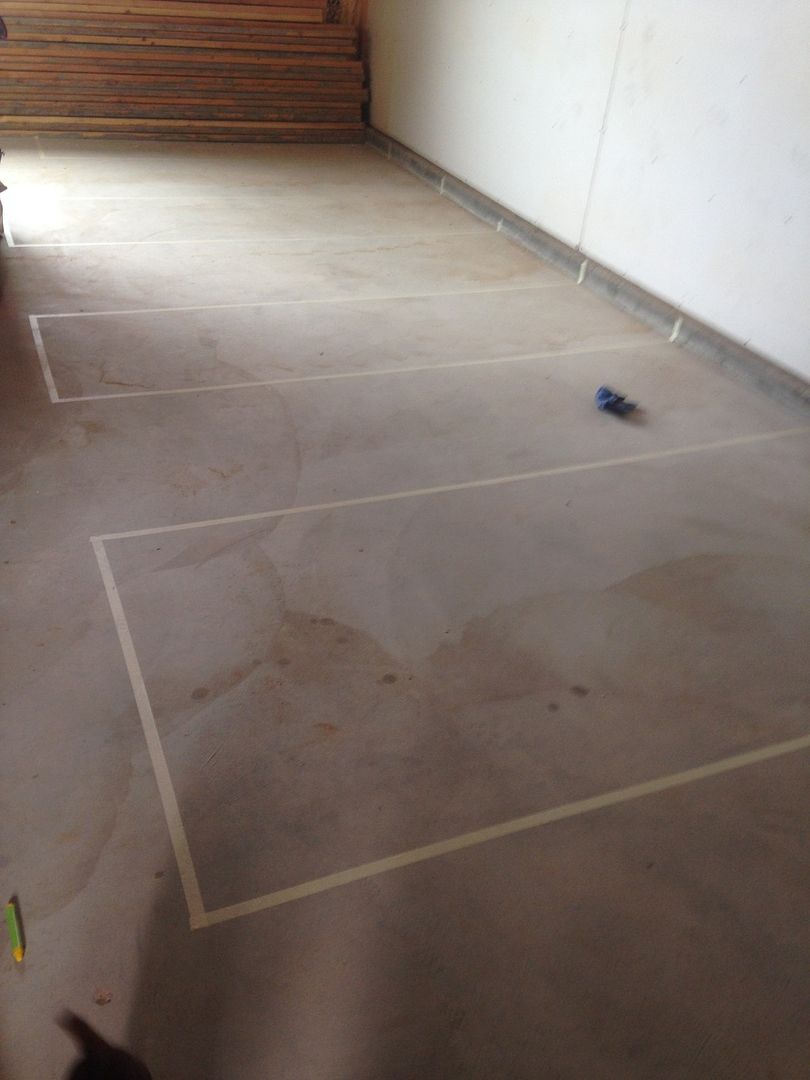
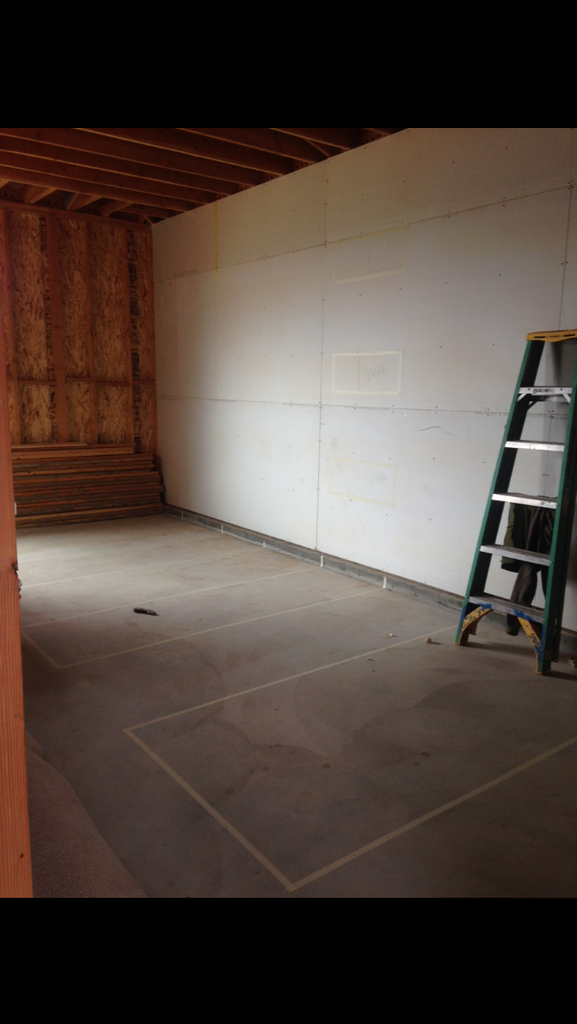
Tank layout
A pic to look back on once this project is finally done and over with..
Boxes goin up.
Romex going in.. There's (20) 20 amp circuits ran so far.. just for the tanks that are going up against that wall. What we've learned from past experience is to allow room for future growth.. In our current setup, we have to constantly add up the draw of lighting/pumps/heaters, etc, to make sure we stay at 80% of the circuit amperage and then make adjustments.. what a pain in the butt. This is overkill, but at this point, we'll gladly pay the extra in copper costs to avoid future headaches.
Figure now would be the time to upgrade our sewer lateral line.. why not!
Sewer lines..
$800 in ABS and 3" / 4" PVC pipe.. Doesn't look like much.. Dang.
Water line going in..
SCE hooked up the new panel but we were instructed not to go crazy on the draw until their new transformer(s) go in.
Future effluent drain pump going in to catch gutter run off.. from all these heavy El Nino rains we've been having.. (sarcasm)
Heater installed and signed off..
More boxes.. and still more to come.
4 years later.. we finally unpacked this thing out of its box. Bummer.. it's got to be out of warranty by now and this is the first time we've seen it. Oh well. NOT looking forward to learning how to install this. Any HVAC techs willing to lend a hand when the time comes?
Slab for the AC unit.
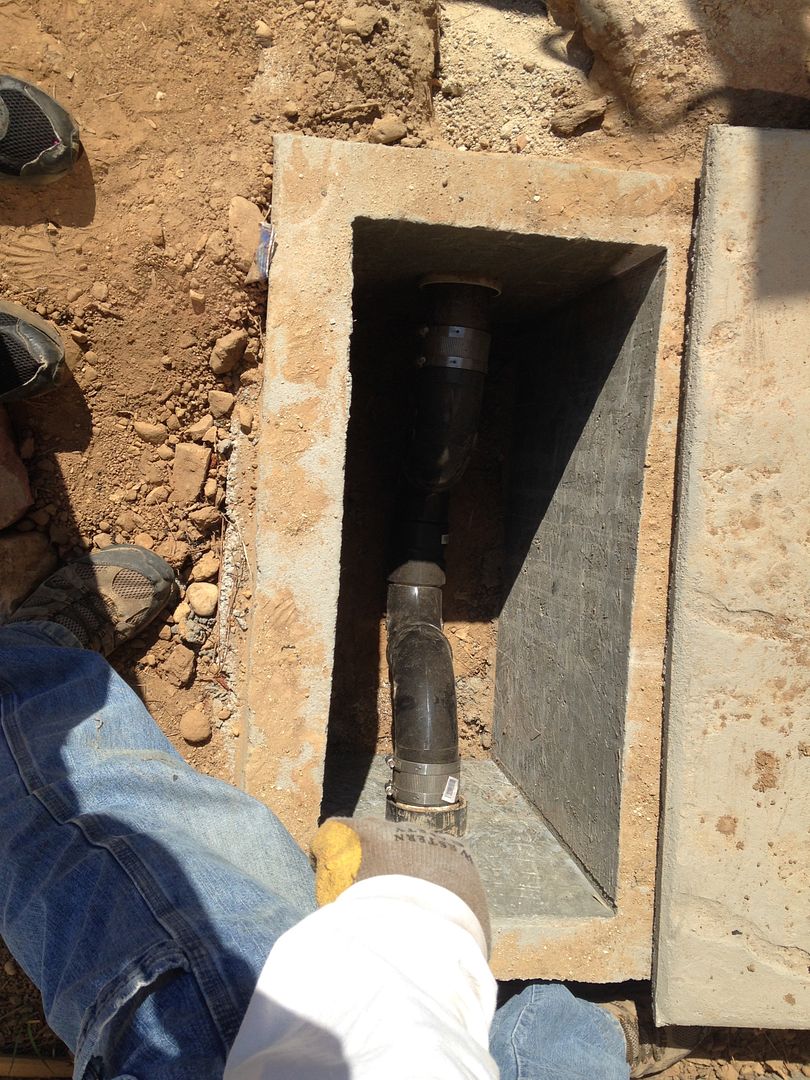
Access box for future sewer clean out/trap access for floor drain. Should have put a trap in before pouring the concrete, but it was literally a last second idea and oversight.
Dedicated 200 amp 54 space electrical panel.. nice, empty, and clean.. for now..
Should have built this wall 2x6 to begin with.. oh well.. adapt and overcome.
Generator wiring complete.. and it's alive!
That's it for now.. still so much to do. Modifying the framing a bit to allow for more storage above the electrical room/bathroom. More boxes of stuff are arriving daily. The four Panasonic ventilation fans are here, waiting to be installed. Additional generator bypass modules will be here this week (to bypass lighting in order to not overload the generator).. Plumbing supplies, etc. Got a new nifty Milwaukee PEX Expansion tool and will be learning how to plumb with Pex. Any excuse for a new tool is a good one!! :dance:
Also.. we're getting to the point where we need to finalize our gas water heater selection. If any one has any experience with radiant heating, I'd love to get some feedback on closed loops, recirculation pumps, heat exchangers, brands, models, etc. Been doing lots of reading on gas water heater setups to heat reef tanks and I've discovered a whole new world I'm not ready to dive into.. a bit over whelming to say the least!
Last edited: