Just a little grow out system build.. open to advice and suggestions
- Thread starter bvysochin
- Start date

Awesome Job Crystal and Bogdan! I remember seeing it when it was just framed, so much progress! Really incredible, I recently did an epoxy floor too and I know that it aint easy. That looks incredible. So much cool thought went into this.
I cant wait to see more and maybe one day when I am driving through I can swing in again and check it out? Keep up the good work!
I cant wait to see more and maybe one day when I am driving through I can swing in again and check it out? Keep up the good work!
- Joined
- Nov 2, 2009
- Messages
- 1,210
- Likes
- 81
- Points
- 48
Thanks for all the feedback guys. Still haven't had a chance to post an update as we're up in the Tahoe for the weekend.
Ha! If we ever sell this place, someone is going to get one cool shop!
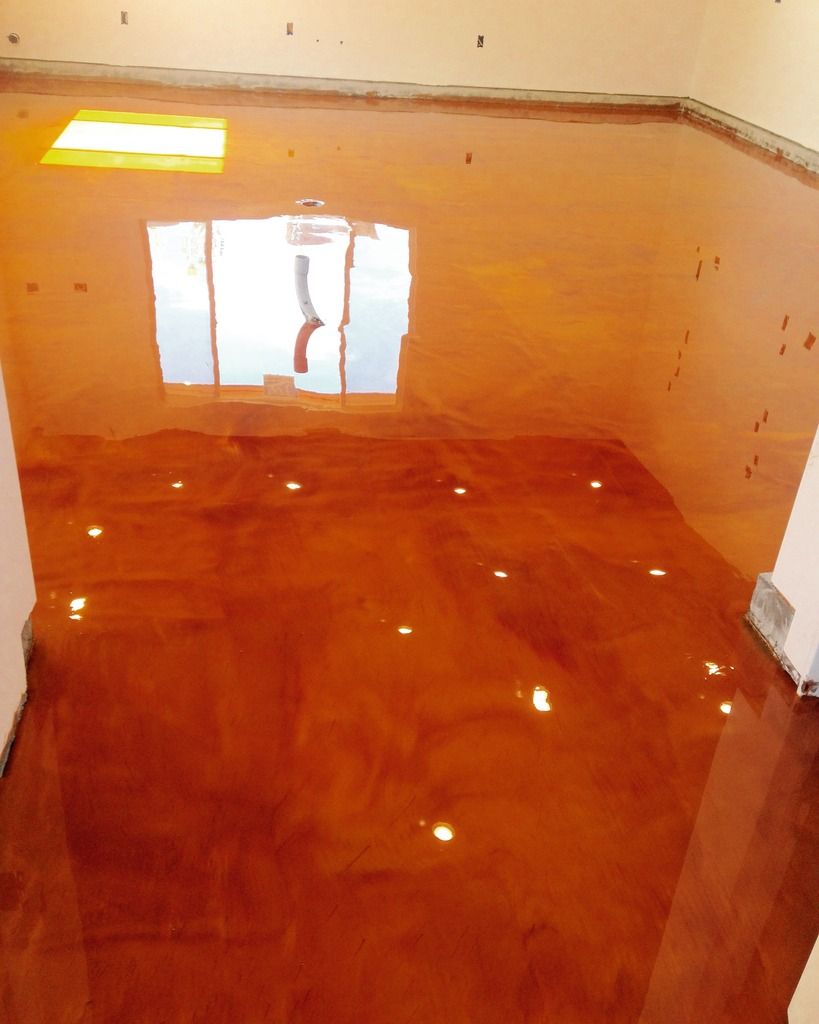
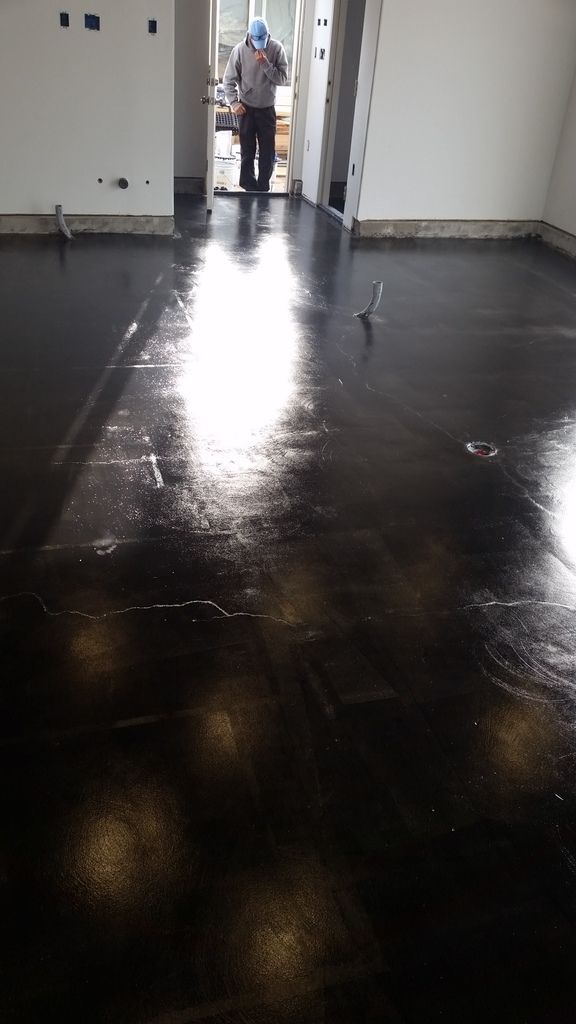
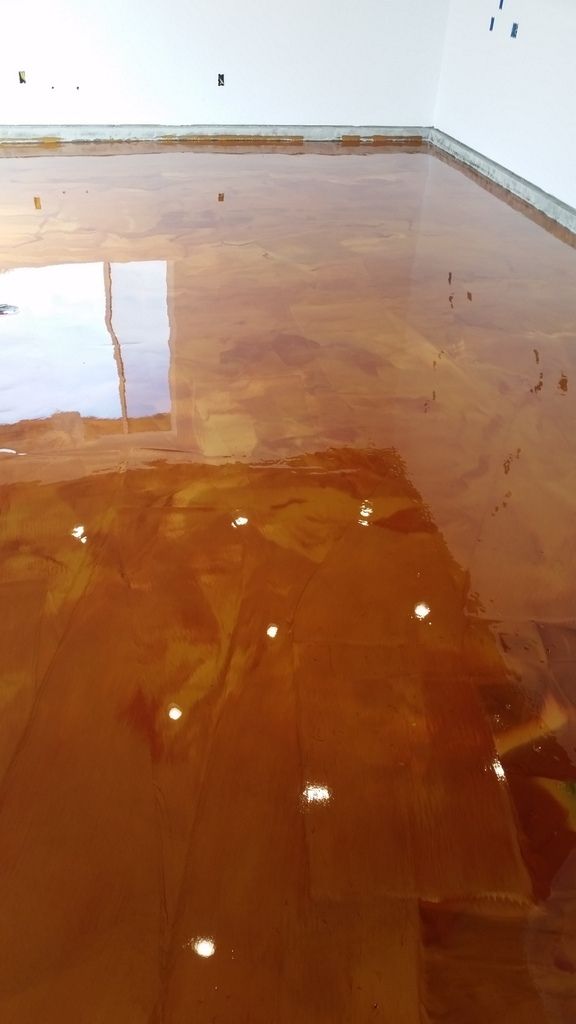
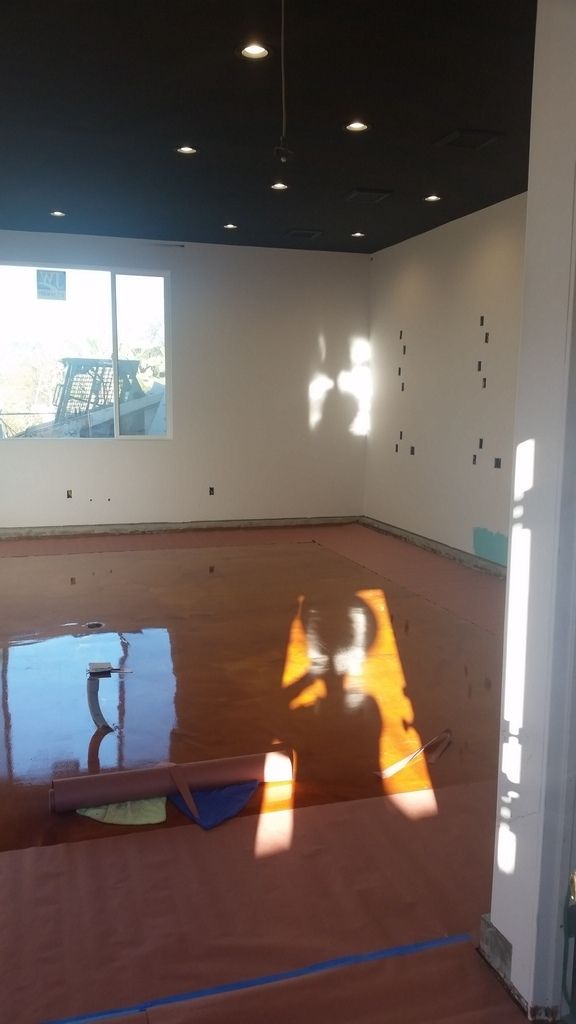
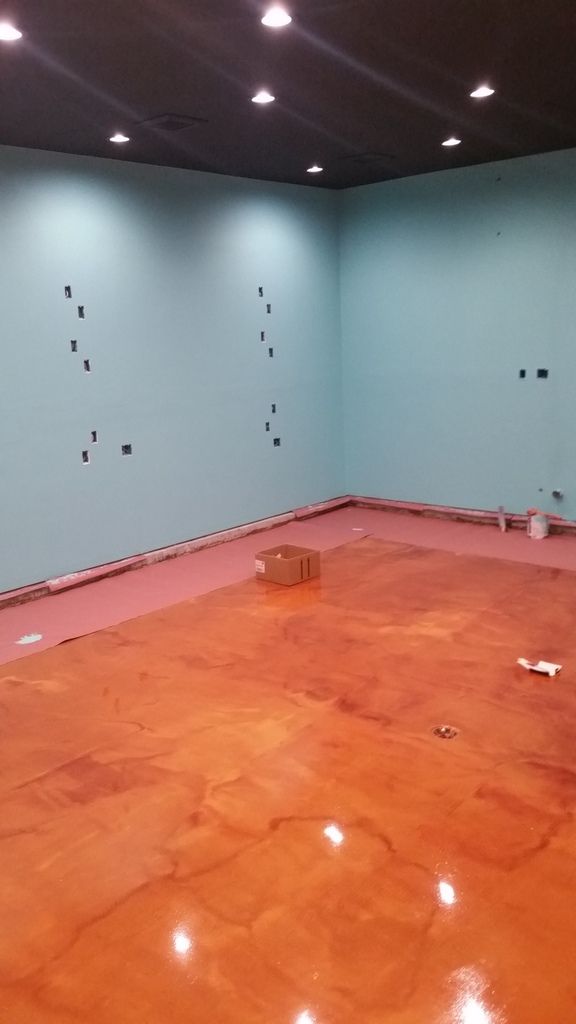
Nope. It's metallic epoxy. Pretty cool product! This is what it looked like shortly after we poured it. I didn't realize how difficult/critical it was going to be putting the urethane top coat on. So we were pretty bummed afterwards as the floor lost a lot of gloss and depth, but gained a lot of durability and orange peel :wacko:
Thanks Ben. The epoxy wasnt too bad. Its a little nerve racking at first since you only have one shot to get it right, but in the end, it comes out pretty cool either way. You're welcome any time. Still so much to do.
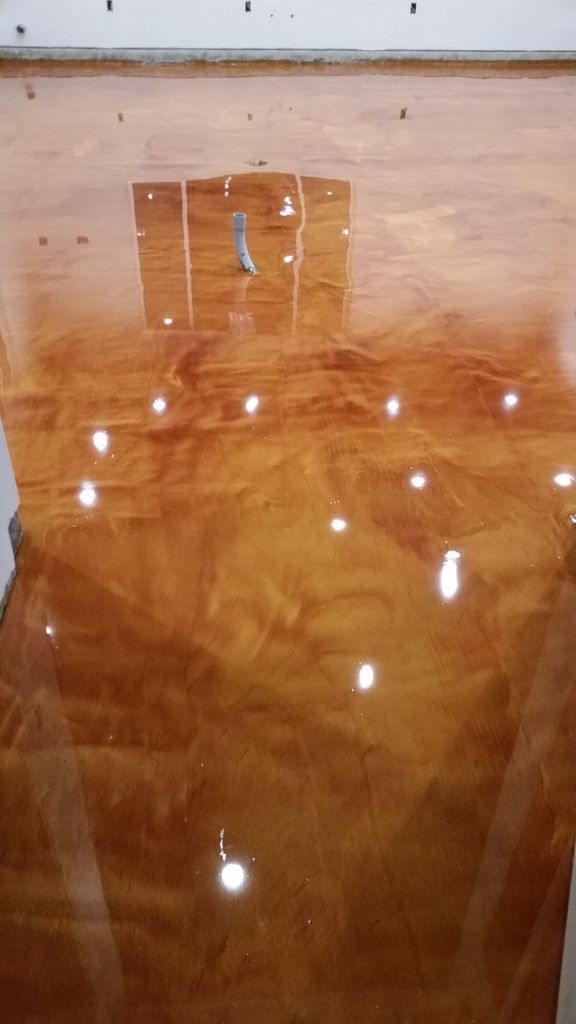
Here's another teaser pic until we're able to get home and post a more detailed update.

Holly smokes... Your "fish room" is my dream apartment. If you guys ever quit the hobby, I will rent it as my vacation home 
**** did you polish the concrete? ****!

Awesome Job Crystal and Bogdan! I remember seeing it when it was just framed, so much progress! Really incredible, I recently did an epoxy floor too and I know that it aint easy. That looks incredible. So much cool thought went into this.
I cant wait to see more and maybe one day when I am driving through I can swing in again and check it out? Keep up the good work!
I cant wait to see more and maybe one day when I am driving through I can swing in again and check it out? Keep up the good work!
Here's another teaser pic until we're able to get home and post a more detailed update.

Last edited:
Looks great!!!
Thanks for all the feedback guys. Still haven't had a chance to post an update as we're up in the Tahoe for the weekend.
Ha! If we ever sell this place, someone is going to get one cool shop!
Nope. It's metallic epoxy. Pretty cool product! This is what it looked like shortly after we poured it. I didn't realize how difficult/critical it was going to be putting the urethane top coat on. So we were pretty bummed afterwards as the floor lost a lot of gloss and depth, but gained a lot of durability and orange peel :wacko:

Thanks Ben. The epoxy wasnt too bad. Its a little nerve racking at first since you only have one shot to get it right, but in the end, it comes out pretty cool either way. You're welcome any time. Still so much to do.
Here's another teaser pic until we're able to get home and post a more detailed update.
Ha! If we ever sell this place, someone is going to get one cool shop!
Nope. It's metallic epoxy. Pretty cool product! This is what it looked like shortly after we poured it. I didn't realize how difficult/critical it was going to be putting the urethane top coat on. So we were pretty bummed afterwards as the floor lost a lot of gloss and depth, but gained a lot of durability and orange peel :wacko:
Thanks Ben. The epoxy wasnt too bad. Its a little nerve racking at first since you only have one shot to get it right, but in the end, it comes out pretty cool either way. You're welcome any time. Still so much to do.
Here's another teaser pic until we're able to get home and post a more detailed update.
- Joined
- Nov 2, 2009
- Messages
- 1,210
- Likes
- 81
- Points
- 48
Alright guys.. sorry for the lack for an update, been busy busy busy.
Enjoy..
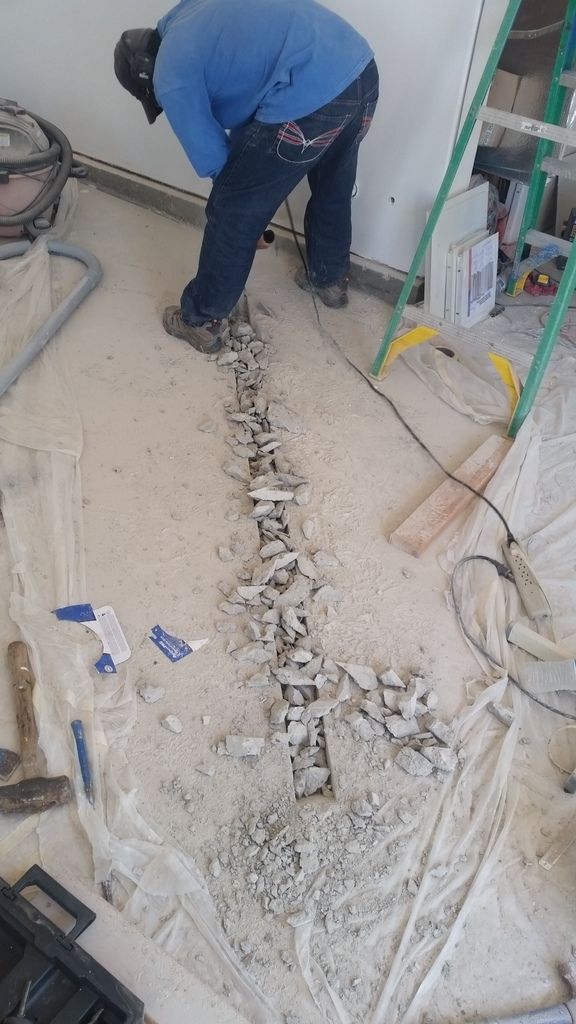
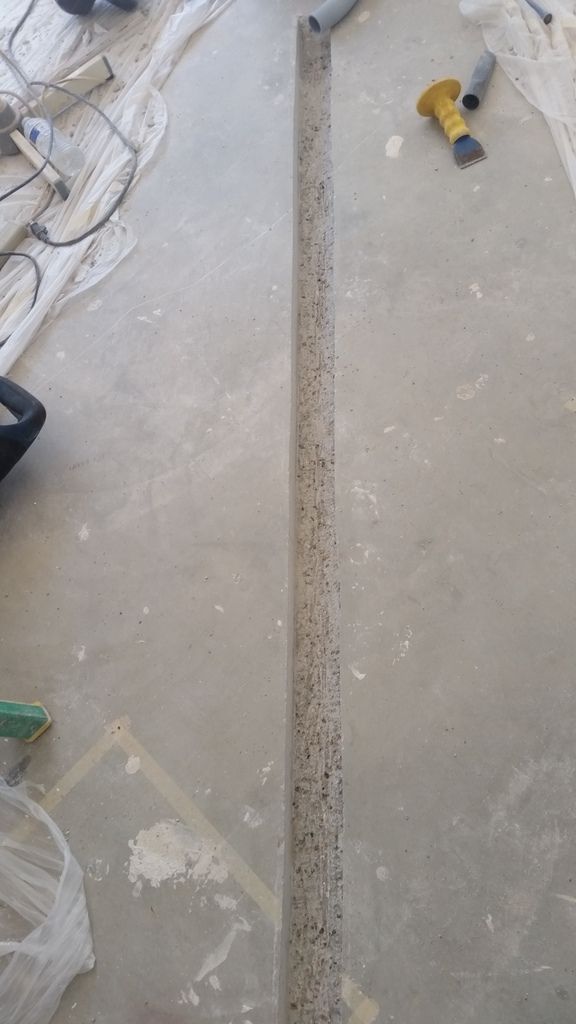
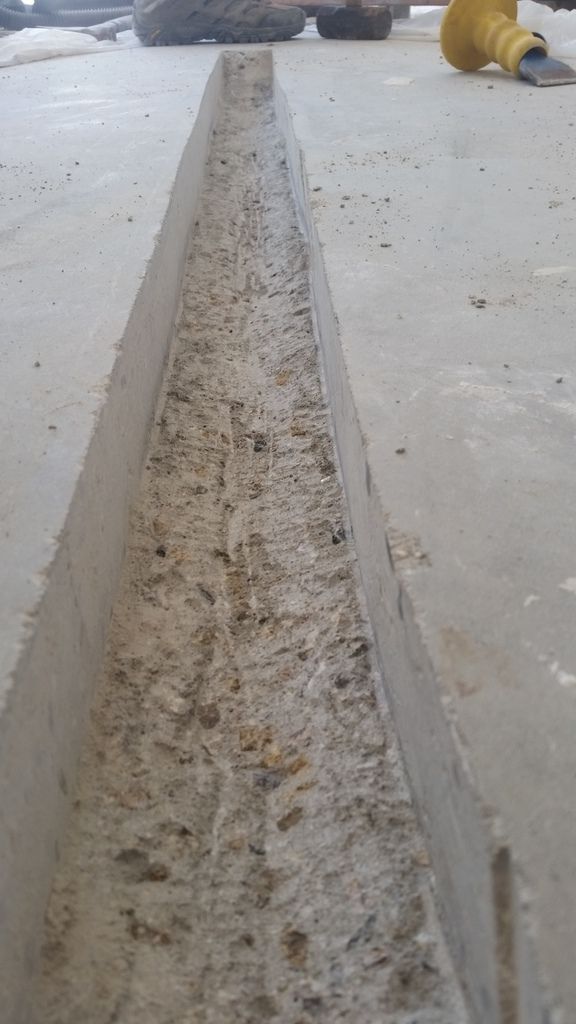
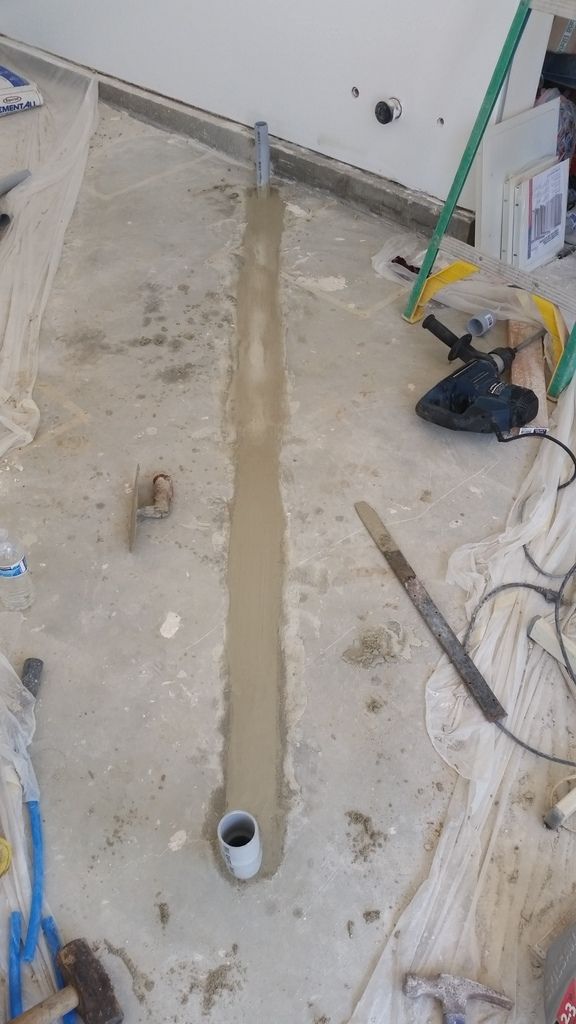
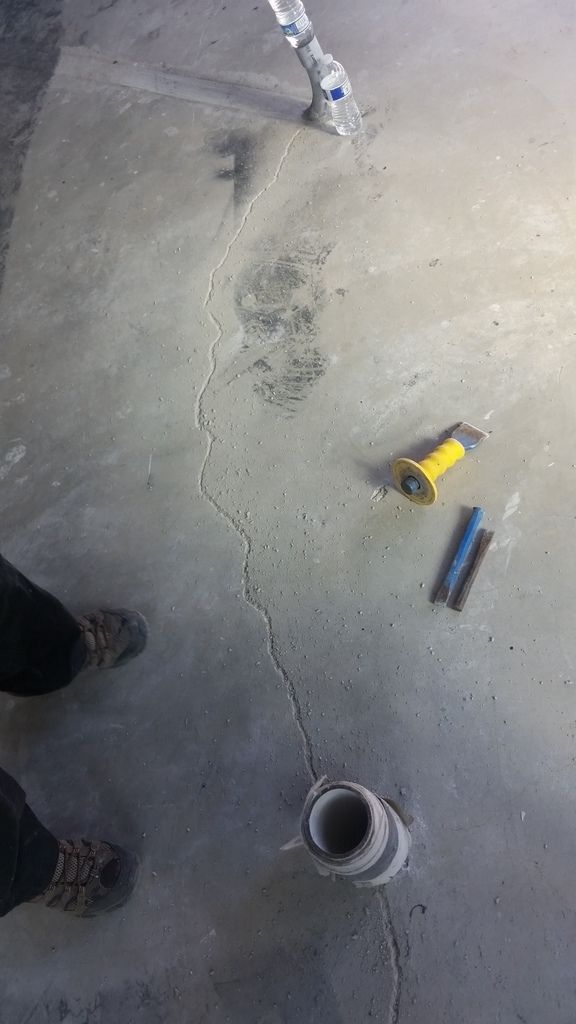
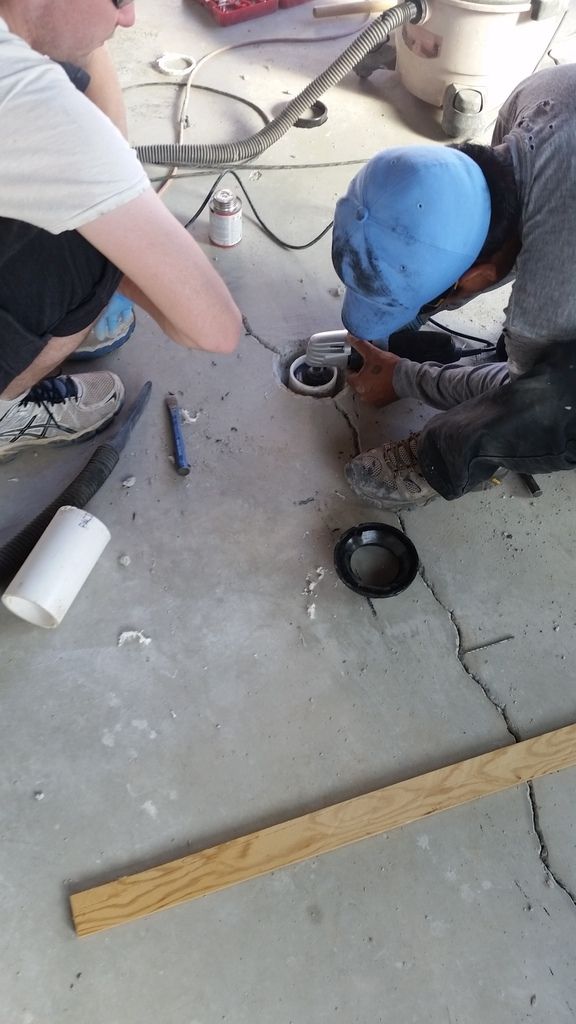
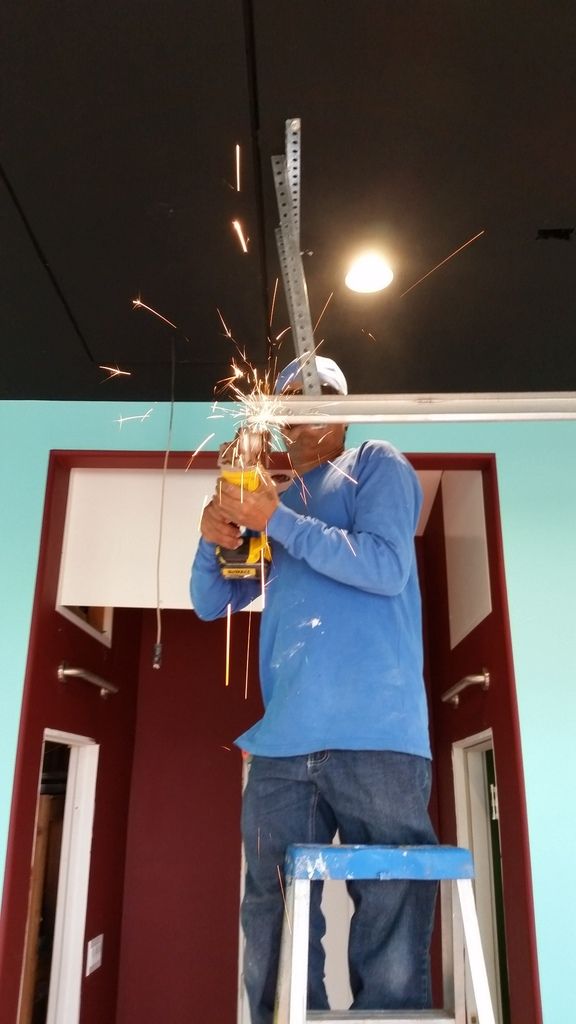
Cutting channel in concrete to insert a conduit to use as a sleeve for heating the future 10' display tank with hydronic heating..
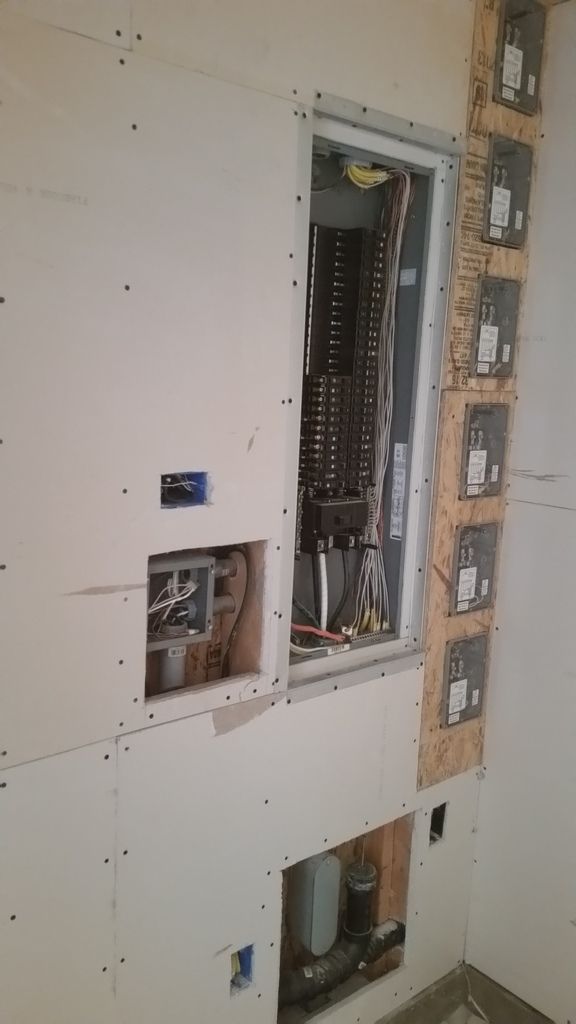
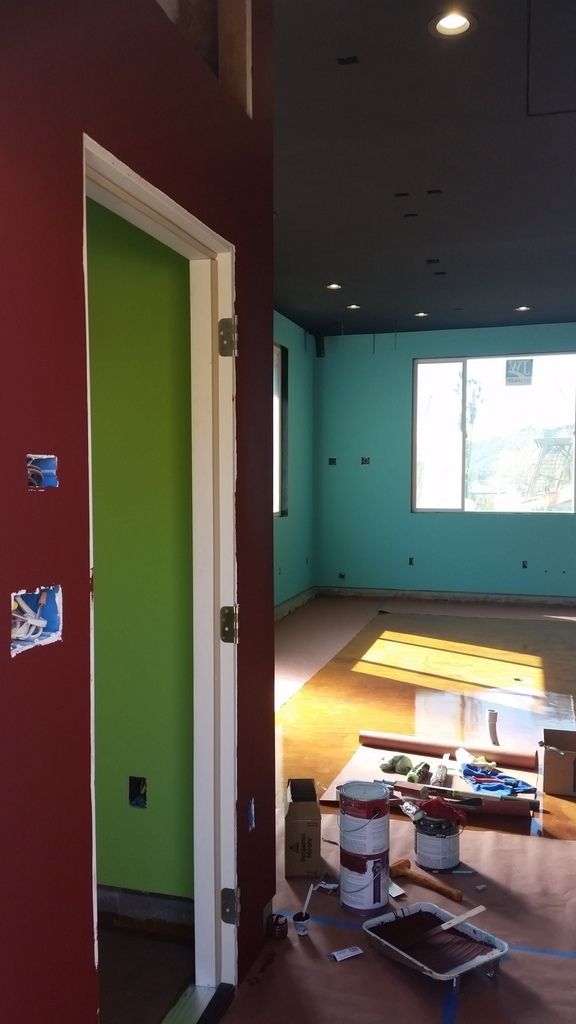
Never ending electrical...
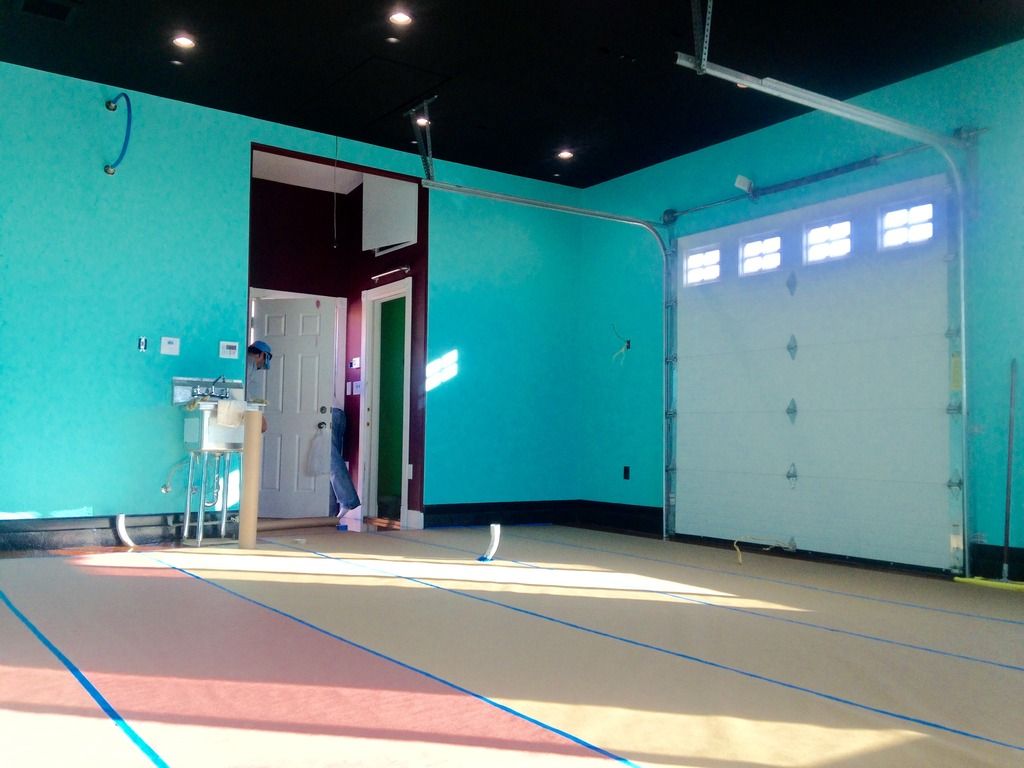
Entry door
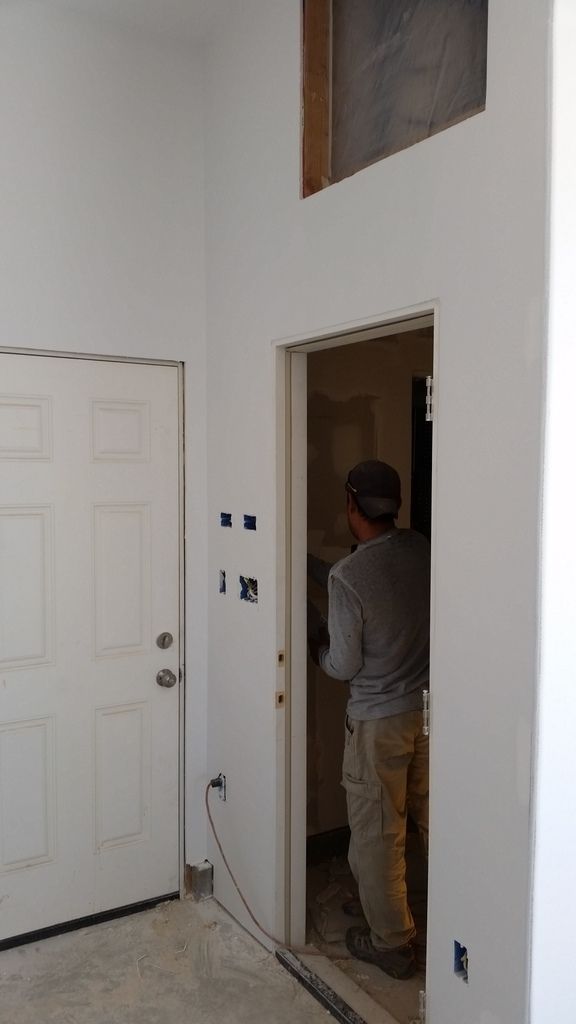
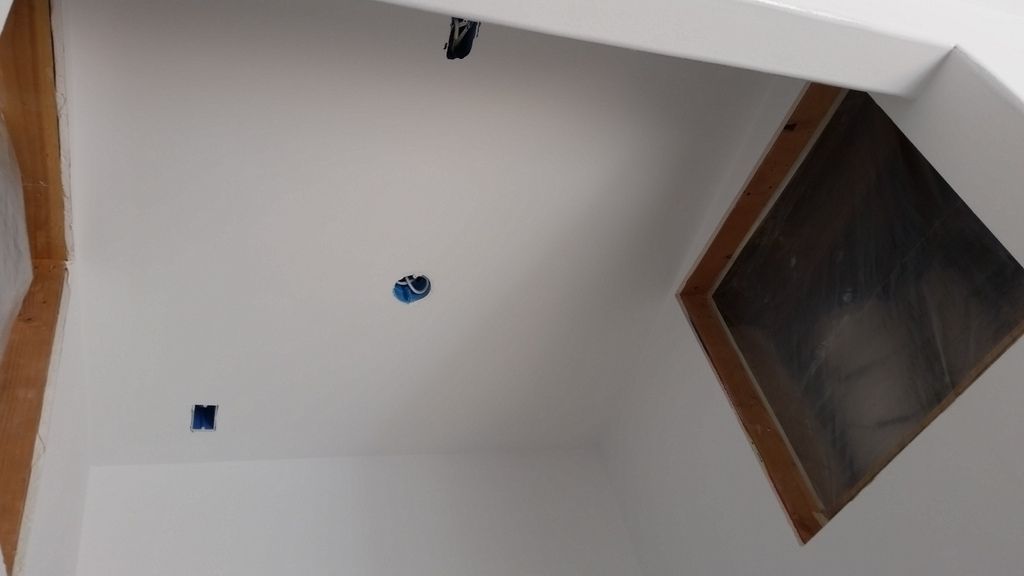
Future attic access/storage
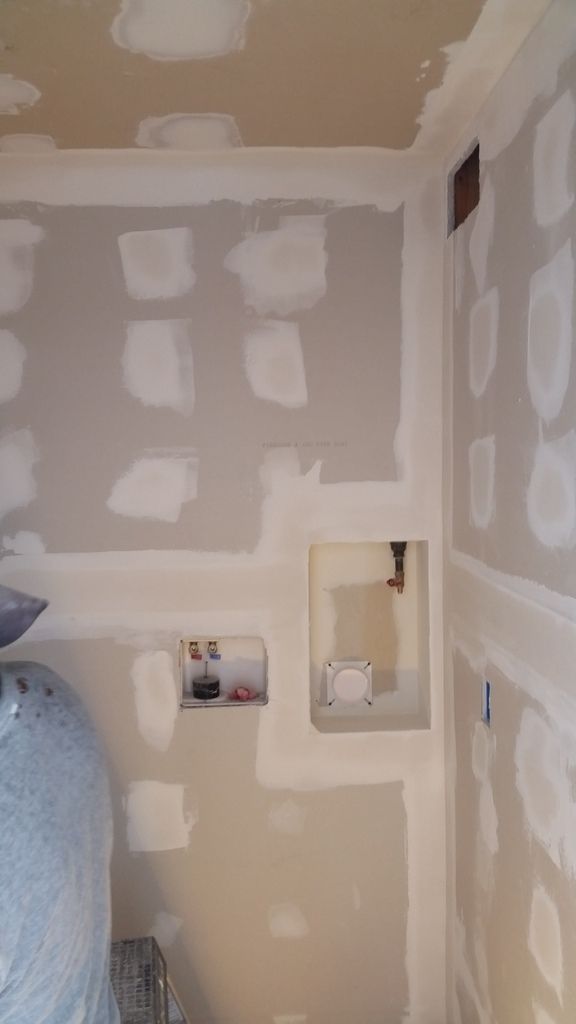
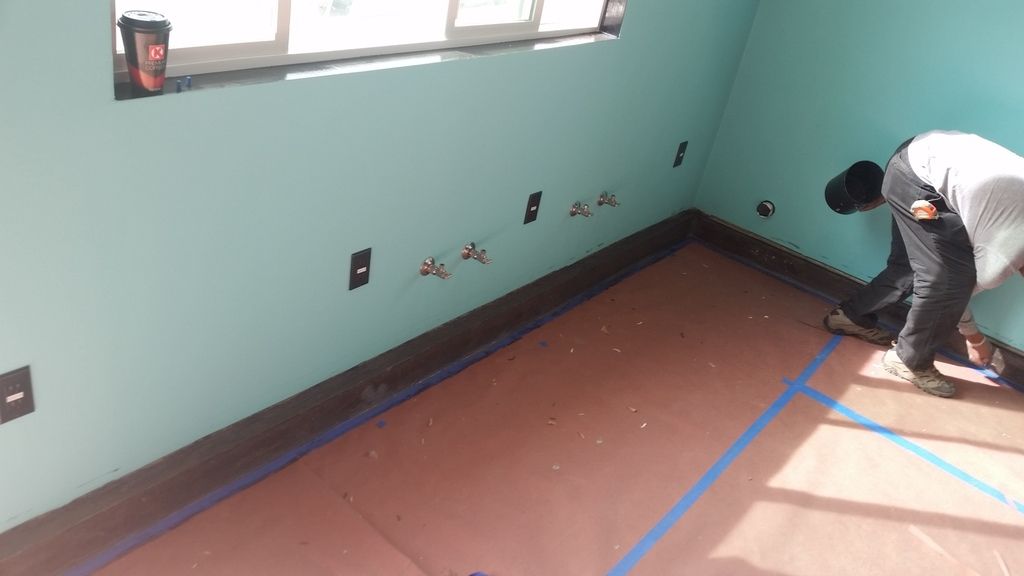
Laundry connections
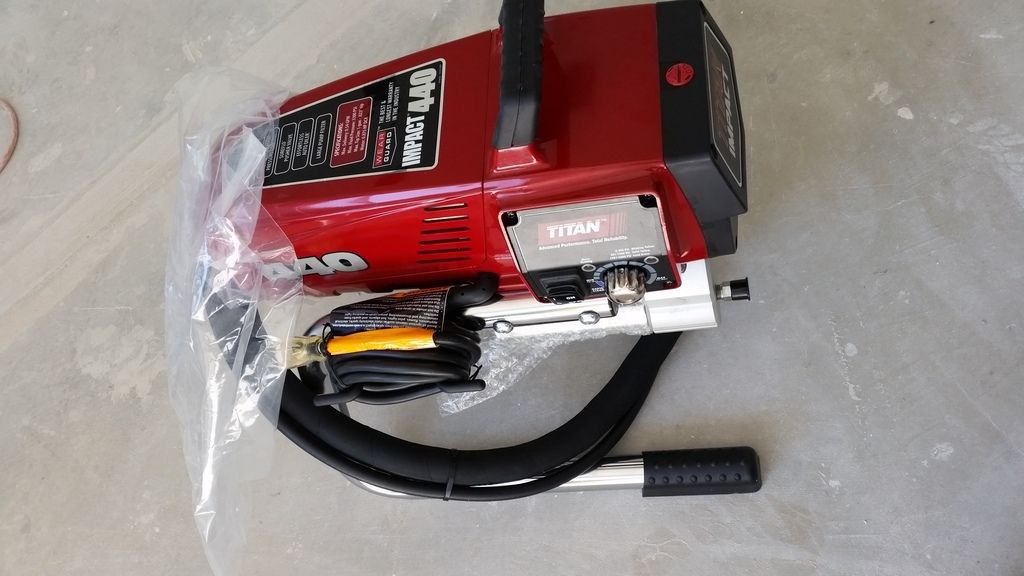
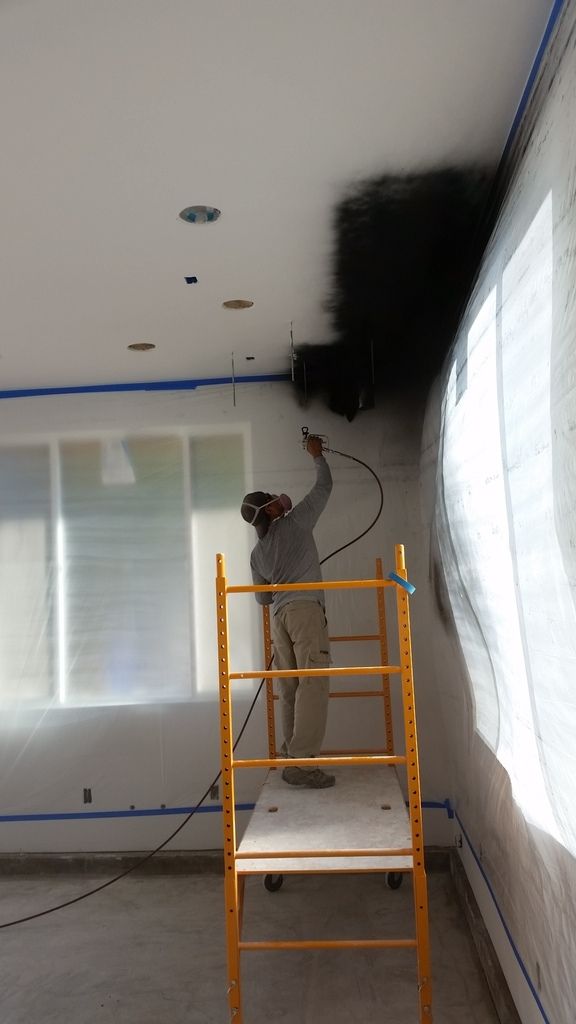
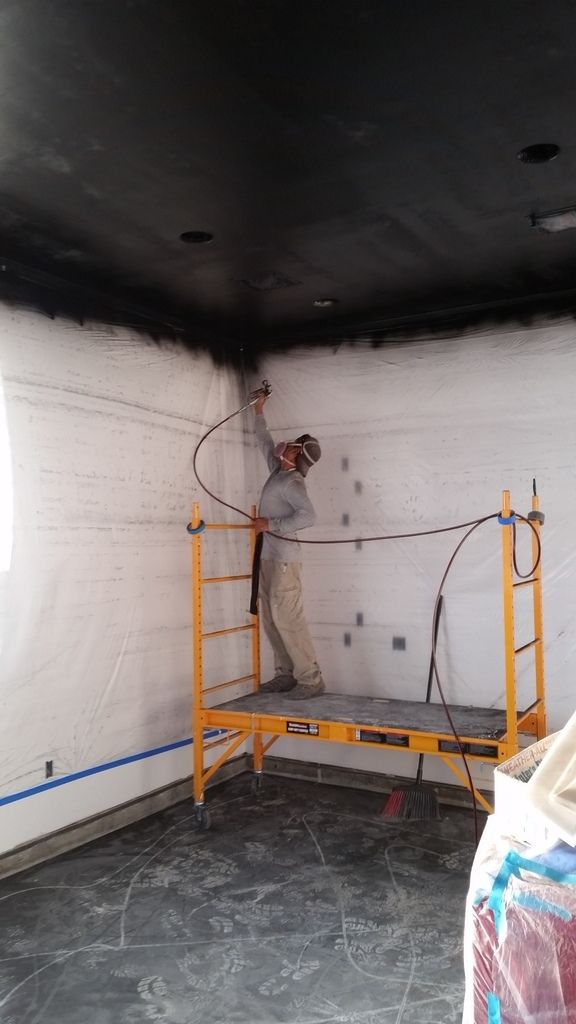
A new toy to help paint the ceiling.. originally wanted and painted it gloss black.. did NOT work out as planned... looked like crap. Pressure too high.. shoulda read the manual better.. :fie:
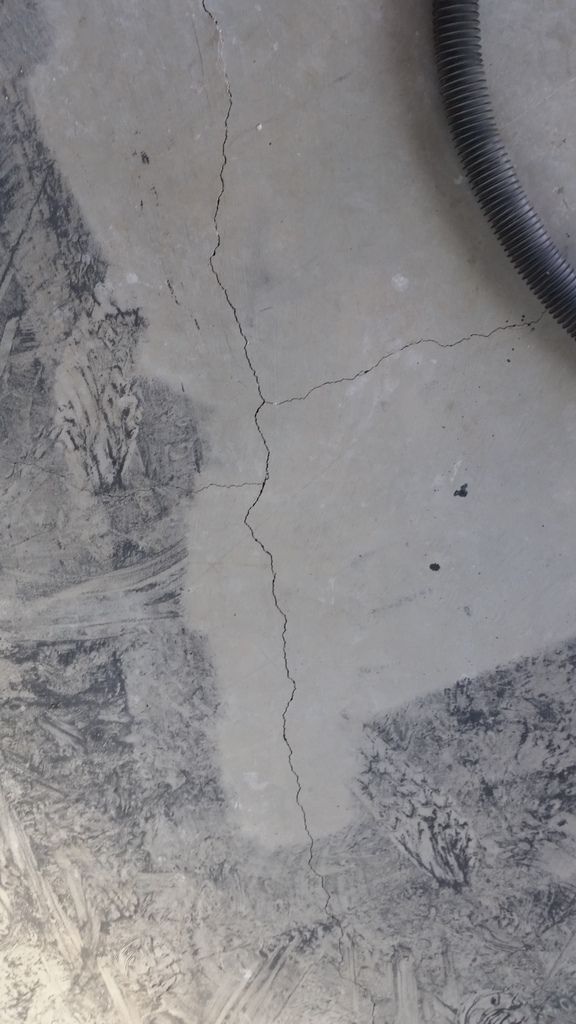
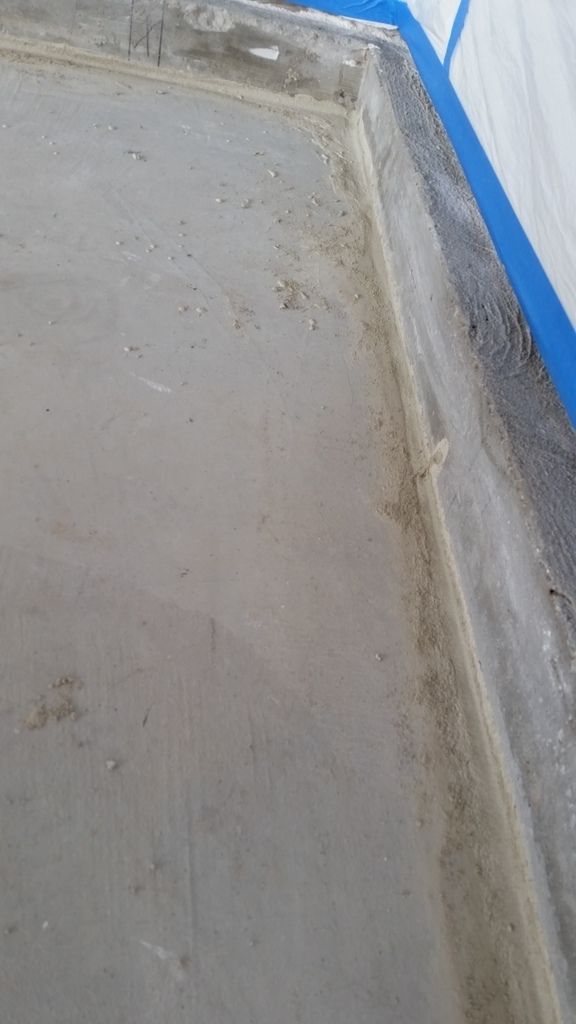
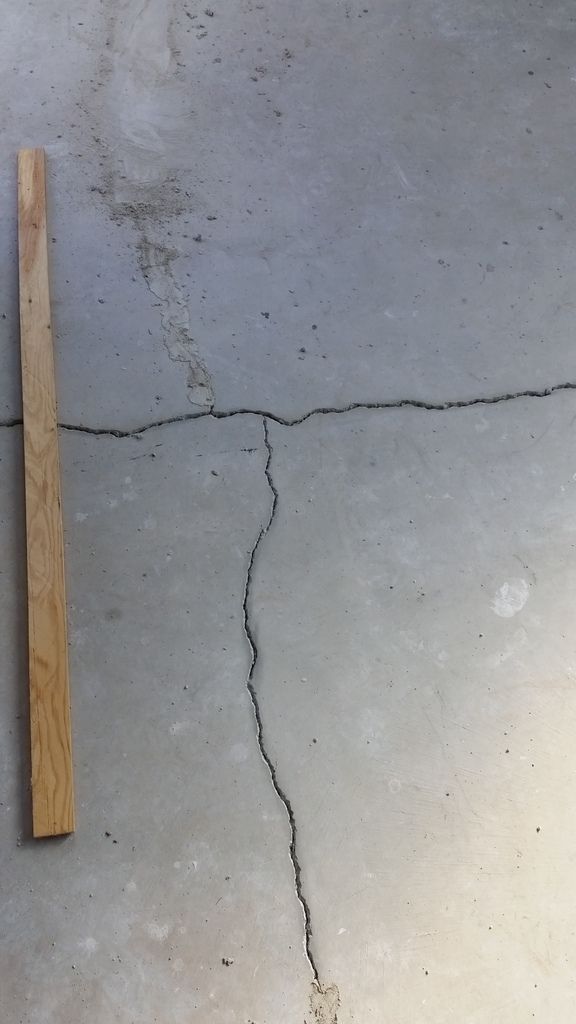
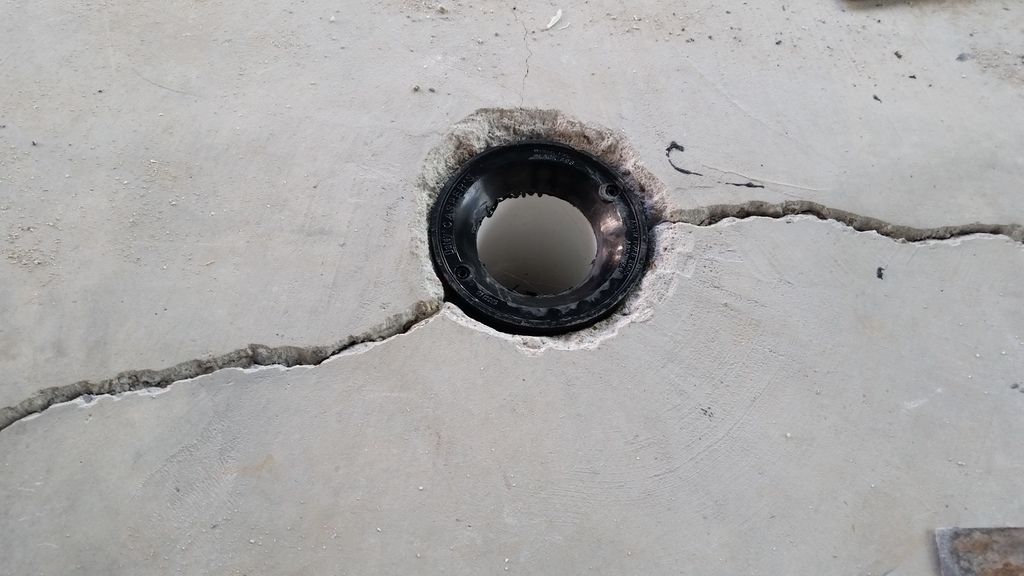
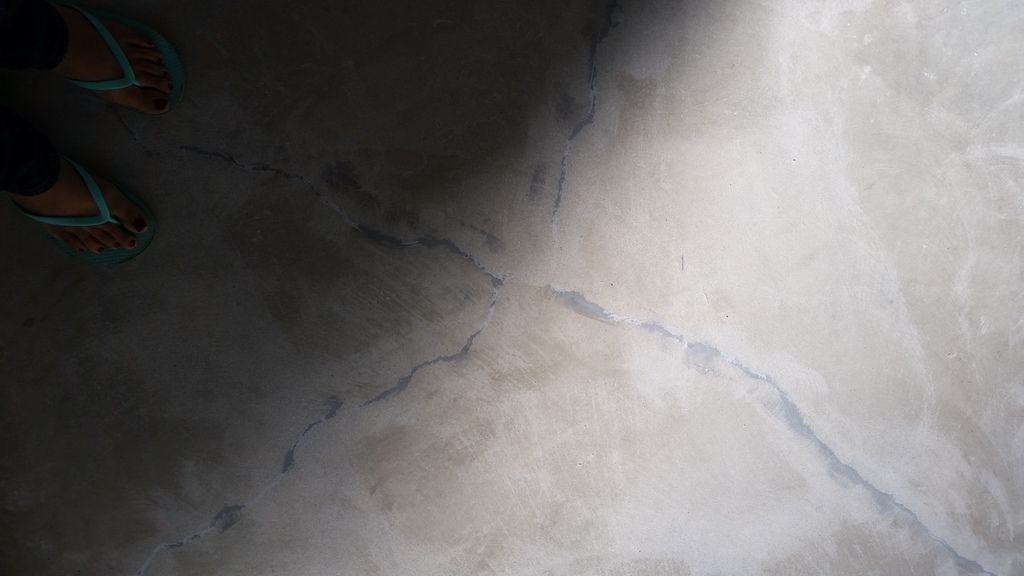
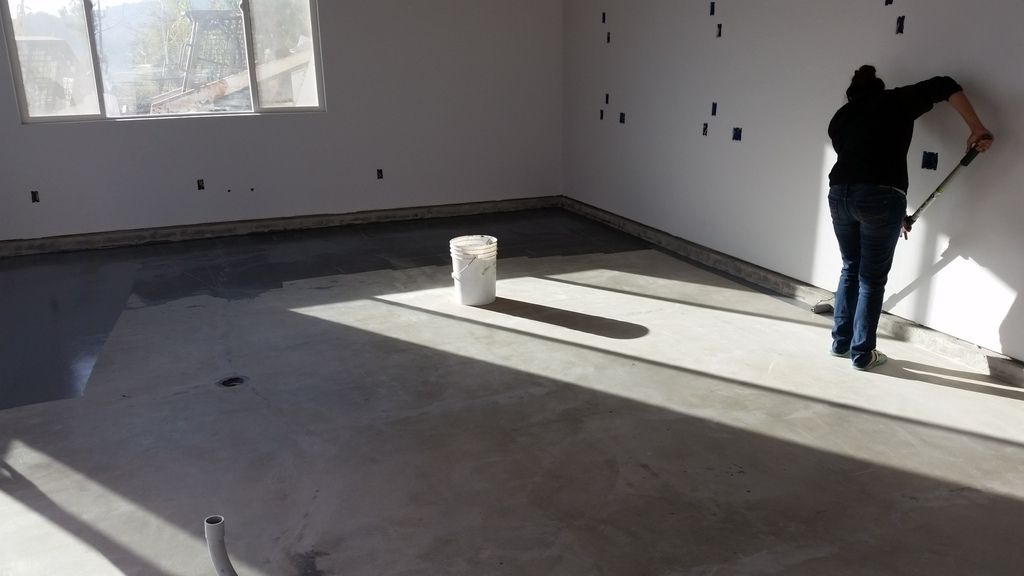
Flooring time.. prep prep prep.. Never would have thought it was necessary to make the cracks bigger in order to make them smaller.. Starting to chisel out the fine shrinkage cracks before patching them ..
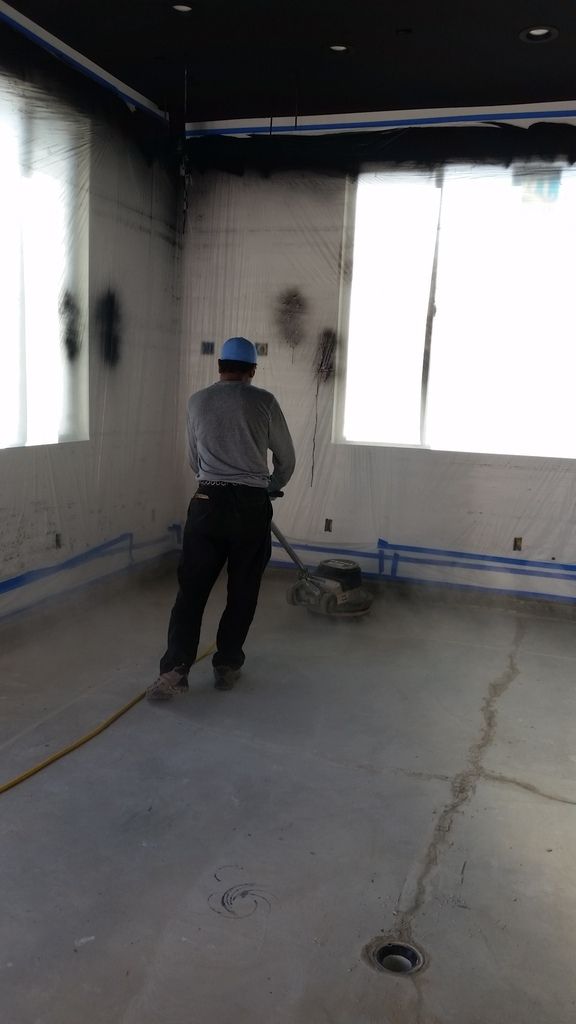
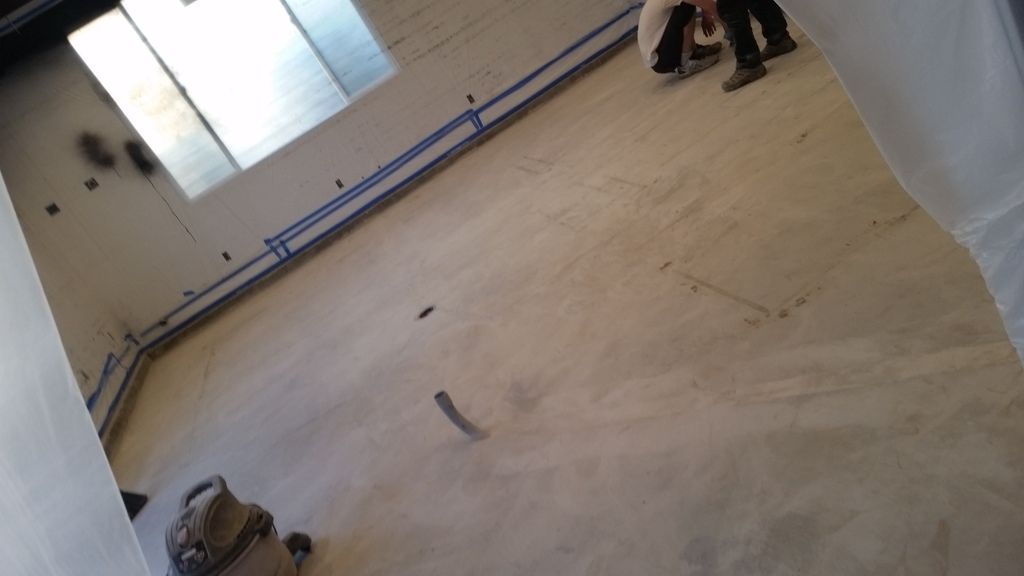
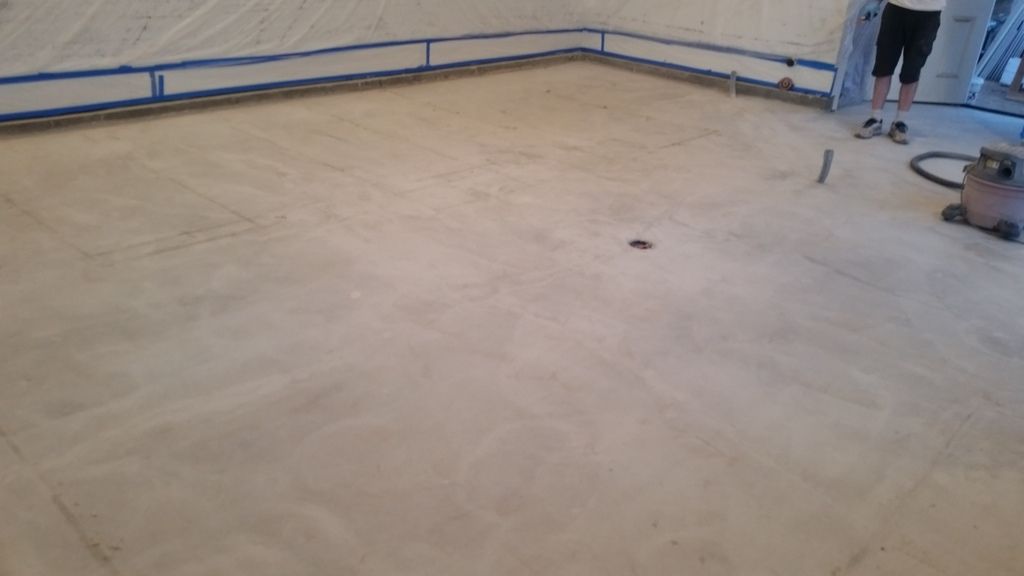
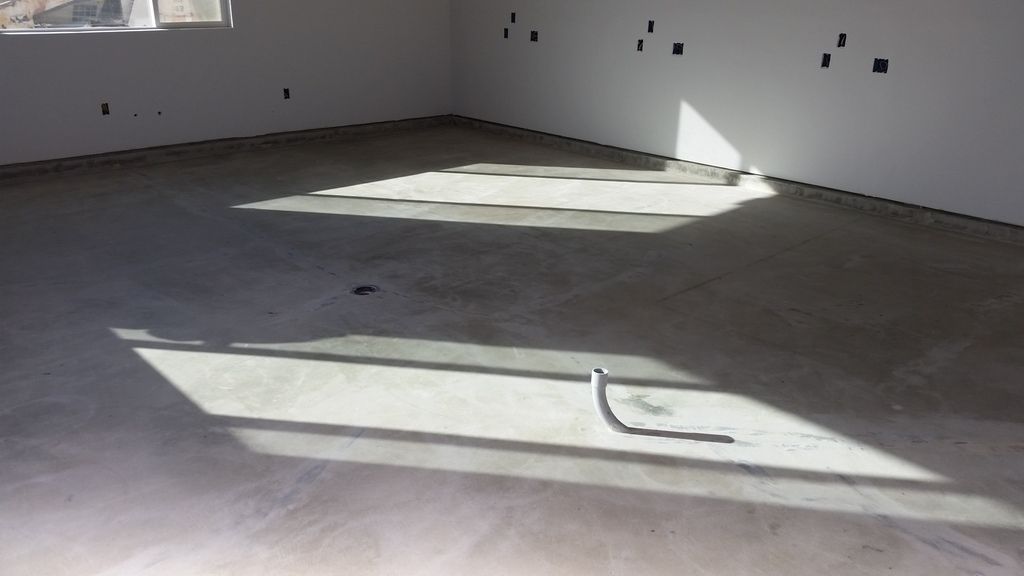
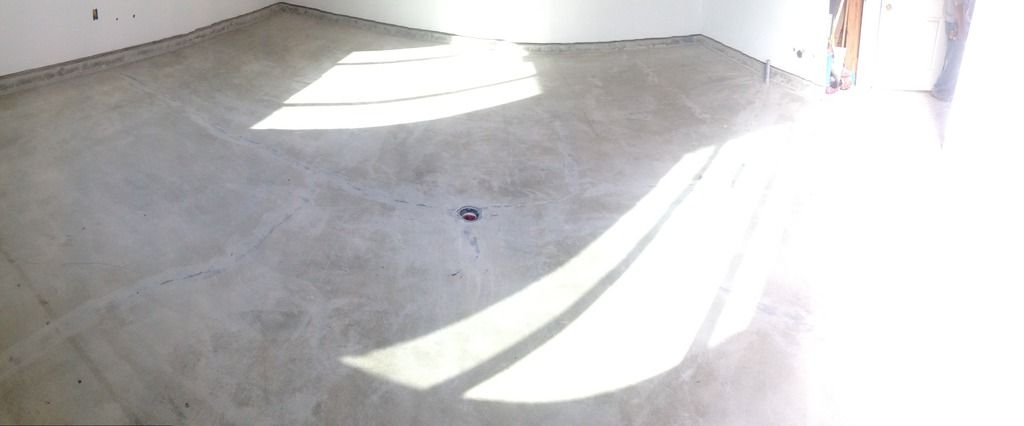
Grinding/roughing it up.. this tool is well worth the rental !
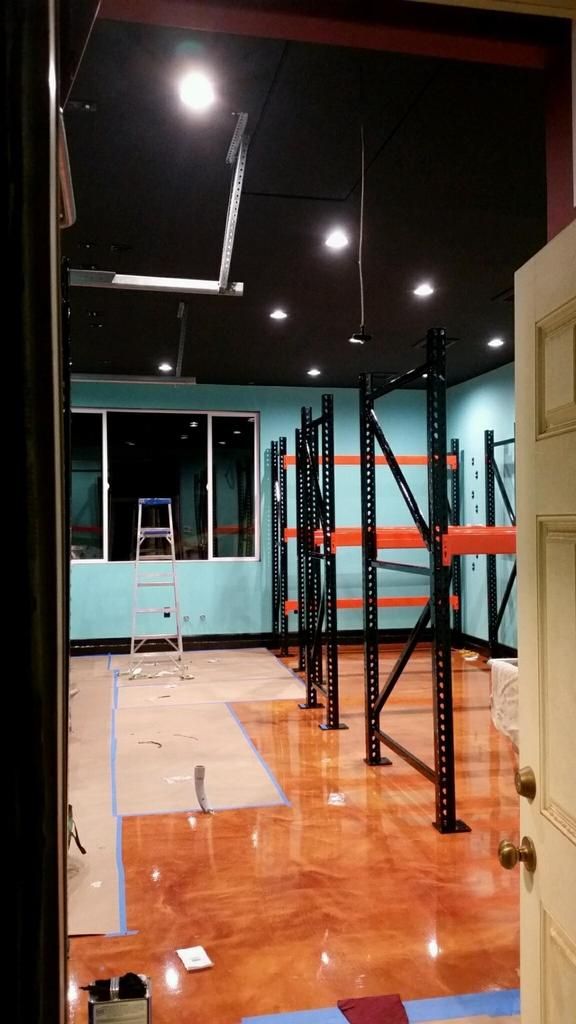
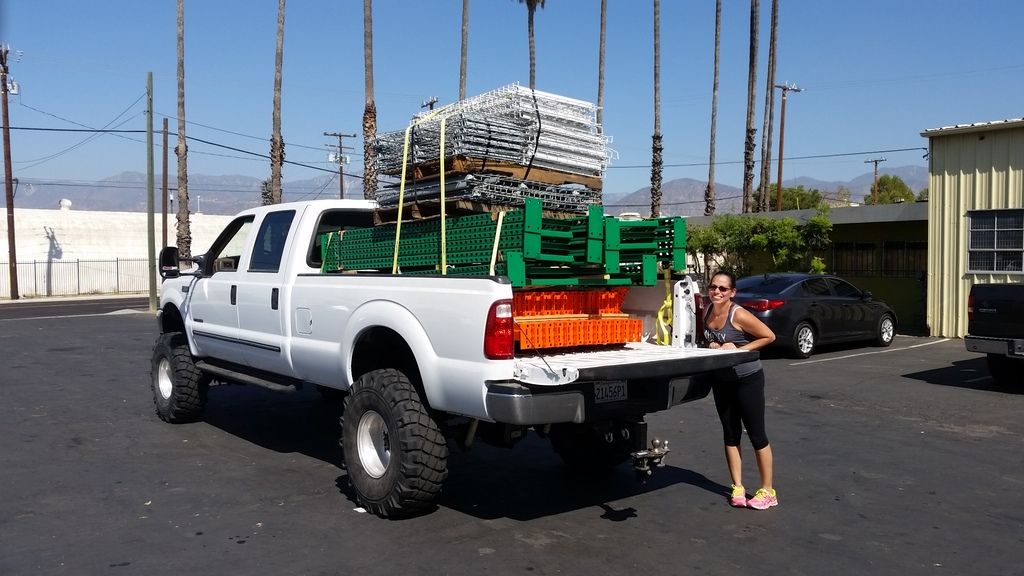
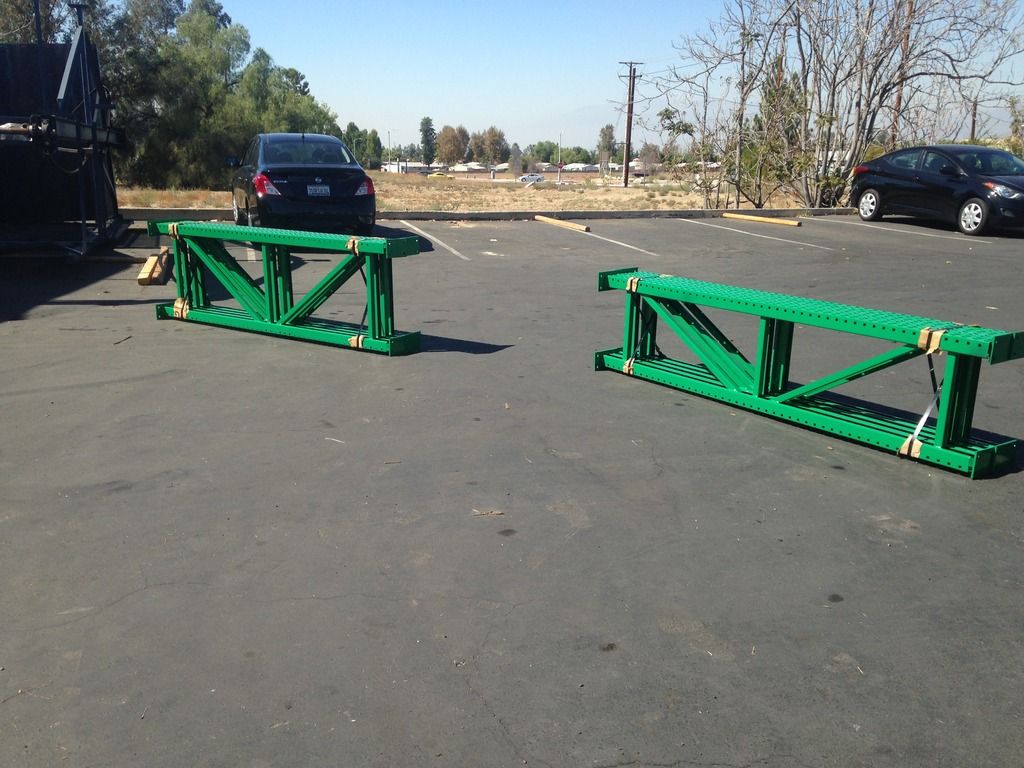
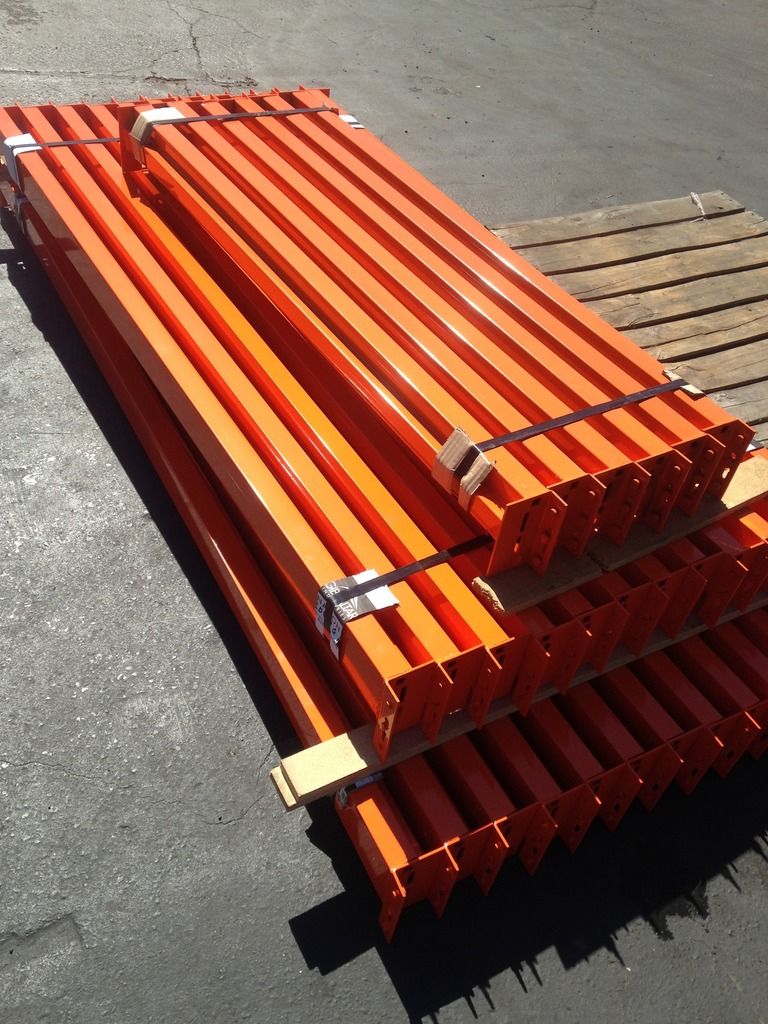
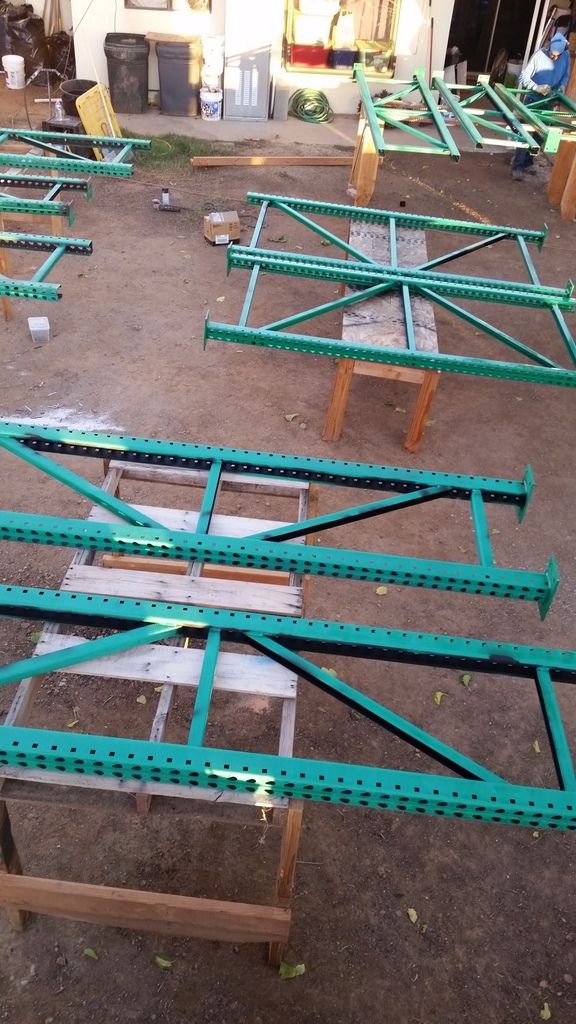
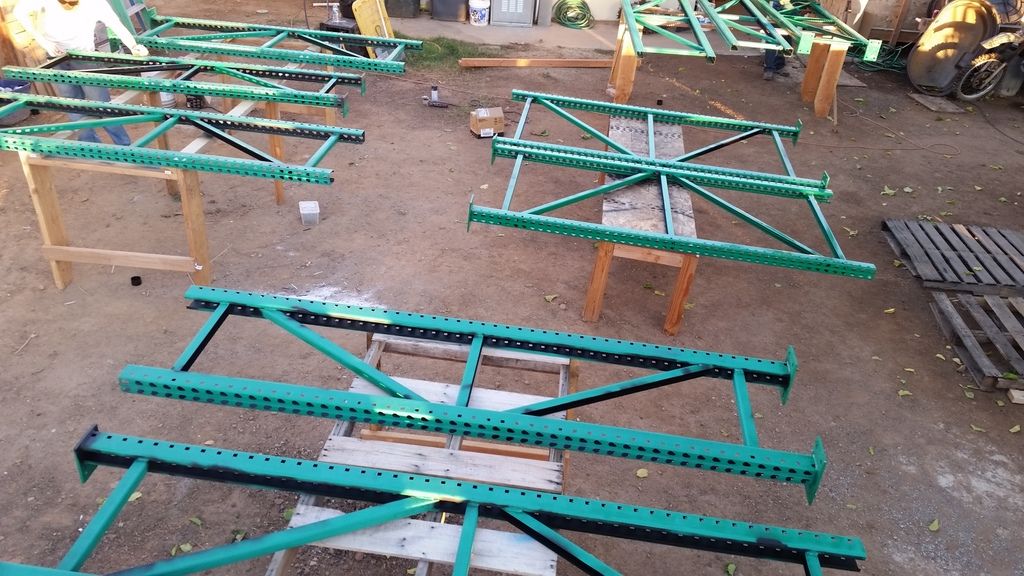
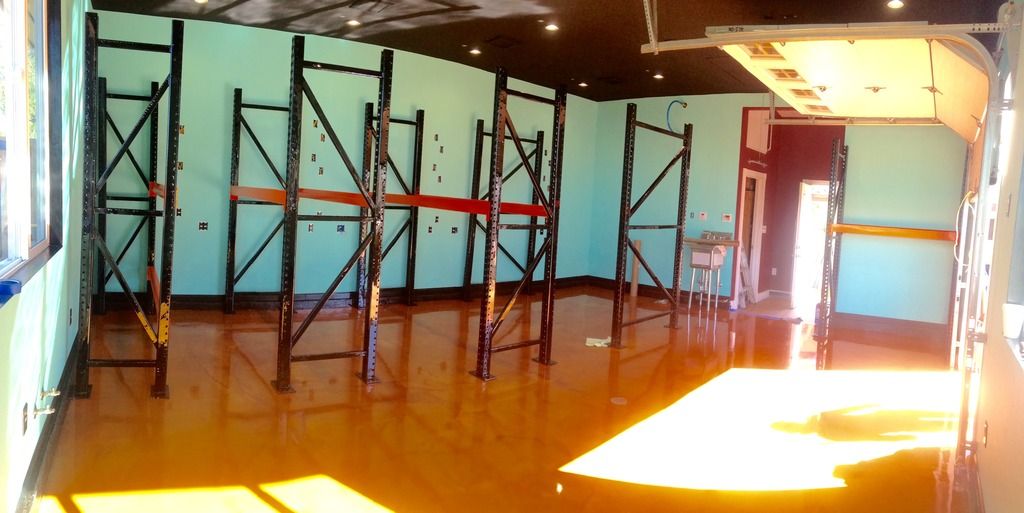
Pallet racks finally ready.. didn't realize how much we didn't like the green color till we got them home... Ugh.. Got quote to repowder coat=3x the cost of the racks.. :blink:
Enjoy..
Cutting channel in concrete to insert a conduit to use as a sleeve for heating the future 10' display tank with hydronic heating..
Never ending electrical...
Entry door
Future attic access/storage
Laundry connections
A new toy to help paint the ceiling.. originally wanted and painted it gloss black.. did NOT work out as planned... looked like crap. Pressure too high.. shoulda read the manual better.. :fie:
Flooring time.. prep prep prep.. Never would have thought it was necessary to make the cracks bigger in order to make them smaller.. Starting to chisel out the fine shrinkage cracks before patching them ..
Grinding/roughing it up.. this tool is well worth the rental !
Pallet racks finally ready.. didn't realize how much we didn't like the green color till we got them home... Ugh.. Got quote to repowder coat=3x the cost of the racks.. :blink:
- Joined
- Nov 2, 2009
- Messages
- 1,210
- Likes
- 81
- Points
- 48
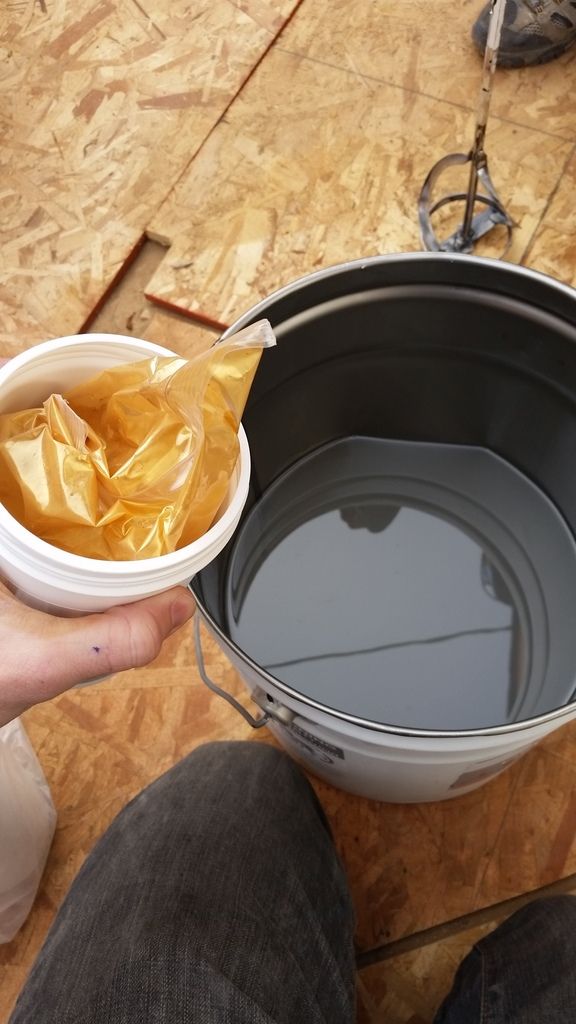
Putting on the epoxy primer..
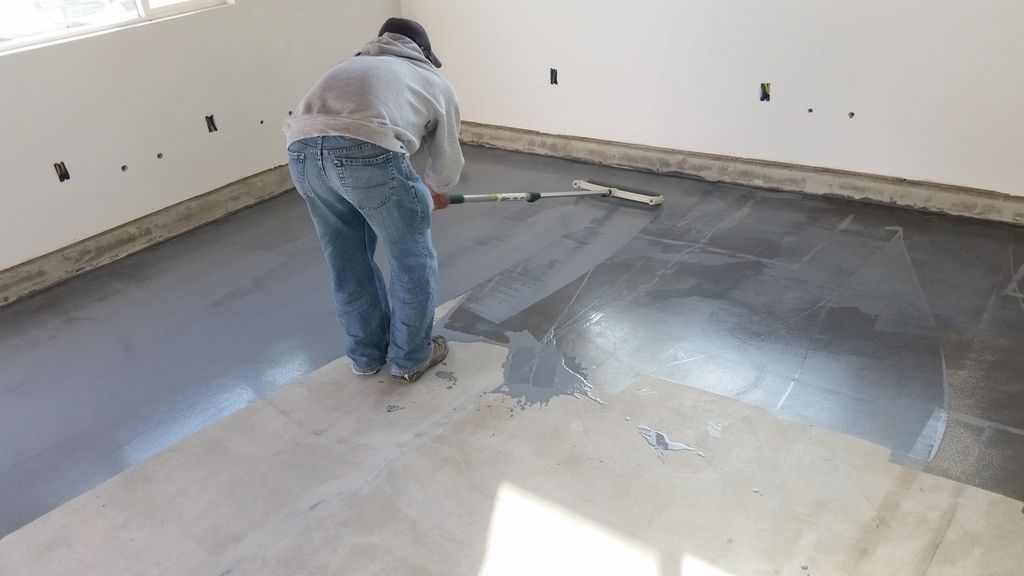
Dries black.. so strange!
Metallic Epoxy time.. the moment of truth.. Really wanted to hire someone to do this part for us, but only found one local willing concrete contractor, who wanted over $9 a sq. ft. No thank you!

Go time...
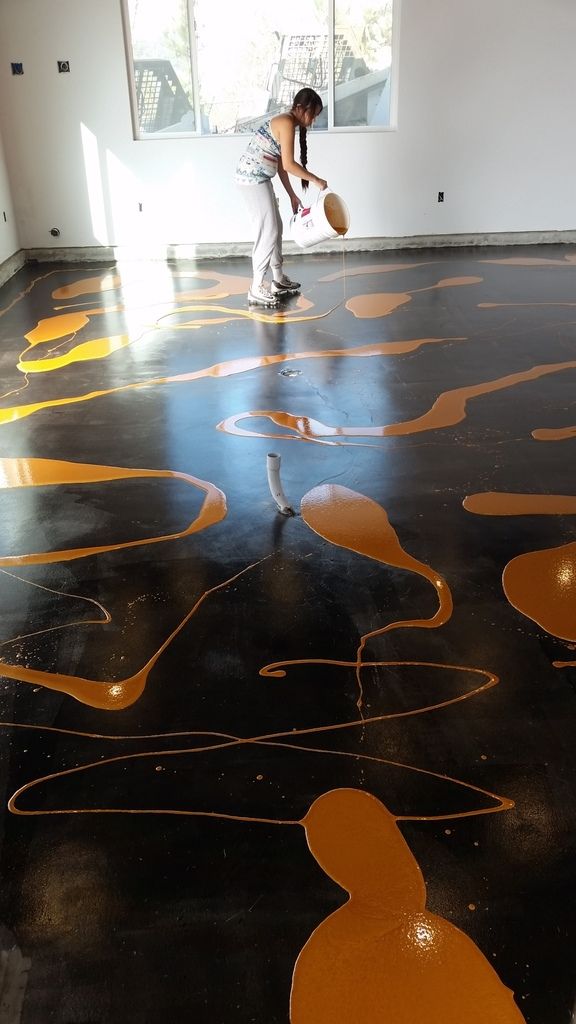
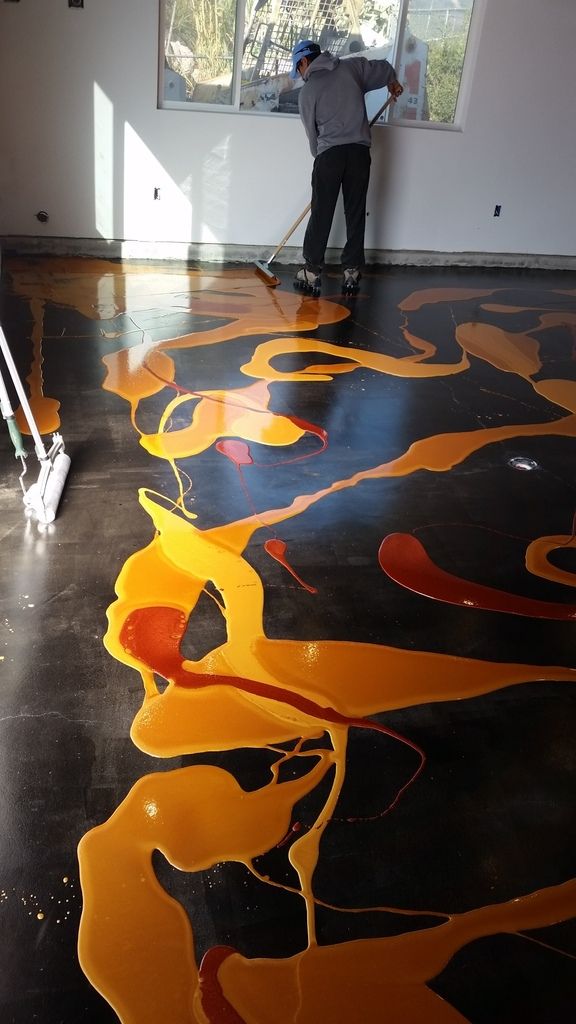
Time to dry.. and praying the roller lines go away!!

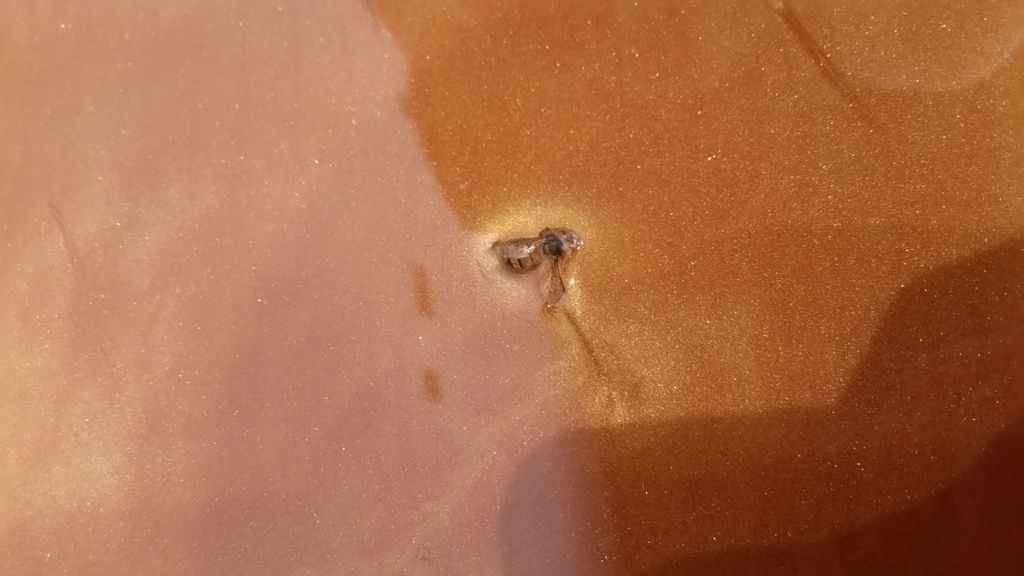
Bastard intruder...
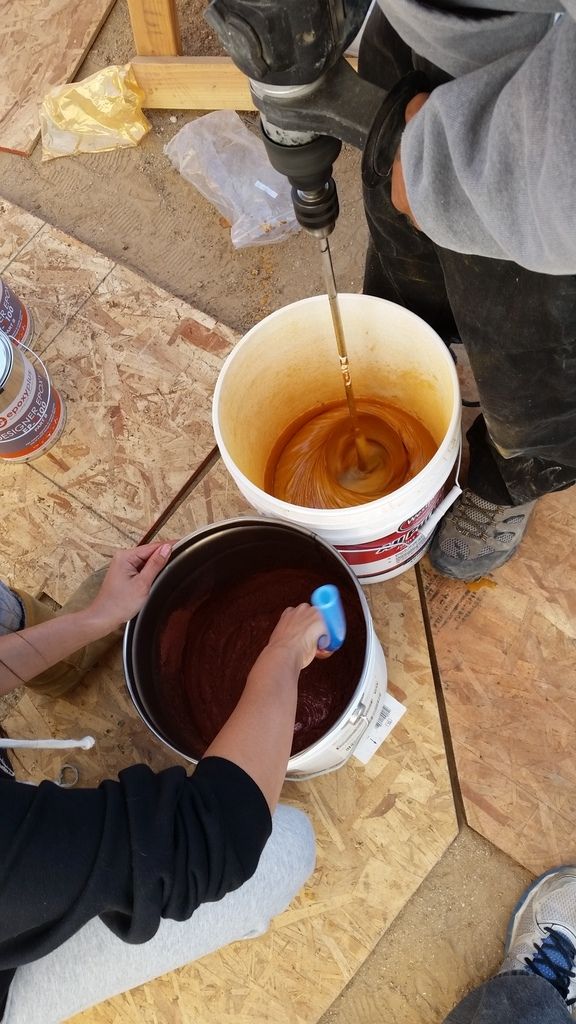
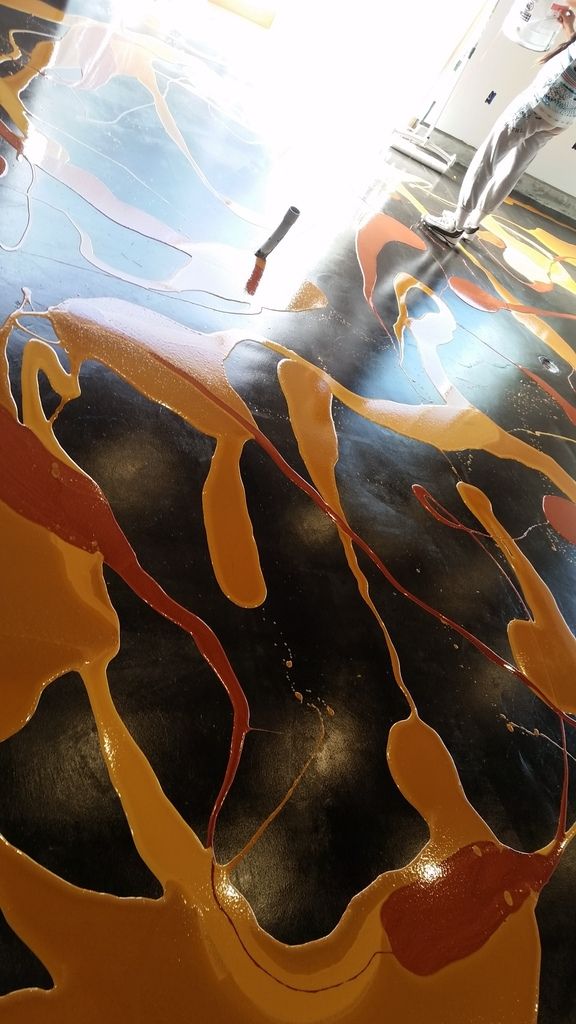
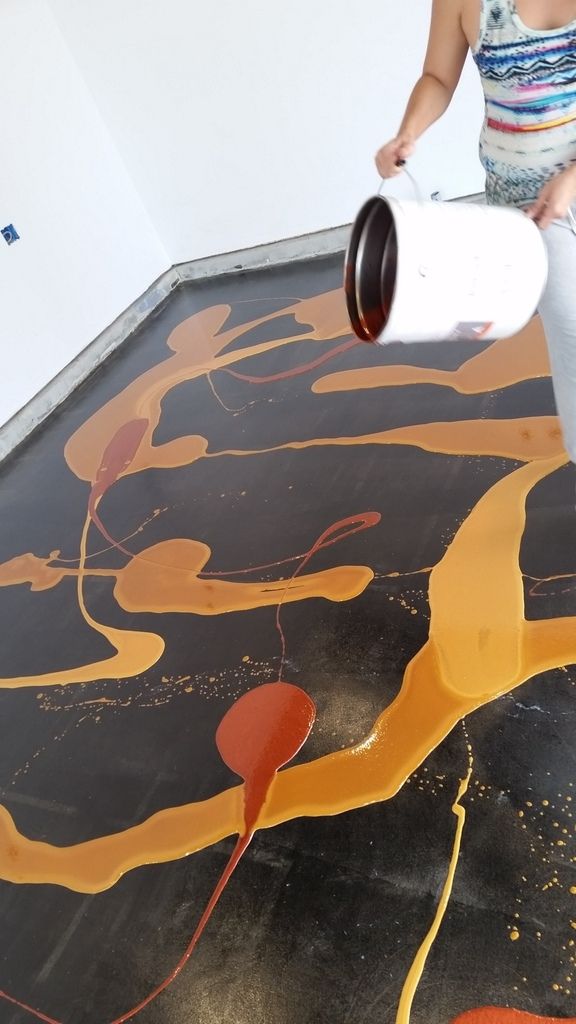
Time for some color... picking out colors was difficult..
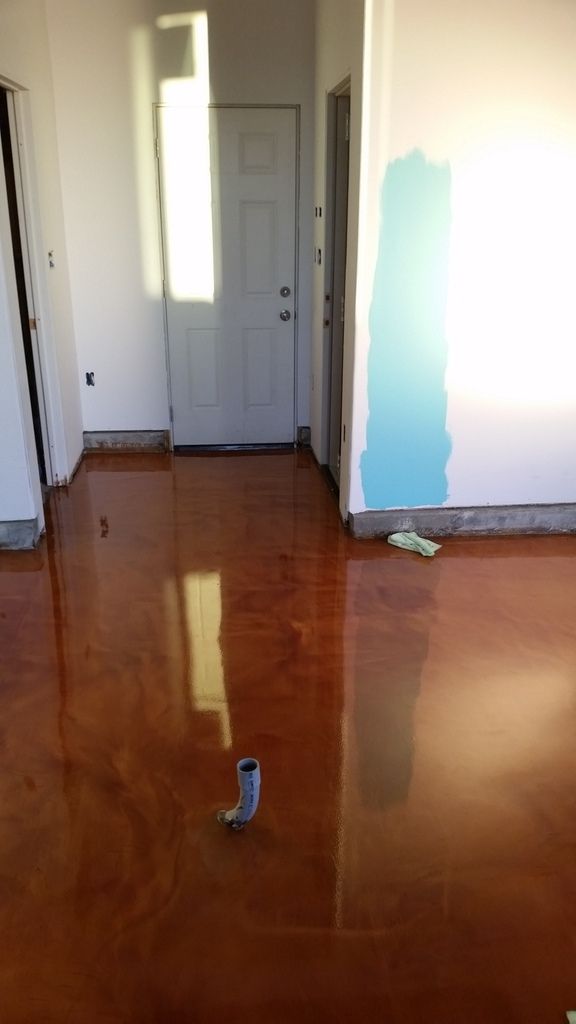
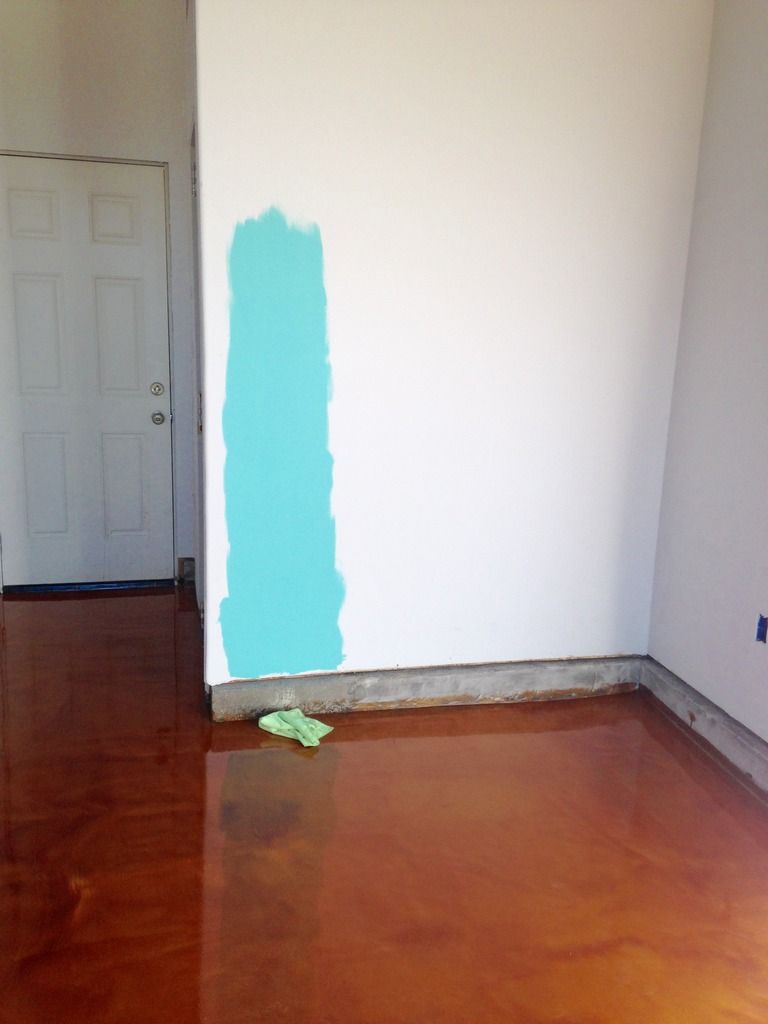
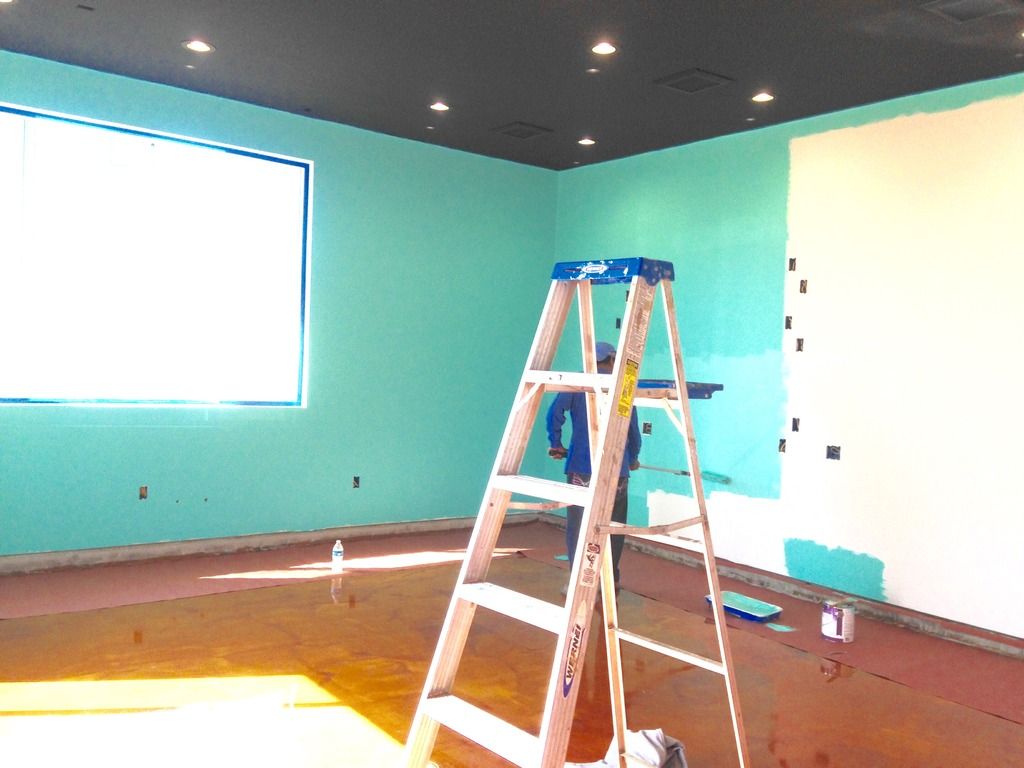
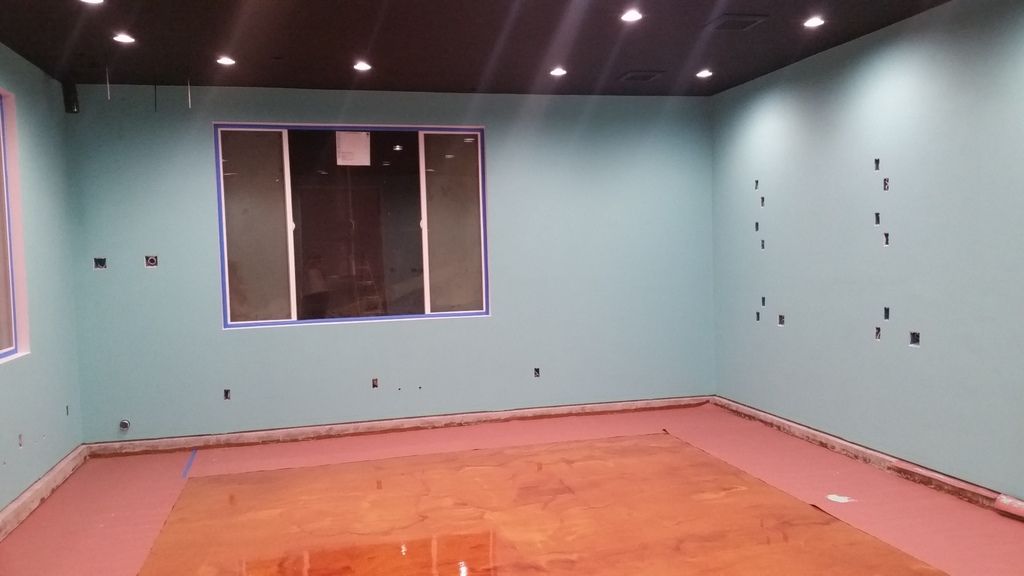
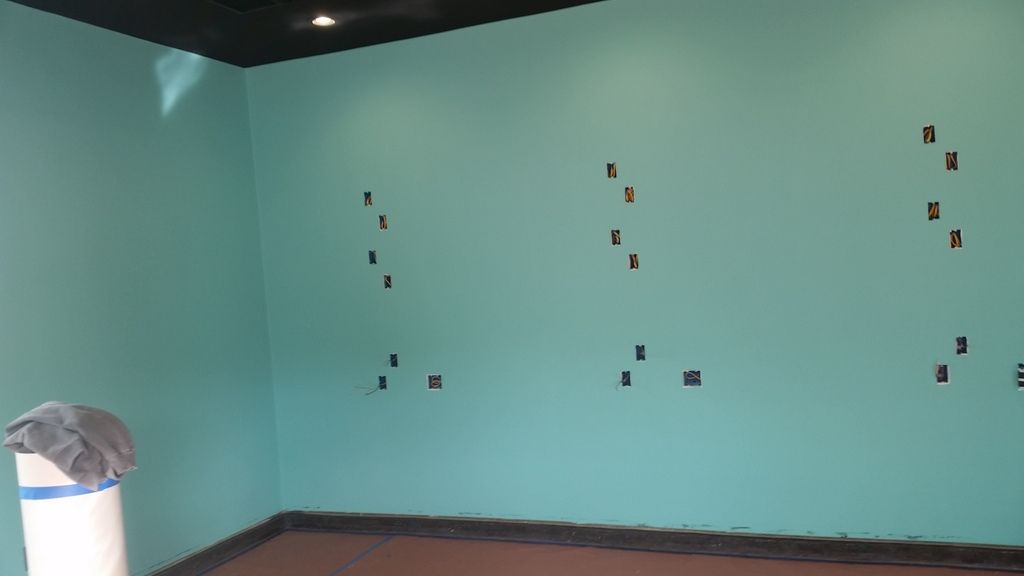
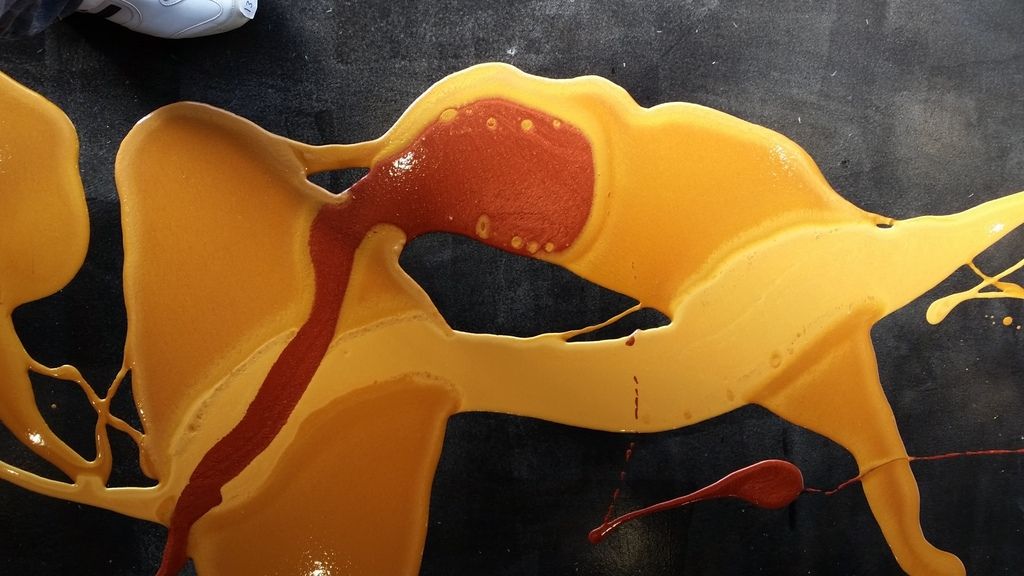
How the colors all go together...
Little trimming..
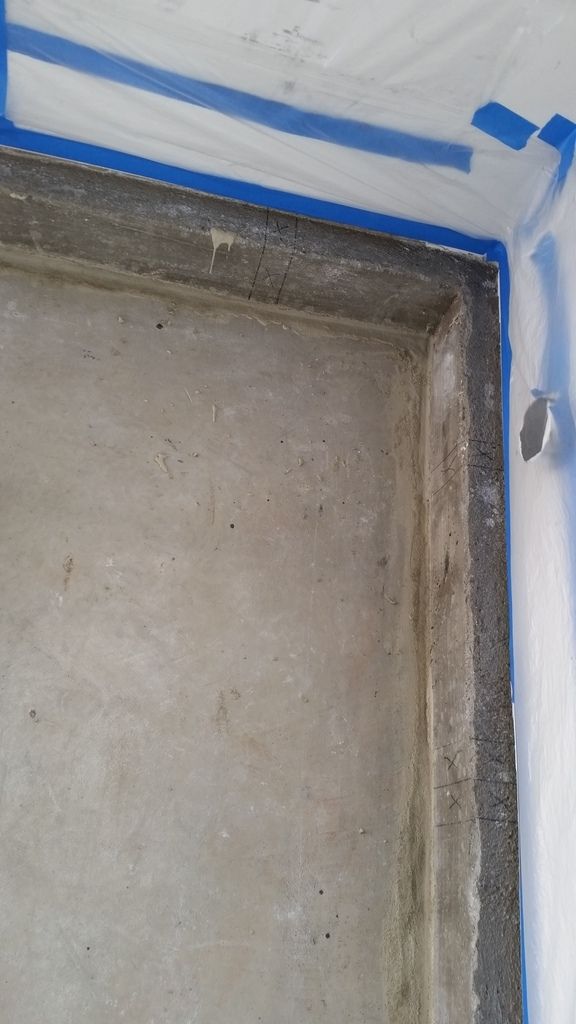
Epoxy'ing the concrete curb.. Angle stops are on..
Dries black.. so strange!
Metallic Epoxy time.. the moment of truth.. Really wanted to hire someone to do this part for us, but only found one local willing concrete contractor, who wanted over $9 a sq. ft. No thank you!
Go time...
Time to dry.. and praying the roller lines go away!!
Bastard intruder...
Time for some color... picking out colors was difficult..
How the colors all go together...
Little trimming..
Epoxy'ing the concrete curb.. Angle stops are on..
- Joined
- Nov 2, 2009
- Messages
- 1,210
- Likes
- 81
- Points
- 48
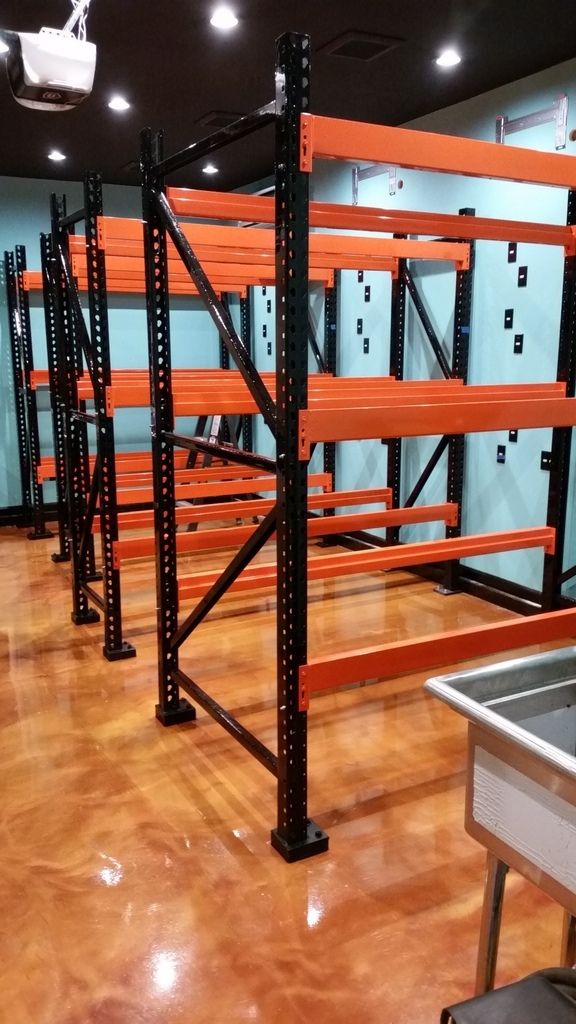
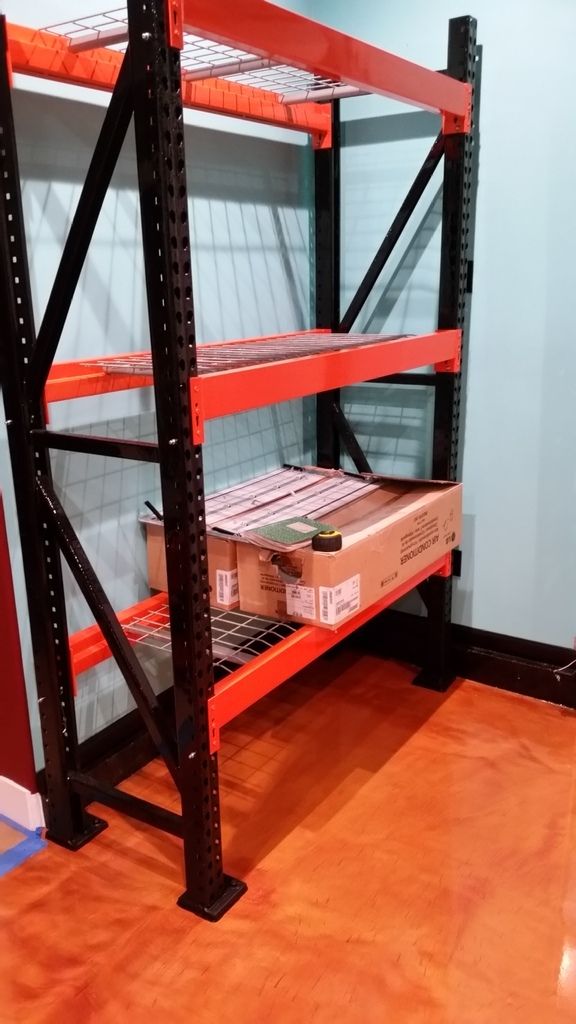
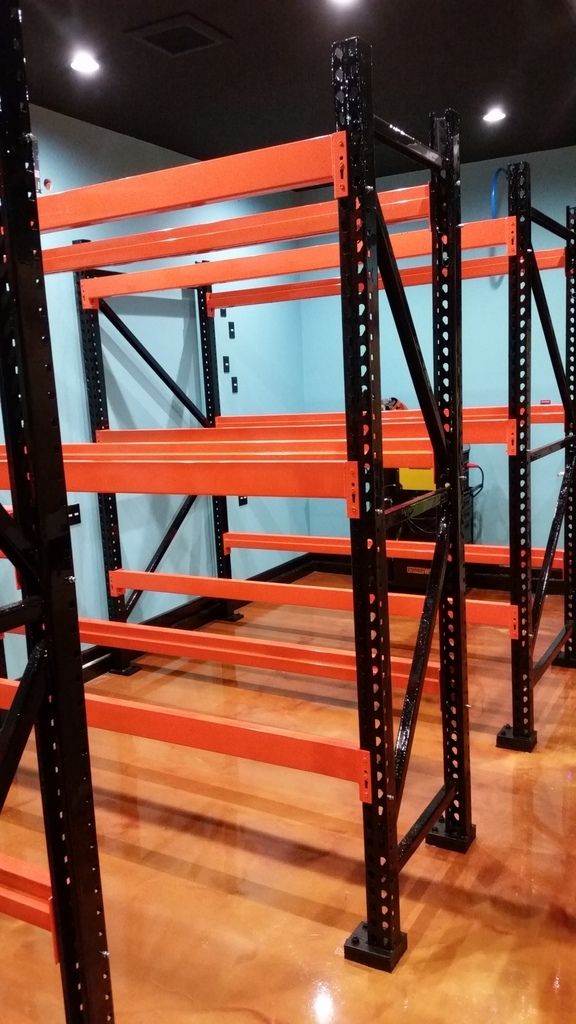
Wanted the racks to stay durable.. but didn't want to spend 3x the cost of the racks to re-powdercoat them.. so we decided to epoxy them, as we had a lot left over. Came out okay. Learned that vertical surfaces are difficult... and runs are inevitable. Oh well.. it looks good enough for what we will be using them for.
Mock up of the racks.. Had to take them back out to fit the sink in..
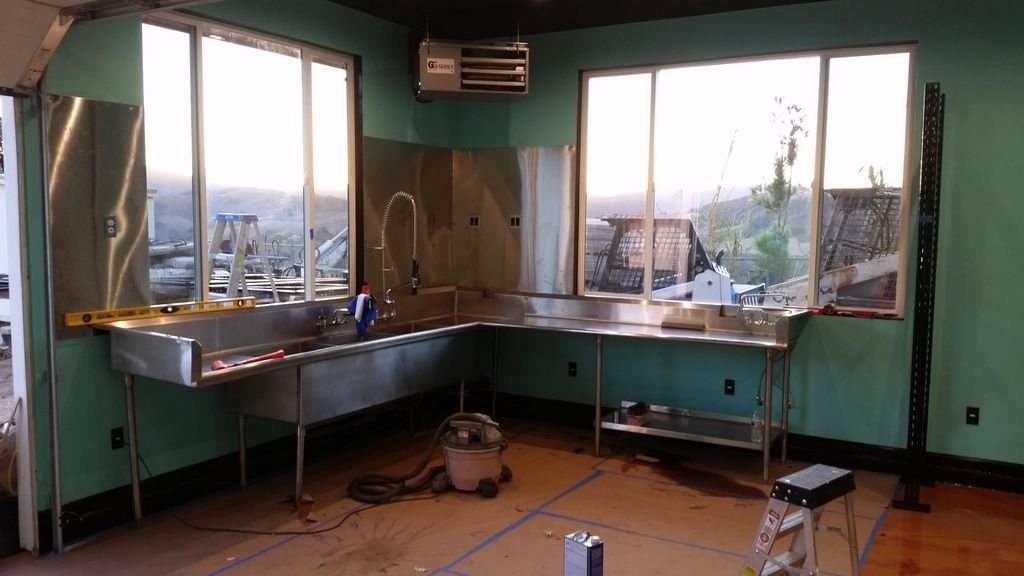
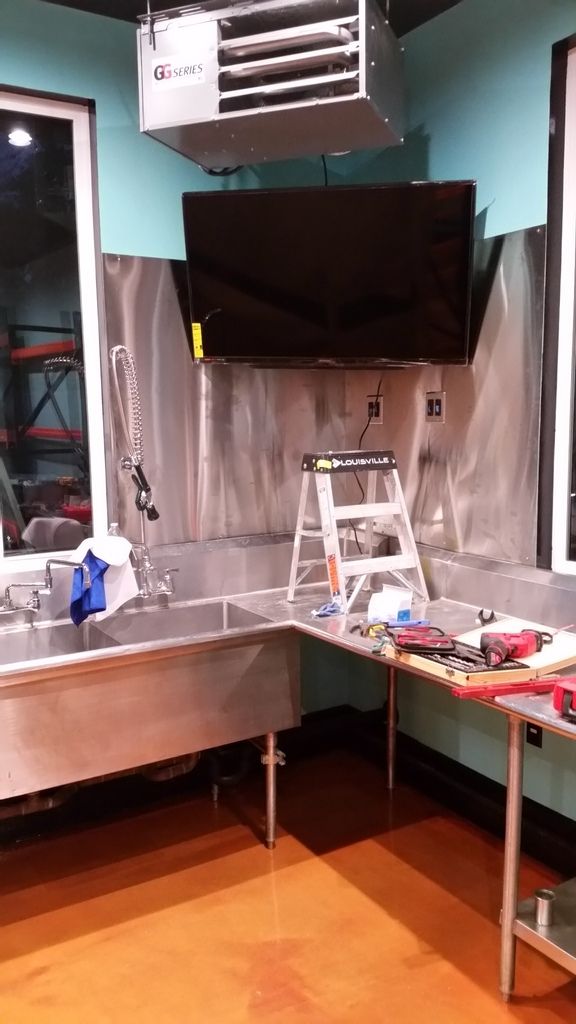
Back splash going in.. Sink being welded back together and going in!
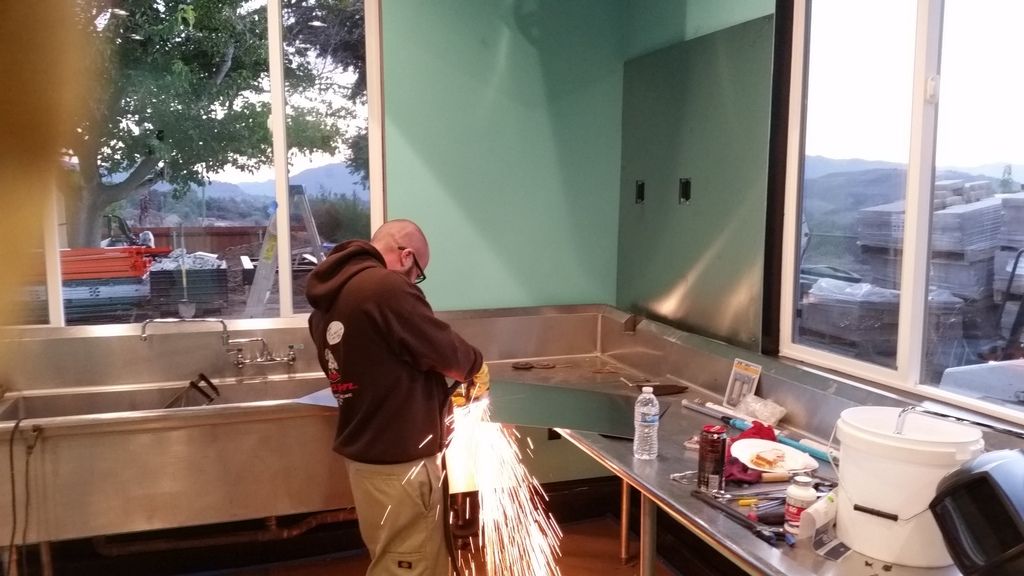
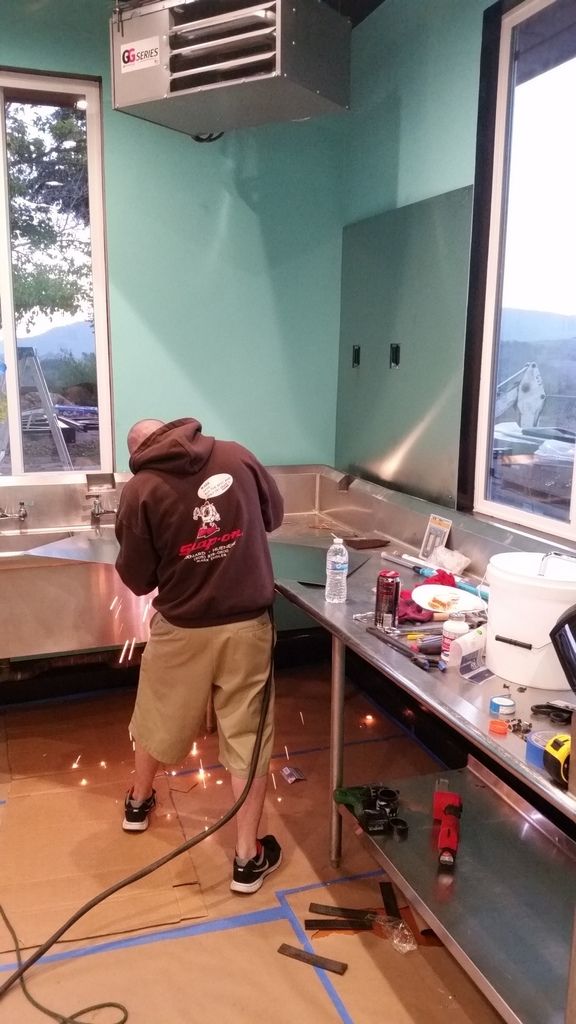
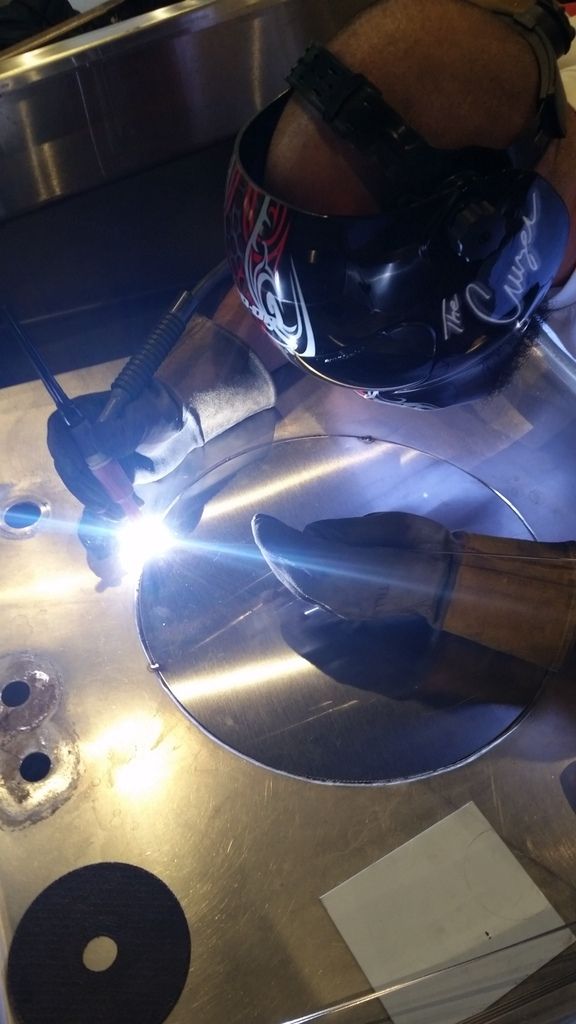
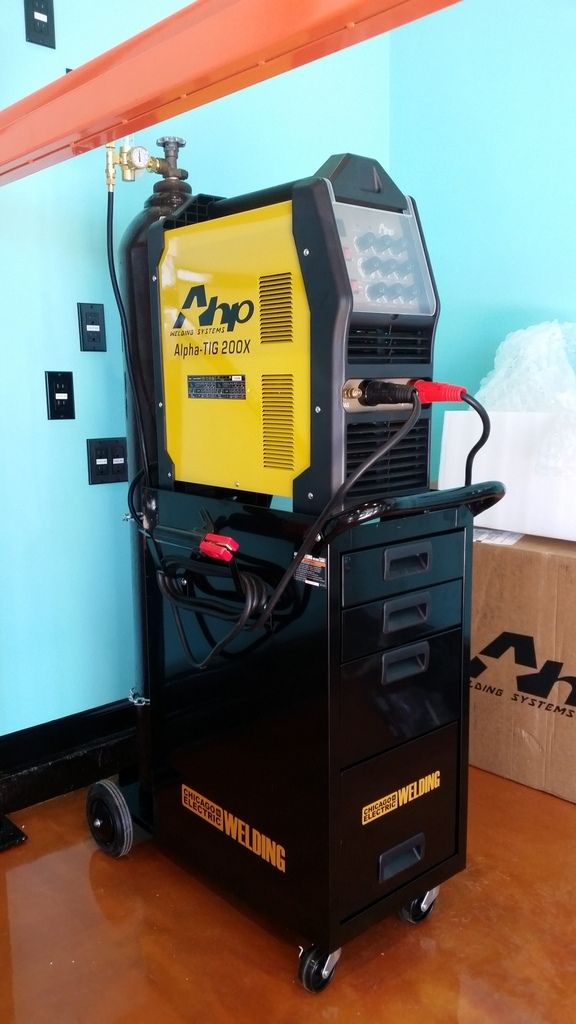
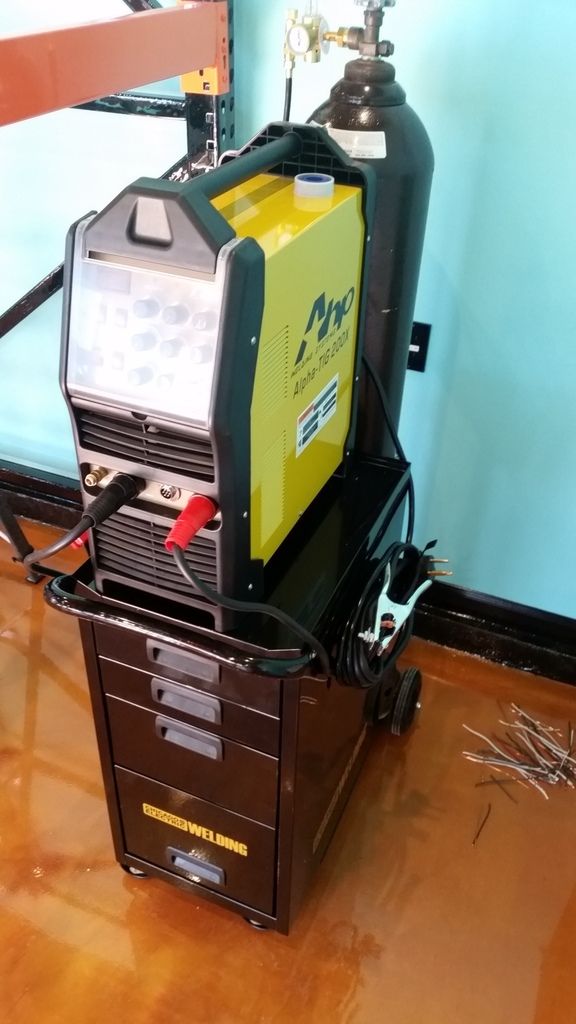
Always wanted to learn how to weld and had a few more spots on the stainless sink that we wanted to touch up.. plus have some future aluminum fab in mind to complete this project.. so we had an excuse to get another new toy. Wanted red or blue, but couldn't justify the price for a nice tig. This'll have to do for now!
Sink is in.. still waiting trim/silicone. Learned the importance of getting a quality backsplash mounting kit and the importance of tapered brass fittings!! :wacko (2):
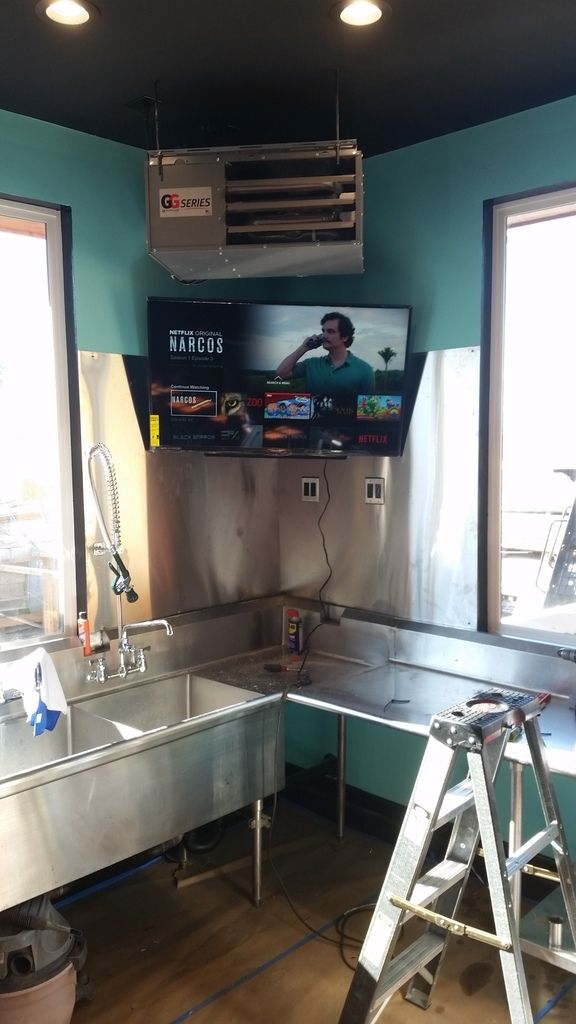
TV going in.. everybody's gotta have a TV by the fragging station!
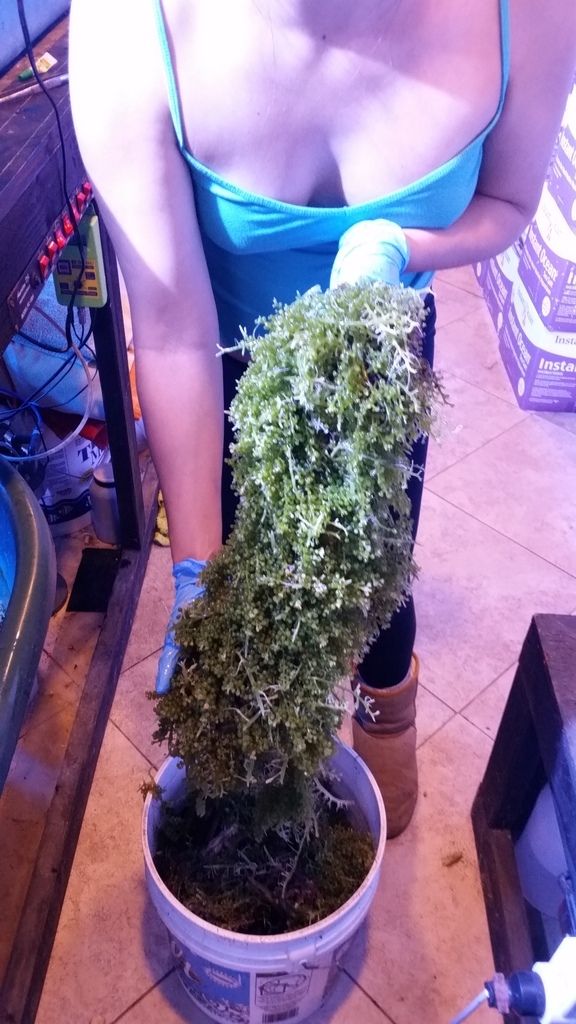
Meanwhile.. our current systems have been declining.. the lack of maintenance is really starting to show.. We're optimistic that everything will bounce back. This was a few months worth of caulerpa in the sump..
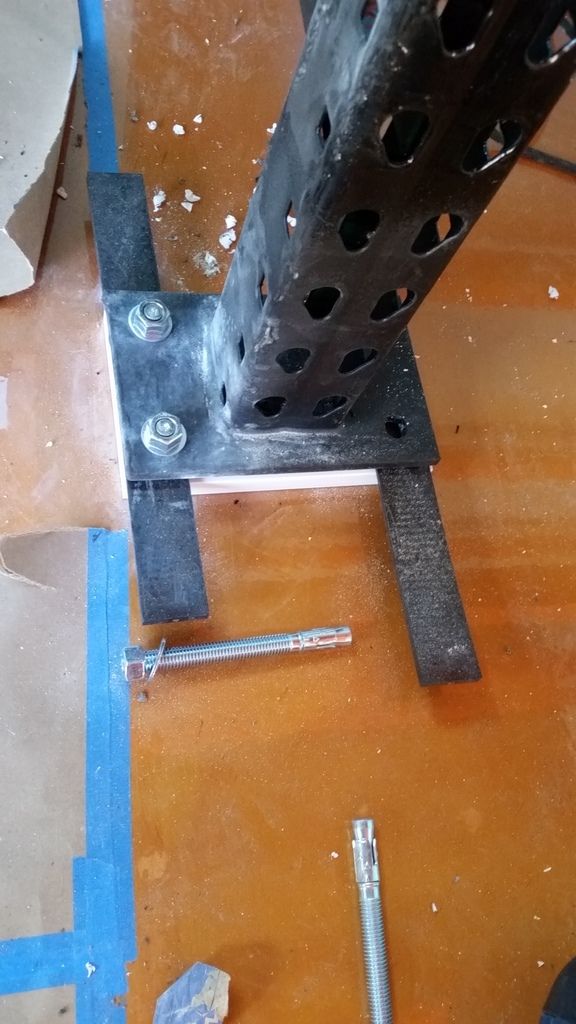
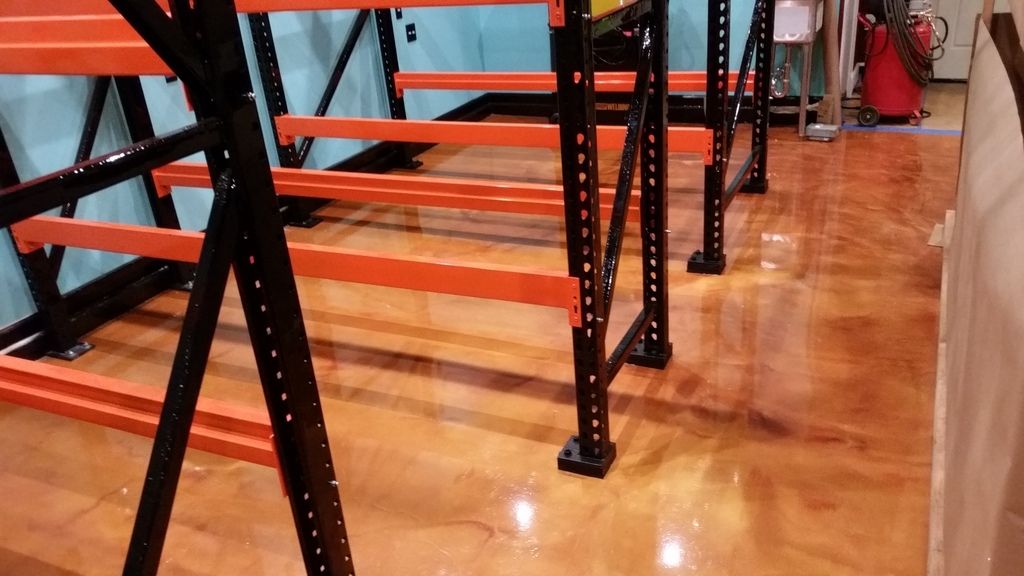
No going back now.. racks being bolted down.
Couldn't figure out why the gaps weren't lining up.. didn't realize how far out of square these things were. Horrible..
If anybody ever decides to use them for a similar future project, make sure you square them up!!
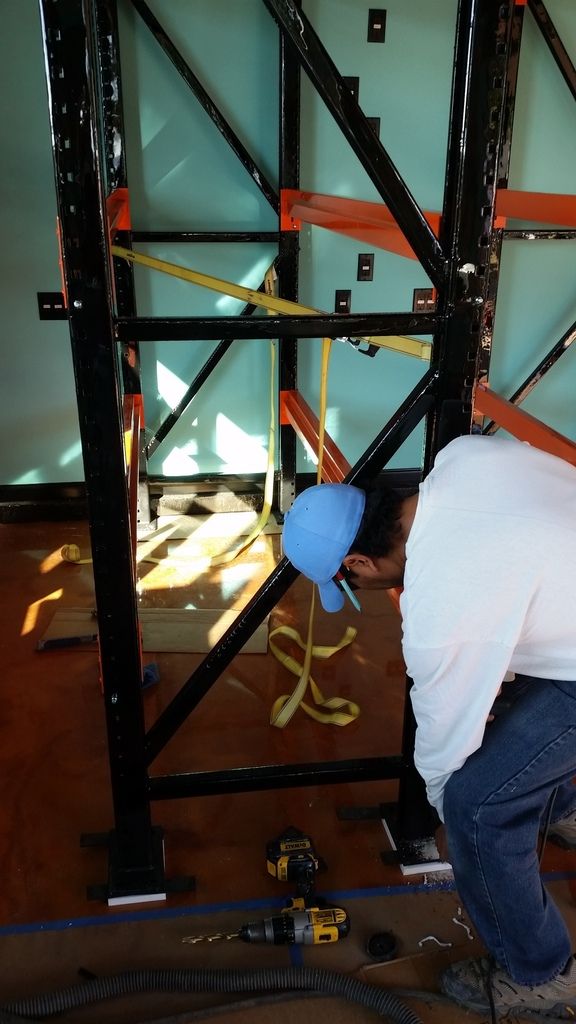
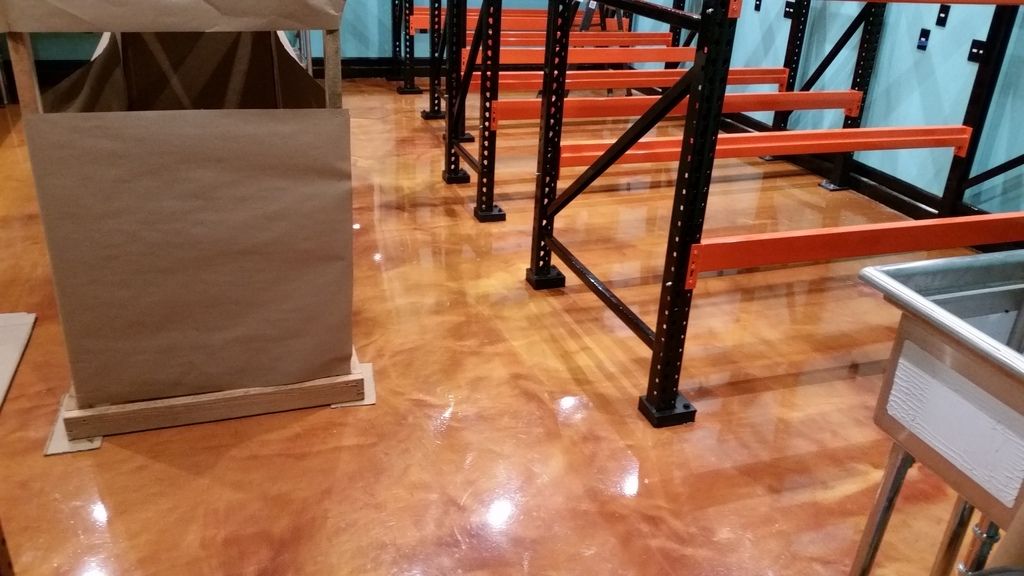
Racks bolted down.. The slope on the floor was definitely present.. Had to shim the ends of the racks over 2" to get them level and for the tank overflows to work correctly. Used composite shims and PVC to elevate the feet.. Wanted something somewhat moisture resistant.
Feet were all sprayed 1' up with rubber coating 3X. Then siliconed to the floor, as we didn't want any water to accumulate underneath.
One rack will have to come back out to allow us to somehow lift/raise the 535 lb frag tank 8' up in the air onto the shelf..
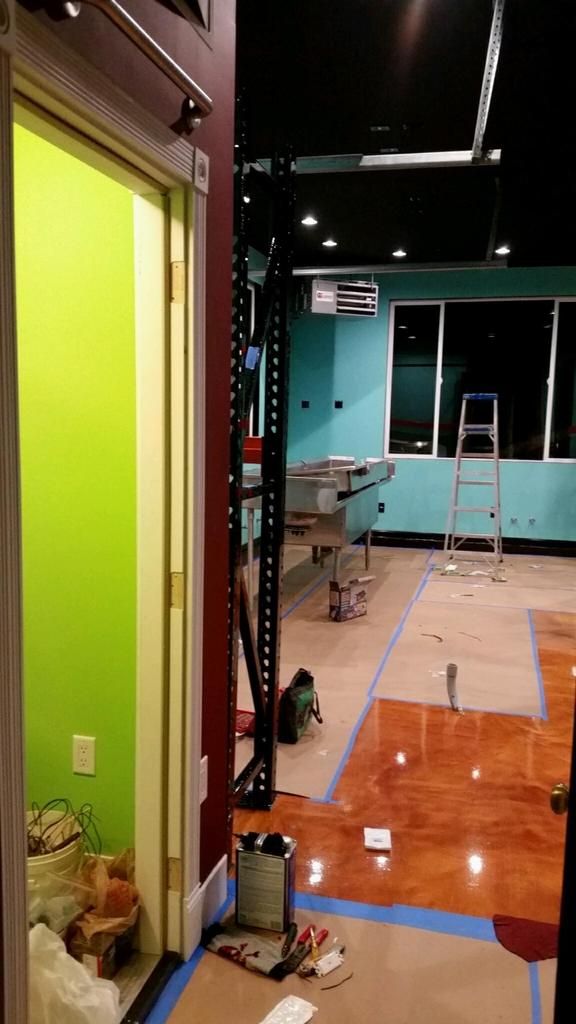
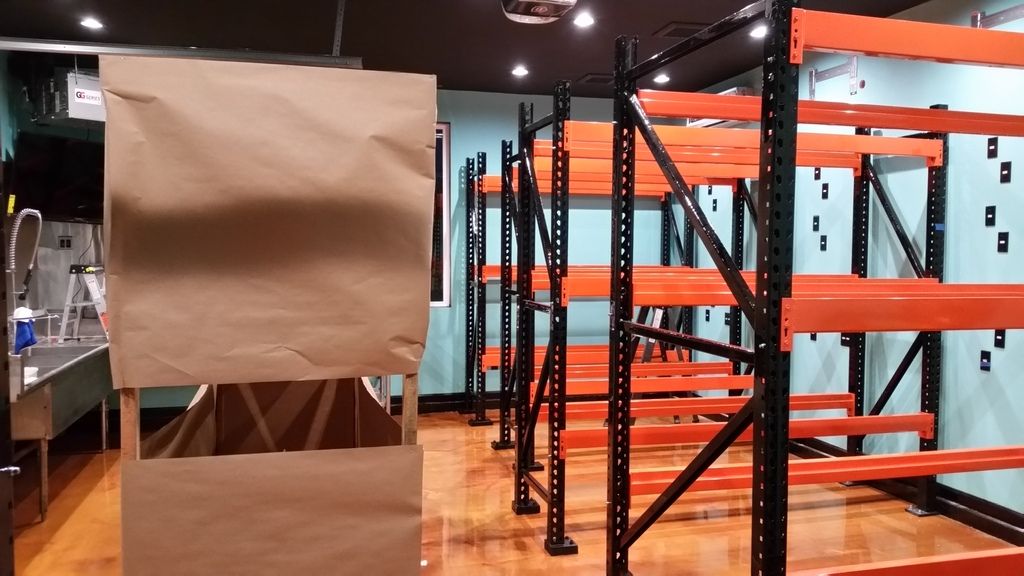
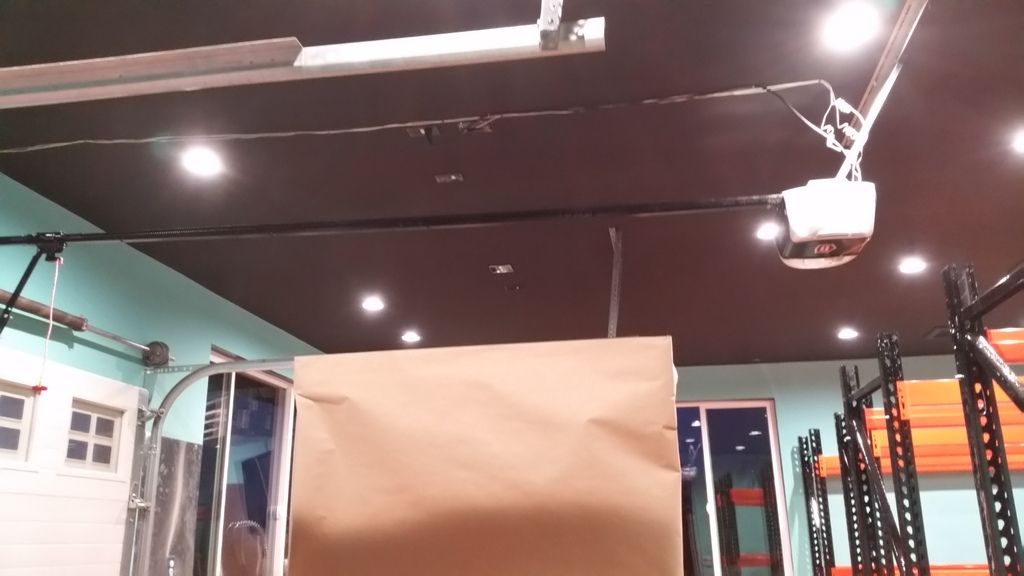
The cardboard looking box in the middle room is a mock-up of where the future 10' display tank will be positioned. Bummer that we lose so much of the room space, but it'll be a cool display tank, and hopefully worth it!
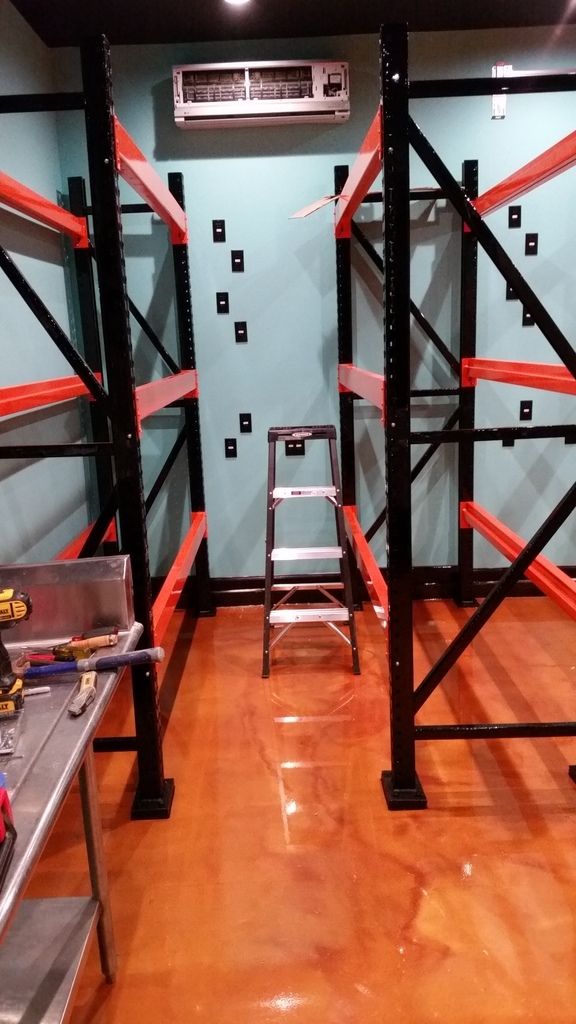
QT corner..
More rack shots..
Garage door opener installed. Excuse the wires.. still need to clean up/do final touch up.
As a side note.. Opener works great, now that I figured out that one wire was simply unplugged during transport (I'm guessing). No thanks to Craftsman, who has the crappiest customer service I have ever dealt with. Oh wait.. no customer service at all.. their reps from India refused to help me over the phone and stated that although the opener was still under warranty for the next three years, I had to have a technician come out to diagnose why it wasn't working. At my expense. No thanks, I'll figure it out on my own. Never again!
Another sink shot.. excuse the mess. Still waiting for the trim/moldings to arrive.
Just started installing the mini-split units.. We've decided to tackle this on our own and have started accumulating tools to complete our installation.
Got a nitrogen tank, and regulator so far. About to order a digital manifold set/micron gauge, 25lb tank of R410a, nylon thread sealant, and a flaring tool. Any HVAC techs want to offer some advice on anything else we may need?
That's it for now.. will be renting a box truck to pick up the glass tanks this week. :target::target::target:
Mock up of the racks.. Had to take them back out to fit the sink in..
Back splash going in.. Sink being welded back together and going in!
Always wanted to learn how to weld and had a few more spots on the stainless sink that we wanted to touch up.. plus have some future aluminum fab in mind to complete this project.. so we had an excuse to get another new toy. Wanted red or blue, but couldn't justify the price for a nice tig. This'll have to do for now!
Sink is in.. still waiting trim/silicone. Learned the importance of getting a quality backsplash mounting kit and the importance of tapered brass fittings!! :wacko (2):
TV going in.. everybody's gotta have a TV by the fragging station!
Meanwhile.. our current systems have been declining.. the lack of maintenance is really starting to show.. We're optimistic that everything will bounce back. This was a few months worth of caulerpa in the sump..
No going back now.. racks being bolted down.
Couldn't figure out why the gaps weren't lining up.. didn't realize how far out of square these things were. Horrible..
If anybody ever decides to use them for a similar future project, make sure you square them up!!
Racks bolted down.. The slope on the floor was definitely present.. Had to shim the ends of the racks over 2" to get them level and for the tank overflows to work correctly. Used composite shims and PVC to elevate the feet.. Wanted something somewhat moisture resistant.
Feet were all sprayed 1' up with rubber coating 3X. Then siliconed to the floor, as we didn't want any water to accumulate underneath.
One rack will have to come back out to allow us to somehow lift/raise the 535 lb frag tank 8' up in the air onto the shelf..
The cardboard looking box in the middle room is a mock-up of where the future 10' display tank will be positioned. Bummer that we lose so much of the room space, but it'll be a cool display tank, and hopefully worth it!
QT corner..
More rack shots..
Garage door opener installed. Excuse the wires.. still need to clean up/do final touch up.
As a side note.. Opener works great, now that I figured out that one wire was simply unplugged during transport (I'm guessing). No thanks to Craftsman, who has the crappiest customer service I have ever dealt with. Oh wait.. no customer service at all.. their reps from India refused to help me over the phone and stated that although the opener was still under warranty for the next three years, I had to have a technician come out to diagnose why it wasn't working. At my expense. No thanks, I'll figure it out on my own. Never again!
Another sink shot.. excuse the mess. Still waiting for the trim/moldings to arrive.
Just started installing the mini-split units.. We've decided to tackle this on our own and have started accumulating tools to complete our installation.
Got a nitrogen tank, and regulator so far. About to order a digital manifold set/micron gauge, 25lb tank of R410a, nylon thread sealant, and a flaring tool. Any HVAC techs want to offer some advice on anything else we may need?
That's it for now.. will be renting a box truck to pick up the glass tanks this week. :target::target::target: